Introduction
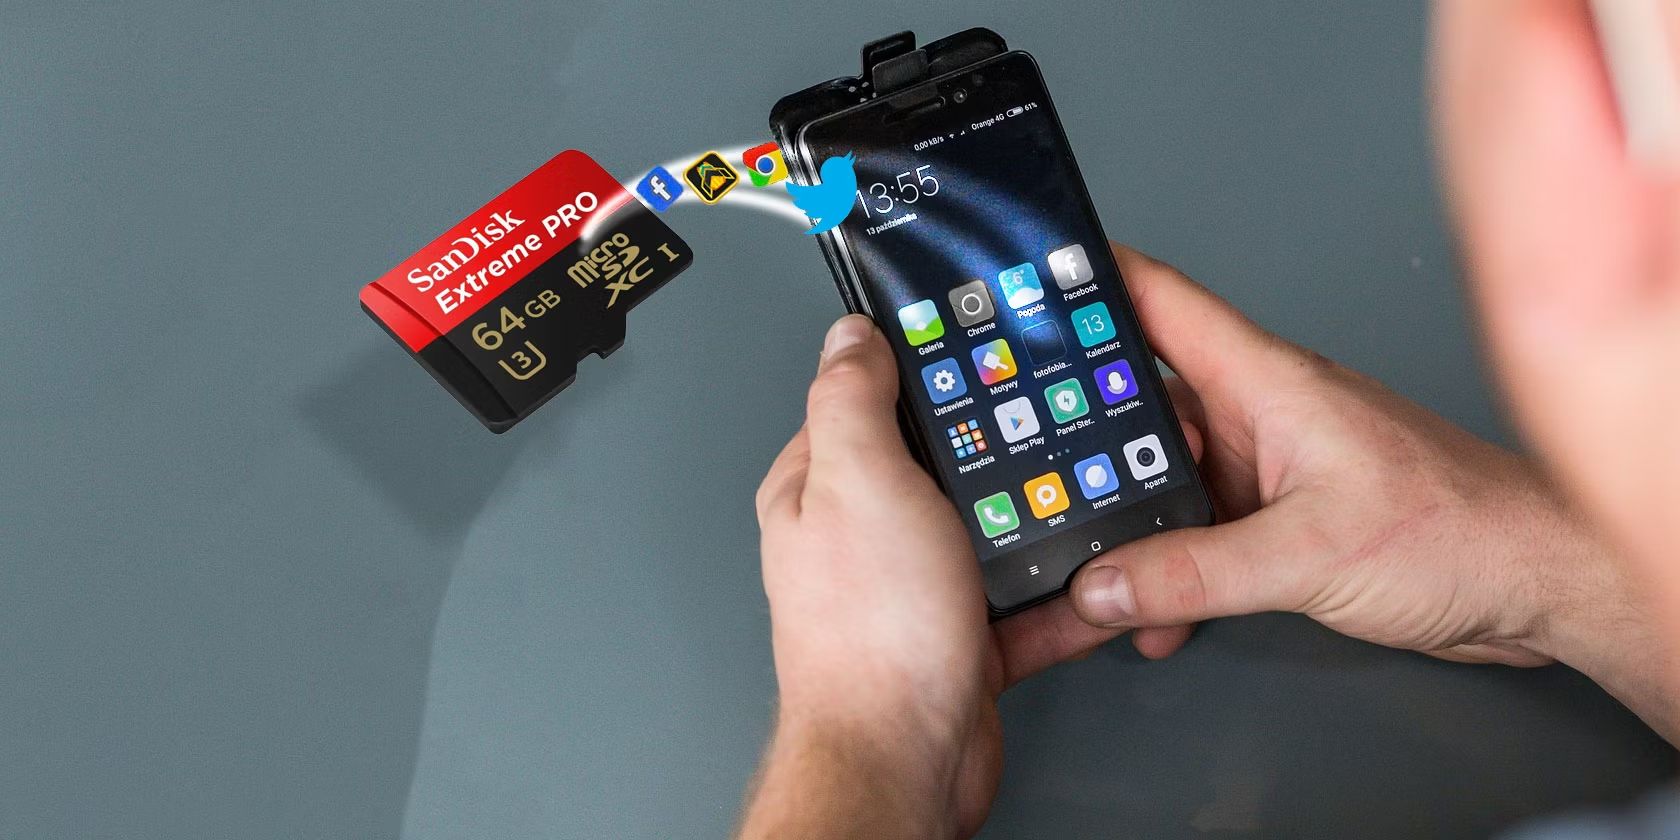
An SD card, short for Secure Digital card, is a compact, removable storage device commonly used in digital cameras, smartphones, tablets, and other portable electronic devices. It allows users to store and transfer data such as photos, videos, music, and documents. Over time, an SD card may accumulate a large amount of data or become cluttered with unnecessary files, which can affect its performance and storage capacity. Clearing an SD card effectively removes all data from it, making it a fresh storage medium ready for new content.
Clearing an SD card can involve different methods depending on the device you’re using and the operating system it runs on. In this article, we will explore various techniques to clear an SD card on different platforms, including computers, cameras, Android devices, and iOS devices. We will also discuss backup strategies to ensure you don’t lose any important data during the clearing process.
Before we dive into the specifics of clearing an SD card, it’s important to emphasize the significance of backing up your data. Clearing an SD card permanently deletes all the files stored on it, so it’s crucial to safeguard any important photos, videos, or documents by creating a backup copy. Whether you store your data in the cloud, on an external hard drive, or on your computer, make sure to transfer all the necessary files before proceeding with the clearing process.
Now, let’s explore the different methods to clear an SD card and ensure it is ready to store new memories and data.
Understanding SD Cards
Before delving into the process of clearing an SD card, it’s important to have a basic understanding of what an SD card is and how it works. SD cards are small, portable storage devices used to expand the storage capacity of various electronic devices. They come in different sizes, including standard SD cards, mini SD cards, and micro SD cards, each with different dimensions and usage.
SD cards use flash memory technology, which allows for quick data storage and retrieval. Flash memory is a type of non-volatile memory that retains data even when power is removed. This makes SD cards ideal for storing photos, videos, music, and other types of files.
SD cards also come with different storage capacities, ranging from a few gigabytes to several terabytes. The storage capacity determines how much data an SD card can hold. When choosing an SD card, it’s essential to consider your device’s compatibility and the amount of storage space you require.
It’s important to note that SD cards have a finite lifespan and can deteriorate over time. The constant read and write operations, exposure to extreme temperatures, and physical wear and tear can impact an SD card’s performance and reliability. Clearing an SD card periodically not only helps free up storage space but also allows for better organization and optimization of the card’s performance.
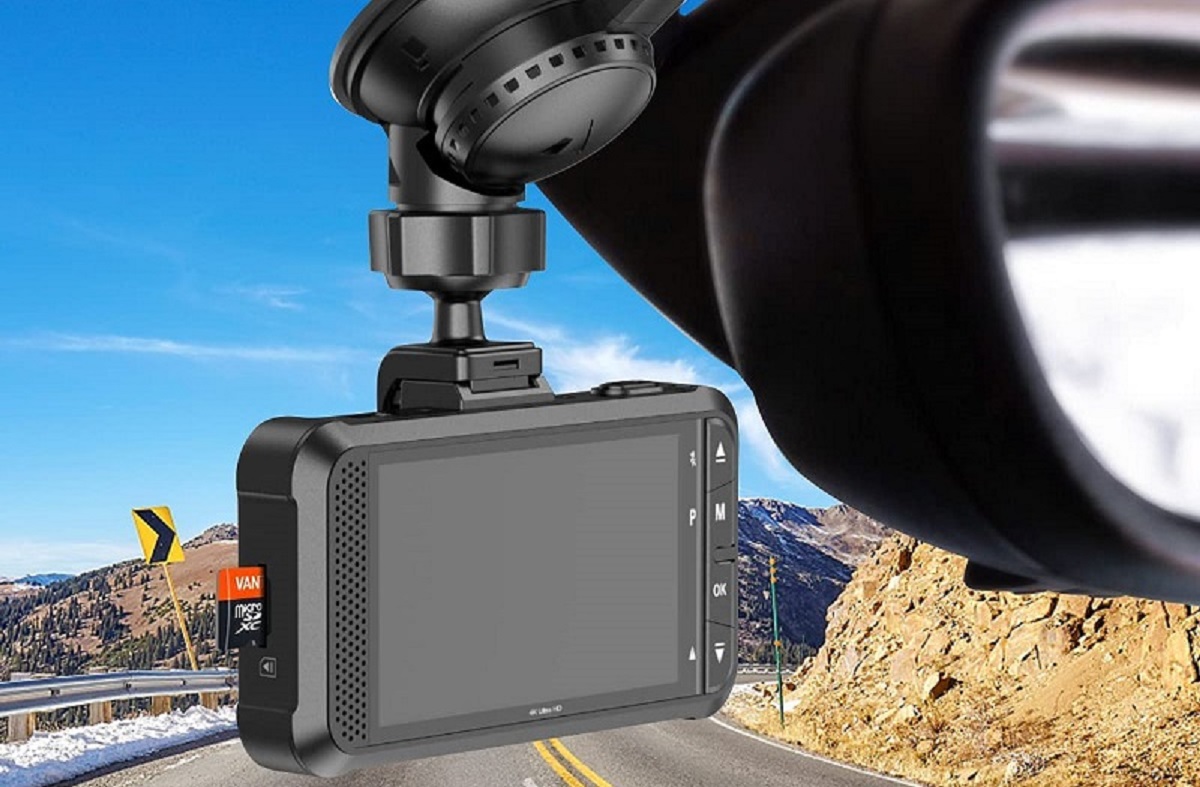
Additionally, SD cards have become an integral part of digital photography. They are commonly used in digital cameras to store photos and videos. Professionals and enthusiasts rely on SD cards to capture high-resolution images and shoot high-definition videos.
Now that you have a basic understanding of SD cards, let’s move on to the next section, which focuses on backing up your data before clearing an SD card.
Backing Up Your Data
Before you proceed with clearing an SD card, it’s essential to create a backup of all your important data. Clearing an SD card permanently erases all the files stored on it, so it’s crucial to safeguard your valuable photos, videos, and documents to prevent any loss or inconvenience.
There are several methods you can use to back up your data from an SD card:
- Copy to a computer: Connect your SD card to a computer using a card reader or by inserting it into the computer’s SD card slot. Once connected, you can manually copy and paste the files from the SD card to a folder on your computer’s hard drive. This method allows you to have a direct copy of your data on your computer.
- Cloud storage: Many cloud storage services offer options to automatically backup and sync your SD card’s contents. Services like Google Drive, Dropbox, and OneDrive provide apps that can be installed on your computer or mobile device, allowing you to upload and sync your files to the cloud. This ensures that your files are securely stored online and accessible from anywhere.
- External hard drive: If you have an external hard drive, you can connect it to your computer and copy the files from your SD card directly to the external drive. This provides an additional physical backup option for your data.
- Mobile backup apps: There are also various mobile backup apps available for smartphones and tablets. These apps allow you to back up the data from your SD card directly to your mobile device or cloud storage. Look for apps like Google Photos, Microsoft OneDrive, or Dropbox on your app store to find a suitable solution for your device.
Regardless of the method you choose, it’s important to double-check that all your files have been successfully backed up before proceeding to clear your SD card. Once you have confirmed that your data is safely stored, you can proceed to the next section, which covers the process of formatting an SD card on a computer.
Formatting an SD Card on a Computer
When it comes to clearing an SD card, one common method is to format it on a computer. Formatting involves erasing all the data on the SD card and preparing it for future use. Here’s how you can format an SD card on a computer:
- Connect the SD card: Insert the SD card into the computer’s card reader or use an external card reader if your computer doesn’t have one built-in. Ensure that the SD card is properly inserted and recognized by your computer.
- Open File Explorer (Windows) or Finder (Mac): Depending on your computer’s operating system, open the respective file management application to access your files and drives.
- Locate the SD card: In the file management application, look for the SD card under the list of drives or removable devices. It should be labeled with the SD card’s storage size or name.
- Right-click (Windows) or Control-click (Mac): On the SD card icon, right-click on Windows or Control-click on Mac to open the context menu.
- Select “Format” (Windows) or “Erase” (Mac): In the context menu, choose the option to format the SD card on Windows or erase it on Mac. This will open the formatting settings for the SD card.
- Choose the formatting options: In the formatting settings, you can choose the file system (such as FAT32 or exFAT) and give the SD card a new name if desired. Ensure that you select the correct file system that is supported by your device.
- Start the formatting process: Once you have selected the formatting options, click on the “Format” button to initiate the formatting process. Note that formatting will erase all the data on the SD card, so double-check that you have made a backup of any important files.
- Wait for the process to complete: The formatting process may take a few seconds or minutes, depending on the size of the SD card. Once it is complete, you will receive a confirmation message.
- Eject the SD card: After formatting is complete, safely eject the SD card from your computer to ensure that the changes are applied correctly.
Formatting an SD card on a computer clears all the data and makes it ready for use. However, remember that formatting may not completely erase the data, so it’s still advisable to perform a secure erase or physical destruction of the SD card if you want to ensure that the data cannot be recovered.
Now that you have learned how to format an SD card on a computer, you can proceed to the next section, which covers the process of formatting an SD card on a camera or device.
Formatting an SD Card on a Camera or Device
Formatting an SD card on a camera or device is another convenient way to clear the card and prepare it for use. Most cameras and devices have built-in formatting options that allow you to quickly format the SD card without the need for a computer. Here’s how you can format an SD card on a camera or device:
- Insert the SD card: Insert the SD card into the SD card slot or designated memory card slot on your camera or device. Ensure that the card is properly inserted and recognized by the device.
- Access the settings menu: Depending on your camera or device, navigate to the settings or menu function. Look for the option related to memory cards, storage, or format.
- Select the SD card: In the settings menu, locate the option that allows you to select the specific SD card for formatting. In some devices, there may be multiple storage options, so make sure to choose the correct one.
- Choose the formatting option: Once you have selected the SD card, look for the formatting option within the menu. It may be labelled as “Format,” “Erase,” or something similar.
- Confirm the formatting: When prompted, confirm that you want to format the SD card. Be aware that formatting will erase all the data on the card, so make sure to create a backup if necessary.
- Wait for the process to complete: The formatting process may take a few seconds or minutes, depending on the size of the SD card. Your camera or device will display a progress indicator or completion message.
- Eject the SD card: After formatting is complete, safely eject the SD card from your camera or device.
It’s important to note that formatting an SD card on a camera or device varies depending on the make and model. Therefore, it’s recommended to consult the user manual or online resources specific to your camera or device for detailed instructions.
Formatting an SD card on a camera or device ensures that it is properly configured and ready for use. However, as with computer formatting, keep in mind that formatting may not completely erase the data. If you need to ensure that the data cannot be recovered, consider performing a secure erase or physically destroying the SD card.
Now that you know how to format an SD card on a camera or device, you can move on to the next section, which explains how to clear an SD card on a Mac.
Clearing an SD Card on a Mac
If you’re using a Mac computer, clearing an SD card is a straightforward process. You have a few options for clearing an SD card on a Mac, depending on your preference and the level of clearance you require. Here are the steps to clear an SD card on a Mac:
- Connect the SD card: Insert the SD card into the SD card slot or use an external card reader to connect it to your Mac.
- Open Finder: Click on the Finder icon on your Mac’s dock to open a Finder window.
- Locate the SD card: In the left sidebar of the Finder window, you should see the SD card listed under the “Devices” section. Click on it to access the contents of the SD card.
- Select and delete the files: Select the files and folders that you want to clear from the SD card. You can use the Command key to select multiple files or use the Select All option from the Edit menu to select all files on the SD card.
- Empty the Trash: Once you have selected the files, right-click on the selection and choose “Move to Trash” from the context menu. To permanently remove the files from the SD card, you need to empty the Trash by right-clicking on the Trash icon in the dock and selecting “Empty Trash.”
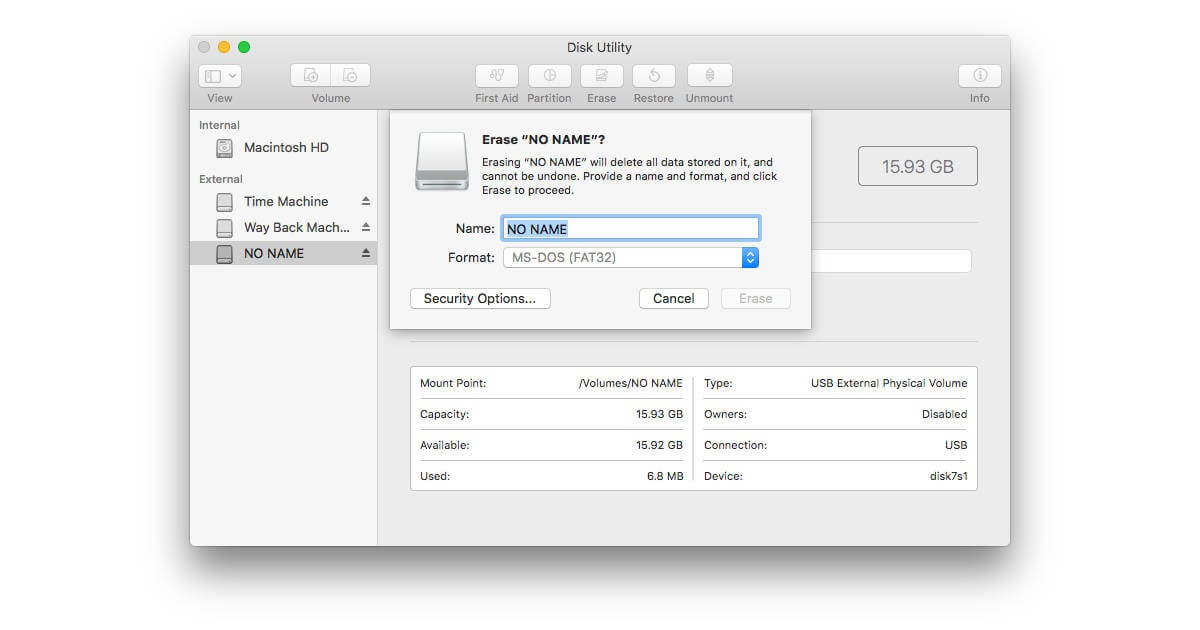
- Securely erase the SD card (optional): If you want to ensure that the files cannot be recovered, you can use the Disk Utility application on Mac to securely erase the SD card. Open Disk Utility from the Applications/Utilities folder, select the SD card from the list of drives, and choose the “Erase” tab. Then, select the security option that meets your needs and click “Erase.”
By following these steps, you can easily clear the files from an SD card on your Mac. Remember to double-check that you have made a backup of any important files before clearing the SD card permanently.
Now that you know how to clear an SD card on a Mac, it’s time to explore how to clear an SD card on a Windows PC in the next section.
Clearing an SD Card on a Windows PC
If you’re using a Windows PC, clearing an SD card is a relatively simple process. There are a couple of methods you can use to clear an SD card on a Windows PC, depending on your preference and the level of clearance you require. Here are the steps to clear an SD card on a Windows PC:
- Connect the SD card: Insert the SD card into the SD card slot on your Windows PC or use an external card reader to connect it.
- Open File Explorer: Click on the File Explorer icon in the taskbar or press the Windows key + E to open a File Explorer window.
- Locate the SD card: In the left sidebar of the File Explorer window, you should see the SD card listed under the “Devices and drives” section. Click on it to access the contents of the SD card.
- Select and delete the files: Select the files and folders that you want to clear from the SD card. You can use the Ctrl key to select multiple files or use the Select All option from the Edit menu to select all files on the SD card.
- Delete the selected files: Once you have selected the files, right-click on the selection and choose “Delete” from the context menu. Alternatively, you can press the Delete key on your keyboard.
- Empty the Recycle Bin: After deleting the files, open the Recycle Bin on your desktop. Right-click on the Recycle Bin icon and choose “Empty Recycle Bin” from the context menu. This will permanently remove the files from the SD card.
- Format the SD card (optional): If you want to completely clear the SD card and free up all the storage space, you can format the SD card. Right-click on the SD card in the File Explorer window and choose “Format” from the context menu. Select the desired format options and click “Start” to begin the formatting process. Be aware that formatting will erase all the data on the SD card.
By following these steps, you can easily clear the files from an SD card on your Windows PC. Just make sure to double-check that you have made a backup of any important files before clearing the SD card permanently.
Now that you know how to clear an SD card on a Windows PC, let’s explore how to clear an SD card on an Android device in the next section.
Clearing an SD Card on an Android Device
Clearing an SD card on an Android device is a simple process that can be done directly from the device’s settings. Android provides built-in options to manage and clear the data on an SD card. Here are the steps to clear an SD card on an Android device:
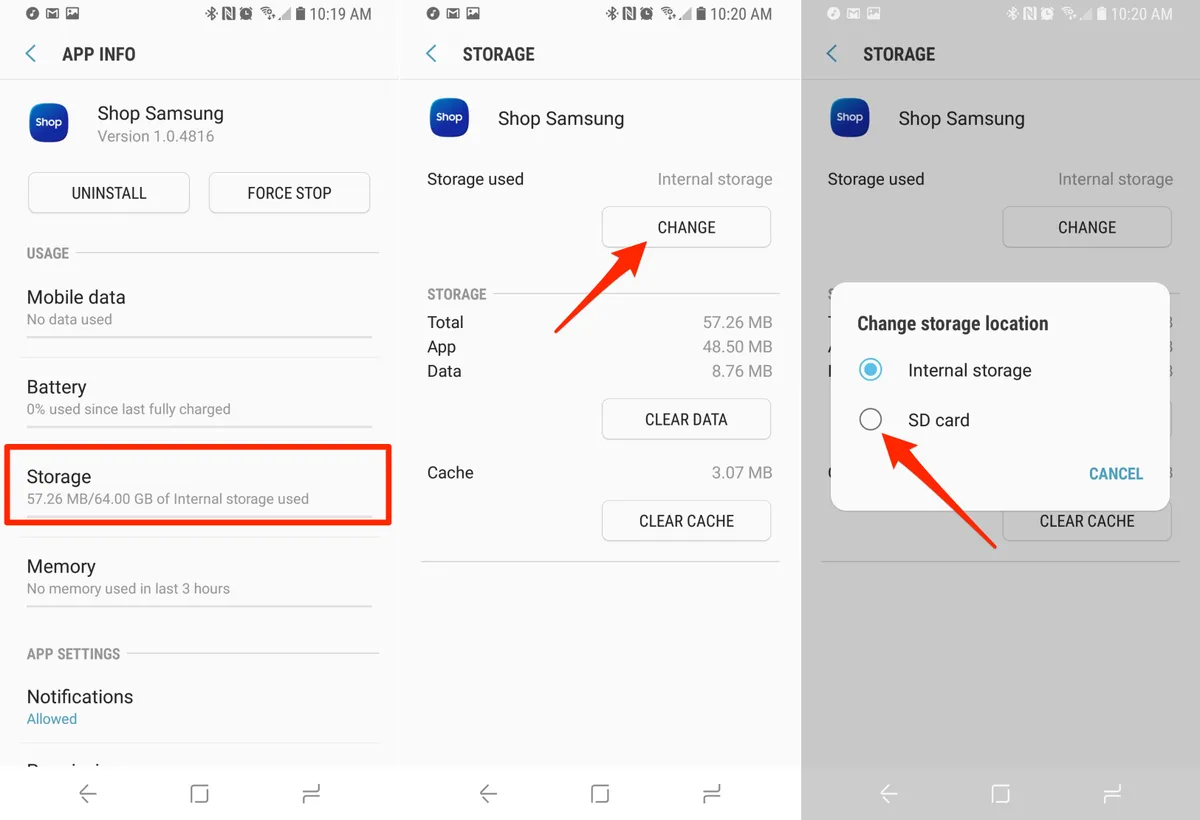
- Open the device settings: On your Android device, swipe down from the top of the screen to access the notification panel, then tap on the gear icon or go to the app drawer and find the Settings app.
- Find the storage settings: In the Settings menu, scroll down and look for the “Storage” or “Storage & USB” option. Tap on it to access the device’s storage settings.
- Manage the SD card: In the storage settings, you will see the available storage options. Look for the SD card section and tap on it to view the details and options related to the SD card.
- Clear the SD card: In the SD card settings, you will find the option to clear or format the SD card. Tap on it to initiate the clearing process. You may be prompted to confirm your action before proceeding.
- Wait for the process to complete: The clearing process may take a few moments, depending on the size of the SD card and the amount of data stored on it. Once it is complete, you will receive a notification or confirmation message.
It’s important to note that clearing the SD card on an Android device will permanently delete all the data stored on it. Therefore, it’s crucial to make a backup of any important files before proceeding with the clearing process.
If you want to perform a more thorough clearing of the SD card, you can also opt to format it. Formatting will erase all the data and prepare the SD card for future use. However, keep in mind that formatting is irreversible, so make sure to have a backup of any data you want to keep.
Now that you know how to clear an SD card on an Android device, let’s move on to the next section, which covers the process of clearing an SD card on an iPhone or iPad.
Clearing an SD Card on an iPhone or iPad
Unlike Android devices, iPhones and iPads do not have expandable storage or a slot for SD cards. Therefore, clearing an SD card on an iPhone or iPad is not possible directly from the device itself. However, you can still manage and clear the data on an SD card by using a computer or a compatible SD card reader. Here’s how you can clear an SD card on an iPhone or iPad:
- Remove the SD card: If you have an SD card inserted into an external card reader or an adapter connected to your iPhone or iPad, safely remove it before proceeding.
- Connect the SD card to a computer: Use a card reader or an SD card adapter to connect the SD card to your computer.
- Open the computer’s file management: Depending on your computer’s operating system, open the respective file management application, such as File Explorer on Windows or Finder on Mac.
- Locate the SD card: In the file management application, look for the SD card under the list of drives or removable devices. It should be labeled with the SD card’s storage size or name.
- Select and delete the files: Select the files and folders that you want to clear from the SD card. Right-click on the selection and choose the “Delete” option from the context menu to remove the files from the SD card.
- Empty the Trash/Recycle Bin: After deleting the files, empty the Trash or Recycle Bin on your computer to permanently remove the files from the SD card.
Clearing an SD card on an iPhone or iPad requires a computer and a compatible SD card reader or adapter. By following these steps, you can easily manage and clear the data from an SD card connected to your iPhone or iPad.
Remember to make a backup of any important files before clearing the SD card, as the clearing process is irreversible and will permanently delete all the data stored on the card.
Now that you know how to clear an SD card on an iPhone or iPad using a computer, you have completed the main methods of clearing an SD card on different devices. In the next section, we will provide some tips for safely handling and storing SD cards.
Tips for Safely Handling and Storing SD Cards
SD cards are delicate storage devices that require proper handling and storage to maintain their performance and longevity. Here are some essential tips for safely handling and storing SD cards:
- Avoid touching the metal contacts: The metal contacts on an SD card are sensitive to dirt, oil, and static electricity. When handling an SD card, avoid touching the metal contacts to prevent any damage or disruption in performance.
- Insert and remove gently: When inserting or removing an SD card, do it gently and ensure that it is properly aligned with the slot. Applying excessive force or inserting it incorrectly can lead to bent pins or damage to the card or device.
- Keep them dry and clean: SD cards are susceptible to moisture and dirt. Avoid exposing them to water, extreme temperatures, or dusty environments. Store SD cards in a clean and dry place to prevent any damage or data corruption.
- Use protective cases: Consider using protective cases or storage containers specifically designed for SD cards. These cases provide physical protection and prevent dust, scratches, and accidental damage to the SD card.
- Label and organize: If you have multiple SD cards, label them accordingly to keep track of their content or purpose. Organize them in a designated storage box or case to prevent misplacement or confusion.
- Create backups regularly: It’s always good practice to create regular backups of the data stored on your SD cards. This ensures that you have a copy of your files in case of accidental deletion or SD card failure.
- Format or delete files properly: When clearing an SD card, make sure to use the appropriate formatting method to ensure all the data is removed. Improper deletion or formatting can potentially lead to data remnants that may be recoverable.
- Test SD cards periodically: To ensure the integrity and reliability of your SD cards, consider running periodic tests or diagnostics. Various software tools are available to assess the health and performance of SD cards.
By following these tips, you can ensure the safe handling and storage of your SD cards, minimizing the risk of data loss, and prolonging their lifespan.
Now that you have learned essential tips for handling and storing SD cards, you are well-equipped to effectively clear an SD card while keeping your data safe and preserving the SD card’s longevity.
Conclusion
Clearing an SD card is an important process to free up storage space, optimize performance, and prepare the card for new data. Whether you are using a computer, camera, Android device, or iPhone/iPad, there are various methods to clear an SD card effectively.
Before clearing an SD card, it is crucial to back up all your important data to prevent any loss. This ensures that your valuable photos, videos, and documents are safely stored and can be accessed later.
If you are using a computer, you can format the SD card to clear the data. By following the steps specific to your operating system, you can easily remove all files from the SD card or even securely erase the data for added security.
For cameras or devices without a computer, there are options to clear the SD card directly from the settings menu. Make sure to select the right options to clear the card and confirm any prompts before proceeding.
Although iPhones and iPads do not have a built-in SD card slot, you can still manage SD card data by connecting it to a computer using a card reader. This allows you to delete files or format the card with ease.
Remember to handle and store SD cards with care to maintain their performance and longevity. Avoid touching the sensitive metal contacts, store them in clean and dry environments, and consider using protective cases or storage containers to prevent damage.
By following the tips and methods outlined in this article, you can confidently clear an SD card and ensure that it is ready to store new memories and data.
Now that you have a comprehensive understanding of how to clear an SD card on various devices, you can make informed decisions and choose the method that best suits your needs.