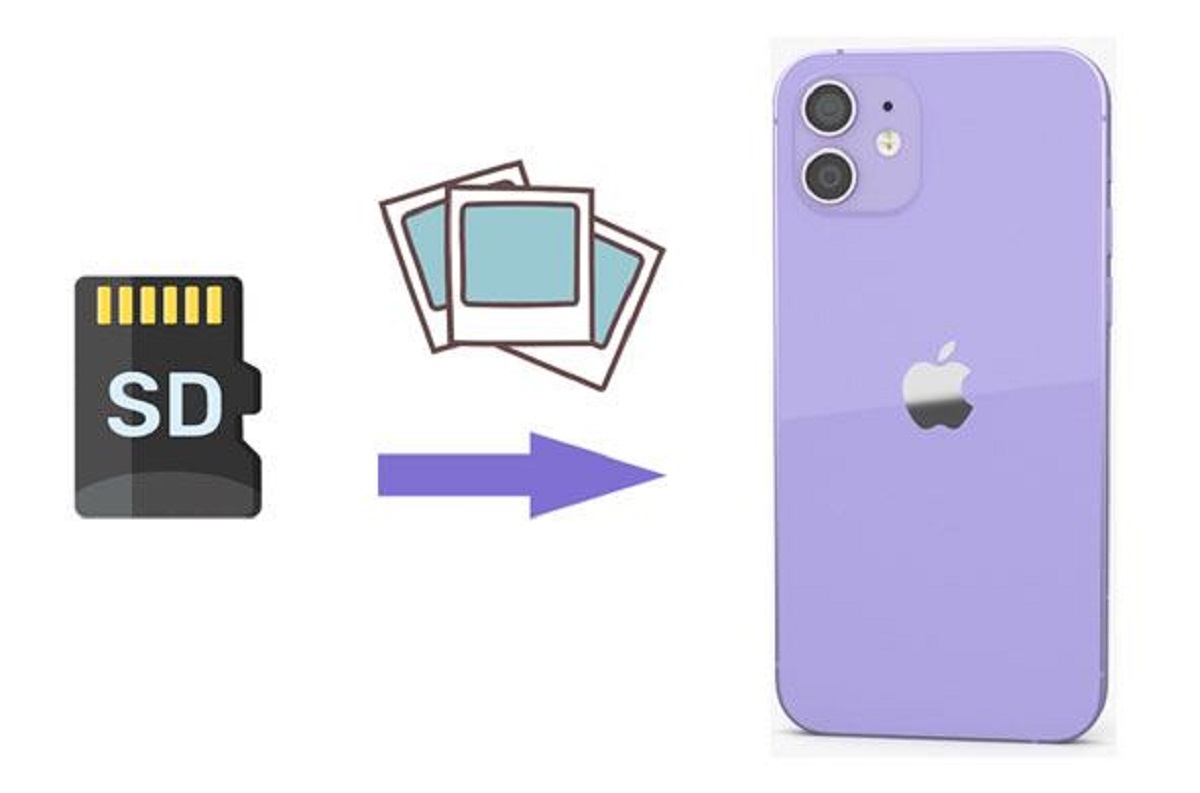
Connecting the SD Card to your Mac
Before you can clear the SD card on your Mac, you need to properly connect it to your computer. Follow these simple steps:
- Locate the SD card slot on your Mac. It is typically located on the side of your MacBook or on the back of your iMac.
- Gently push the SD card into the slot until it clicks into place. Make sure it is inserted all the way to ensure a proper connection.
- Once inserted, your Mac will recognize the SD card and automatically mount it.
You can now proceed to clear the SD card of any unwanted files or data.
Connecting the SD card to your Mac is a straightforward process, allowing you to easily manage and delete files from the card. Remember to handle the SD card with care and avoid forcing it into the slot, as this may cause damage to the card or the card slot.
Now that you have successfully connected the SD card to your Mac, it’s time to open the Finder application to begin clearing the files.
Opening the Finder Application
Once you have connected the SD card to your Mac, the next step is to open the Finder application. The Finder is a file management tool that allows you to navigate and access the files and folders on your Mac.
To open the Finder application, follow these steps:
- Locate the magnifying glass icon in the top-right corner of your screen, also known as the Spotlight Search icon.
- Click on the Spotlight Search icon to open the search bar.
- Type “Finder” in the search bar and press Enter.
- The Finder application will open, displaying the default Finder window.
Alternatively, you can also open the Finder application by clicking on the Finder icon on the dock, which is typically located on the left side of the screen.
With the Finder application now open, you are ready to locate the SD card in the Finder sidebar and begin the process of clearing the files from the SD card.
The Finder application is an essential tool for managing and organizing your files on your Mac. It provides an intuitive interface and easy access to your stored files and folders. Now that you have successfully opened the Finder, let’s move on to the next step: locating the SD card in the Finder sidebar.
Locating the SD Card in the Finder Sidebar
After opening the Finder application on your Mac, you need to locate the SD card in the Finder sidebar. The Finder sidebar provides quick access to various locations on your Mac, including external storage devices like the SD card.
To locate the SD card in the Finder sidebar, follow these steps:
- Look for the sidebar on the left side of the Finder window. If the sidebar is not visible, go to the top menu bar and click on “View”, then select “Show Sidebar” from the dropdown menu.
- In the sidebar, you will see a list of locations, including Favorites, Devices, and Tags. Under the Devices section, look for the SD card icon labeled with the card’s name or the brand of the card.
- Click on the SD card icon in the sidebar to select it. This will display the contents of the SD card in the main Finder window.
If you cannot find the SD card icon in the sidebar, ensure that the card is properly connected to your Mac and try refreshing the Finder. You can do this by clicking on the desktop area and pressing the “Command” and “R” keys simultaneously.
Locating the SD card in the Finder sidebar allows you to easily access and manage the files stored on the card. Now that you have successfully found the SD card in the sidebar, the next step is to select and delete the files you want to clear from the SD card.
Selecting and Deleting Files from the SD Card
Once you have located the SD card in the Finder sidebar, you can proceed to select and delete the files you want to clear from the SD card. Follow these steps to effectively manage the files on your SD card:
- Click on the SD card icon in the Finder sidebar to display the contents of the card in the main Finder window.
- Browse through the files and folders on the SD card to locate the ones you want to delete.
- To select multiple files, hold down the “Command” key on your keyboard and click on each file you want to delete. Alternatively, you can select a range of files by clicking on the first file, holding down the “Shift” key, and then clicking on the last file in the range.
- Once you have selected the files you want to delete, right-click on any of the selected files and choose “Move to Trash” from the context menu. Alternatively, you can press the “Command” and “Delete” keys simultaneously to send the selected files to the Trash.
Keep in mind that when you delete files from the SD card, they are moved to the Trash on your Mac and are not permanently removed from the card. This allows you to restore files from the Trash if needed before permanently deleting them.
By selecting and deleting files from the SD card, you can effectively free up space and remove unnecessary files to keep your card organized and optimized for future use.
Once you have finished selecting and deleting files from the SD card, it’s important to empty the Trash to ensure that the deleted files are permanently removed from your Mac.
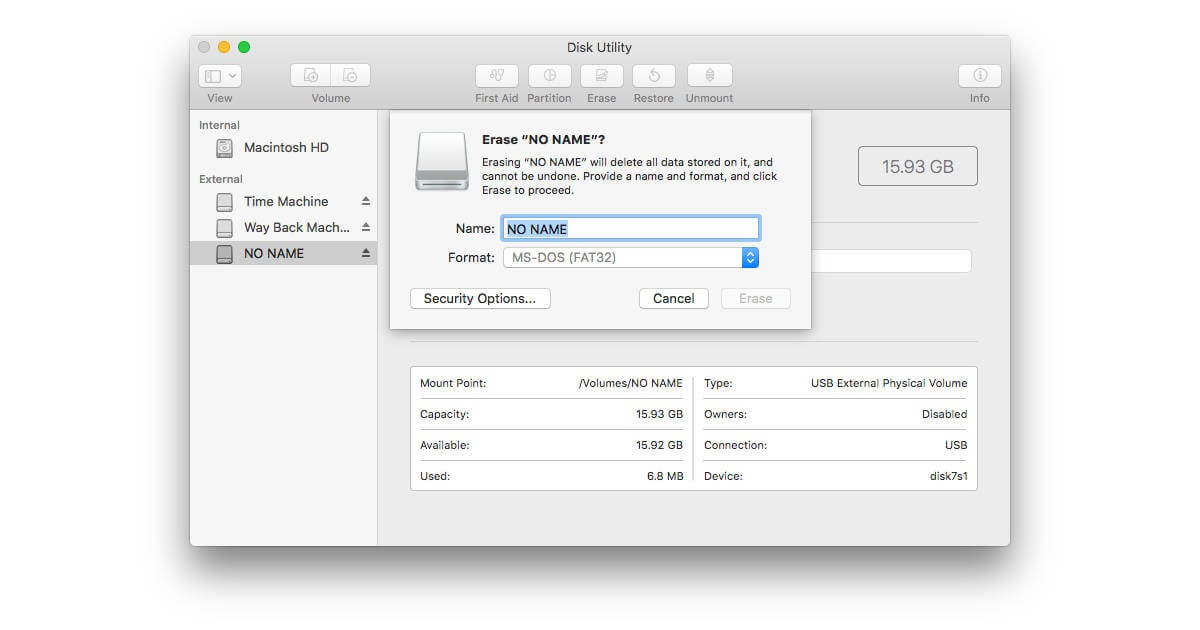
Emptying the Trash
After selecting and deleting files from the SD card, it is important to empty the Trash to permanently remove the deleted files from your Mac. Emptying the Trash ensures that the storage space on your Mac and the SD card is reclaimed and available for new files.
To empty the Trash, follow these steps:
- Locate the Trash icon on your Mac. It is usually located at the end of the Dock, which is the row of icons at the bottom of the screen.
- Click and hold the Trash icon to open the Trash window.
- Review the contents of the Trash to ensure that it only contains the files you want to permanently delete. If you accidentally deleted a file that you still need, you can drag it out of the Trash to restore it.
- Once you have confirmed the contents of the Trash, click on the “Empty” button located in the top-right corner of the Trash window. Alternatively, you can right-click on the Trash icon and choose “Empty Trash” from the context menu.
- A confirmation pop-up will appear, asking if you are sure you want to permanently delete the files. Click on the “Empty Trash” button to proceed.
After emptying the Trash, all the selected files from the SD card will be permanently removed from your Mac. It is important to note that once the Trash is emptied, the deleted files cannot be recovered, so make sure you have selected the files to be deleted carefully.
Emptying the Trash is the final step in the process of clearing the files from the SD card on your Mac. With the Trash emptied, you can now verify that the SD card is successfully cleared and ready for use.
Verifying the SD Card is Cleared
After emptying the Trash, it is important to verify that the SD card has been successfully cleared of all unwanted files. Follow these steps to ensure that the SD card is completely clear:
- Eject the SD card from your Mac. To do this, locate the SD card icon on the desktop or in the Finder sidebar and right-click on it. From the context menu, select “Eject” to safely remove the SD card.
- Remove the SD card from the slot on your Mac. Gently push the card inwards to release it from the slot and carefully pull it out.
- Inspect the SD card visually. Look for any remaining files or folders on the card. If you see any files, it indicates that they were not deleted successfully and need to be cleared again.
- If you find any remaining files on the SD card, repeat the process of connecting the card to your Mac, opening the Finder, locating the SD card in the sidebar, selecting and deleting the remaining files, and emptying the Trash.
- After confirming that the SD card is completely clear of any files, you can safely reinsert it into your Mac or use it in another device.
By verifying that the SD card is cleared, you can ensure that it is ready to be used for storing new data. Remember to regularly clear unwanted files from your SD card to maintain optimal storage capacity and organization.
With the SD card successfully cleared and verified, you can now confidently use it to store new files or transfer data between devices, knowing that you have freed up valuable storage space.