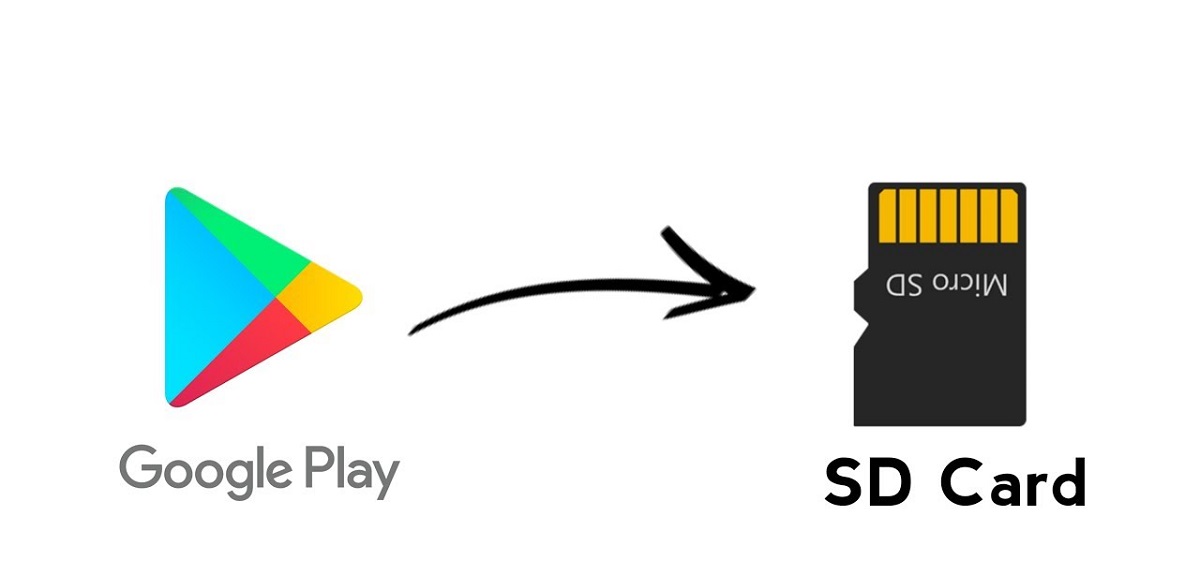
Why Transfer Phone Data to SD Card?
Transferring phone data to an SD card offers several benefits that can greatly enhance your mobile experience. Here are some reasons why you should consider transferring your phone data to an SD card:
1. Storage Expansion: One of the primary advantages of using an SD card is that it provides additional storage space for your phone. As apps, photos, videos, and files accumulate, your phone’s internal storage can quickly fill up. By transferring data to an SD card, you can free up space on your phone and ensure that it runs smoothly.
2. Data Organization: An SD card allows you to conveniently organize your phone data. You can create different folders for specific categories, such as photos, videos, documents, or music. This makes it easier to locate and access specific files whenever you need them.
3. Flexibility and Portability: When you transfer data to an SD card, you gain flexibility and portability. You can easily insert the SD card into another compatible device, such as a tablet or camera, and access your files without the need for complex data transfers or connections.
4. Backup and Recovery: Transferring data to an SD card is an effective way to create backups of your important files. In the event that your phone is lost, damaged, or needs a factory reset, having your data stored on an SD card ensures that you don’t lose valuable information.
5. Performance Optimization: By offloading data to an SD card, you can optimize your phone’s performance. When the internal storage is maxed out, it can slow down your device and impact its overall speed. Transferring data to an SD card helps streamline the internal storage, improving performance and responsiveness.
Overall, transferring phone data to an SD card provides extra storage, organization, flexibility, and backup options. It is a practical solution to manage and protect your valuable files, ensuring that your smartphone operates efficiently and smoothly.
How to Choose the Right SD Card
Choosing the right SD card for your phone is crucial to ensure compatibility, reliability, and optimal performance. Here are some essential factors to consider when selecting an SD card:
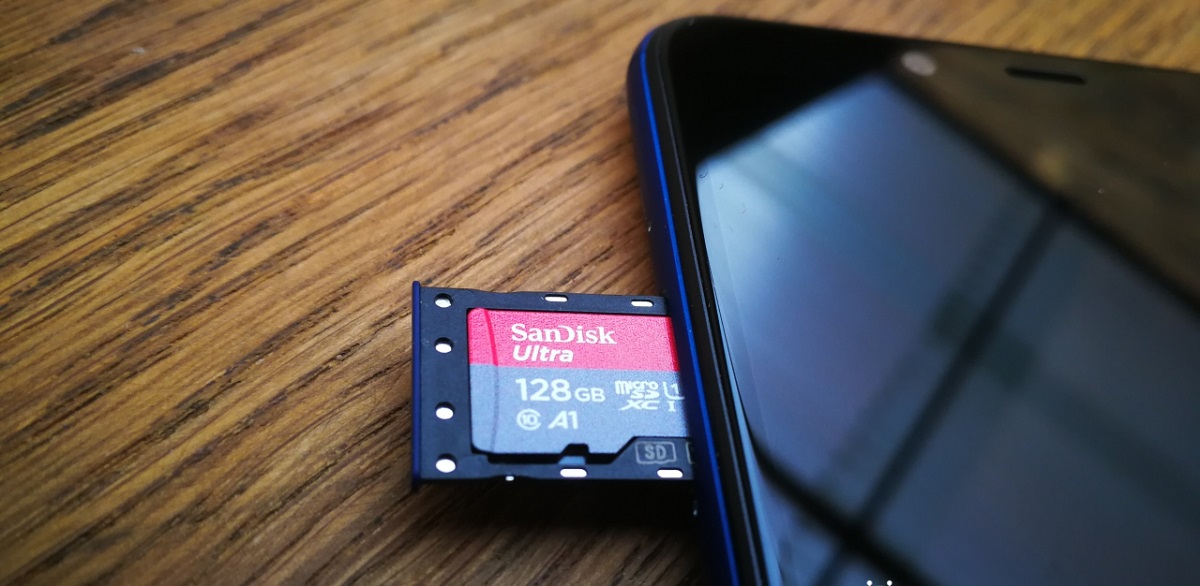
1. Storage Capacity: The first thing to determine is how much storage space you need. SD cards come in various capacities, such as 16GB, 32GB, 64GB, 128GB, and even higher. Consider the types of files you will be storing, such as photos, videos, or documents, and choose a capacity that suits your needs without going overboard.
2. Speed Class: Different SD cards have different speed classes, denoted by a number within a circle. The speed class indicates the minimum sustained write speed of the card. For regular phone usage, Class 10 or UHS (Ultra High-Speed) Class 1 cards are recommended. However, if you plan to record 4K videos or use your SD card for intensive tasks, opt for higher speed classes such as UHS Class 3.
3. Compatibility: Ensure that the SD card you choose is compatible with your phone. Check the manufacturer’s specifications or consult your phone’s user manual to determine the maximum supported SD card capacity and type. Common types include SDHC and SDXC, so make sure your device supports the type you choose.
4. Brand Reputation: Stick to reputable brands when purchasing an SD card. Trusted brands have a track record of producing reliable and high-quality storage devices. Brands like SanDisk, Samsung, Kingston, and Lexar are well-known for their SD cards and offer dependable performance and durability.
5. Warranty and Support: Consider the warranty and support provided by the SD card manufacturer. A longer warranty period indicates the manufacturer’s confidence in their product’s reliability. Additionally, check if there is readily available customer support in case you encounter any issues with the SD card.
6. Price: While it’s tempting to go for the cheapest option, don’t compromise on quality. Remember that your data’s safety and integrity depend on the performance and durability of the SD card. Invest in a reputable and reliable SD card, even if it means spending a little more.
When choosing an SD card, consider factors such as storage capacity, speed class, compatibility, brand reputation, warranty, support, and price. By carefully assessing these factors, you can select an SD card that meets your needs and provides reliable storage for your phone data.
Backing Up Data Before Transferring
Before transferring data to an SD card, it is essential to create a backup of your important files. This ensures that your data is safe and can be easily restored if anything goes wrong during the transfer process. Here are some steps to follow when backing up your data:
1. Identify Critical Data: Begin by identifying the data that holds the most importance to you. This may include contacts, photos, videos, documents, and app data. Focus on backing up these files first to ensure their safety.
2. Use Cloud Storage: Take advantage of cloud-based storage services like Google Drive, iCloud, or Dropbox to back up your data. These platforms offer a certain amount of free storage, and you can upgrade to a paid plan if you require more space. Upload your files to the cloud so that they are accessible from any device with an internet connection.
3. Sync Contacts and Calendars: Sync your contacts and calendars with your Google or Apple account to keep them backed up and easily accessible. This way, even if you lose your phone or switch to a new device, you can easily retrieve this essential information.
4. Transfer Files to Computer: Connect your phone to your computer and transfer your files to a designated folder. This can be done via USB cable or by using file transfer apps such as Android File Transfer or iTunes for iPhone. Organize the files into separate folders to ensure easy access and identification.
5. Create a Local Backup: Utilize the built-in backup functionality of your phone’s operating system. Both Android and iOS offer options to create a local backup that includes app data, settings, and more. You can find this feature in the settings menu of your phone.
6. Verify the Integrity of Backups: After creating backups, it is essential to verify their integrity. Open files, check contacts and app data, and ensure that everything has been successfully backed up and is accessible. This step ensures that you have valid backups before proceeding with the data transfer.
By following these steps to back up your data before transferring to an SD card, you can have peace of mind knowing that your important files are safely stored and easily recoverable. Remember, creating regular backups is good practice to prevent data loss and maintain the security of your valuable information.
Transferring Photos and Videos to SD Card
Transferring photos and videos to an SD card is a great way to free up space on your phone and securely store your precious memories. Here’s how you can transfer your photos and videos to an SD card:
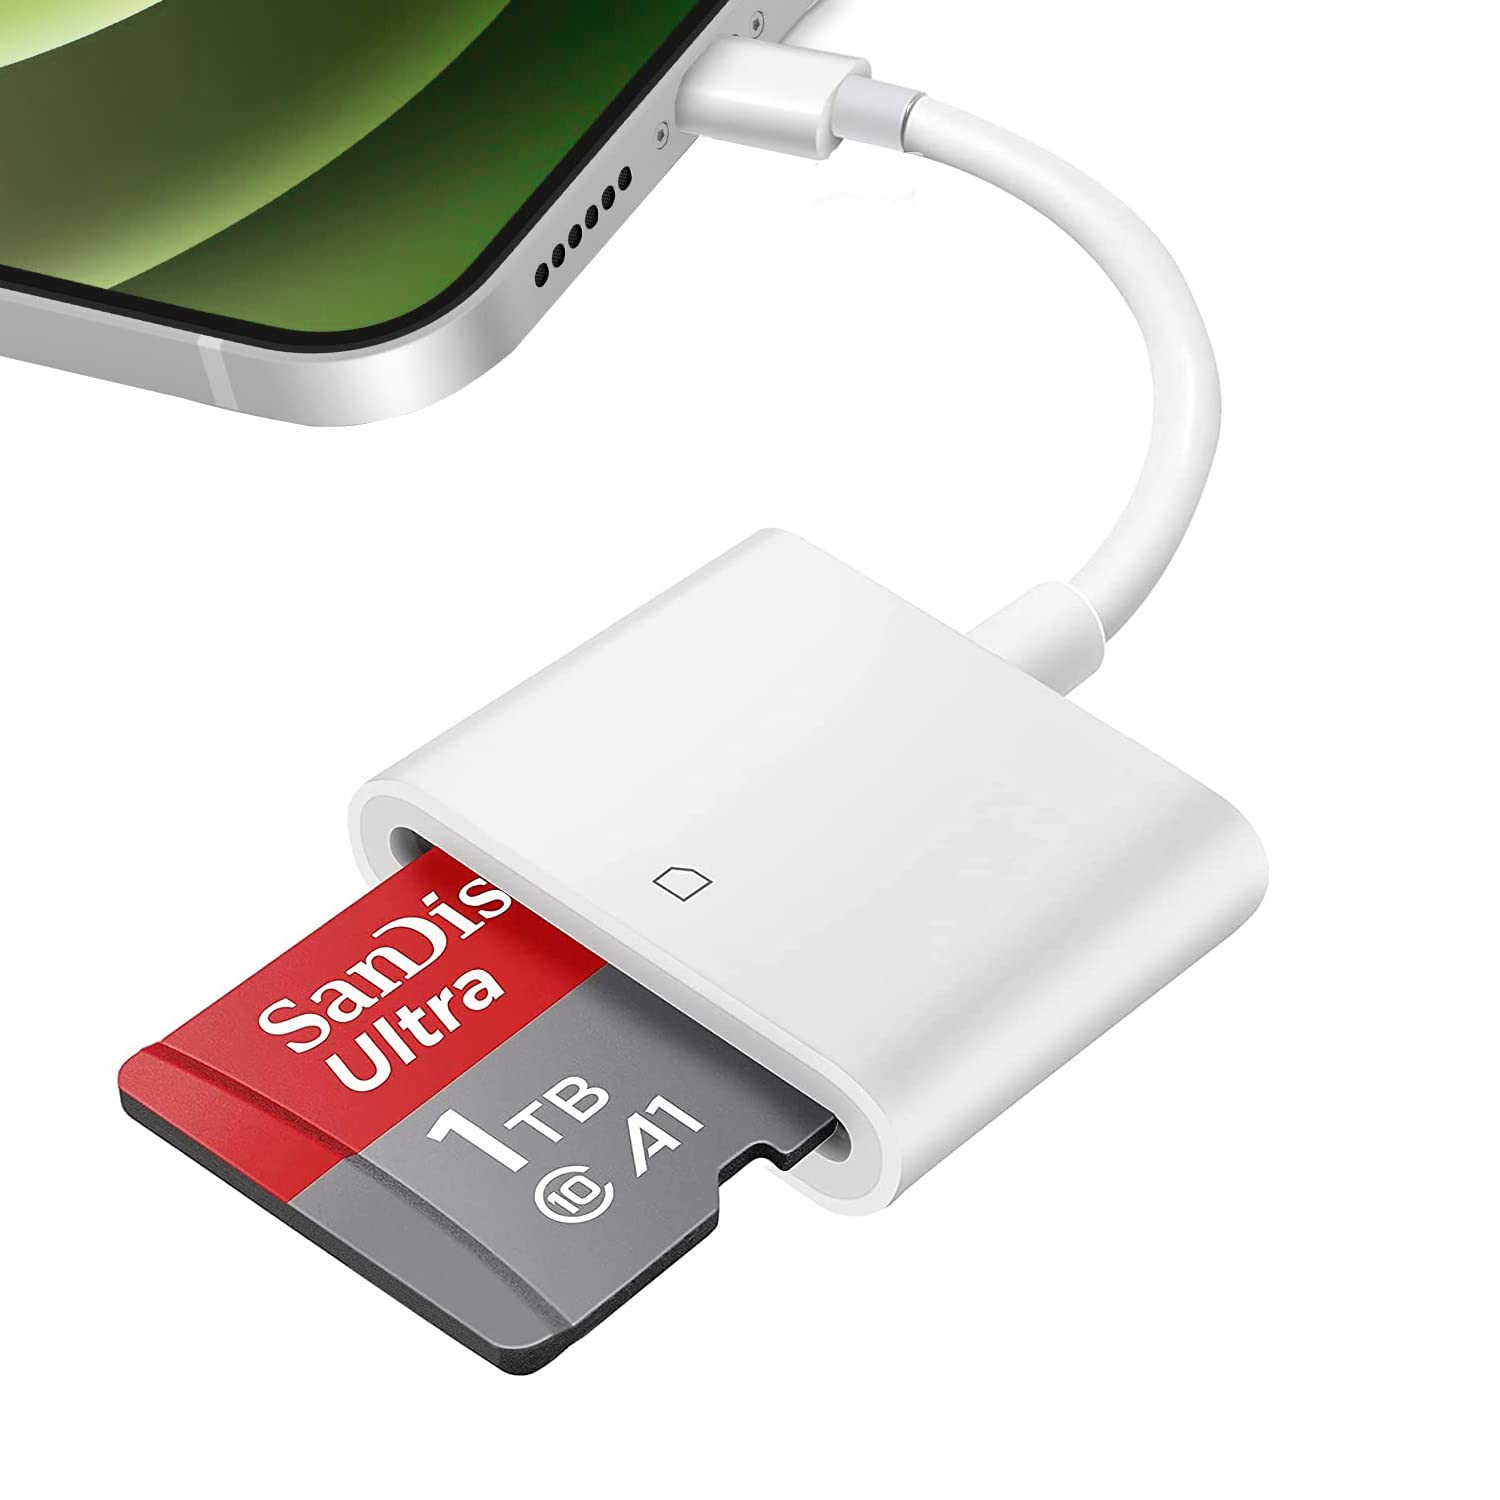
1. Insert the SD Card: Start by inserting the SD card into the SD card slot or using an SD card adapter if your phone doesn’t have a dedicated slot. Ensure that the SD card is properly inserted and recognized by your phone.
2. Open the File Manager: Open the file manager on your phone. This can usually be found in the app drawer or through the settings menu. Different Android devices may have slightly different file manager apps, but they will typically provide similar functionality.
3. Locate the Photos and Videos: Navigate to the folder or storage location where your photos and videos are stored. This can vary depending on your device and how you have organized your files. Common locations include the “DCIM” (Digital Camera Images) folder or the “Gallery” app.
4. Select the Files: To transfer multiple files at once, tap and hold on one file until it is selected. Then, choose the other files you want to transfer by tapping on them. Alternatively, you can select an entire folder containing photos and videos.
5. Move or Copy the Files: After selecting the desired files, tap on the options menu (typically represented by three dots or lines) and choose the “Move” or “Copy” option. Select the SD card or the SD card folder as the destination for the files.
6. Transfer the Files: Tap on the “Move” or “Copy” button to commence the file transfer process. The time taken for the transfer will depend on the number and size of the files being transferred. Ensure that your phone remains powered on and has sufficient battery life during the transfer.
7. Verify the Transfer: Once the transfer is complete, open the file manager and navigate to the SD card or the designated folder where you transferred the files. Ensure that the photos and videos are successfully transferred and can be accessed without any issues.
8. Delete Duplicates (Optional): After verifying the transfer, you can safely delete the photos and videos from your phone to free up storage space. However, it is highly recommended to keep a backup of your files before deleting them to prevent accidental loss.
By following these steps, you can easily transfer your photos and videos to an SD card, freeing up valuable space on your phone and ensuring that your precious memories are safely stored.
Transferring Documents and Files to SD Card
Transferring documents and files to an SD card is a convenient way to free up space on your phone and keep your important files organized and easily accessible. Here’s how you can transfer your documents and files to an SD card:
1. Insert the SD Card: Begin by inserting the SD card into your phone’s SD card slot or using an SD card adapter if your phone doesn’t have a dedicated slot. Ensure that the SD card is properly inserted and recognized by your device.
2. Open the File Manager: Open the file manager app on your phone. It can typically be found in the app drawer or through the settings menu. Different Android devices may have slightly different file manager apps, but they usually provide similar functionality.
3. Locate the Documents and Files: Navigate to the folder or storage location where your documents and files are located. This can vary depending on your device and how you have organized your files. Common locations include the “Downloads” folder or a folder specific to the type of files, such as “Documents” or “Files”.
4. Select the Files: To transfer multiple files at once, tap and hold on one file until it is selected. Then, choose the other files you want to transfer by tapping on them. You can also select an entire folder containing documents and files if desired.
5. Move or Copy the Files: After selecting the desired files, tap on the options menu (usually represented by three dots or lines) and choose the “Move” or “Copy” option. Select the SD card or the specific folder within the SD card as the destination for the files.
6. Transfer the Files: Tap on the “Move” or “Copy” button to initiate the file transfer process. The time taken for the transfer will depend on the number and size of the files being transferred. Ensure that your phone remains powered on and has sufficient battery life during the transfer.
7. Verify the Transfer: Once the transfer is complete, open the file manager and navigate to the SD card or the designated folder where you transferred the files. Verify that the documents and files have been successfully transferred, and you can access them without any issues.
8. Organize Files on the SD Card: Take the opportunity to organize your files on the SD card. Create separate folders for different file types or categories to ensure easy access and retrieval in the future.
By following these steps, you can efficiently transfer your documents and files to an SD card, freeing up space on your phone and keeping your important files organized and readily available.
Transferring Music and Audio Files to SD Card
Transferring music and audio files to an SD card is a convenient way to free up space on your phone while ensuring that your favorite tunes are readily accessible. Here’s how you can transfer your music and audio files to an SD card:
1. Insert the SD Card: Start by inserting the SD card into the SD card slot on your phone or use an SD card adapter if your device doesn’t have a dedicated slot. Make sure the SD card is properly inserted and recognized by your phone.
2. Open the Music App: Open your preferred music app on your phone. This can be the default music player app or any other music streaming app of your choice. Ensure that the app is updated to the latest version for smooth and seamless transfer.
3. Select the Music and Audio Files: Navigate to the library section or the location where your music and audio files are stored within the app. You can select individual songs, albums, or playlists that you want to transfer to the SD card.
4. Choose the Transfer Option: Tap on the options menu (represented by three dots or lines) within the music app and look for the transfer or storage option. It may be labeled differently in different apps, such as “Storage” or “Save to SD card”.
5. Select the SD Card as Destination: When prompted to choose the destination for the transferred files, select the SD card or the designated folder within the SD card as the location. This ensures that the music and audio files are transferred to the external storage instead of the phone’s internal memory.
6. Initiate the Transfer: Tap on the transfer or save button to begin the file transfer process. The time taken for the transfer will depend on the number and size of the files being transferred. Keep your phone charged and avoid interruptions during the transfer.
7. Verify the Transfer: Once the transfer is complete, open the music app and navigate to the SD card or the specific folder where you transferred the music and audio files. Verify that the files have been successfully transferred and are accessible for playback within the music app.
8. Update Music Library: In the music app settings or library options, make sure to update the music library so that it includes the newly transferred files. This ensures that the transferred music and audio files are recognized and appear in your playlists and library.
By following these steps, you can easily transfer your music and audio files to an SD card, freeing up space on your phone and ensuring that your favorite tunes are always at your fingertips.
Transferring Apps and App Data to SD Card
Transferring apps and their data to an SD card can help free up precious internal storage on your phone. While not all apps can be transferred to an SD card, many Android devices allow you to move certain apps and their data. Here’s how you can transfer apps and app data to an SD card:
1. Check App Transfer Eligibility: Not all apps can be transferred to an SD card. To check if an app is eligible for transfer, go to the “Settings” menu on your phone, then navigate to “Apps” or “Applications.” Tap on the app you want to transfer and see if the “Move to SD card” option is available. If it is, proceed to the next step.
2. Insert the SD Card: Ensure that your SD card is properly inserted into your phone’s SD card slot or using an SD card adapter if your device doesn’t have a dedicated slot. Make sure the SD card is recognized and functioning correctly.
3. Transfer the App: To transfer an eligible app, go to the “Settings” menu, then “Apps” or “Applications.” Find the app you want to transfer and tap on it. Look for the “Storage” or “Storage used” option and tap on it. Next, tap on the “Change” or “Move to SD card” button. Follow the prompts to complete the transfer.
4. Transfer App Data: In addition to transferring the app, you may also have the option to transfer app data to the SD card (if supported by the app). Some apps allow you to move their associated data separately from the app itself. Look for a “Transfer data to SD card” or similar option within the app’s settings or storage settings.
5. Verify App Transfer and Functionality: After the transfer is complete, go back to the main app screen in the “Settings” menu. Verify that the app now shows “SD card” or “SD card storage” under the app name or storage usage. Open the app to ensure that it functions properly and that all data is accessible.
6. Update App Settings (Optional): In some cases, transferring an app to an SD card may require a restart of the app or adjustment of certain settings. If you encounter any issues or the app does not function correctly after the transfer, try restarting the app or reviewing its settings for any specific instructions related to SD card usage.
Remember, not all apps and app data can be transferred to an SD card, as it depends on the app’s design and limitations imposed by the operating system. If an app does not have the option to move to an SD card, consider other ways to optimize storage, such as clearing app cache or uninstalling unused apps.
By transferring eligible apps and app data to the SD card, you can reclaim valuable internal storage space on your phone and improve device performance.
Transferring Contacts and Messages to SD Card
Transferring contacts and messages to an SD card can help you backup and store your important communication data. While contacts and messages are typically synced with your Google or Apple account, having a local backup on an SD card provides an extra layer of security. Here’s how you can transfer your contacts and messages to an SD card:
1. Export Contacts: Open your Contacts app and go to the settings or options menu. Look for the “Import/Export” or “Manage contacts” option. Choose the “Export” or “Export to storage” option. Select the contacts you want to transfer or choose the option to export all contacts. Choose the SD card as the destination for the exported file and save it.
2. Export Messages: For Android devices, you can use third-party apps like SMS Backup & Restore or SMS Backup+. Install the app from the Google Play Store and follow the instructions to back up your text messages to the SD card. For iPhone users, you can use the built-in iCloud backup feature to backup messages, which can later be accessed on any device with your iCloud account.
3. Verify Exported Data: Once the contacts and messages are exported to the SD card, use a file manager app to navigate to the SD card. Verify that the exported files are present and intact. You can also copy the exported files to your computer for an additional backup.
4. Import Contacts: In case you need to restore your contacts from the SD card, open the Contacts app on your phone. Access the settings or options menu and look for the “Import/Export” or “Manage contacts” option. Select the “Import” or “Import from storage” option. Choose the file on the SD card containing your contacts and follow the prompts to import them back into the Contacts app.
5. Import Messages: To import messages from an SD card backup, follow the instructions provided by the app you used to create the backup. For Android devices, open the SMS Backup & Restore app or the app you used to create the backup. Choose the restore option and select the backup file from the SD card. For iPhone users, sign in to your iCloud account on a new device and restore your messages from the iCloud backup.
It’s important to regularly update and backup your contacts and messages to ensure that they’re always protected. Use the SD card as one of the backup options, along with other cloud services or local backups on your computer, to keep your communication data safe and easily accessible.
Ensuring Data Security After Transferring
After transferring your data to an SD card, it’s crucial to take steps to ensure the security of your transferred files and protect them from loss or unauthorized access. Here are some measures you can take to ensure data security after transferring:
1. Physical Protection: Keep your SD card in a safe and secure place to prevent physical damage or loss. Store it in a protective case or container to shield it from dust, moisture, and accidental drops. Treat your SD card with care to avoid any potential damage that could lead to data corruption or loss.
2. Backup Your SD Card: Create a backup of your SD card data on a regular basis. Copy the contents of the SD card to your computer or another external storage device. This provides an additional layer of protection in case the SD card becomes damaged, lost, or corrupted.
3. Password-Protect Your SD Card: Many Android devices offer the option to encrypt or password-protect your SD card. Enable this feature to add an extra layer of security to your transferred data. By encrypting your SD card, you ensure that even if it falls into the wrong hands, the data cannot be accessed without the correct password or encryption key.
4. Keep Your Device Secure: Ensure that your smartphone or device is protected with a strong, unique password or biometric authentication method such as fingerprint or facial recognition. This prevents unauthorized access to your device and the transferred data stored on the SD card.
5. Regularly Update Your Security Software: Keep your device’s security software, antivirus, and operating system up to date. Regularly install software updates and security patches provided by the device manufacturer or software developers. This helps to protect your device and data from potential security vulnerabilities and malware threats.
6. Be Mindful of App Permissions: When installing new apps or granting permissions to existing apps, carefully review and consider the permissions requested. Restrict unnecessary permissions that could potentially compromise the security and privacy of your transferred data. Monitor app permissions regularly to ensure they align with your data security preferences.
7. Be Cautious with Third-Party Apps: Exercise caution when using third-party apps to manage or access your transferred data on the SD card. Use trusted and reputable apps from reliable sources, and carefully review the app’s privacy policy and user reviews. Avoid granting unnecessary permissions to these apps, and be aware of any potential risks associated with using third-party software.
By implementing these data security measures, you can ensure the safety and integrity of your transferred data on the SD card. By staying vigilant and proactive in protecting your data, you can enjoy peace of mind and confidently access and use your transferred files when needed.
Troubleshooting Common Issues with SD Card Transfer
While transferring data to an SD card can be a convenient way to free up space and organize your files, it’s not uncommon to encounter challenges or issues during the transfer process. Here are some common problems you may face when transferring data to an SD card and how to troubleshoot them:
1. SD Card Not Recognized: If your phone doesn’t recognize the SD card, ensure that it is properly inserted into the SD card slot or adapter. Try removing and reinserting the SD card. If the issue persists, check if the SD card is compatible with your device and if it is formatted correctly. Formatting the SD card within your phone may resolve the recognition issue.
2. Slow File Transfer: If the transfer speed is slow, check if you are using a high-speed SD card with a compatible speed class. Also, make sure that the SD card is not near its maximum capacity, as this can affect its performance. Closing other apps running in the background and freeing up device memory may also help expedite the transfer process.
3. File Corruption: If the transferred files become corrupted and cannot be accessed, it may indicate a problem during the transfer. Ensure that you have a stable and reliable connection between your phone and the SD card. It’s also essential to use a high-quality SD card from a reputable brand to minimize the risk of file corruption.
4. Limited App Transfer: Not all apps can be transferred to an SD card. If you cannot move specific apps, it may be due to restrictions imposed by the app developer or the operating system. In such cases, consider alternative ways to optimize storage, such as clearing app cache or uninstalling unused apps to free up space.
5. Incompatibility with New Devices: When transferring an SD card from an old device to a new one, the new device may not recognize the transferred data. Ensure that the new device supports the same file format and file system as the SD card. If necessary, format the SD card on the new device before transferring the data to ensure compatibility.
6. App Data Loss: Transferring apps and their data to an SD card can sometimes result in partial or complete data loss. This can occur due to various factors, including incompatible app versions or errors during the transfer process. To mitigate this risk, make regular backups of your app data using cloud storage or other backup solutions.
7. SD Card Corruption: SD cards can become corrupted over time, leading to data loss or other issues. To prevent data loss from SD card corruption, always eject the SD card properly before removing it from your phone. Avoid using the SD card in multiple devices frequently, as this can increase the risk of corruption. Regularly scan your SD card for errors using the device’s built-in tools or third-party software.
When troubleshooting issues with SD card transfer, it’s important to stay patient and follow the recommended steps. If the problem persists, consider seeking technical support from your device manufacturer or consulting with a professional to resolve the issue effectively.