Introduction
Welcome to our guide on how to format an SD card on a Canon camera. Whether you are a professional photographer or an amateur enthusiast, formatting your SD card is an essential step in maintaining the integrity and performance of your camera’s storage device. In this article, we will walk you through the necessary steps to format your SD card properly.
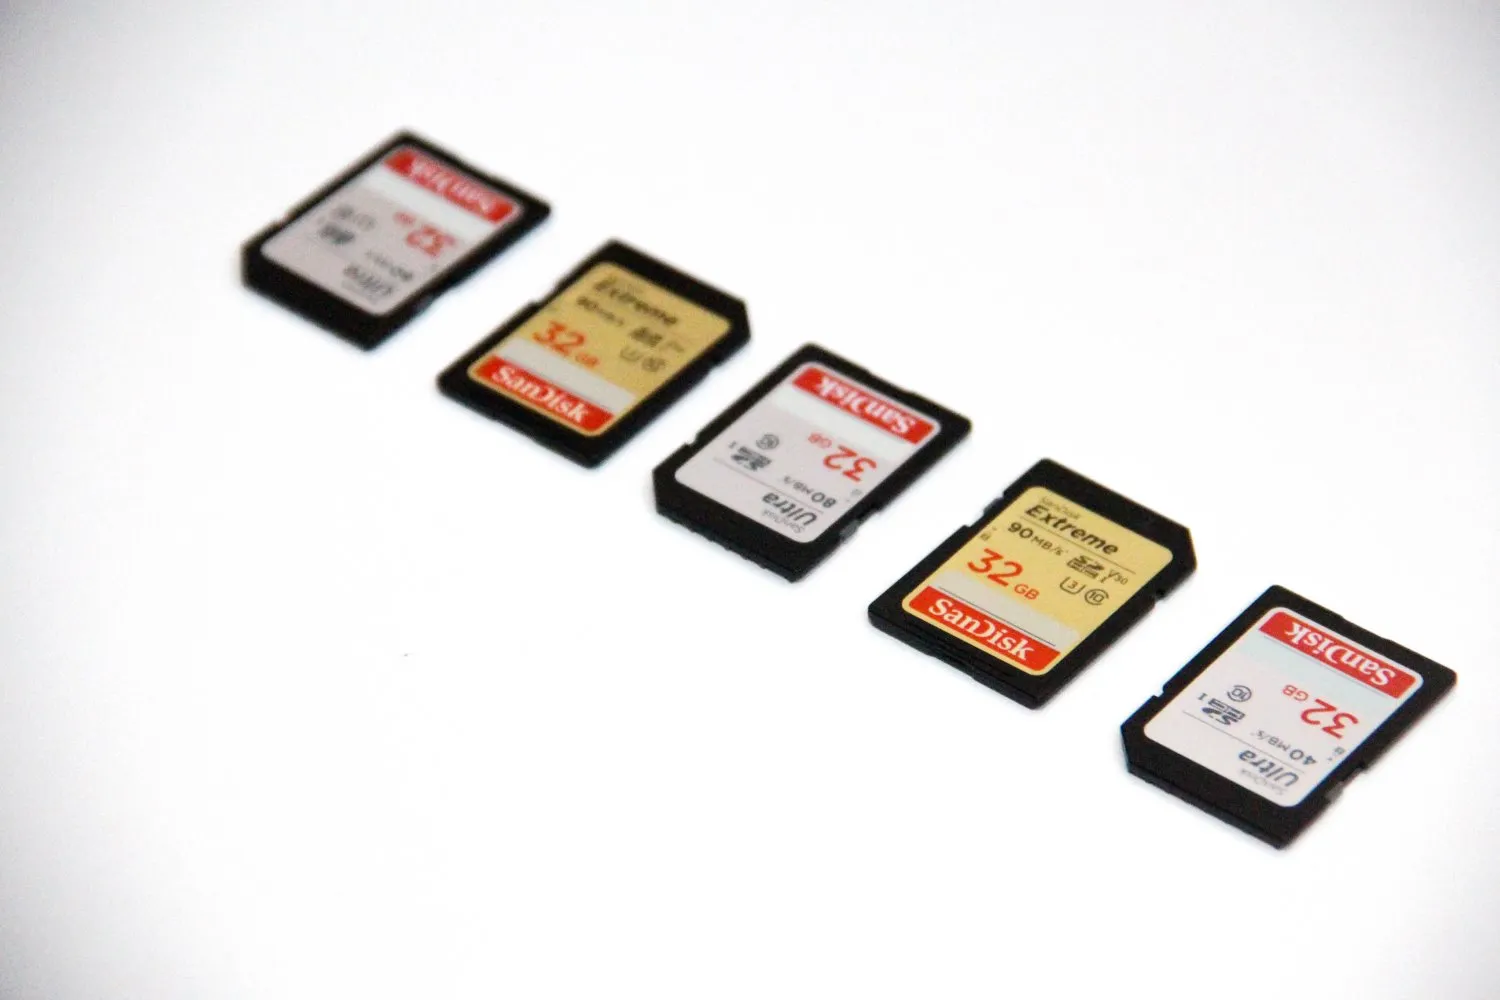
An SD card is a small, removable storage device commonly used in digital cameras, smartphones, and other portable devices. Over time, SD cards can become cluttered with unnecessary files, fragmented data, and potential errors. Formatting the SD card erases all the data stored on it and sets it up with a new file system, ensuring optimal performance and reliability.
Formatting your SD card on a Canon camera is a straightforward process that can be done in just a few simple steps. It is important to note that formatting the SD card will delete all the data on it, so make sure to back up any important files before proceeding.
In the following sections, we will guide you through the process of formatting your SD card on a Canon camera, from checking your battery level to removing the card. We will also provide you with some helpful tips to ensure a smooth formatting experience.
Now, let’s dive into the steps required to format your SD card on a Canon camera and optimize your device’s storage for capturing amazing photos and videos.
Why Format Your SD Card?
Formatting your SD card is an essential maintenance task for every camera owner, regardless of their level of expertise. Here are several significant reasons why you should regularly format your SD card:
- Optimal Performance: Over time, your SD card can become fragmented and cluttered with unnecessary files. Formatting the card removes these files and restores it to its original state, improving its overall performance and responsiveness.
- Prevent Errors: An SD card that hasn’t been formatted in a long time may start to encounter errors, such as file corruption or data loss. Formatting your SD card regularly helps prevent these errors from occurring and ensures a reliable and stable storage medium.
- Clearing Unnecessary Data: As you capture photos and record videos, your SD card accumulates temporary and unwanted data, such as thumbnails, cached images, or incomplete file fragments. Formatting the SD card removes all these unnecessary files, freeing up valuable storage space.
- Preparing for New Shoots: Before embarking on a new photography session or a big event, it is always recommended to format your SD card. This ensures that you have a clean slate to capture your shots without any potential conflicts or issues.
- Compatibility: Formatting your SD card ensures that it is properly formatted according to the file system supported by your camera. This helps avoid any compatibility issues when transferring files between devices or when using the SD card in other cameras or devices.
- Data Privacy: Formatting your SD card before selling or lending it to someone else is an important step in ensuring that your personal data is completely wiped from the card. This helps maintain your privacy and prevents unauthorized access to your files.
By regularly formatting your SD card, you can prolong its lifespan, optimize its performance, and ensure a reliable and error-free shooting experience. Now that you understand the importance of formatting, let’s move on to the step-by-step guide on how to format your SD card on a Canon camera.
Step 1: Ensure Your Battery is Fully Charged
Before starting the formatting process, it is crucial to ensure that your Canon camera’s battery is fully charged. Formatting an SD card requires power, and if your camera’s battery is running low, it might disrupt the formatting process and potentially lead to corrupted data on the SD card.
To check the battery level, power on your Canon camera and locate the battery icon on the camera’s display screen. If the battery level is low, connect your camera to a power source using the appropriate charger and wait until the battery is fully charged before proceeding.
It is generally recommended to format an SD card with a fully charged battery to minimize the risk of any disruptions or data corruption during the formatting process. Having a fully charged battery also ensures that your camera remains operational after formatting, allowing you to continue capturing photos or videos without any interruptions.
Once you have confirmed that your battery is fully charged, you can proceed to the next step of inserting the SD card into your Canon camera.
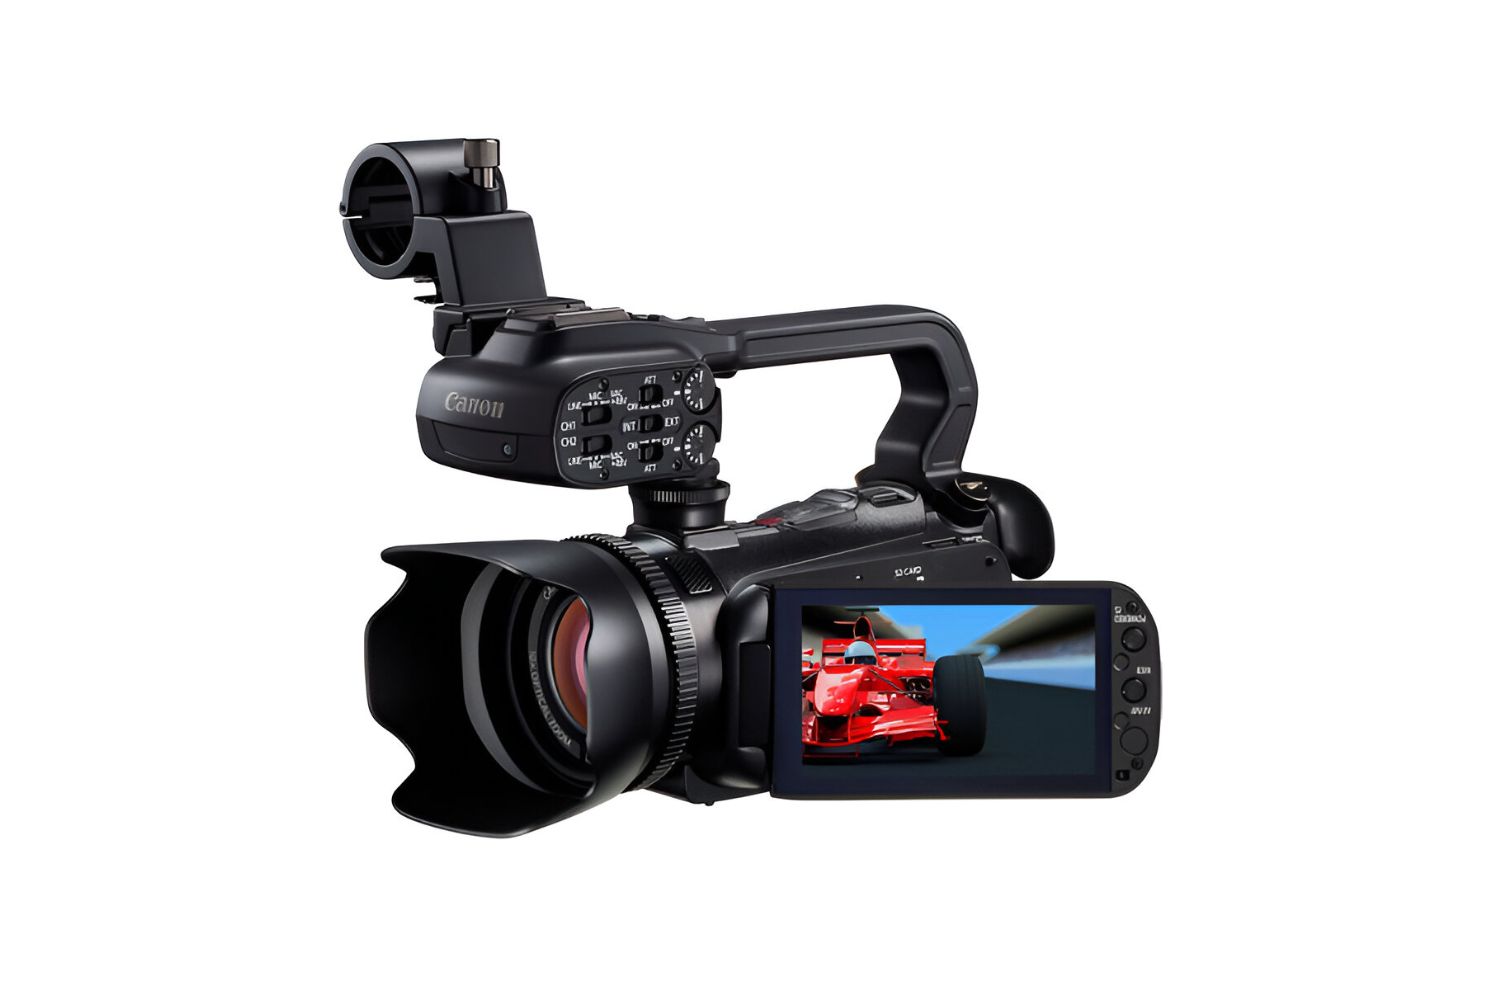
Step 2: Insert the SD Card
Now that your Canon camera’s battery is fully charged, it’s time to insert the SD card into your camera. The SD card slot on Canon cameras is typically located on the side or bottom of the camera body, depending on the model.
Start by locating the SD card slot cover. This cover may be labeled with a small SD card icon or have a symbol indicating its position. Gently slide or flip open the cover to reveal the SD card slot.
Take your SD card and ensure that it is facing the correct way. Most Canon cameras have their SD card slots designed with a label indicating the proper orientation of the card. Align the grooves on the SD card with the corresponding grooves inside the card slot, then carefully insert the card into the slot.
Apply gentle pressure until you feel the card snugly fit into place. Avoid using excessive force or pushing the card in at an angle, as this may damage the card or the camera’s SD card slot.
Once the SD card is securely inserted, you can proceed to the next step of accessing the camera’s menu to format the SD card.
Step 3: Access the Menu
After inserting the SD card into your Canon camera, the next step is to access the camera’s menu to begin the formatting process. The menu system on Canon cameras may vary depending on the model, but the general procedure remains similar.
Power on your camera and locate the menu button, which is usually labeled “Menu” or represented by an icon with horizontal lines or dots. Press the menu button to open the camera’s menu settings on the LCD screen.
Navigate through the menu options using the camera’s navigation buttons or touchscreen, depending on your camera’s capabilities. Look for options related to the SD card or storage settings.
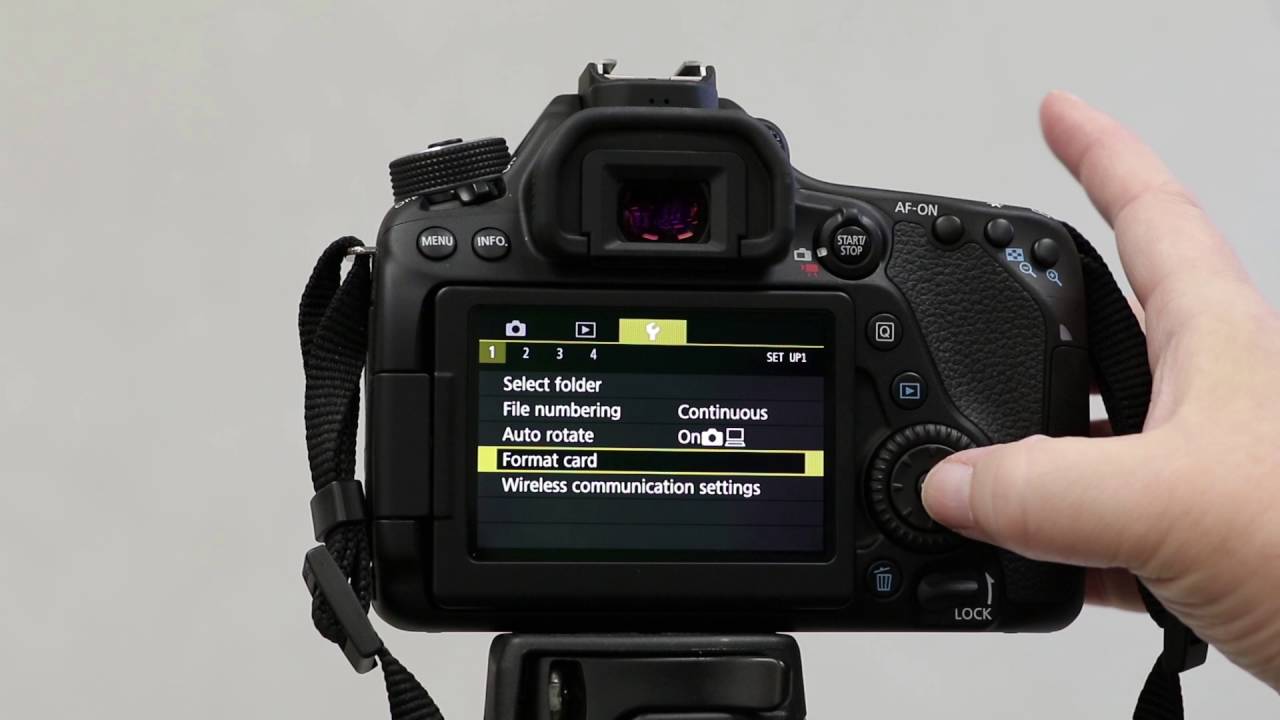
Canon cameras typically organize menu settings into different categories. Check under the “Settings” or “Setup” category for options related to memory or storage. Some camera models may directly mention “Format Card” or similar wording.
If you are having trouble finding the option, consult your camera’s user manual for specific instructions on locating the formatting feature in the menu system.
Once you have accessed the menu and found the storage or SD card-related options, you can proceed to the next step of selecting the format option to begin the formatting process.
Step 4: Select the Format Option
Now that you have accessed the menu on your Canon camera, it’s time to select the format option to initiate the formatting process for your SD card.
Navigate through the menu options until you find the storage or SD card-related settings. Look for an option that is labeled “Format” or “Format Card.” This option may be located within a sub-menu or listed directly in the main menu.
Use the camera’s navigation buttons or touchscreen to highlight the format option. Once the option is highlighted, press the select or enter button to confirm your choice.
Some Canon cameras offer different formatting options, such as “Quick Format” or “Full Format.” A quick format erases the file system and prepares the SD card for use, but the actual data may still be recoverable. On the other hand, a full format not only erases the file system but also performs a more thorough wipe, making it more difficult to recover any previously stored data.
Choose the appropriate formatting option based on your requirements. If you want to ensure complete data erasure, it is recommended to select the full format option. However, keep in mind that a full format may take longer to complete compared to a quick format.
Once you have selected the format option, you are ready to proceed to the next step and confirm the formatting of your SD card.
Step 5: Confirm the Format
After selecting the format option for your SD card on your Canon camera, the next step is to confirm the formatting process.
On your camera’s LCD screen, a confirmation message will typically appear, asking for your confirmation to proceed with the format. The message may state that all data on the SD card will be erased, and you will be unable to recover any files once the format is complete.
Read the confirmation message carefully to ensure that you understand the consequences of formatting. If you have already backed up any important files or transferred them to a computer or external storage device, you can proceed with confidence.
Use the camera’s navigation buttons or touchscreen to highlight the “Confirm” or “OK” option. Press the select or enter button to proceed with the formatting process.
At this point, your Canon camera will begin the formatting process. You may see a progress bar or an indicator on the LCD screen that shows the formatting status. The time required for formatting will depend on the size of the SD card and the formatting option you chose earlier (quick format or full format).
During the formatting process, it is important not to power off your camera or remove the SD card. Doing so may result in data corruption or incomplete formatting, rendering the SD card unusable.
Once the format is complete, your Canon camera will display a message indicating that the formatting was successful. You can now move on to the next step and wait for the format to complete.
Step 6: Wait for the Format to Complete
After confirming the format of your SD card on your Canon camera, it is important to be patient and wait for the formatting process to complete. The time it takes to format the SD card will vary depending on its size and the formatting option you selected.
While the format is in progress, your camera may display a progress bar or an indicator on the LCD screen to show the formatting status. You may also see a message indicating the estimated time remaining for the format to complete.
It is crucial to avoid interrupting the format by powering off your camera or removing the SD card. Doing so may result in incomplete formatting or data corruption, rendering the SD card unusable.
Use this waiting time to ensure that your camera’s battery is sufficiently charged so that it does not run out of power during the formatting process. If necessary, connect your camera to a power source to ensure a continuous power supply.
Depending on the size of the SD card and the formatting option chosen, the format can take anywhere from a few seconds to several minutes. Larger SD cards and full format options may take longer to complete.
Once the format is complete, your Canon camera will display a message indicating that the formatting was successful. At this point, you can proceed to the next step of removing the SD card from your camera.
Step 7: Remove the SD Card
After the formatting process is complete, it is important to safely remove the SD card from your Canon camera. This ensures that there are no data transfer issues or potential damage to the card or the camera.
First, power off your camera to prevent any potential conflicts or errors when removing the SD card. Look for the power button on your camera and press it to shut down the device.
Once your camera is fully powered off, locate the SD card slot cover. This cover may be labeled with a small SD card icon or have a symbol indicating its position. Gently slide or flip open the cover to access the SD card slot.
Using your fingers or a gentle push, release the SD card from the slot. You may hear a soft click, indicating that the card is being released. Carefully remove the SD card from the slot, making sure not to touch the exposed gold contacts on the card.
Handling the SD card with care is essential to prevent damage to the card or the camera. Avoid bending the card or exposing it to extreme temperatures or moisture.
Once the SD card is safely removed from your Canon camera, you can proceed to store it in a protective case or transfer it to a card reader or another device for further use.
With the SD card removed, your Canon camera is now ready for use with a freshly formatted storage device, ensuring optimal performance and reliability for capturing your photos and videos.
Tips for Formatting
Formatting your SD card on a Canon camera is a relatively simple task, but here are some helpful tips to keep in mind for a smooth and effective formatting process:
- Backup Important Files: Before formatting, make sure to back up any important files or transfer them to a computer or external storage device. Formatting will erase all data on the SD card, so having a backup ensures that you don’t lose any valuable photos or videos.
- Fully Charge Your Battery: Ensure that your camera’s battery is fully charged before starting the formatting process. A low battery may disrupt the format or cause data corruption, so it’s best to perform formatting with a fully charged battery.
- Format on the Camera: It is recommended to format the SD card on the camera itself rather than using a computer or other external devices. Each camera brand and model may have specific formatting requirements, so formatting on the camera ensures compatibility and optimal performance.
- Choose the Right Formatting Option: Consider whether you need a quick format or a full format. A quick format removes the file system but may leave data recoverable, while a full format performs a more thorough wipe. Select the option that aligns with your needs.
- Be Patient: Formatting may take some time, depending on the size of the SD card and the chosen formatting option. Avoid interrupting the process and wait for the format to complete before removing the SD card or powering off the camera.
- Handle the SD Card with Care: When inserting or removing the SD card, handle it gently and avoid touching the gold contacts to prevent damage. Store the SD card in a protective case when not in use to keep it safe from dust, moisture, and physical harm.
- Regularly Format Your SD Card: To maintain optimal performance and reliability, consider formatting your SD card regularly. This helps prevent data fragmentation, errors, and unnecessary clutter on the card, ensuring smoother and more efficient operation.
By following these tips, you can ensure a successful formatting process and maintain the longevity and performance of your SD card and Canon camera.
Conclusion
Formatting your SD card on a Canon camera is an important maintenance task that helps optimize performance, prevent errors, and ensure reliable storage for your photos and videos. By following the step-by-step guide outlined in this article, you can easily format your SD card and enjoy a fresh start with a clean and efficient storage device.
Remember to double-check that your camera’s battery is fully charged before initiating the formatting process. Insert the SD card correctly into the designated slot on your camera and access the menu to find the format option. Confirm the format and patiently wait for the process to complete, ensuring that your camera is powered on and uninterrupted. Finally, carefully remove the SD card from the camera and handle it with care.
Additionally, we provided some valuable tips to enhance your formatting experience, such as backing up your files, choosing the right formatting option, and regularly formatting your SD card. These tips help maximize data protection, improve overall performance, and prolong the lifespan of your SD card.
By following these guidelines, you can ensure that your Canon camera and SD card function optimally, allowing you to capture memorable moments with confidence. Formatting your SD card not only refreshes the storage but also provides a clean slate for new shoots, ensuring a seamless photography or videography experience.
So, go ahead and format your SD card on your Canon camera, knowing that you have taken the necessary steps to optimize your device’s performance and maintain the integrity of your valuable data.