Introduction
Welcome to this guide on how to put applications on an SD card in Android devices. As smartphones and tablets continue to evolve, app sizes have also increased, taking up valuable storage space. This can often lead to a frustrating experience, with limited storage causing slow performance and the constant need to delete apps to make room for new ones.
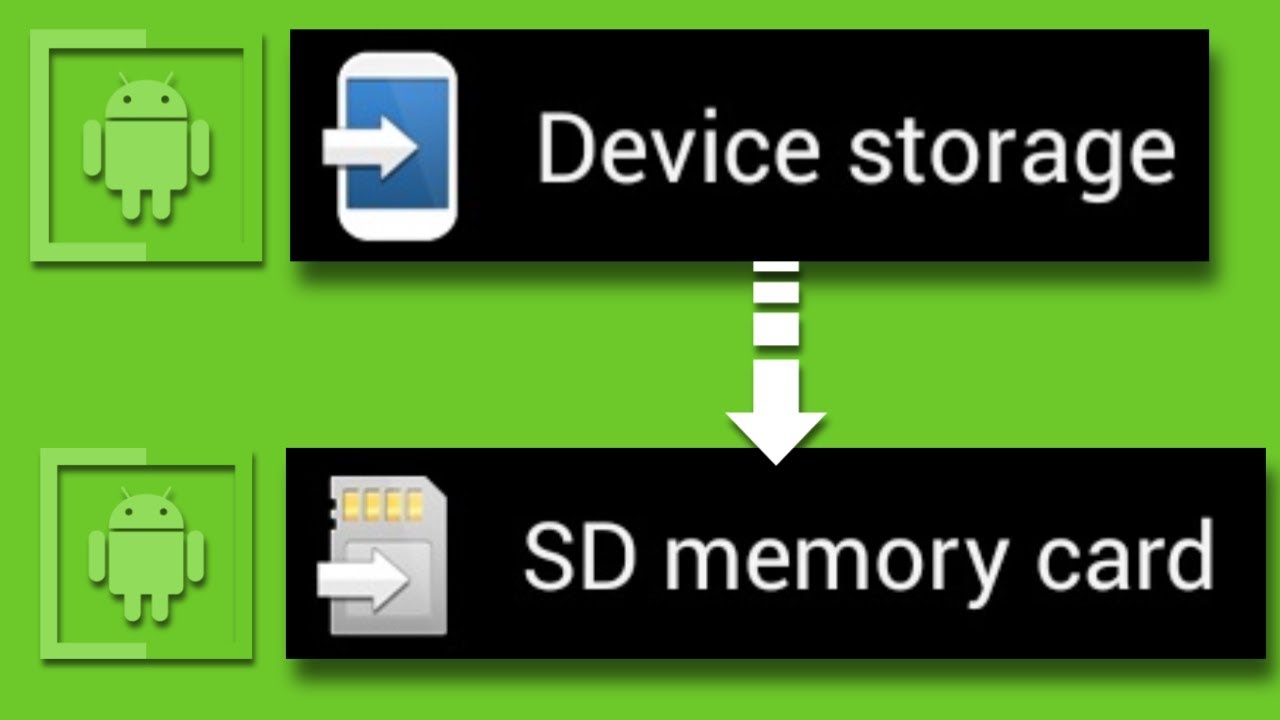
Fortunately, many Android devices offer an option to move apps to an SD card, which can help alleviate storage issues and enhance device functionality. By transferring apps to an SD card, you can free up space on your device’s internal memory, allowing for more storage capacity for photos, videos, and other important files.
However, it’s important to note that not all Android devices support this feature, and some may have limitations on which apps can be moved to the SD card. In this guide, we will walk you through the process of moving apps to an SD card, as well as provide tips for managing apps stored on an SD card effectively.
Whether you have a budget Android device with limited internal storage or simply want to optimize the space on your device, learning how to put applications on an SD card can be a game-changer. So, let’s dive in and discover how you can make the most of your Android device’s storage capacity!
Why should you put applications on an SD card?
There are several compelling reasons why you should consider putting applications on an SD card on your Android device:
1. Free up internal storage: One of the primary advantages of moving apps to an SD card is that it frees up valuable internal storage space on your device. By offloading apps to the SD card, you can have more room for new apps, photos, videos, and other files.
2. Handle large apps: Some apps, especially games and multimedia applications, can consume a significant amount of space. Moving these large apps to an SD card allows you to continue using them without worrying about running out of internal storage.
3. Improve device performance: When your device’s internal storage is nearing its limit, it can result in sluggish performance and frequent app crashes. By moving apps to an SD card, you can reduce the burden on the internal storage, leading to smoother operation and improved overall performance.
4. Easy app transfer between devices: If you upgrade to a new Android device, having apps stored on an SD card makes it much easier to transfer them. Simply insert the SD card into the new device, and your apps will be readily available without the need to download and install them all over again.
5. Backup and restore apps: Using an SD card to store apps allows you to easily create a backup of your apps. This can be helpful in case you need to reset your device or encounter any issues. You can quickly restore your apps from the SD card, saving you time and effort.
Overall, moving applications to an SD card offers convenience, increased storage capacity, and improved device performance. It is a practical solution for managing storage limitations on your Android device, allowing you to enjoy a better user experience without compromising on the number and variety of apps you can have.
Check if your device supports moving apps to an SD card
Before you proceed with moving apps to an SD card, it’s important to check if your Android device supports this feature. While many Android devices offer the option to move apps to an SD card, some may have restrictions or limitations. Here’s how you can determine if your device supports moving apps to an SD card:
1. Settings: Open the Settings app on your Android device. Look for the “Storage” or “Storage & USB” option. In some devices, it might be listed as “Device care” or “Device maintenance.”
2. Internal Storage: Tap on the “Internal Storage” or similar option. Here, you will find information about your device’s internal storage capacity and usage.
3. App Storage: Look for a section called “App Storage” or “Apps.” Some devices might display this option directly under “Internal Storage,” while others may require additional steps to access it.
4. App Information: Tap on “App Storage” or “Apps.” You will see a list of all the apps installed on your device.
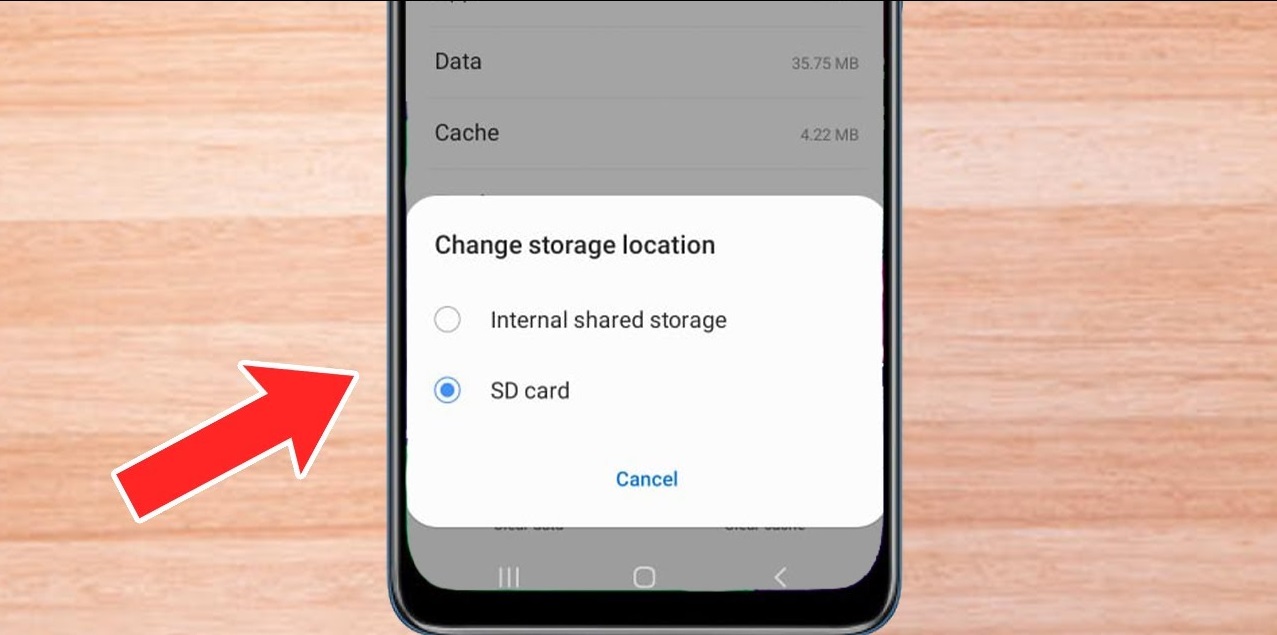
5. Check for “Move to SD Card” option: Scroll through the list of apps and look for the “Move to SD Card” option next to each app. If you see this option, it means that your device supports moving apps to an SD card. Tap on the option to move the app to the SD card.
If you don’t see the “Move to SD Card” option for any app, it means that your device does not support this feature. Some manufacturers may have disabled the option entirely, while others may have restrictions on which apps can be moved to an SD card.
It’s worth noting that even if your device supports moving apps to an SD card, there may be a few apps that cannot be moved due to system limitations or dependencies. For instance, system apps and certain pre-installed apps may not have the option to be moved to external storage.
By checking your device’s settings and app information, you can determine if moving apps to an SD card is a viable option for your particular Android device. If your device does support this feature, you can proceed to the next steps to learn how to put applications on an SD card. If not, don’t worry – we’ll provide some alternatives and tips for managing apps effectively even without the ability to move them to an SD card.
Pre-requisites before moving apps to an SD card
Before you start moving apps to an SD card on your Android device, there are a few pre-requisites that you need to take into consideration:
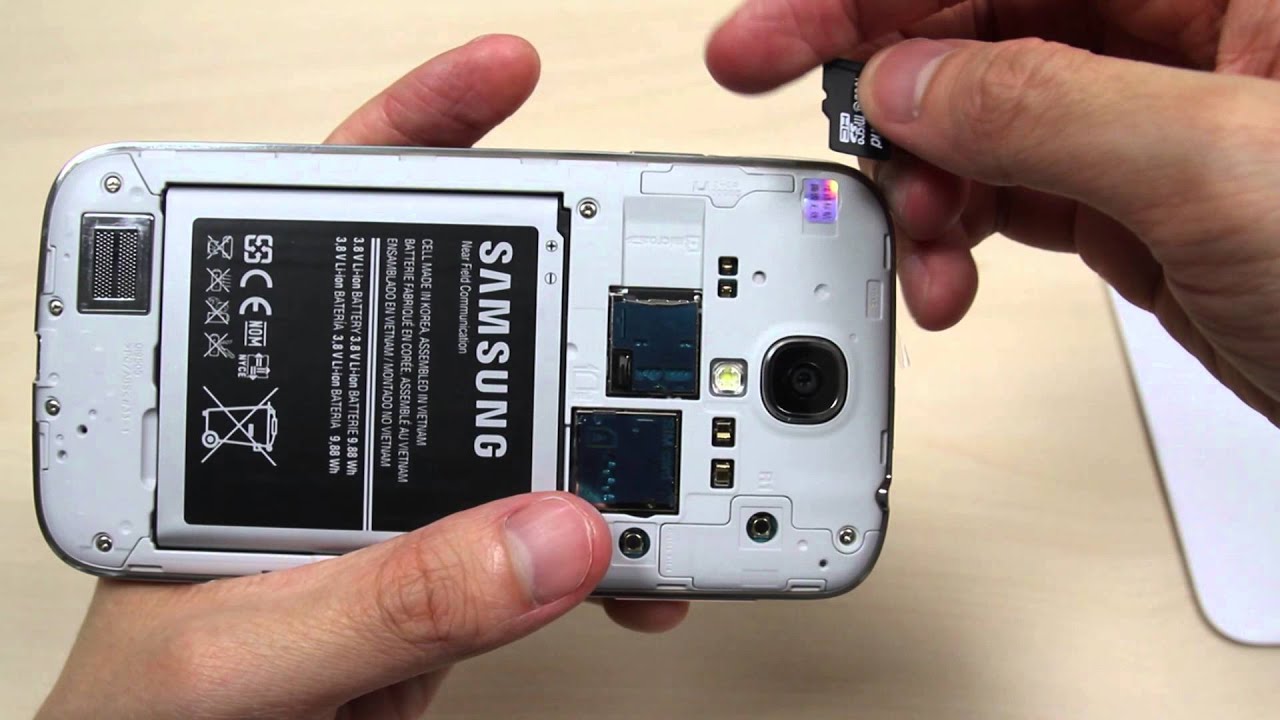
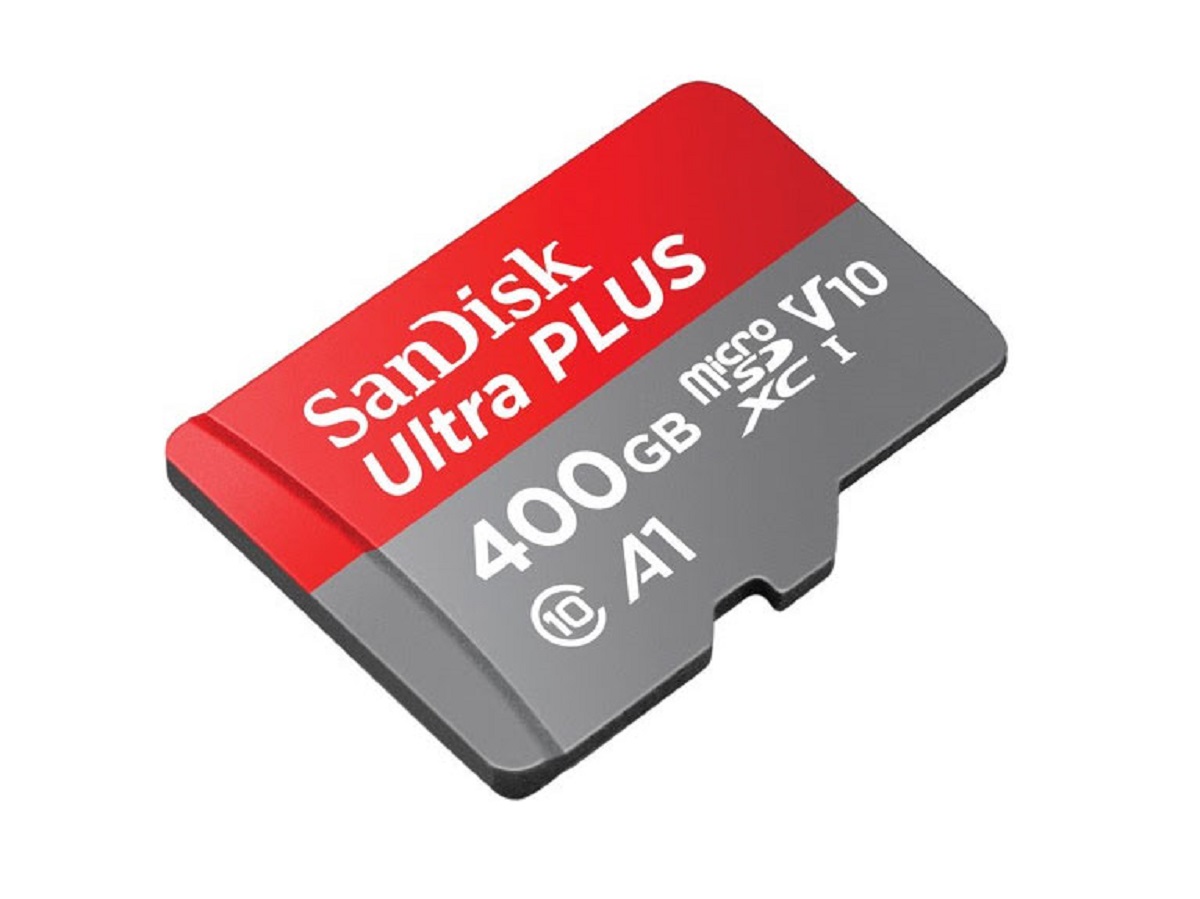
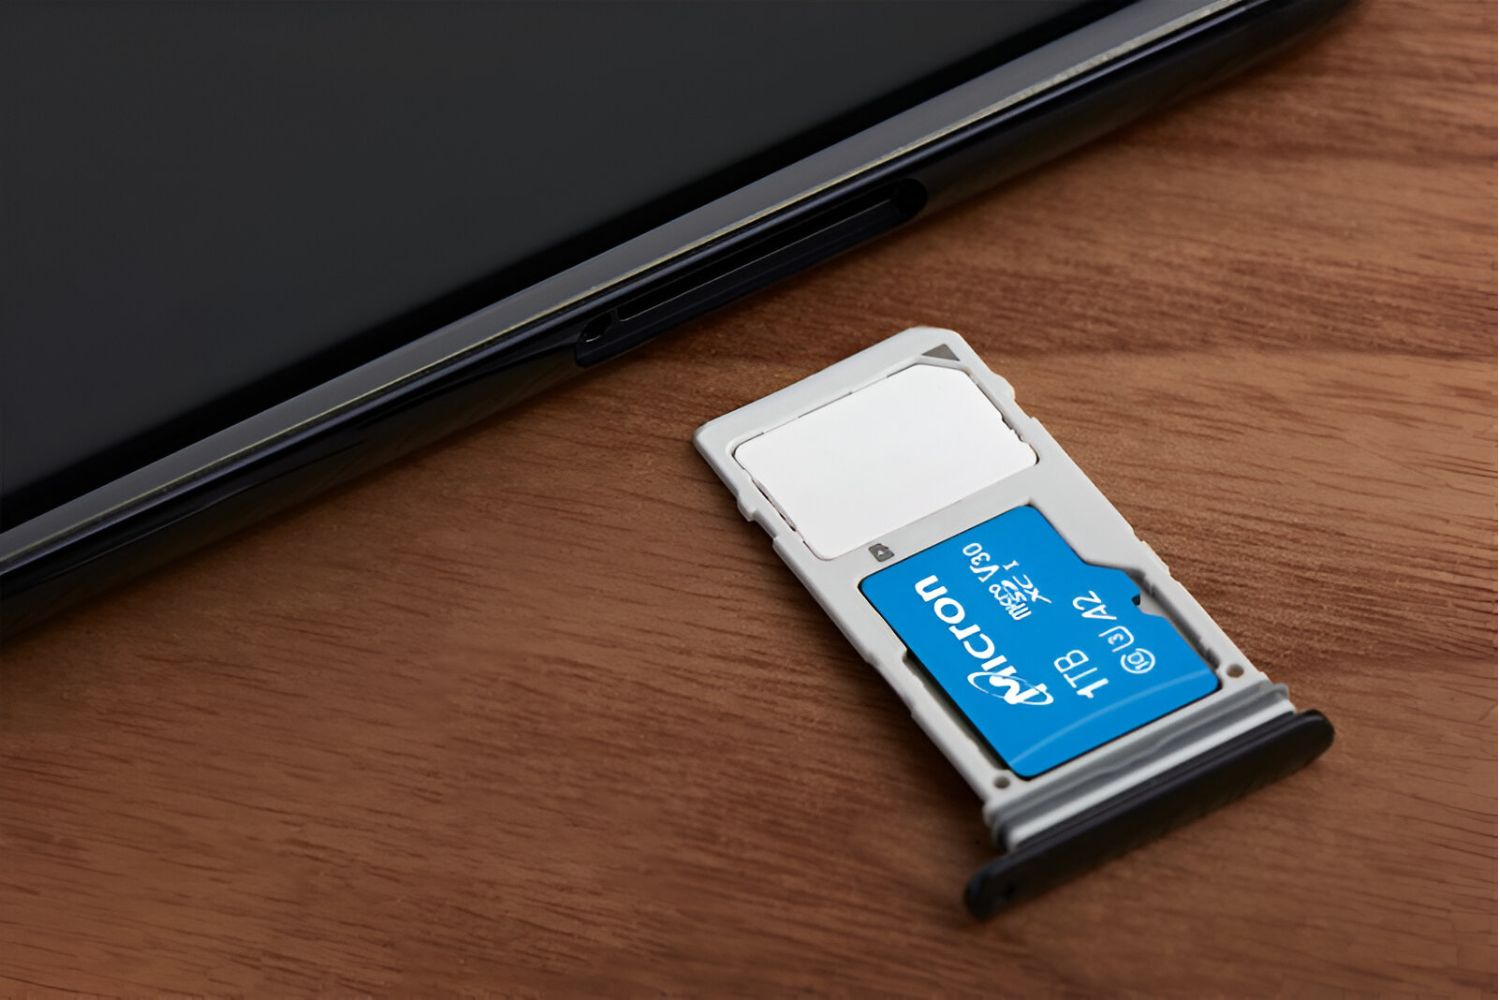
1. Check the compatibility: Make sure that your SD card is compatible with your device. Most devices support microSD cards, but it’s always a good idea to check the manufacturer’s specifications to ensure compatibility. Additionally, make sure that the SD card has enough storage capacity to accommodate the apps you plan to move.
2. Format the SD card: Formatting the SD card is essential to ensure proper functioning and to avoid any potential issues. Before you move any apps, go to your device’s settings and navigate to the storage section. Here, you should find an option to format the SD card. Note that formatting the SD card will erase all existing data, so be sure to back up any important files before proceeding.
3. Create a backup: It’s always a good practice to create a backup of your apps and data before moving them to an SD card. While the process is generally safe, unforeseen issues can sometimes occur. It’s better to be prepared by backing up your important files through various backup methods, such as cloud storage or using Android’s built-in backup feature.
4. Update your apps: Before moving apps to an SD card, ensure that all your apps are up to date. App developers often release updates to improve performance and fix bugs, so it’s essential to have the latest version installed on your device. This step can help prevent any compatibility issues when moving apps to external storage.
5. Review app compatibility: Not all apps can be moved to an SD card due to dependencies or system limitations. Take some time to review the apps you want to move and check if they support external storage. Some apps, especially system apps or those with device-specific functionalities, may not have the option to move to an SD card. Be prepared for the possibility that certain apps cannot be moved.
Once you have taken these pre-requisites into account and completed the necessary steps, you are ready to start moving apps to an SD card. The next section will guide you through the process, allowing you to optimize your device’s storage and enjoy the benefits of increased app storage capacity.
Steps to put applications on an SD card
Moving applications to an SD card on your Android device is a straightforward process. Here are the steps to follow:
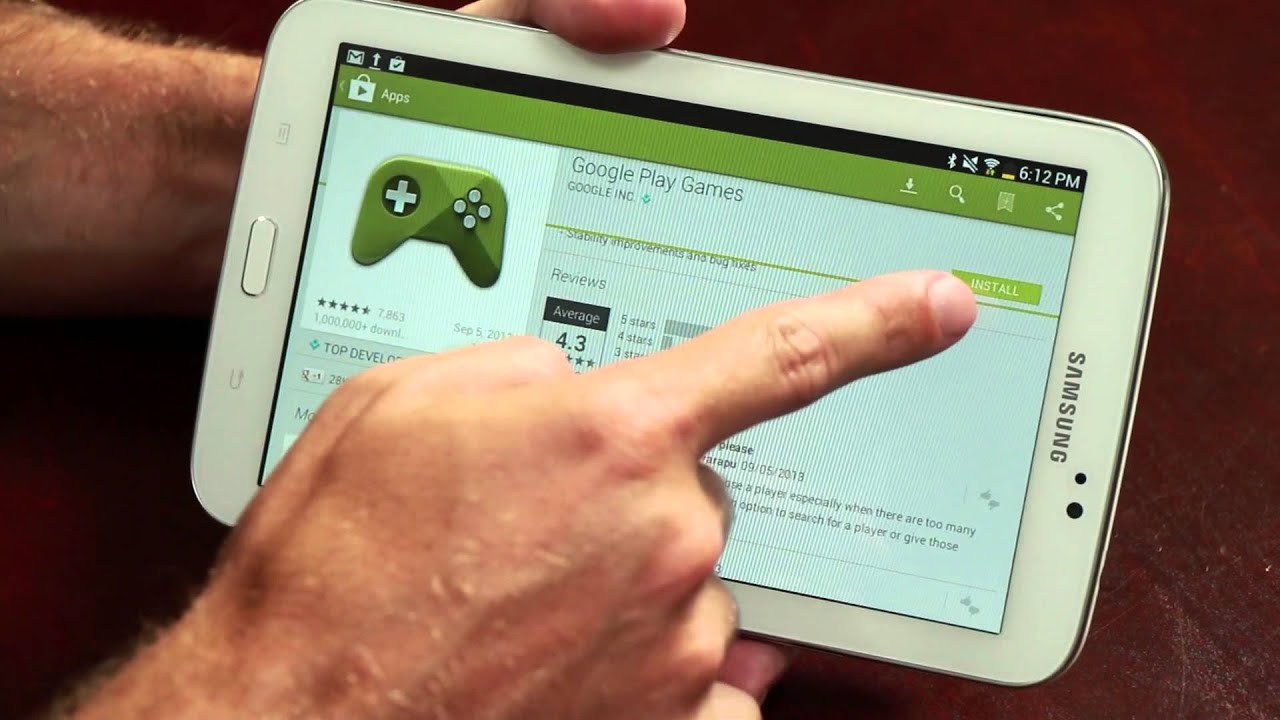
1. Check your device’s settings: Open the Settings app on your Android device and look for the “Apps” or “Applications” option. The exact wording may vary depending on your device.
2. Select an app to move: In the list of installed apps, scroll through and choose the app you want to move to the SD card.
3. Tap on the app: Tap on the selected app to open its details page.
4. Check if the app is movable: On the app details page, you will find information about the app, including whether it is movable to the SD card. If the option is available, you will see a “Move to SD Card” button or a similar option.
5. Tap on “Move to SD Card”: If the app can be moved, tap on the “Move to SD Card” button. Your device will begin the process of moving the app to the SD card.
6. Wait for the process to complete: Depending on the size of the app and the speed of your device, the process of moving the app to the SD card may take a few moments. Be patient and wait for the process to complete.
7. Verify the app’s location: After the move is complete, go back to the list of installed apps and check the location of the app. It should now indicate that the app is stored on the SD card.
8. Repeat for other apps: Follow the same steps for any other apps you want to move to the SD card. Remember that not all apps can be moved, so the option may not be available for every app on your device.
By following these steps, you can effectively move applications to an SD card, freeing up valuable internal storage space on your Android device. It is important to keep in mind that while the majority of apps can be moved, certain system apps or apps with dependencies may not have the option to be transferred to external storage.
Now that you know how to put applications on an SD card, let’s explore some useful tips for managing apps that are stored on an SD card.
Tips for managing apps on an SD card
Once you have successfully moved apps to an SD card on your Android device, it’s important to effectively manage them to ensure smooth operation and optimal usage of storage space. Here are some useful tips to help you manage apps stored on an SD card:
1. Regularly check app performance: Periodically check the performance of apps stored on the SD card. Some apps may experience slight performance lag when running from external storage. If you notice any issues, consider moving them back to the internal storage for smoother operation.
2. Update apps: Keep your apps updated to the latest versions. Developers often release updates to address bugs, improve performance, and add new features. By regularly updating your apps, you can benefit from enhanced functionality and better compatibility with the latest Android version.
3. Maintain sufficient space on the SD card: Ensure that you have enough free space on the SD card to prevent any storage-related issues. As you install new apps or receive app updates, space on the SD card may gradually fill up. Regularly check the storage status and consider deleting unused apps or transferring them back to internal storage if necessary.
4. Create app folders: Keep your app drawer organized by creating folders for different categories of apps. This makes it easier to locate specific apps and keeps your interface clutter-free. You can create folders for games, productivity apps, social media apps, and more.
5. Backup app data: Some apps allow you to backup and restore data, which can be useful if you need to switch devices or perform a factory reset. Check if your apps have built-in backup options and consider backing up important data regularly.
6. Be cautious with app updates: When updating apps stored on an SD card, some updates may require additional permissions or new access to the internal storage. Be mindful of the permissions requested by app updates and review them before granting access.
7. Consider moving large apps back to internal storage: If you notice certain large apps taking up significant space on the SD card and causing performance issues, consider moving them back to the internal storage. This can help improve their performance and ensure smoother operation.
8. Remove unused apps: Regularly assess your app usage and delete any apps that you no longer use or need. This helps declutter your device’s app drawer and frees up storage space on both the SD card and internal storage.
By following these tips, you can effectively manage apps stored on an SD card, ensuring optimal performance and efficient storage usage on your Android device. Now that you have a better understanding of managing apps on an SD card, let’s explore what to do if your device doesn’t support moving apps to an SD card.
What to do if your device doesn’t support moving apps to an SD card
If your Android device doesn’t support moving apps to an SD card, don’t worry. There are still several steps you can take to effectively manage your apps and optimize your device’s storage:
1. Clear app cache: Clearing the cache of individual apps can help free up some space on your device’s internal storage. Go to your device’s Settings, select “Apps” or “Applications,” choose the app, and tap on “Clear cache.” This action removes temporary files and can help improve device performance.
2. Transfer media files: Move your photos, videos, and other media files to an SD card or cloud storage to free up space on your device’s internal storage. You can use file manager apps or connect your device to a computer to transfer files easily.
3. Use storage management tools: Many Android devices come with built-in storage management tools that help optimize storage space. These tools can identify large files, unused apps, and other items taking up significant space. Utilize these tools to clean up your device’s internal storage.
4. Delete unnecessary apps: Review the apps installed on your device and uninstall any that you no longer use or need. This can free up storage space while also improving device performance.
5. Save to cloud storage: Utilize cloud storage services like Google Drive or Dropbox to store your files, documents, and app data. This way, you can access them whenever needed without occupying precious internal storage space.
6. Use an external storage device: If your device supports external storage options like USB OTG (On-The-Go) adapters, you can connect external storage devices such as USB flash drives or external hard drives to expand your storage capacity.
7. Move apps to internal storage selectively: Although you cannot move apps to an SD card, you can still choose to move some apps to the device’s internal storage if it offers the option. Select the apps that you use frequently or that require faster access and move them to internal storage to optimize their performance.
By implementing these steps, you can effectively manage your apps and storage even without the ability to move apps to an SD card. Remember to regularly evaluate your device’s storage usage and keep it optimized for the best user experience.
Now that you have explored the various options for managing apps without the ability to move them to an SD card, let’s wrap up this guide on how to put applications on an SD card in Android devices.
Conclusion
Managing app storage on your Android device is essential for maintaining optimal performance and ensuring you have enough space for your favorite apps, files, and media. By learning how to put applications on an SD card, you can free up valuable internal storage and enjoy a more efficient user experience.
In this guide, we discussed the benefits of moving apps to an SD card, including freeing up internal storage, handling large apps, improving device performance, and easy app transfer between devices. We also explored the steps to check if your device supports this feature, the pre-requisites before moving apps to an SD card, and tips for effectively managing apps on an SD card.
For those whose devices don’t support moving apps to an SD card, we provided alternative methods such as clearing app cache, transferring media files, utilizing storage management tools, and making use of cloud storage options.
Remember, every Android device may have different settings and options, so it is important to refer to your device’s specific instructions or user manual for accurate information. Stay informed about the capabilities and limitations of your device to make the most out of your app storage management.
By following the steps and tips outlined in this guide, you can successfully put applications on an SD card, optimize your device’s storage capacity, and enjoy a well-organized and efficient Android experience.
Now, it’s time to take control of your app storage and maximize the potential of your Android device. Start organizing, moving, and managing your apps effectively to create more space for the things that matter most to you.