Introduction
Have you ever experienced the frustration of running out of storage space on your Android device due to the countless apps cluttering up your internal storage? The good news is that there’s a solution – you can actually make your Play Store apps download directly to your SD card, freeing up valuable space on your device.
Understanding how app storage works on Android is key to successfully moving your apps to the SD card. By default, apps are usually installed on the internal storage of your device, which can quickly fill up with data, media files, and app updates. This can be especially troublesome if you have a phone or tablet with limited internal storage capacity.
In this guide, we will walk you through the process of preparing your phone to move apps to the SD card, modifying your storage settings, transferring apps, and verifying their installation location. We will also address common questions and provide some helpful tips along the way.
It’s important to note that not all Android devices support the ability to move apps to the SD card. However, if your device does support this feature, you can make use of it to significantly expand your storage capacity and keep your device running smoothly.
So, if you’re tired of being plagued by insufficient storage space on your Android device, read on to learn how to make Play Store apps download directly to your SD card and reclaim valuable space on your device.
Understanding App Storage on Android
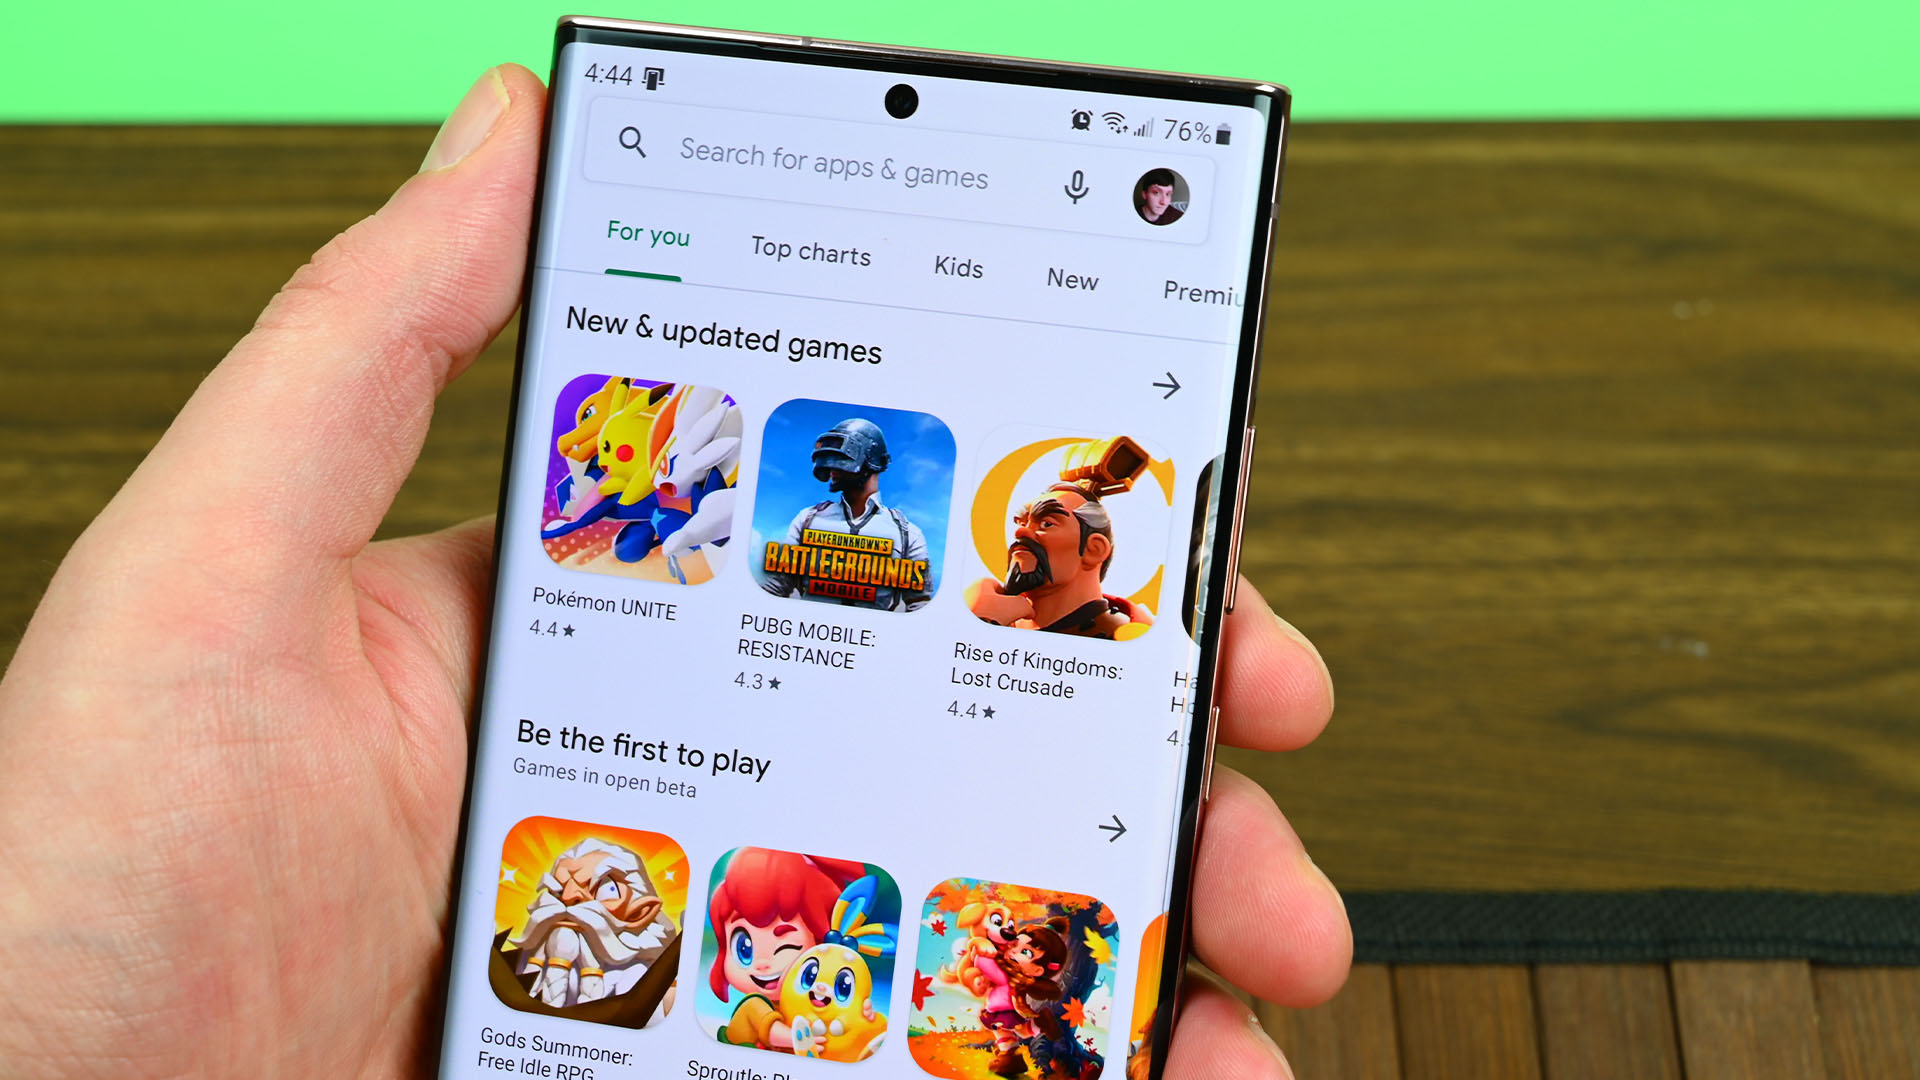
Before we dive into the process of moving apps to the SD card, let’s first understand how app storage works on Android. By default, when you download and install apps from the Play Store, they are typically installed on the internal storage of your device.
This means that as you install more and more apps, your internal storage can quickly fill up, leaving you with limited space for photos, videos, music, and other important files. This can lead to a sluggish device, frequent “storage full” notifications, and an overall frustrating user experience.
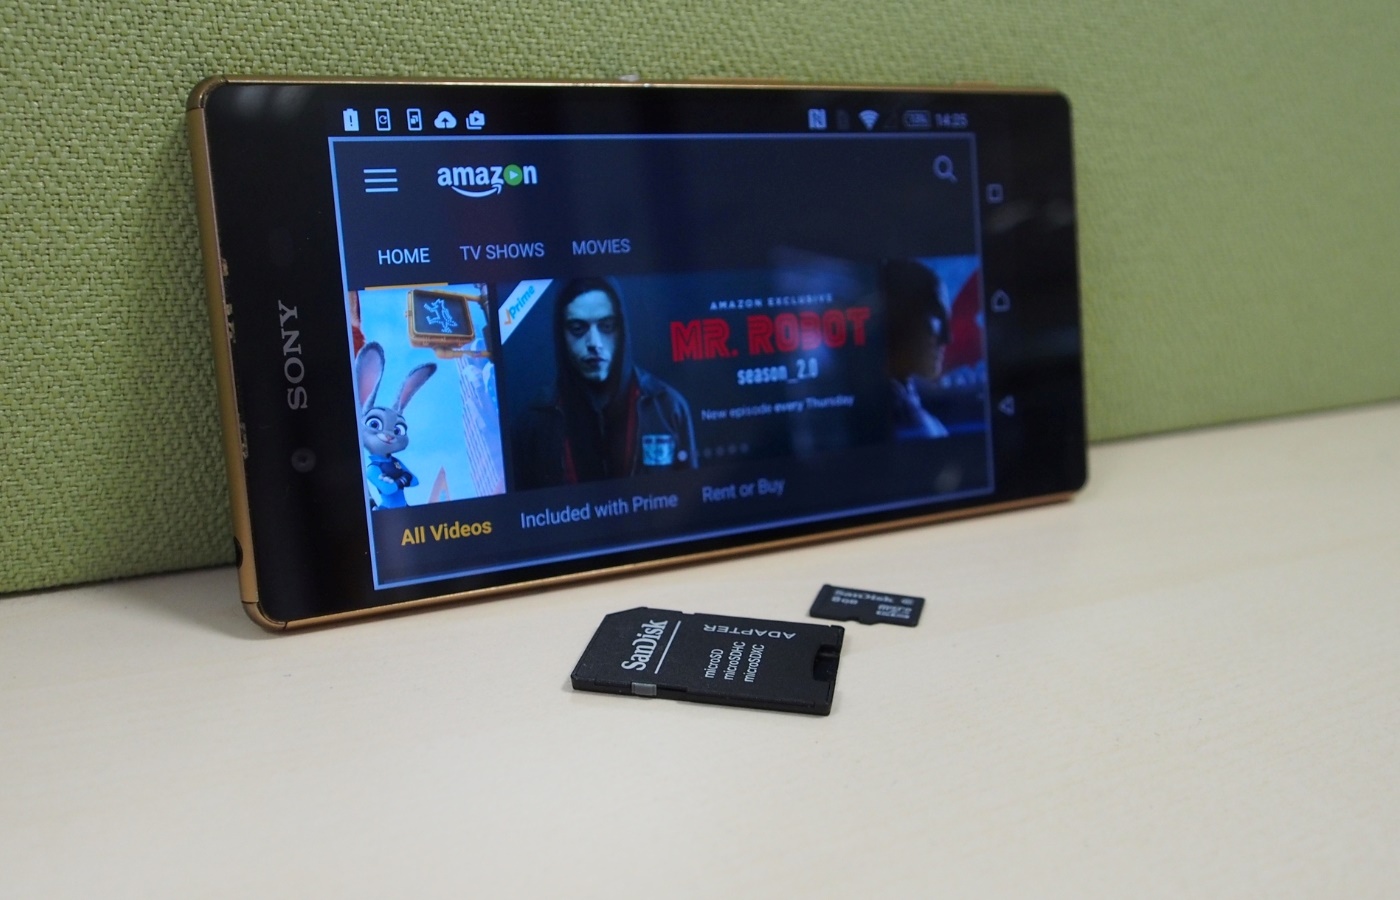
The good news is that many Android devices now offer the ability to move some apps to the SD card. The SD card, or external storage, is an additional storage option that can help relieve the burden on your device’s internal storage.
It’s important to note that not all apps can be moved to the SD card. System apps, pre-installed apps, and certain app data may not be eligible for transfer. However, many user-installed apps can be successfully moved, freeing up space on your internal storage.
Moving an app to the SD card essentially transfers the app data and files from the internal storage to the SD card, while leaving behind a small “app stub” on the internal storage for compatibility purposes. This means that even though the app is physically stored on the SD card, it can still be accessed and used seamlessly by the operating system and other apps on your device.
It’s worth mentioning that while moving apps to the SD card can help free up internal storage, it may also slightly affect the app’s performance. This is because reading data from the SD card can be slightly slower than from internal storage. However, the difference is usually negligible unless you’re using a significantly slower SD card.
Now that we have a clearer understanding of how app storage works on Android and the benefits of moving apps to the SD card, let’s move on to preparing your phone for this process.
Preparing Your Phone
Before you can start moving apps to the SD card, it’s important to ensure that your phone is ready for the process. Here are some steps to prepare your phone:
- Check for SD card support: Not all Android devices support the ability to move apps to the SD card. To find out if your device supports this feature, go to your phone’s Settings, and look for the option to manage app storage or storage settings. If you see an option to move apps to the SD card, then your device is compatible.
- Update your device: Keeping your phone’s software up to date is crucial for the smooth functioning of your device and app compatibility. Before you proceed, make sure that your phone is running the latest version of Android. Go to Settings > System > Software Update to check for any available updates.
- Backup your data: Moving apps to the SD card involves some level of risk, as data could potentially be lost or corrupted during the process. It’s always a good practice to back up your important data and files before making any changes to your device. Consider using cloud storage, external drives, or backup apps to safeguard your data.
- Check your SD card: Ensure that your SD card is in good working condition and has sufficient space to accommodate the apps you want to move. If needed, consider formatting your SD card to start with a clean slate and avoid any potential compatibility issues.
By following these steps, you’ll have a phone that is ready to move apps to the SD card. Once you’ve completed these preparations, you can proceed to the next steps of modifying your storage settings and transferring apps.
Modifying your Storage Settings
Now that your phone is prepared, the next step is to modify your storage settings to allow apps to be moved to the SD card. Here’s how:
- Open the Settings: Navigate to the Settings app on your Android device. You can usually find it in the app drawer or by swiping down from the top of the screen and tapping the gear icon.
- Select “Storage” or “Storage & USB”: Look for the option that pertains to storage settings. The wording may vary depending on your device, but it should be something along the lines of “Storage” or “Storage & USB.”
- Choose “Internal Storage”: Within the storage settings, locate and tap on the option for “Internal Storage.” This will allow you to view and manage the apps installed on your device’s internal storage.
- Select an App: You will now see a list of installed apps. Choose the app that you want to move to the SD card.
- Tap “Change” or “Move to SD card”: Depending on your device and Android version, you may see either a “Change” button or an option to move the app to the SD card. Tap on it to initiate the move.
- Follow the prompts: In some cases, you may be prompted to confirm the move or agree to certain terms. Read through the prompts carefully and proceed as instructed to complete the process.
- Repeat for other apps: If you have multiple apps that you want to move to the SD card, go back to the list of apps and repeat the process for each app individually.
It’s important to note that not all apps can be moved to the SD card. System apps and certain app data may not be eligible for transfer. However, many third-party apps can be successfully moved, freeing up valuable space on your internal storage.
By modifying your storage settings and moving eligible apps to the SD card, you can effectively expand your device’s storage capacity and alleviate the burden on your internal storage.
Once you have moved your desired apps to the SD card, it’s essential to verify their installation location to ensure they have been successfully transferred. The next section will guide you through this process.
Formatting your SD Card
Before you can start transferring apps to your SD card, it’s important to ensure that the card is properly formatted. Formatting your SD card prepares it for use and ensures compatibility with your device. Here’s how you can format your SD card:
- Backup your SD card: Before proceeding with the formatting process, make sure to backup any important data or files on your SD card. Formatting will erase all data on the card, so it’s crucial to have a copy of anything you want to keep.
- Insert the SD card: Locate the SD card slot on your device and insert your SD card. Depending on your device, the slot can be located on the side or back.
- Open the Settings: Navigate to the Settings app on your Android device.
- Select “Storage” or “Storage & USB”: Look for the option that pertains to storage settings.
- Select “SD card” or “External storage”: Within the storage settings, locate and tap on the option for the SD card or external storage.
- Tap on “Format” or “Format SD card”: You should see an option to format the SD card. Tap on it to initiate the formatting process.
- Confirm the format: A warning message will appear, informing you that all data on the SD card will be deleted. Make sure that you have backed up any important data and files. If you’re certain, proceed with the format.
- Wait for the formatting to complete: The formatting process can take a few moments to complete. Avoid removing the SD card or interrupting the process.
- Format as portable or internal storage (optional): Depending on your device and Android version, you may be prompted to choose between formatting the SD card as portable storage or internal storage. Portable storage allows you to use the SD card to transfer files between devices, while internal storage allows you to adopt the SD card as part of your device’s internal storage. Choose the option that best suits your needs, keeping in mind that the latter may restrict the card’s use on other devices.
Once the formatting process is complete, your SD card is ready for use. It’s important to note that formatting the SD card will erase all data on it, so ensure that you have backed up any important files before proceeding.
With the SD card properly formatted and ready to go, you can now proceed to the next step of transferring your desired apps to the SD card.
Transferring Apps to the SD Card
Now that your phone is prepared and your SD card is formatted, it’s time to start transferring your desired apps to the SD card. Here’s how:
- Open the Settings: Navigate to the Settings app on your Android device.
- Select “Apps” or “Applications”: Look for the option that pertains to managing apps on your device. The wording may vary depending on your device and Android version.
- Choose the app to transfer: Look for the app that you want to move to the SD card and tap on it.
- Select “Storage” or “Storage Usage”: Within the app settings, locate and tap on the option for storage. This will allow you to view the app’s storage details.
- Tap on “Change” or “Move to SD card”: Depending on your device and Android version, you may see either a “Change” button or an option to move the app to the SD card. Tap on it to initiate the transfer.
- Follow the prompts: In some cases, you may be prompted to confirm the move or agree to certain terms. Read through the prompts carefully and proceed as instructed to complete the transfer process.
- Repeat for other apps: If you have multiple apps that you want to move to the SD card, go back to the list of apps and repeat the process for each app individually.
It’s important to note that not all apps are eligible for transfer to the SD card. System apps, pre-installed apps, and certain app data may not be movable. However, many user-installed third-party apps can be successfully transferred, freeing up valuable space on your device’s internal storage.
Once the transfer process is complete, the app will be physically stored on the SD card, while a small “app stub” will remain on the internal storage for compatibility purposes. This allows the app to be seamlessly accessed and used by the operating system and other apps on your device.
Remember to monitor your device’s storage regularly and transfer additional apps to the SD card as needed. This will help prevent your internal storage from filling up and ensure efficient use of your device’s resources.
With the apps successfully transferred to the SD card, the next step is to verify their installation location. This will ensure that the apps are indeed stored on the SD card and functioning properly. The following section will guide you through this verification process.
Verifying Installation Location
Once you have transferred your desired apps to the SD card, it’s important to verify their installation location to ensure that they are indeed stored on the SD card. Here’s how you can do it:
- Open the Settings: Navigate to the Settings app on your Android device.
- Select “Apps” or “Applications”: Look for the option that pertains to managing apps on your device.
- Choose the app to verify: Locate and tap on the app that you want to verify.
- Select “Storage” or “Storage Usage”: Within the app settings, find and tap on the option for storage. This will provide you with information about the app’s storage usage.
- Check the “App Info” page: On the storage information page, look for the “Storage used” section. It should indicate whether the app is stored on the device’s internal storage or the SD card.
- Verify the installation location: If the app is successfully transferred to the SD card, the storage information should show that the app is using storage on the SD card.
- Repeat for other apps: If you have transferred multiple apps to the SD card, go back to the list of apps and repeat the verification process for each app individually.
Verifying the installation location ensures that the apps are functioning properly from the SD card and not consuming unnecessary space on your device’s internal storage. It also allows you to keep track of which apps are stored on the SD card and monitor their storage usage.
If an app’s installation location shows that it is still stored on the internal storage despite attempting to transfer it to the SD card, there could be several reasons for this. The app may not be eligible for transfer, or there might be compatibility issues with your specific device or Android version.
In such cases, you can try alternative methods, such as using third-party apps specifically designed for moving apps to the SD card. These apps can offer additional options and customization for managing app storage. However, it’s important to note that using third-party apps comes with its own risks, so choose reputable apps and read reviews before proceeding.
By verifying the installation location of your transferred apps, you can ensure that they are indeed stored on the SD card, freeing up valuable space on your device’s internal storage and optimizing its performance.
Frequently Asked Questions
In this section, we will address some common questions that users often have about moving apps to the SD card. Read on for answers to these frequently asked questions:
- Can I move all apps to the SD card?
Not all apps can be moved to the SD card. System apps, pre-installed apps, and certain app data may be restricted from being transferred. However, many user-installed third-party apps can be successfully moved, freeing up space on your device’s internal storage. - Will moving apps to the SD card affect their performance?
In general, moving apps to the SD card may slightly affect their performance. This is because reading data from the SD card can be slightly slower compared to internal storage. However, the impact on performance is usually negligible unless you’re using a significantly slower SD card. - How can I identify which apps are stored on the SD card?
To check whether an app is stored on the SD card, go to Settings > Apps or Applications, select the app, and navigate to the storage information section. It should indicate whether the app is using storage on the SD card or the device’s internal storage. - Can I still use the app if my SD card is removed?
No, you will not be able to use apps that are stored on the SD card if the card is removed from the device. The app’s data and necessary resources are stored on the card, so removing it will render the app inaccessible until the SD card is reinserted. - What happens if I format or remove the SD card?
Formatting or removing the SD card will cause apps stored on the card to become unavailable. The app’s data and resources will be lost unless you have made a backup. It’s important to proceed with caution and ensure that you have a backup of any important data before taking any actions on your SD card. - Can I move apps back to the internal storage?
Yes, you can move apps back to the internal storage if needed. Simply follow the same process of accessing the app’s storage information in the settings and select the option to move the app to the internal storage.
These are some of the frequently asked questions regarding moving apps to the SD card. If you have any other questions or concerns, feel free to consult your device’s user manual or reach out to the manufacturer’s support team for further assistance.
Conclusion
Moving apps to the SD card can be a game-changer for Android users who struggle with limited internal storage space. By following the steps outlined in this guide, you can successfully transfer compatible apps to the SD card and free up valuable space on your device.
We began by understanding how app storage works on Android and the benefits of utilizing the SD card to store apps. We then discussed the importance of preparing your phone, modifying storage settings, and formatting your SD card before proceeding with the app transfer process.
Through the steps of modifying storage settings, transferring apps, and verifying their installation location, you learned how to effectively move apps to the SD card and ensure they are functioning properly. We also addressed commonly asked questions to provide clarification and guidance.
Remember that not all apps can be moved to the SD card, and some may experience a slight performance impact when operating from the SD card. Additionally, be cautious when formatting or removing the SD card, as it can result in the loss of app data.
By efficiently managing app storage and leveraging the capabilities of your SD card, you can optimize your device’s performance, avoid storage-related issues, and enjoy a smoother user experience overall.
However, it’s important to note that the process of moving apps to the SD card may vary depending on your device and Android version. Therefore, it’s recommended to consult your device’s user manual or refer to the manufacturer’s support resources for device-specific instructions.
We hope this guide has been helpful in guiding you through the process of making Play Store apps download directly to your SD card. With your apps now stored on the SD card, you can enjoy more storage space for photos, videos, and other important files, all while keeping your device running at its best.
Now, go ahead and unleash the full potential of your Android device by maximizing its storage capacity with the power of the SD card!


