Introduction
With the rise of music streaming services, such as Google Play Music, people are now able to access a vast library of songs right at their fingertips. However, as convenient as streaming may be, it often requires a stable internet connection, which can be a challenge in certain situations. Additionally, streaming music can quickly consume data if you’re not connected to Wi-Fi.
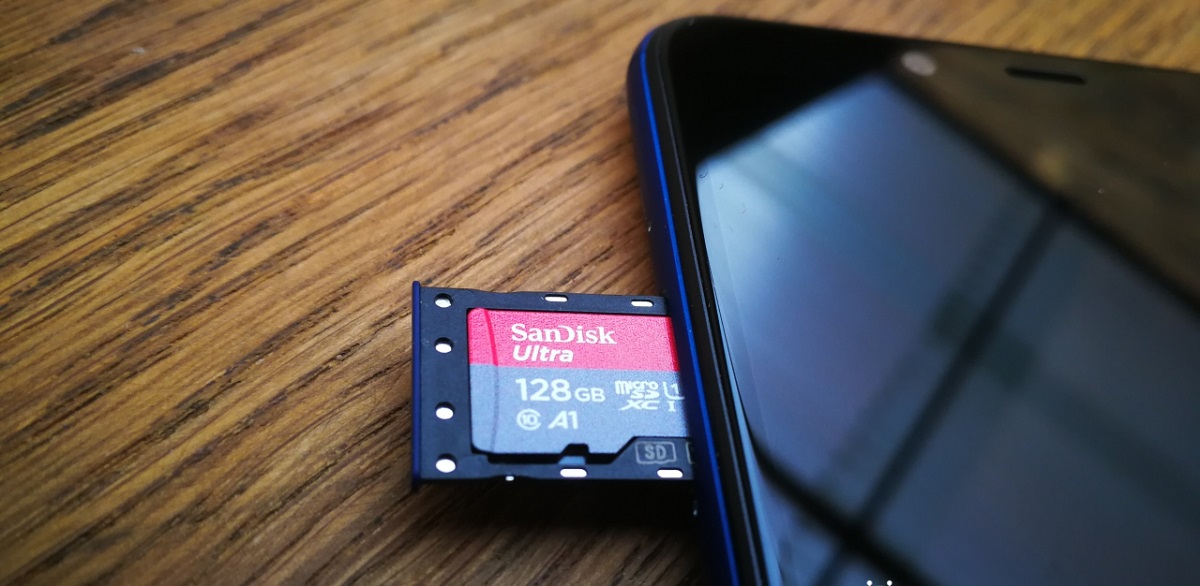
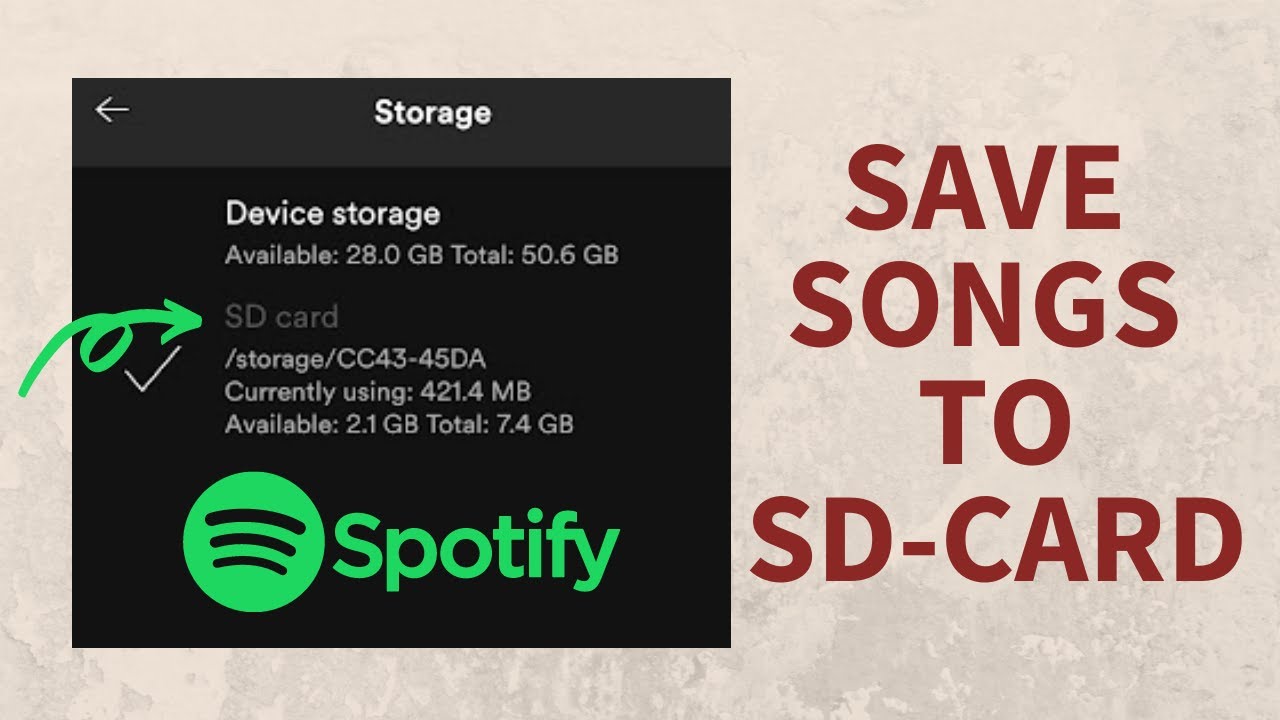
One workaround to these limitations is to store your Google Play Music on an SD card. By doing so, you can listen to your favorite tunes even without an internet connection or limit data usage. Storing Google Play Music on an SD card also frees up precious internal storage space on your device, allowing you to download more apps, photos, and videos.
In this article, we’ll explore a few methods that you can use to store your Google Play Music on an SD card. Whether you’re using an Android smartphone or tablet, these methods will help you make the most out of your device’s storage capabilities.
Please note that the specific steps may vary slightly depending on the device manufacturer and the version of the operating system you are using. However, the overall concepts and principles remain the same.
Why Store Google Play Music on SD Card?
There are several benefits to storing your Google Play Music on an SD card, making it a convenient option for music lovers:
- Offline Listening: By storing your favorite songs on an SD card, you can enjoy your music even when you’re not connected to the internet. This is particularly useful when traveling, where access to a stable internet connection may be limited or expensive.
- Reduced Data Usage: Streaming music requires a constant internet connection and can quickly consume your mobile data. By storing your Google Play Music on an SD card, you can avoid streaming and save on your data usage, especially if you have a limited data plan.
- Increased Storage Space: Many devices have limited internal storage, and storing a large number of music files can quickly occupy that space. By transferring your Google Play Music to an SD card, you can free up valuable internal storage for other apps, photos, and videos.
- Ease of Access: Storing your music on an SD card provides easy access to your favorite songs without having to rely on an internet connection. You can create playlists and organize your music library in a way that suits your preferences, ensuring a smooth and personalized listening experience.
- Device Compatibility: SD cards are widely supported across various Android devices, ensuring compatibility with your smartphone or tablet. Whether you have a high-end flagship device or a more budget-friendly model, you can easily transfer and play your Google Play Music from an SD card.
Overall, storing Google Play Music on an SD card offers convenience, flexibility, and more control over your music library. It allows you to enjoy your favorite tunes anytime, anywhere, without relying on an internet connection and without worrying about using up your data. With the multitude of benefits it provides, it’s no wonder that many music enthusiasts choose to transfer their Google Play Music to an SD card.
Method 1: Default Storage Location
Google Play Music offers a simple and straightforward method to store your music on an SD card using the default storage location settings. Here’s how you can do it:
- Open the Google Play Music app on your Android device.
- Tap on the menu icon (usually three horizontal lines) located in the top-left corner of the screen to open the navigation menu.
- Scroll down and select “Settings” from the menu options.
- In the “Settings” menu, look for the “Download” section and tap on “Storage location.”
- In the storage location options, select “SD card” as the preferred storage location for your downloaded music.
- Once you’ve made the selection, any new downloads from Google Play Music will be automatically saved to your SD card.
It’s important to note that this method may vary slightly depending on the version of Google Play Music and your device’s operating system. However, the general process remains the same.
By using the default storage location settings, Google Play Music simplifies the process of storing your music directly on your SD card. You won’t have to manually transfer files or worry about managing different storage locations. Simply set your preferred storage location as the SD card, and the app will take care of the rest, automatically saving your downloads to the external storage.
Keep in mind that if you remove the SD card from your device, the music files stored on it will no longer be accessible within the Google Play Music app. Therefore, it’s essential to ensure that the SD card remains inserted in your device to enjoy uninterrupted access to your music library.
Method 2: Changing the Storage Location in Google Play Music Settings
If you prefer more control over where your music is stored on your SD card, you can manually change the storage location settings within the Google Play Music app. Follow these steps to customize the storage location:
- Launch the Google Play Music app on your Android device.
- Tap on the menu icon (usually three horizontal lines) in the top-left corner to open the navigation menu.
- Select “Settings” from the menu options.
- In the “Settings” menu, navigate to the “Download” section and click on “Storage location.”
- Choose “SD card” as your desired storage location. You may also have the option to select the specific folder on the SD card where you want your music to be saved.
- Confirm your selection and exit the settings menu.
By customizing the storage location in Google Play Music settings, you have the freedom to choose exactly where you want your music to be stored on the SD card. This method allows for increased flexibility and organization, as you can create separate folders or subfolders for specific genres, artists, or albums.
Remember that if you decide to change your storage location, any previously downloaded music files will need to be manually moved to the newly selected location. To do this, you can use a file manager app on your device to locate the existing music files and transfer them to the desired location on the SD card.
It’s important to note that the options for changing the storage location may vary depending on the version of Google Play Music and your device’s operating system. The steps outlined above are a general guide, but the specific menus and features may be slightly different on your device.
By taking advantage of the ability to customize the storage location in Google Play Music settings, you can have full control over where your music is stored on your SD card, ensuring easy access and organization of your music library.
Method 3: Using a Third-Party App to Transfer Google Play Music to SD Card
If you prefer a more manual approach to transfer your Google Play Music to an SD card, you can utilize third-party apps specifically designed for this purpose. These apps provide additional features and customization options not available in the default Google Play Music settings. Here’s how you can use a third-party app to transfer your music:
- Search for and download a reliable third-party app from the Google Play Store that allows you to transfer or move your music to an external SD card. Some popular options include “iSyncr,” “DoubleTwist,” or “Napster.”
- After installing the app, launch it on your device.
- Follow the app’s instructions to connect your Google Play Music account and allow access to your music library.
- Once connected, browse through your music library within the third-party app and select the songs or albums you want to transfer to your SD card.
- Choose the option to transfer the selected music to the SD card. The app will then handle the process of moving the files from the internal storage to the external SD card.
- Wait for the transfer process to complete. The time it takes will depend on the number and size of the music files.
- Once the transfer is finished, you can disconnect your device from the computer or external storage reader and access your Google Play Music from the SD card using the third-party app or a music player of your choice.
Using a third-party app provides you with more control over the transfer process and allows for customization options such as choosing specific songs or albums to be transferred. Additionally, these apps often offer features like playlist syncing, automatic file organization, and seamless integration with popular music players.
Remember to periodically check for app updates and ensure compatibility with your device and operating system to maintain a smooth and efficient transfer process.
It’s worth mentioning that not all third-party apps are created equal, and the available features may vary. Therefore, it’s recommended to read user reviews and choose a reputable app with positive feedback and a good track record of performance.
Method 4: Manually Moving the Google Play Music Folder to SD Card
If you prefer a more hands-on approach and have a good understanding of file management, you can manually move the Google Play Music folder from your device’s internal storage to the SD card. Here’s how you can do it:
- Connect your Android device to a computer using a USB cable.
- On your computer, navigate to the internal storage of your device and locate the “Google Play Music” folder. The exact path may vary, but it is typically found in the “Internal Storage” folder or the “Android” folder.
- Create a new folder on your SD card and give it a name, such as “Play Music” or “Music Library.”
- Copy the entire “Google Play Music” folder from your device’s internal storage and paste it into the newly created folder on the SD card.
- Wait for the transfer process to complete. The time it takes will depend on the number and size of the music files.
- Once the transfer is finished, safely disconnect your device from the computer.
- Open the Google Play Music app on your Android device and go to the app’s settings.
- In the settings menu, navigate to the “Download” section and select “Storage location.”
- Choose the option to select the SD card as the storage location for your downloaded music.
- Confirm your selection, and Google Play Music will now use the music files stored on the SD card for playback.
By manually moving the Google Play Music folder to the SD card, you have complete control over where your music is stored. This method allows you to easily access and manage your music library without relying on the internal storage of your device.
However, it’s important to note that if you disconnect or remove the SD card from your device, the Google Play Music app may not be able to locate and play the music files until the SD card is reconnected. Therefore, it’s essential to ensure that the SD card remains inserted in your device to enjoy uninterrupted access to your music library.
Additionally, remember to regularly backup your music files to prevent data loss and ensure you have a copy in case anything happens to your SD card or device.
Conclusion
Storing your Google Play Music on an SD card can greatly enhance your music listening experience. Whether you prefer offline listening, reducing data usage, freeing up internal storage space, or having more control over your music library, there are various methods available for transferring your music to an SD card.
In this article, we discussed four methods:
- Using the default storage location in Google Play Music settings
- Changing the storage location in Google Play Music settings
- Utilizing third-party apps designed for transferring music to an SD card
- Manually moving the Google Play Music folder to the SD card
Each method offers its own advantages and level of customization. The method you choose will depend on your preferences, technical expertise, and the specific features available on your device.
Before implementing any of these methods, it’s important to ensure that your SD card has sufficient storage capacity to accommodate your music library. Additionally, make sure to back up your music files regularly to prevent data loss and ensure you have a copy in case anything happens to your SD card or device.
While storing Google Play Music on an SD card provides numerous benefits, it’s worth noting that changes in the Google Play Music app or updates to your device’s operating system may impact the functionality or compatibility of these methods. Therefore, it is always a good idea to stay up to date with the app and system updates to maintain a smooth experience.
By following the methods outlined in this article, you can take full advantage of your Android device’s storage capabilities and enjoy your favorite Google Play Music tracks anytime and anywhere without relying on an internet connection or worrying about data usage.
So go ahead, choose the method that suits you best, and start storing your Google Play Music on an SD card today!