Move Apps to SD Card
If you have a Samsung tablet with limited internal storage, one effective way to free up space is by moving apps to the SD card. By default, apps are installed on the internal storage, but many Android devices, including Samsung tablets, have the option to move certain apps to an external SD card.
Moving apps to the SD card not only frees up internal storage but also helps to improve the tablet’s performance, as it reduces the load on the internal memory. However, please note that not all apps can be moved to the SD card, as it depends on the app developer’s settings and the version of Android you’re using. Here’s how you can move apps to the SD card on your Samsung tablet:
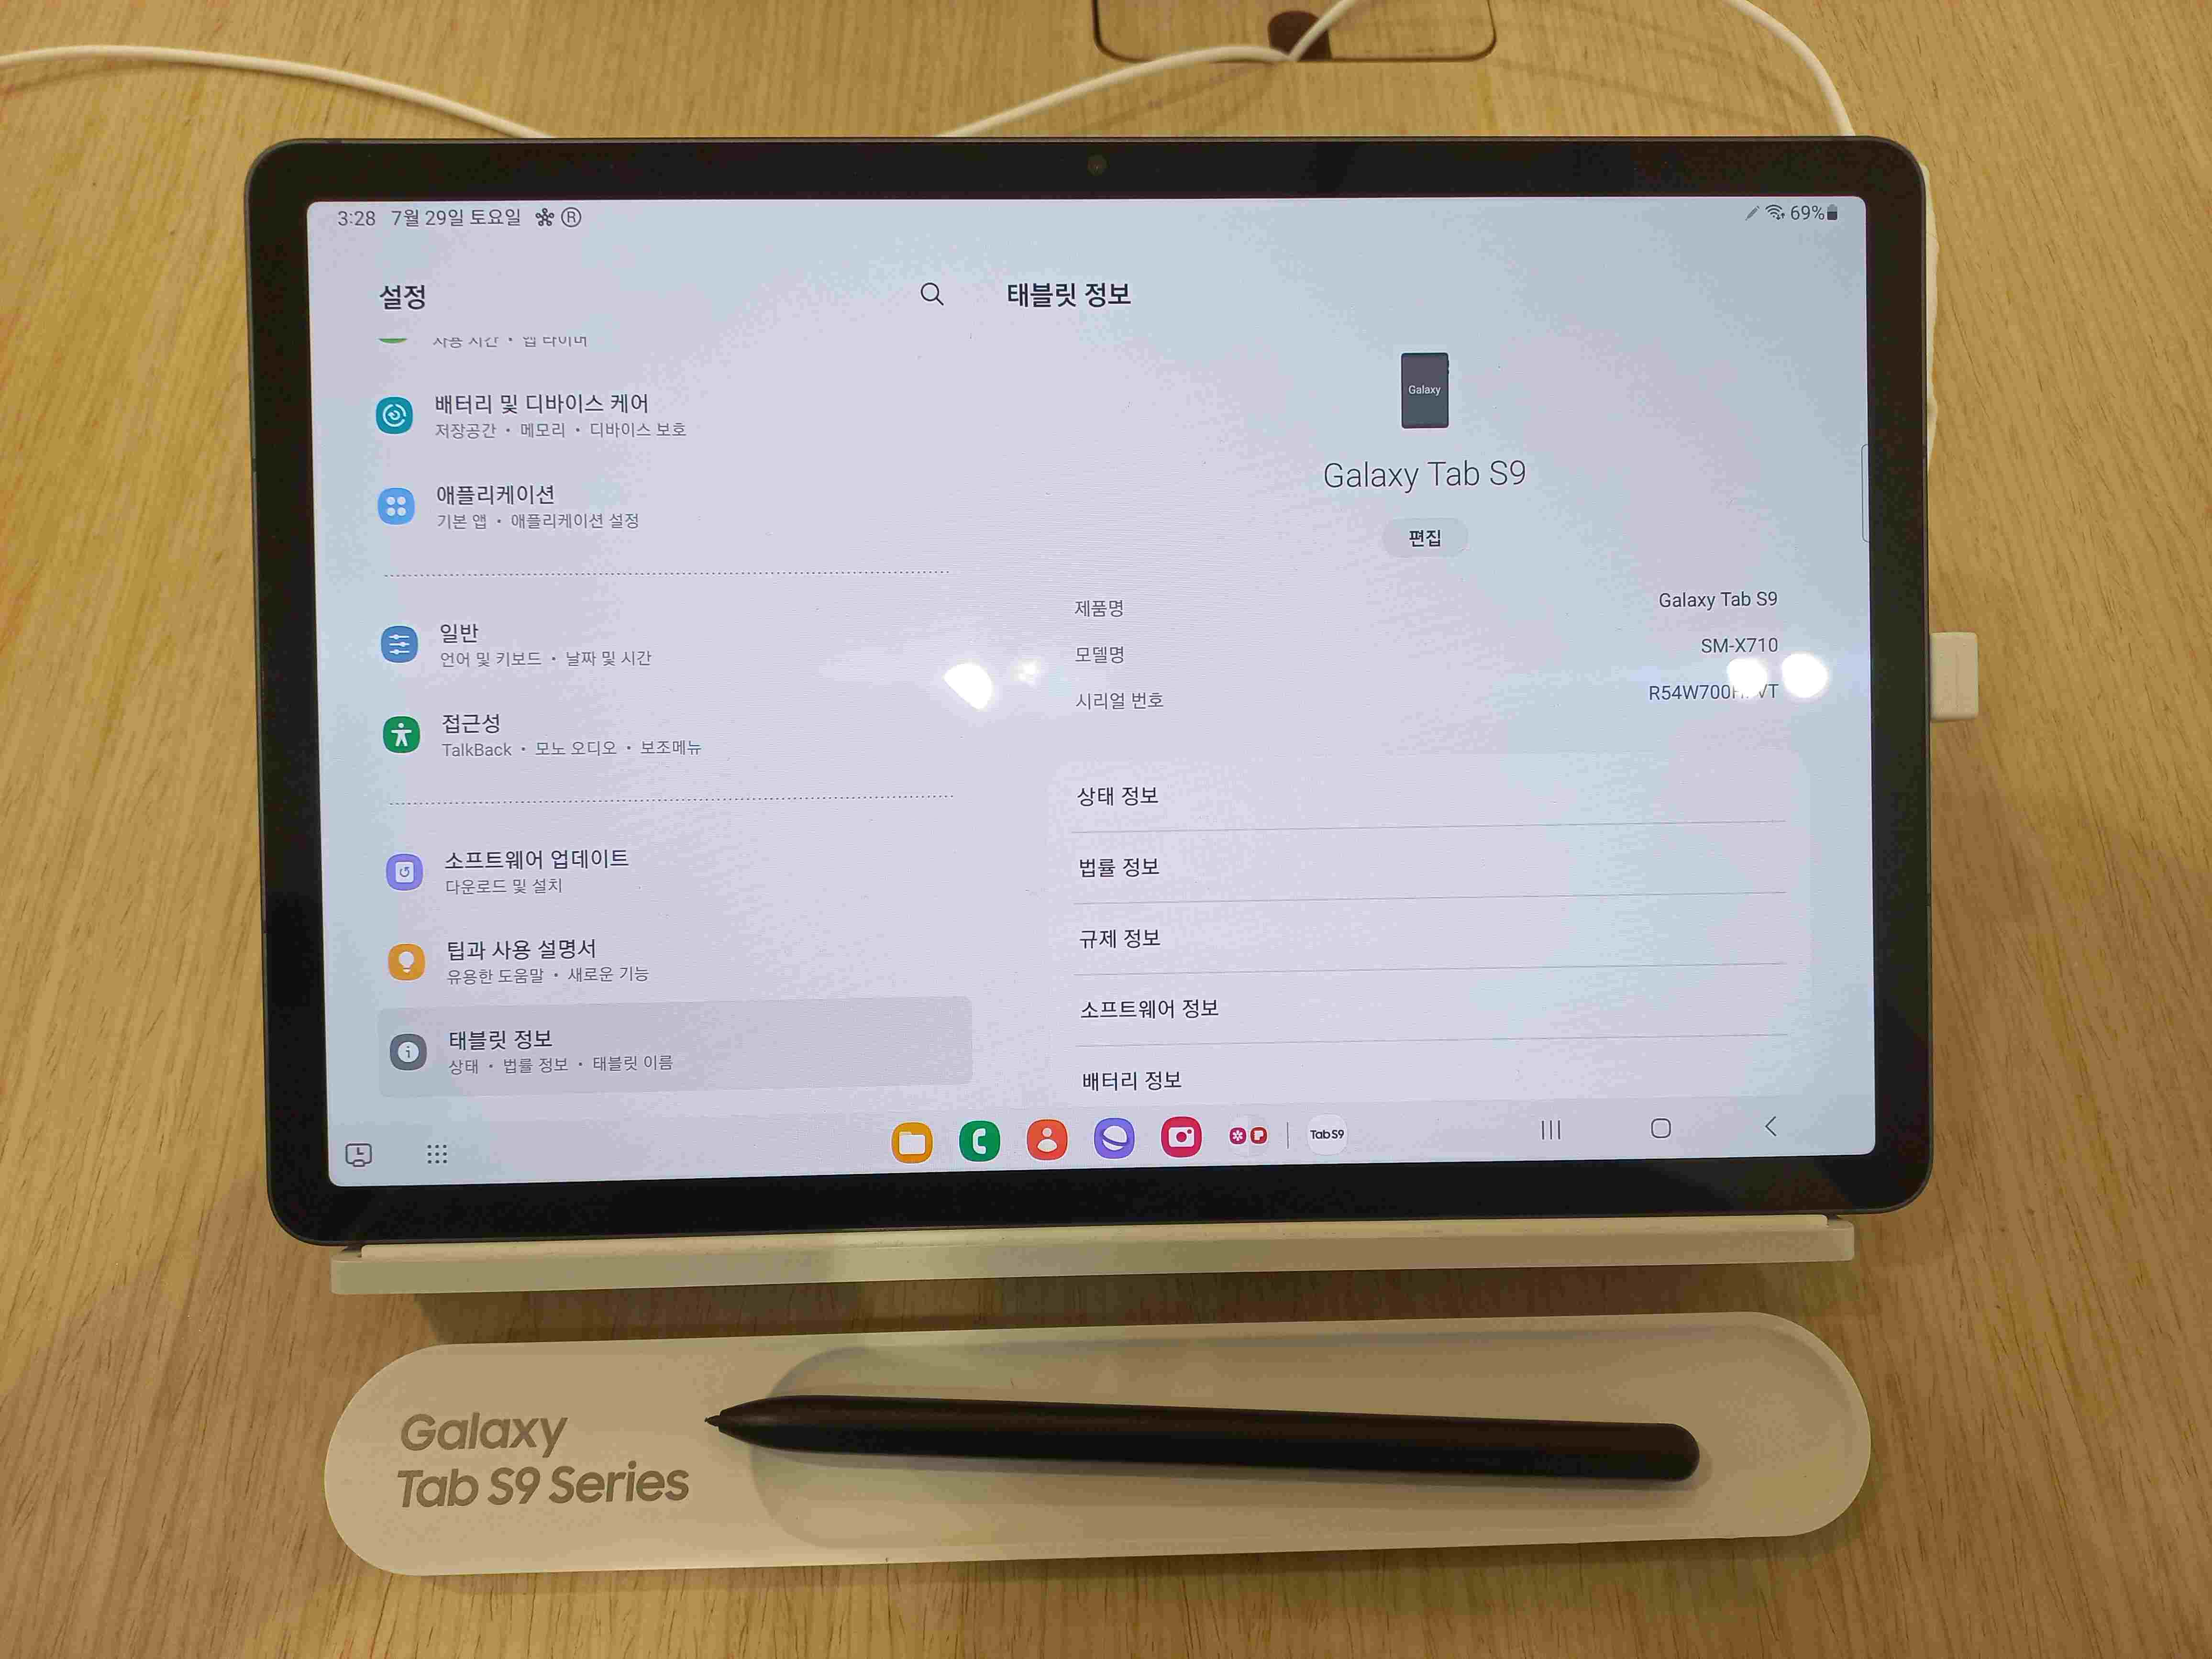
- Open the “Settings” app on your tablet.
- Scroll down and tap on “Apps” or “Applications” (depending on your device).
- Find the app you want to move to the SD card and tap on it.
- On the app’s information page, you’ll see an option called “Storage.” Tap on it.
- If the option to “Change” storage is available, tap on it. If not, it means the app can’t be moved to an SD card.
- On the “Change storage” prompt, select “SD card” and tap on “Move” or “Transfer.”
- The app will now be moved to the SD card. This process may take a few moments, depending on the size of the app.
Once the app is successfully moved to the SD card, you’ll notice that the “Storage” section on the app’s information page now displays “SD card” instead of “Internal storage.” Repeat this process for any other apps you want to move to the SD card.
It’s important to note that not all apps can be moved to the SD card, especially system apps or apps that are critical for the tablet’s functionality. Additionally, if you remove the SD card from your tablet, the apps that were moved to it will no longer be accessible until the SD card is reinserted.
By moving apps to the SD card, you can free up valuable internal storage space and ensure your Samsung tablet runs smoothly. Remember to periodically check your apps’ storage settings and move any new apps or updated versions to the SD card to keep your tablet clutter-free.
Clear App Cache
Over time, the cache files generated by apps can take up a significant amount of space on your Samsung tablet’s internal storage. Clearing app cache is a simple yet effective method to reclaim storage space and potentially improve the overall performance of your device. Here’s how you can clear app cache on your Samsung tablet:
- Open the “Settings” app on your tablet.
- Scroll down and tap on “Apps” or “Applications” (depending on your device).
- You’ll see a list of all the installed apps on your tablet. Select the app for which you want to clear the cache.
- On the app’s information page, tap on the “Storage” option.
- You’ll find the “Clear Cache” button. Tap on it to delete the app’s cache files.
- A confirmation prompt may appear, asking if you want to clear the app’s cache. Tap “OK” to proceed.
- Repeat this process for other apps as needed.
Clearing the app cache can also help resolve certain performance issues or glitches that might occur due to corrupted or outdated cache files. However, it’s important to note that clearing the cache will remove temporary files and data specific to the app, but it won’t delete any personal data or settings.
Another option is to use the “Storage” section in the “Settings” app to clear the cache of multiple apps at once. Here’s how:
- Open the “Settings” app on your tablet.
- Scroll down and tap on “Device Care” or a similar option that manages your tablet’s storage.
- In the storage management section, you’ll find an option to clear cache. Tap on it to proceed.
- The tablet will analyze and display the amount of cache that can be cleared. Tap on the “Clear” or “Delete” button to remove the cache files.
- Confirm your action when prompted.
Regularly clearing the app cache will help keep your Samsung tablet running smoothly and prevent unnecessary storage buildup. It’s a quick task that can be done whenever you notice your device’s performance starts to lag or whenever you want to free up some storage space.
Delete Unused Apps
Over time, it’s common for our Samsung tablets to accumulate a collection of unused apps that take up valuable space on the device. Deleting these unused apps not only helps to free up internal storage but also streamlines the tablet’s interface and improves performance. Here’s how you can delete unused apps on your Samsung tablet:
- Tap and hold on the app icon on the home screen or app drawer.
- Drag the app icon towards the “Uninstall” or “Remove” option that appears at the top or corner of the screen (depending on your device).
- Release the app icon onto the “Uninstall” or “Remove” option.
- A confirmation prompt may appear, asking if you want to uninstall the app. Tap “OK” or “Uninstall” to proceed.
- Repeat this process for other apps you want to delete.
If you can’t find the app on the home screen or app drawer, you can still uninstall it through the Settings app:
- Open the “Settings” app on your tablet.
- Scroll down and tap on “Apps” or “Applications” (depending on your device).
- You’ll see a list of all the installed apps on your tablet.
- Select the app you want to delete.
- On the app’s information page, tap on the “Uninstall” or “Remove” button.
- A confirmation prompt will appear. Tap “OK” or “Uninstall” to confirm deletion.
- Repeat these steps for other unused apps.
When deciding which apps to delete, consider removing those that you no longer use or those that can be replaced with more efficient alternatives. It’s recommended to review your app collection periodically to ensure you only have essential apps installed on your tablet.
Remember that deleting an app will also remove its associated data, so be cautious not to delete any important files or information. If you have any doubts, it’s a good idea to back up the app’s data before deleting it.
By regularly deleting unused apps, you can reclaim storage space, declutter your Samsung tablet, and optimize its performance for a smoother and more efficient user experience.
Clear Downloads Folder
Over time, the Downloads folder on your Samsung tablet can accumulate various files, including documents, images, videos, and more. Clearing out this folder periodically can help free up valuable storage space and keep your tablet organized. Here’s how to clear the Downloads folder on your Samsung tablet:
- Open the “My Files” app or any file manager app on your tablet.
- Navigate to the “Downloads” folder. It is usually located in the internal storage.
- Once you’re in the Downloads folder, you’ll see a list of all the files stored there.
- Sort the files by date or type to identify the ones you want to delete.
- Tap and hold on a file to select it, or use the checkbox option to select multiple files.
- Once you’ve selected the files you want to delete, tap on the “Delete” or “Trash” icon.
- A confirmation prompt may appear, asking if you want to permanently delete the selected files. Confirm the deletion by tapping “OK” or “Delete.”
- Repeat these steps for any other files you want to remove from the Downloads folder.
Remember to exercise caution and double-check the files you select for deletion to ensure you don’t delete any important files accidentally.
In addition to manually clearing the Downloads folder, you can also set up automatic deletion of downloaded files after a certain period. Here’s how:
- Open the “Settings” app on your Samsung tablet.
- Scroll down and tap on “Storage” or “Device Care,” depending on your device.
- Look for an option related to “Automatic cleaning” or “Smart Cleaning.”
- Select the option to clean the Downloads folder.
- Enable the automatic deletion of files older than a specified period, such as 30 days or 90 days.
- Save your settings and exit the menu.
This automated feature will help you keep your Downloads folder clean and organized without manual intervention.
By regularly clearing out the Downloads folder on your Samsung tablet, you can optimize storage space and ensure a clutter-free environment for your device’s files.
Remove Duplicate Files
Having duplicate files on your Samsung tablet can waste precious storage space. These duplicates may accumulate over time due to file transfers, downloads, or accidental copies. Removing duplicate files not only helps free up storage but also ensures a clutter-free digital environment. Here’s how to remove duplicate files on your Samsung tablet:
- Install a reliable file management app from the Google Play Store. Some popular options include “Files by Google,” “SD Maid,” or “Duplicate Files Fixer.”
- Open the file management app and navigate to the storage location where duplicate files may exist. This can include internal storage or external SD cards.
- Initiate a scan for duplicate files within the selected storage location.
- The app will analyze the files and present a list of identified duplicates.
- Review the list of duplicates and ensure that you are not deleting any important files. Be cautious while selecting files for deletion.
- Select the duplicate files you want to remove. Some apps may offer an automatic selection option to choose all duplicates.
- Confirm the deletion of selected duplicate files. The app may prompt for confirmation before deleting the files.
- Repeat this process for other storage locations or categories of files (e.g., photos, music, documents) if needed.
It’s important to exercise caution when deleting duplicate files to avoid accidentally removing files that may have variations in names or metadata.
Some file management apps also offer additional features such as file preview, exclusion lists, or the ability to search for specific types of duplicates (e.g., duplicate photos). Explore the options available in the app you choose to maximize the effectiveness of your duplicate file removal process.
Remember to regularly check for duplicate files and perform cleanup sessions to prevent unnecessary file duplication in the future. Additionally, be mindful of file organization practices and avoid making duplicate copies of files when moving or copying them within your tablet.
By removing duplicate files, you can reclaim valuable storage space and maintain a well-organized Samsung tablet.
Use Cloud Storage
Cloud storage offers a convenient and efficient way to free up internal storage on your Samsung tablet while ensuring your files are safely backed up and accessible from anywhere. By uploading your files to the cloud, you can access them on-demand without taking up valuable space on your device. Here’s how you can use cloud storage on your Samsung tablet:
- Sign up for a cloud storage service that suits your needs. Popular options include Google Drive, Dropbox, Microsoft OneDrive, and Amazon Drive.
- Download the cloud storage app for your chosen service from the Google Play Store.
- Open the app and sign in using your account credentials.
- Once signed in, you’ll have access to your cloud storage account.
- Upload files from your tablet to the cloud storage by selecting the “+” or “Upload” button within the app.
- Choose the files or folders you want to upload to the cloud and confirm the upload process.
- Wait for the files to upload. The time it takes depends on the size of the file and your internet connection speed.
- Once uploaded, your files will be accessible from the cloud storage app or through a web browser on any device.
Cloud storage services often provide a limited amount of free storage, with options to purchase more storage if needed. It’s important to manage your cloud storage space efficiently and regularly review your files to ensure you’re not exceeding your storage limit.
Furthermore, cloud storage services offer features like file synchronization, file sharing, and collaboration, making it easier to work on files across multiple devices or share them with others. Take advantage of these features to enhance your productivity and streamline your file management.
Remember to keep your cloud storage account secure by using strong passwords and enabling two-factor authentication. Backup important files and documents regularly to the cloud to prevent data loss in case of device damage, loss, or theft.
By utilizing cloud storage, you can save space on your Samsung tablet while ensuring your files are securely stored and easily accessible whenever you need them.
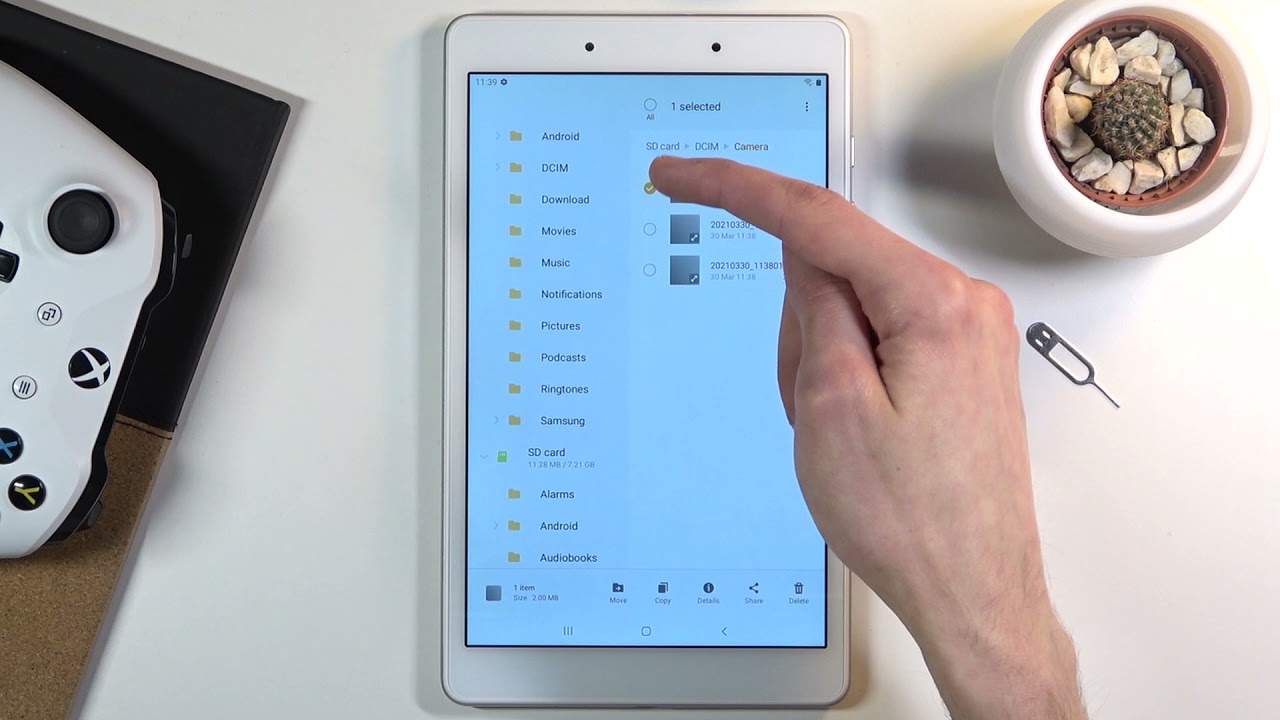
Move Photos and Videos to External Storage
Photos and videos often take up a significant amount of internal storage on your Samsung tablet. By moving these media files to an external storage device, such as an SD card or external hard drive, you can free up valuable space while still having easy access to your visual memories. Here’s how you can move photos and videos to external storage:
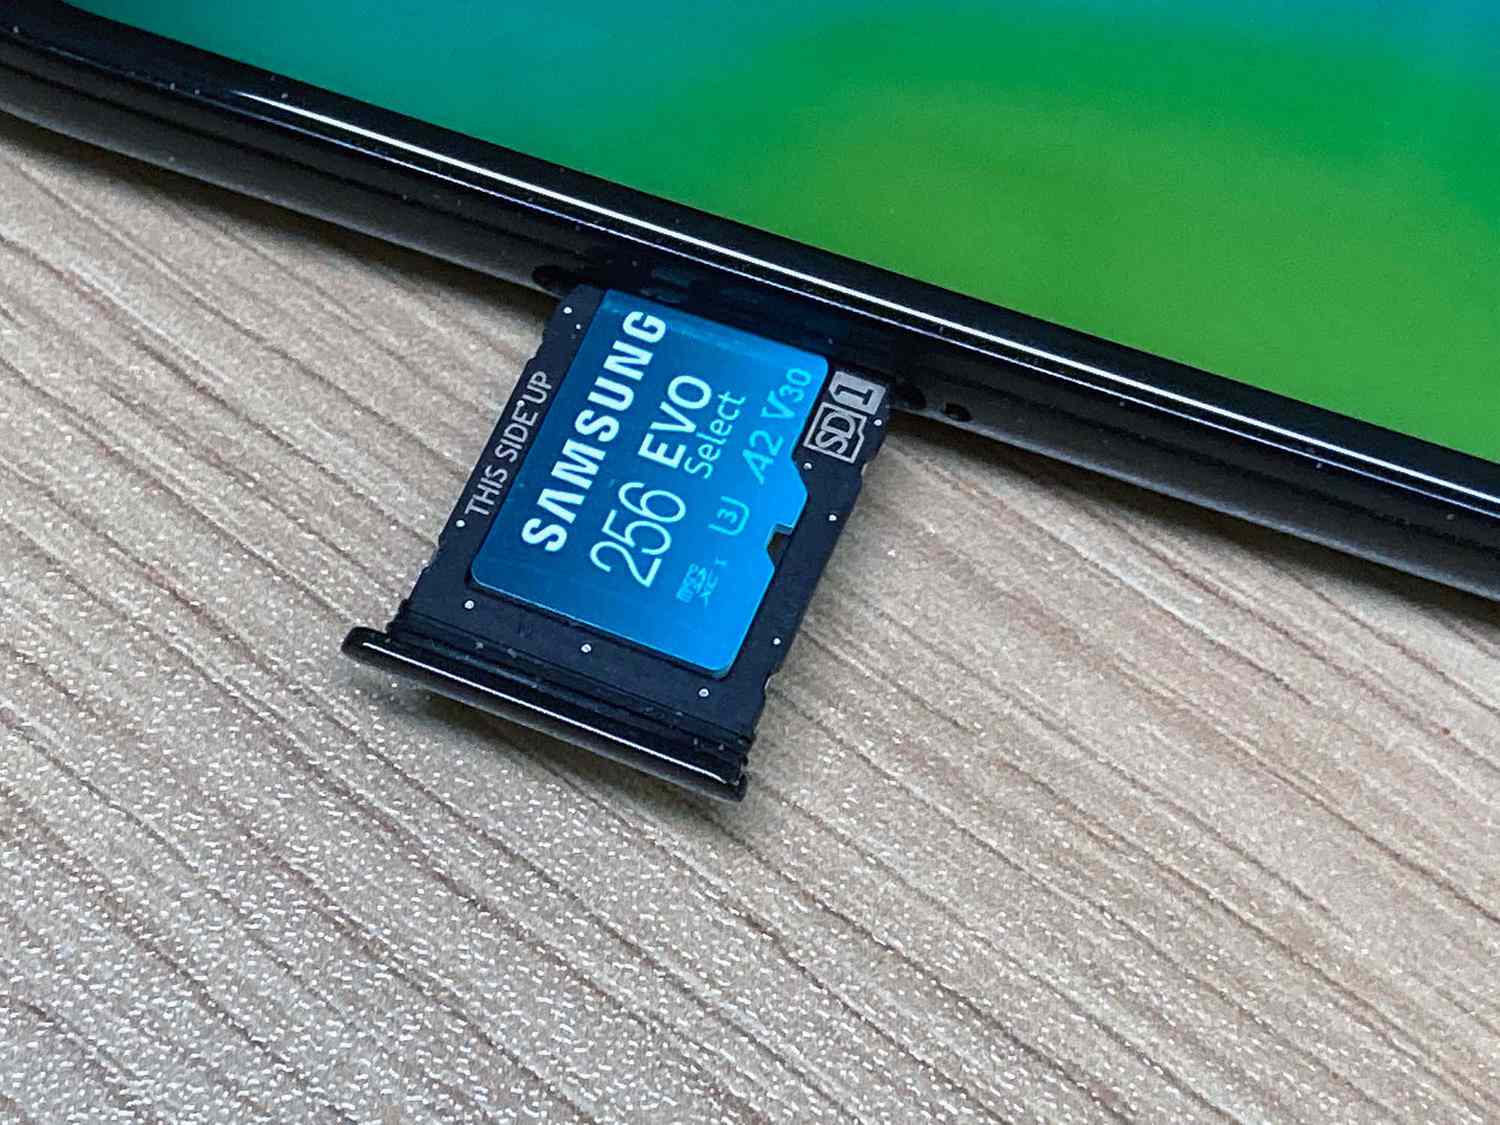
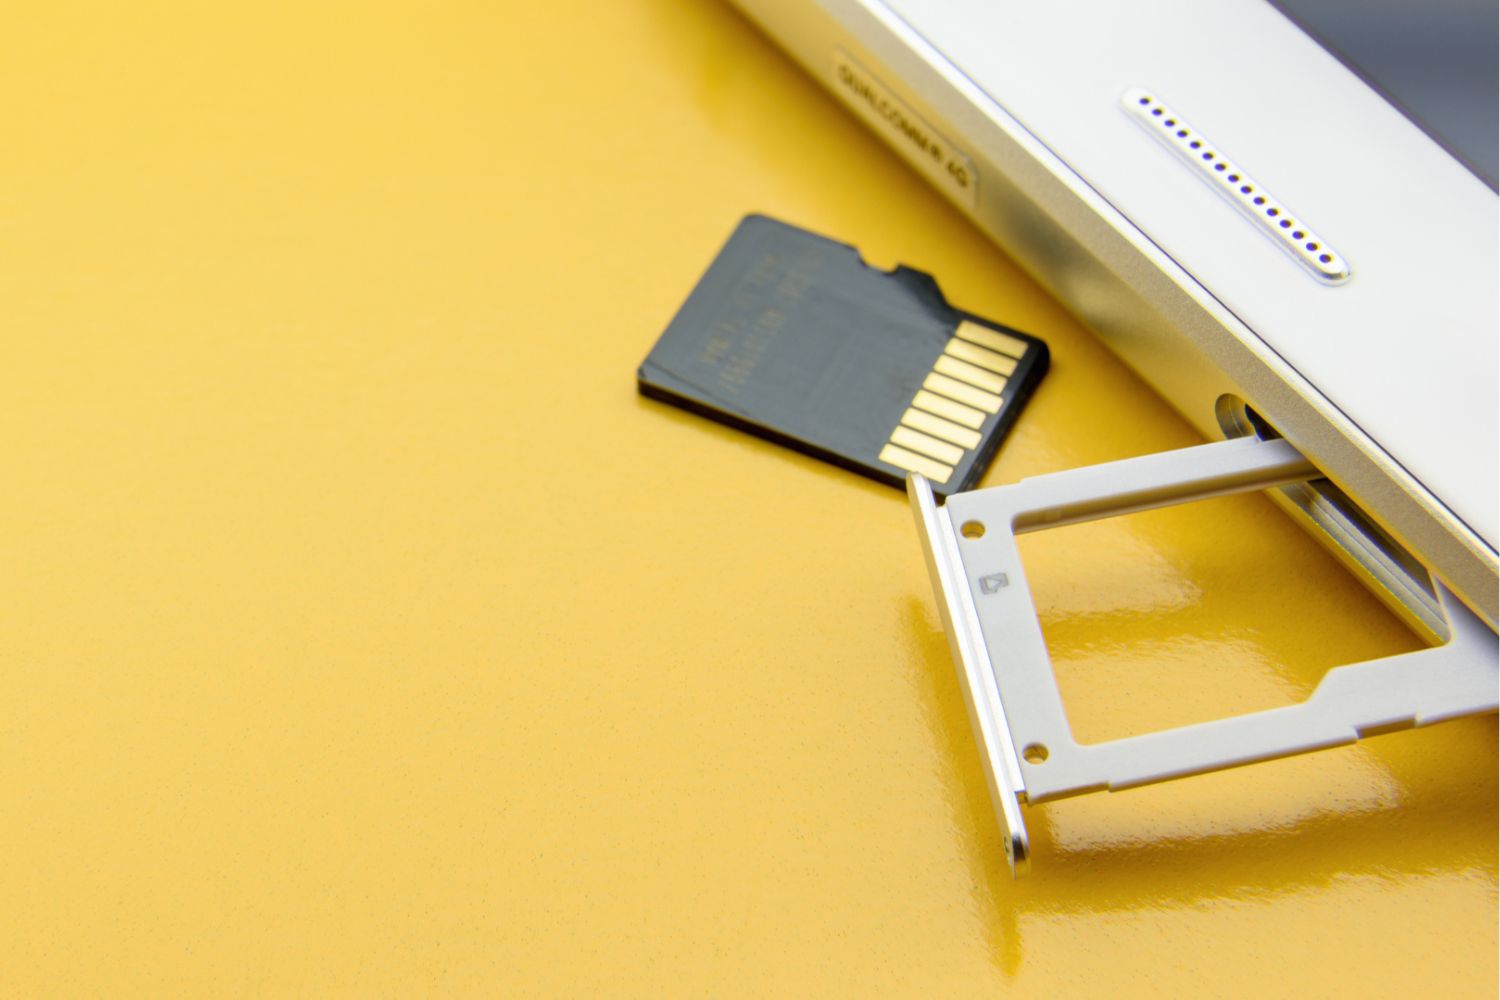
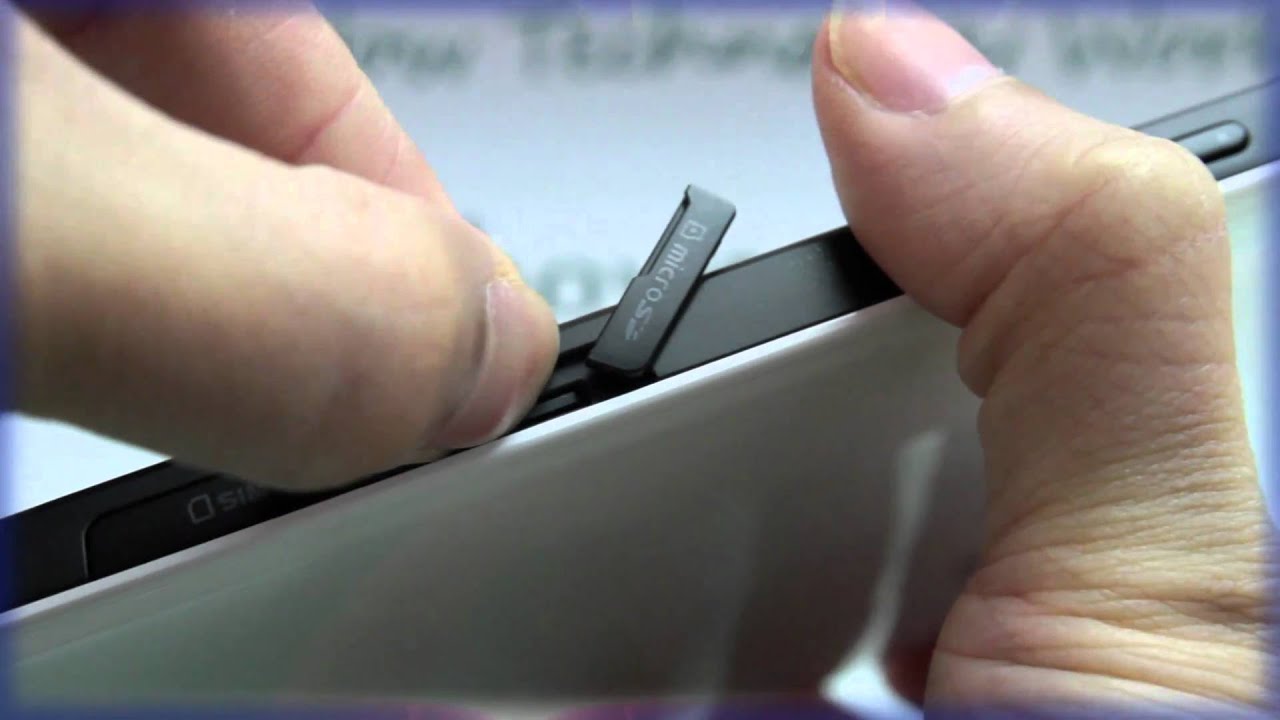
- Insert an SD card or connect an external storage device to your Samsung tablet.
- Open the “Gallery” app or any file manager app that allows you to manage media files on your tablet.
- Navigate to the folder containing the photos and videos you want to move.
- Tap and hold on a photo or video to select it. Alternatively, you can use the checkbox option to select multiple files.
- Once you’ve selected the files, look for an option that allows you to move or copy the selected files. This option may be represented by an icon or a menu option.
- Choose the destination folder on the external storage device where you want to move the files.
- Confirm the move or copy process. Depending on the size and number of files, it may take a moment for the transfer to complete.
- Repeat this process for other folders or categories of photos and videos you want to move to external storage.
Alternatively, some file management apps offer automated features that allow you to set a default location for photos and videos to be saved directly to the external storage device. This can help streamline the process and ensure new media files are automatically stored in the designated location.
Once you have successfully moved your photos and videos to external storage, it’s important to regularly back up these files to ensure they are safe in case of device loss, damage, or other unexpected events. Consider creating additional backups on a separate external storage device or using cloud storage services.
Remember to periodically review the files on your external storage to declutter and organize them. You can also create folders and subfolders to categorize your photos and videos for easier access in the future.
By moving photos and videos to external storage, you can free up internal storage space on your Samsung tablet, ensuring ample room for other apps and files while keeping your precious memories easily accessible.
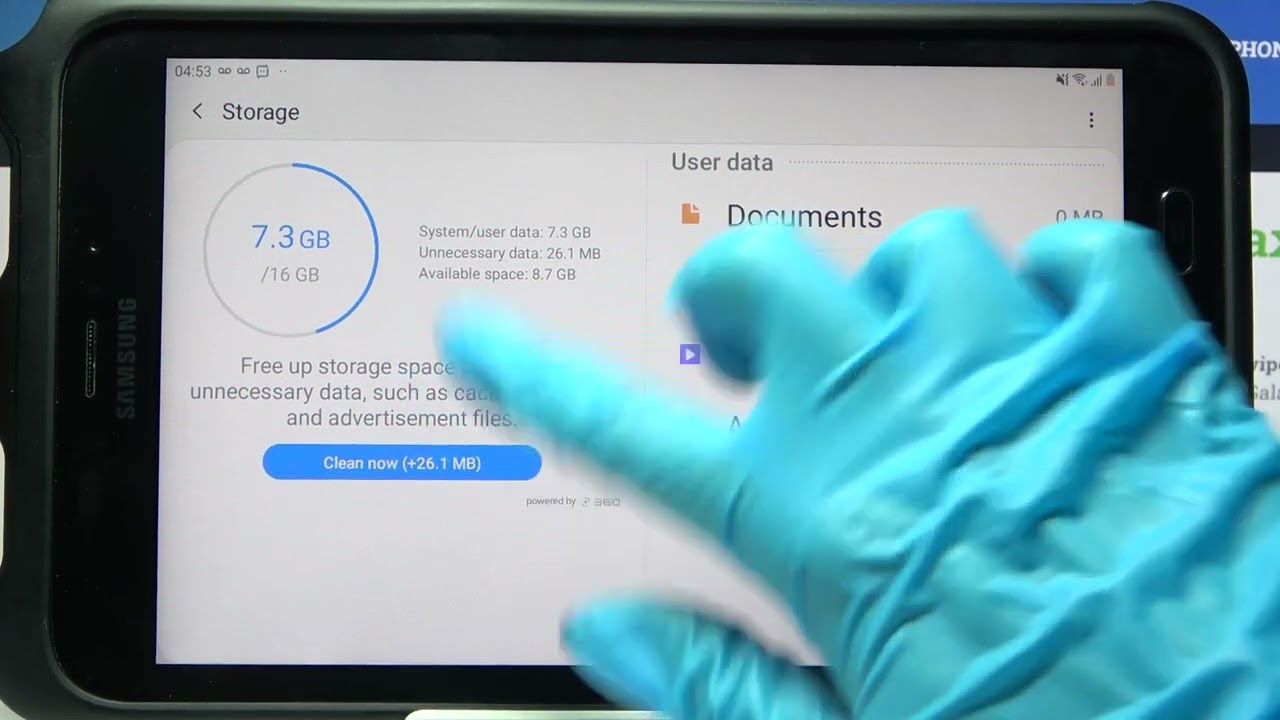
Clear Temporary Files and Junk
Over time, temporary files and junk can accumulate on your Samsung tablet, taking up precious storage space and potentially affecting its performance. Clearing these unnecessary files is a simple yet effective way to reclaim storage and optimize your device’s functionality. Here’s how you can clear temporary files and junk on your Samsung tablet:
- Open the “Settings” app on your tablet.
- Scroll down and tap on “Device Care” or a similar option that manages your tablet’s storage and performance.
- In the storage management section, you’ll find an option to clean temporary files or clear junk. Tap on it to proceed.
- The tablet will analyze and display the amount of temporary files and junk that can be cleared. Tap on the “Clean” or “Delete” button to remove these files.
- Confirm your action when prompted.
Alternatively, you can use dedicated cleaning apps from the Google Play Store, such as “CCleaner” or “SD Maid,” to perform a more thorough cleanup. These apps often offer additional features for optimizing your device’s performance and managing storage space.
In addition to cleaning temporary files and junk, it’s important to be cautious about the apps you install on your tablet. Some apps may generate excessive temporary files or install additional junk files that take up unnecessary space. Be mindful of the apps you choose to install and consider uninstalling any apps that are no longer useful or are known to produce excessive temporary files.
Regularly cleaning temporary files and junk not only frees up storage space but also helps to improve your tablet’s overall performance. It ensures faster app loading times, smoother multitasking, and a more responsive user experience.
Lastly, consider establishing a habit of regularly cleaning temporary files and junk to maintain your tablet’s performance and prevent unnecessary accumulation of storage-consuming files.
By clearing temporary files and junk, you can optimize your Samsung tablet’s storage space and enjoy a smoother and more efficient user experience.
Delete Unnecessary Music Files
Music files can quickly consume a significant amount of storage space on your Samsung tablet, especially if you have a large music collection. Deleting unnecessary music files is a practical way to free up storage and organize your music library. Here’s how you can delete unnecessary music files on your Samsung tablet:
- Open the “Music” app on your tablet or any file manager app that allows you to access and manage music files.
- Navigate to the location where your music files are stored. This may be the internal storage or an external SD card.
- Browse through your music library and identify the files or albums you no longer need.
- Tap and hold on a music file or album to select it. Alternatively, you can use the checkbox option to select multiple files.
- Look for an option to delete the selected files. This option may be represented by an icon or a menu option.
- Confirm the deletion process when prompted. Be cautious while selecting files for deletion to ensure you don’t remove any music files you still want.
- Repeat this process for other music files or albums you want to delete.
It’s important to note that deleting music files will remove them from your device and they cannot be recovered unless you have a backup. If you have any doubts about deleting a music file, consider backing it up to another storage device or cloud storage service before proceeding with the deletion.
If you use a music streaming service like Spotify or Apple Music, you can also save storage space by streaming music instead of downloading it for offline listening. This eliminates the need to store music files locally on your tablet.
Lastly, consider organizing your music library by creating playlists, sorting music by genre or artist, or using music management apps to help you keep track of your favorite songs and albums.
By deleting unnecessary music files, you can free up valuable storage space on your Samsung tablet, ensuring you have room for other files and apps while maintaining an organized and enjoyable music listening experience.
Disable Unused System Apps
System apps are pre-installed on your Samsung tablet and often take up a significant amount of storage space. These apps, while part of the operating system, may not be essential or frequently used by every user. Disabling unused system apps is a useful way to reclaim storage and potentially improve your tablet’s performance. Here’s how you can disable unused system apps on your Samsung tablet:
- Open the “Settings” app on your tablet.
- Scroll down and tap on “Apps” or “Applications” (depending on your device).
- Tap on the three-dot menu icon in the top-right corner of the screen.
- Select “Show system apps” or a similar option to display the system apps on your tablet.
- Scroll through the list and find the system app you want to disable.
- Tap on the app and you’ll be taken to its information page.
- If the “Disable” option is available, tap on it to disable the app.
- A confirmation prompt may appear, informing you of the consequences of disabling the app. Tap “Disable” to proceed.
- Repeat this process for other unused system apps that you want to disable.
It’s important to note that disabling system apps may affect the functionality of your tablet or certain features associated with those apps. Therefore, be cautious while disabling any apps and only disable apps that you are sure you don’t need.
If you ever decide to re-enable a disabled system app, you can follow the same steps but select the “Enable” option instead.
By disabling unused system apps, you can reclaim storage space on your Samsung tablet and potentially improve its performance. It’s a way to customize your device and optimize it according to your needs and preferences.
Remember to periodically review the list of system apps on your tablet and disable any apps that you no longer use or find unnecessary. This will help keep your tablet clutter-free and ensure that your storage space is dedicated to apps and files that are important to you.