Introduction
Having a Samsung tablet can be incredibly convenient and fun, allowing you to browse the internet, watch videos, play games, and stay connected with friends and family. However, as you use your tablet more and more, you may find that the internal storage starts to fill up quickly.
When your tablet’s internal storage is full, it can lead to slower performance, decreased battery life, and difficulty in installing or updating apps. That’s why it’s important to regularly clear and manage your tablet’s internal storage to free up space and optimize its performance.
In this article, we will guide you through several steps to help you clear the internal storage on your Samsung tablet. These steps include removing unnecessary apps, clearing cache, deleting unnecessary downloads, transferring files to an SD card or a computer, using the Smart Manager app, and factory resetting the tablet.
By following these steps, you can regain valuable storage space on your tablet, ensure smooth and efficient operation, and make room for new apps, games, and media files.
Step 1: Check the Storage Space
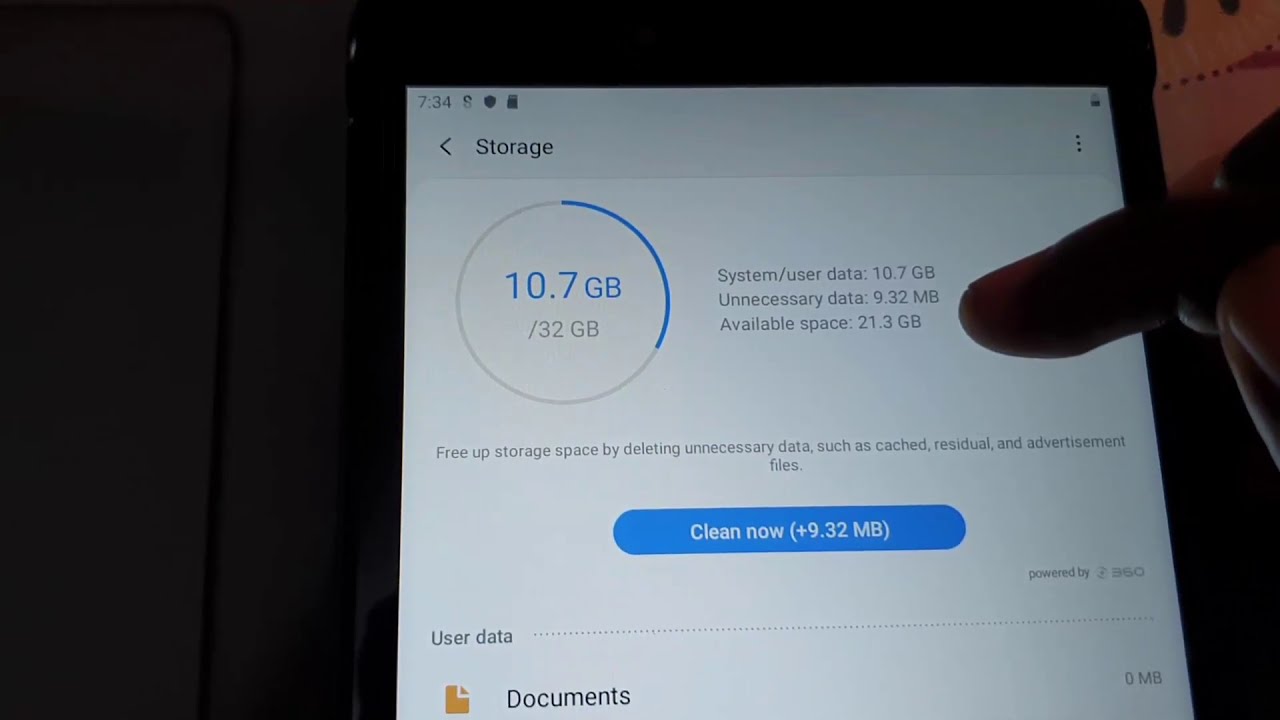
The first step in clearing the internal storage on your Samsung tablet is to check how much storage is currently being used. This will give you an idea of how much space you need to free up.
To check the storage space on your tablet, follow these steps:
- Open the Settings app on your tablet. You can usually find it in the app drawer or by swiping down from the top of the screen and tapping the gear icon.
- Scroll down and tap on “Device care” or “Device maintenance” (the name may vary depending on your tablet model).
- Look for the “Storage” or “Storage and USB” option and tap on it.
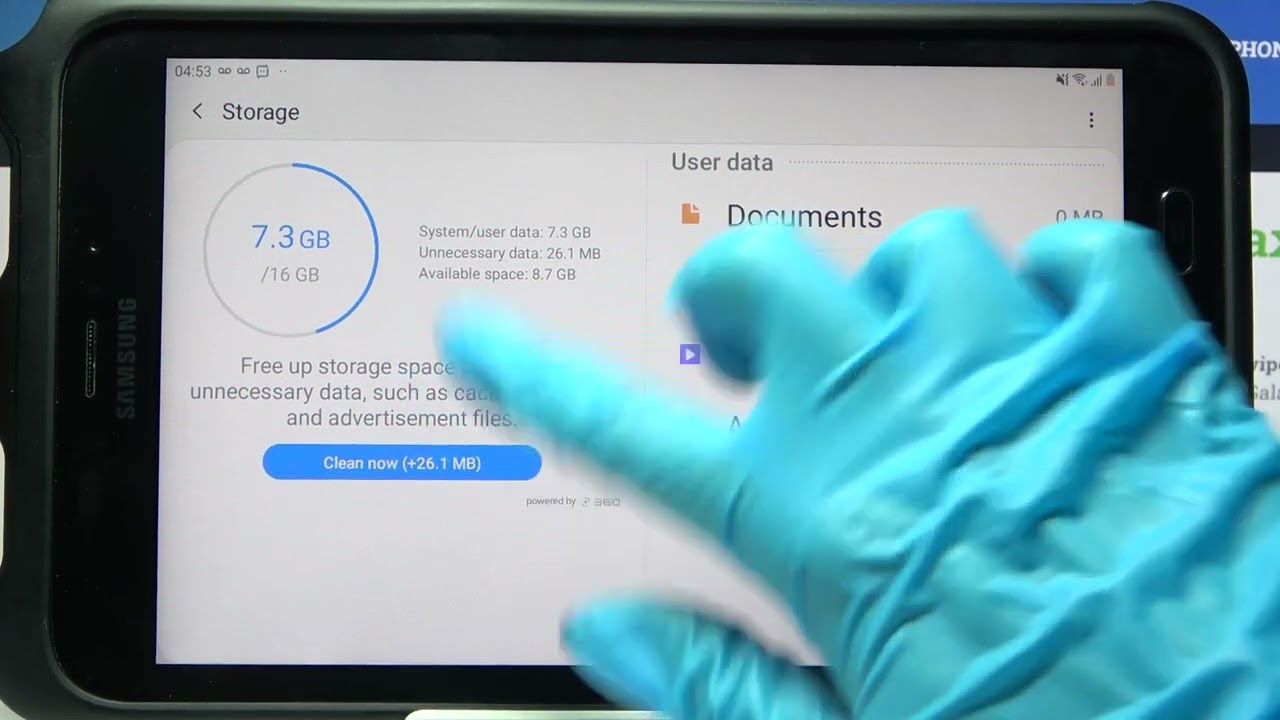
- You will see a breakdown of the storage usage on your tablet, showing how much space is used by different categories such as apps, photos, videos, and system files.
- Take note of the total amount of storage used and the available space. This will give you an idea of how much space you need to free up.
Once you have an understanding of your tablet’s storage usage, you can proceed to the next steps to clear unnecessary files and create more space on your device.
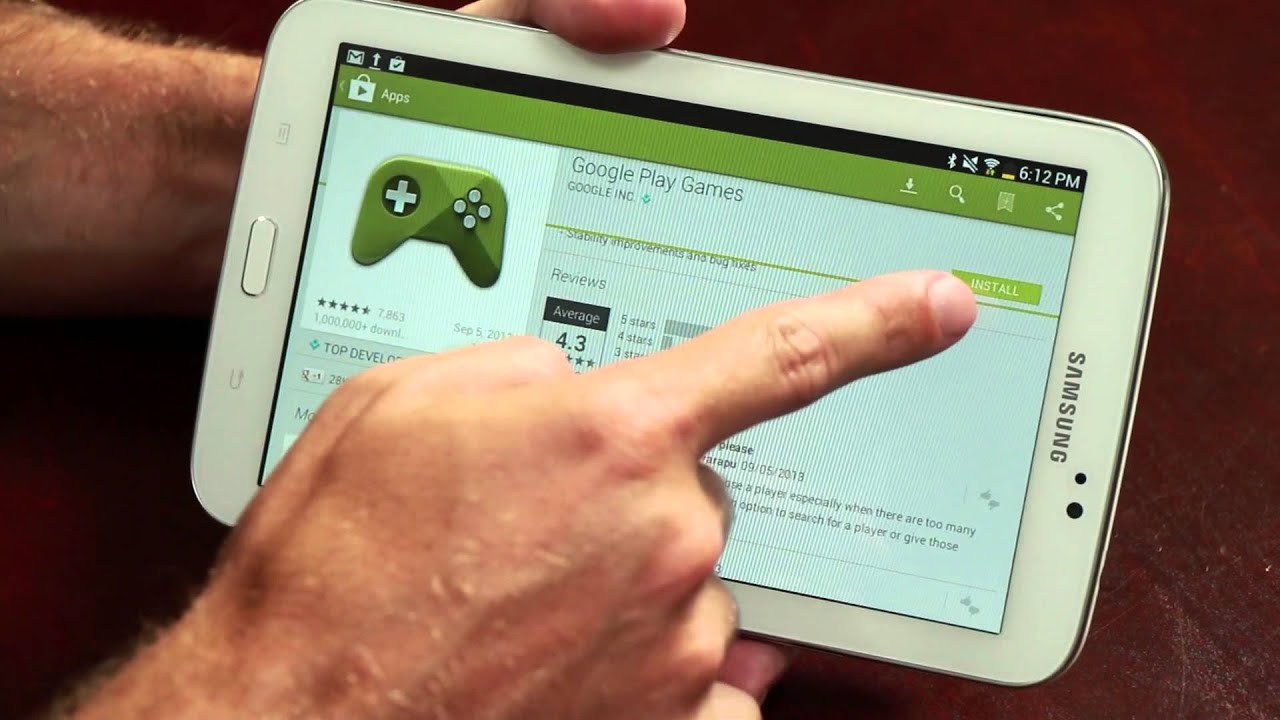
Step 2: Remove Unnecessary Apps
One of the easiest ways to free up space on your Samsung tablet’s internal storage is to remove unnecessary apps that you no longer use. These apps can take up a significant amount of space and contribute to slowing down your device.
To remove unnecessary apps, follow these steps:
- Open the Settings app on your tablet.
- Scroll down and tap on “Apps” or “Applications” (the name may vary depending on your tablet model).
- You will see a list of all the apps installed on your tablet. Tap on the app that you want to remove.
- On the app’s info page, you will have the option to “Uninstall” or “Disable” the app. If you don’t use the app at all, uninstalling it is the best option. If you want to keep the app but prevent it from running in the background, you can choose to disable it.
- Confirm the uninstallation or disablement when prompted.
- Repeat these steps for any other unnecessary apps that you want to remove.
By removing unnecessary apps, you can free up valuable storage space and improve the overall performance of your Samsung tablet. It’s a good practice to regularly review your installed apps and get rid of those that are no longer needed or used.
Step 3: Clear Cache
Clearing the cache on your Samsung tablet can help free up storage space and improve the performance of your device. The cache is a temporary storage location for data and files that are used by apps to load faster. However, over time, the cache can accumulate a significant amount of unnecessary data.
To clear the cache on your tablet, follow these steps:
- Open the Settings app on your tablet.
- Scroll down and tap on “Apps” or “Applications” (the name may vary depending on your tablet model).
- Tap on an app that you want to clear the cache for.
- On the app’s info page, you will see an option to “Clear cache” or “Storage”. Tap on it.
- Confirm the action when prompted.
- Repeat these steps for other apps that you want to clear the cache for.
In addition to clearing cache for individual apps, you can also use the “Clear cache” option in the Settings app to clear the cache for all apps at once. Here’s how:
- Open the Settings app on your tablet.
- Scroll down and tap on “Device care” or “Device maintenance”.
- Tap on “Storage” or “Storage and USB”.
- Tap on “Cached data”.
- Confirm the action when prompted.
By clearing the cache regularly, you can remove unnecessary temporary files and free up storage space on your Samsung tablet.
Step 4: Delete Unnecessary Downloads
Over time, your Samsung tablet’s internal storage can become cluttered with unnecessary downloads such as files, documents, images, and videos. These downloads not only take up valuable space but can also make it harder to find important files when you need them.
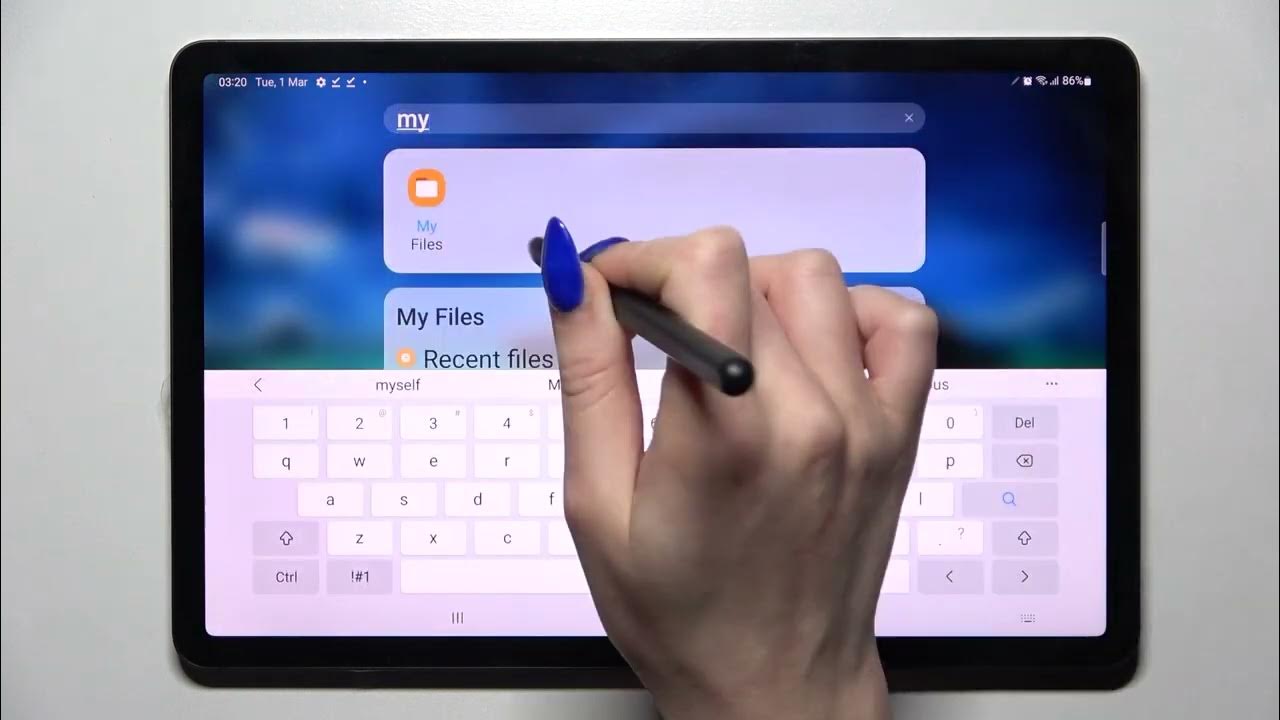
To delete unnecessary downloads on your tablet, follow these steps:
- Open the “Files” or “My Files” app on your tablet. You can usually find it in the app drawer or on the home screen.
- Navigate to the “Downloads” or “Downloaded files” folder. This is where downloaded files are stored by default.
- Browse through the files and identify the ones that you no longer need.
- Long press on a file to select it, then tap on the other files that you want to delete.
- Tap on the trash bin icon or select “Delete” from the options menu to remove the selected files.
- Confirm the deletion when prompted.
- Repeat these steps for any other unnecessary downloads that you want to remove.
Another option is to use a file manager app, like ES File Explorer or Solid Explorer, that provides more advanced features for managing files and allows you to easily identify and delete unnecessary downloads.
By regularly deleting unnecessary downloads, you can free up storage space and keep your Samsung tablet organized.
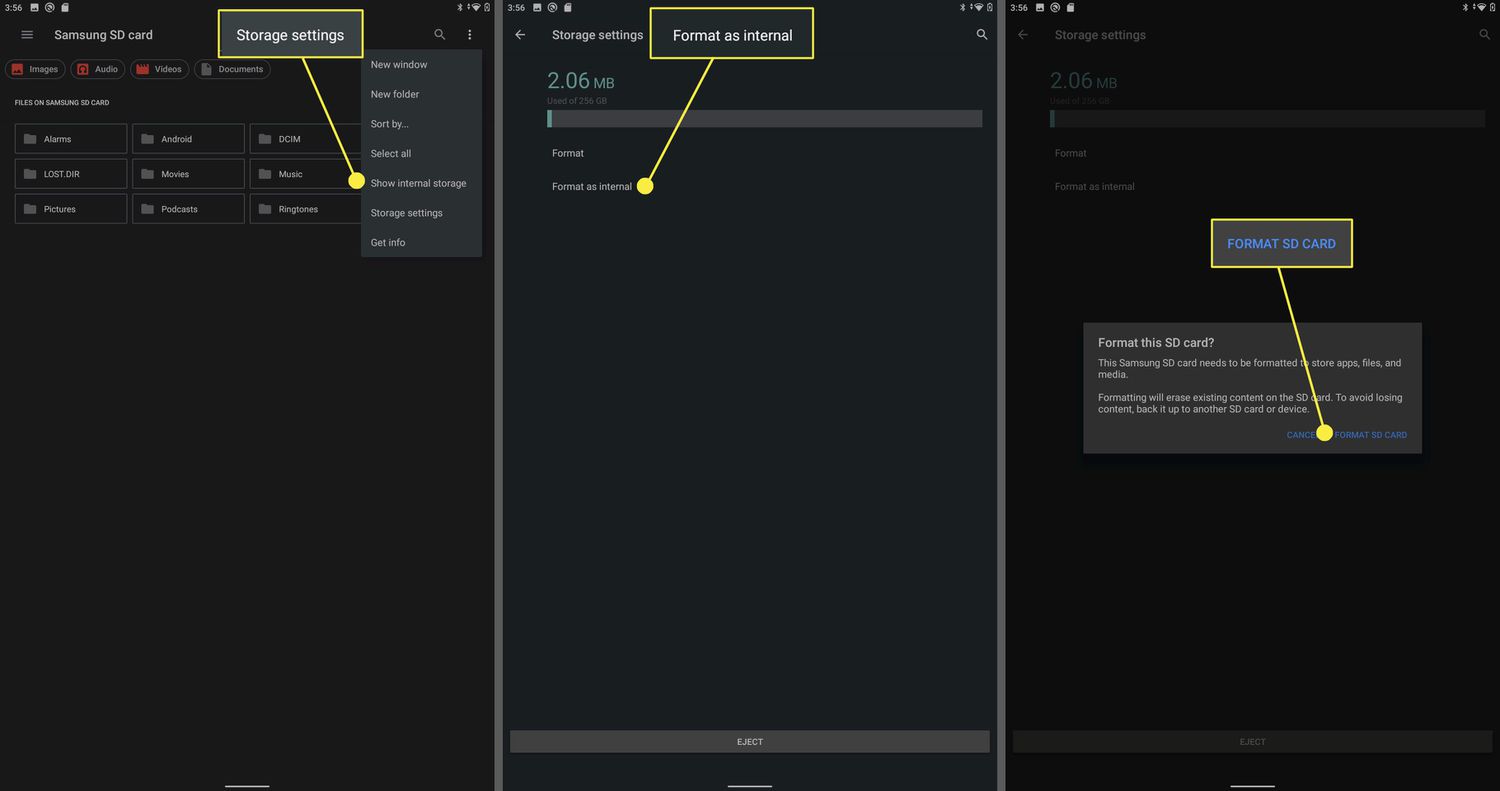
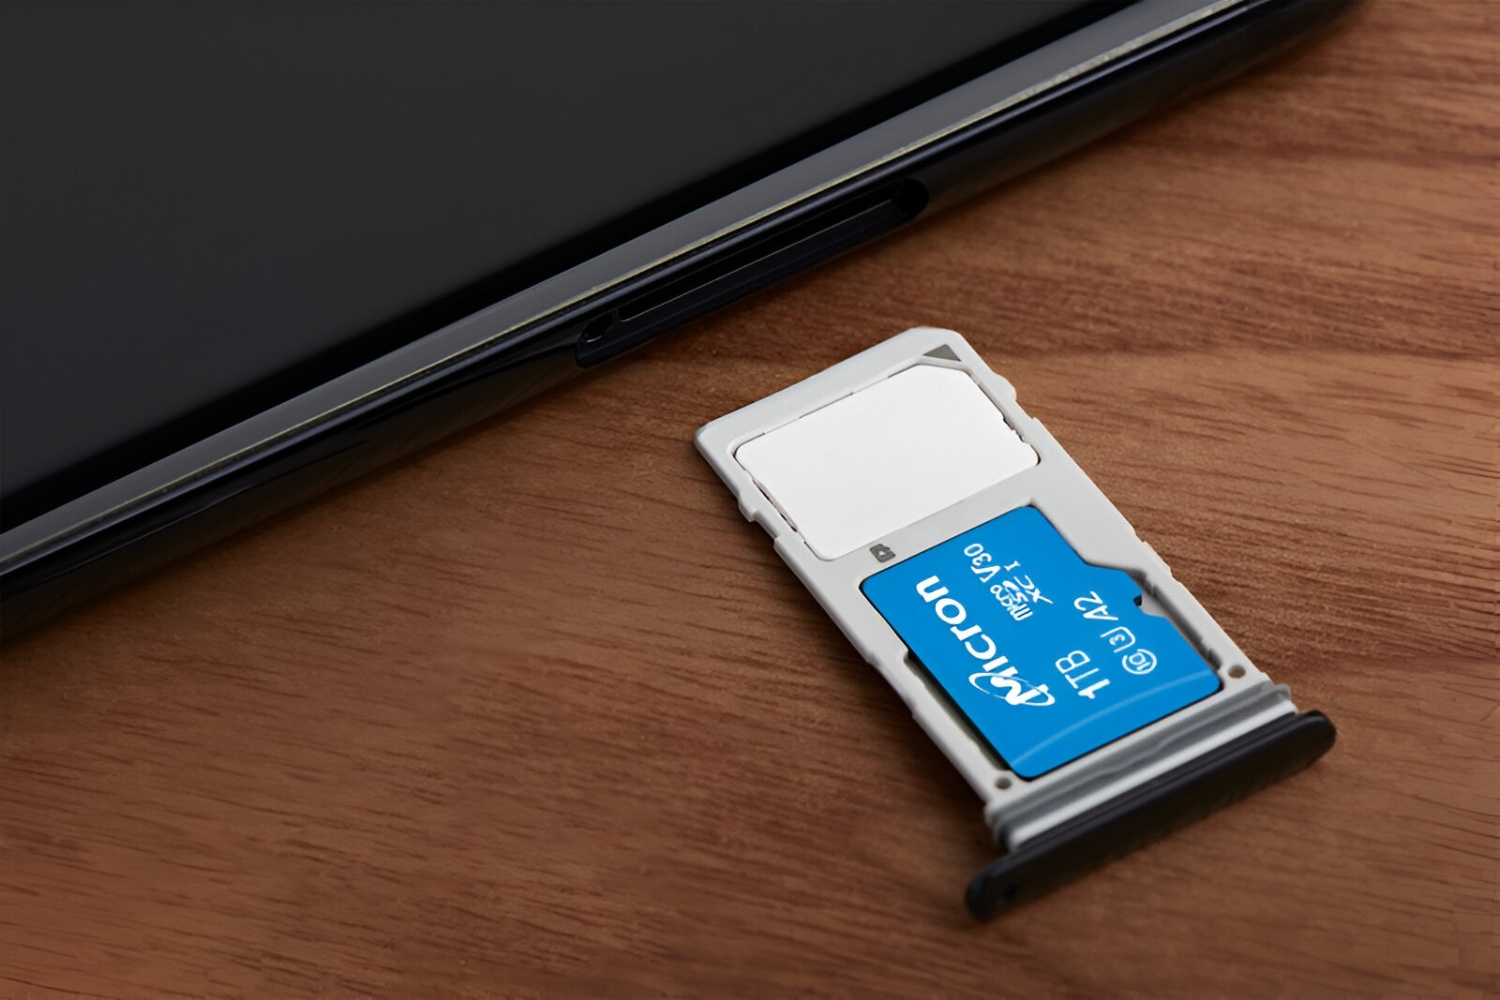
Step 5: Move Files to an SD Card
If your Samsung tablet has an SD card slot, you can utilize it to expand your storage capacity and free up space on the internal storage. By moving files such as photos, videos, and documents to an SD card, you can make room for new apps and files on your tablet.
To move files to an SD card on your tablet, follow these steps:
- Insert an SD card into the SD card slot on your tablet. If your tablet doesn’t have a built-in SD card slot, you can use a USB OTG (On-The-Go) adapter to connect an external SD card reader.
- Open the “Files” or “My Files” app on your tablet.
- Navigate to the location of the file(s) that you want to move. This could be in the “Internal storage” or “Device storage” folder.
- Long press on a file to select it, then tap on the other files that you want to move.
- Tap on the “Move” or “Cut” button. It may be represented by an icon with a pair of scissors or a folder with an arrow pointing out.
- Navigate to the “SD card” or “External storage” folder. This is where files on the SD card are stored.
- Tap on the “Paste” or “Move here” button to move the selected files to the SD card.
- Repeat these steps for any other files that you want to move to the SD card.
It’s important to note that not all apps and files can be moved to an SD card. Some apps have restrictions in place, and certain files essential for system operations cannot be relocated. However, moving media files like photos and videos to the SD card can still free up a significant amount of space on your tablet’s internal storage.
By utilizing an SD card, you can effectively manage your tablet’s storage and create more room for apps and files without the need to delete or uninstall anything.
Step 6: Transfer Files to a Computer or Cloud Storage
If you have a large amount of data on your Samsung tablet that you don’t frequently access but still want to keep, transferring those files to a computer or cloud storage can be a great option. This helps to free up space on your tablet’s internal storage while allowing you to access your files whenever you need them.
To transfer files to a computer, follow these steps:
- Connect your Samsung tablet to your computer using a USB cable.
- On your tablet, swipe down from the top of the screen to access the notification panel.
- Tap on “USB charging this device” or “Use USB for” and select “File transfer” or “Transfer files”.
- On your computer, open File Explorer (Windows) or Finder (Mac).
- Locate your tablet in the list of connected devices or as a removable storage device.
- Open the storage folder on your tablet and navigate to the files or folders that you want to transfer.
- Drag and drop the files or folders from your tablet’s storage to a location on your computer.
If you prefer to use cloud storage, follow these steps:
- Sign up for a cloud storage service like Google Drive, Dropbox, or OneDrive.
- Install the corresponding cloud storage app on your Samsung tablet.
- Open the cloud storage app and sign in with your account credentials.
- Navigate to the location where you want to upload your files.
- Tap on the “+” or “Upload” button.
- Select the files or folders that you want to upload from your tablet.
- Wait for the upload process to complete.
Once you have transferred your files to a computer or uploaded them to a cloud storage service, you can safely delete them from your tablet’s internal storage to free up space.
Remember to regularly back up your files to ensure they remain safe and accessible, even if something happens to your tablet.
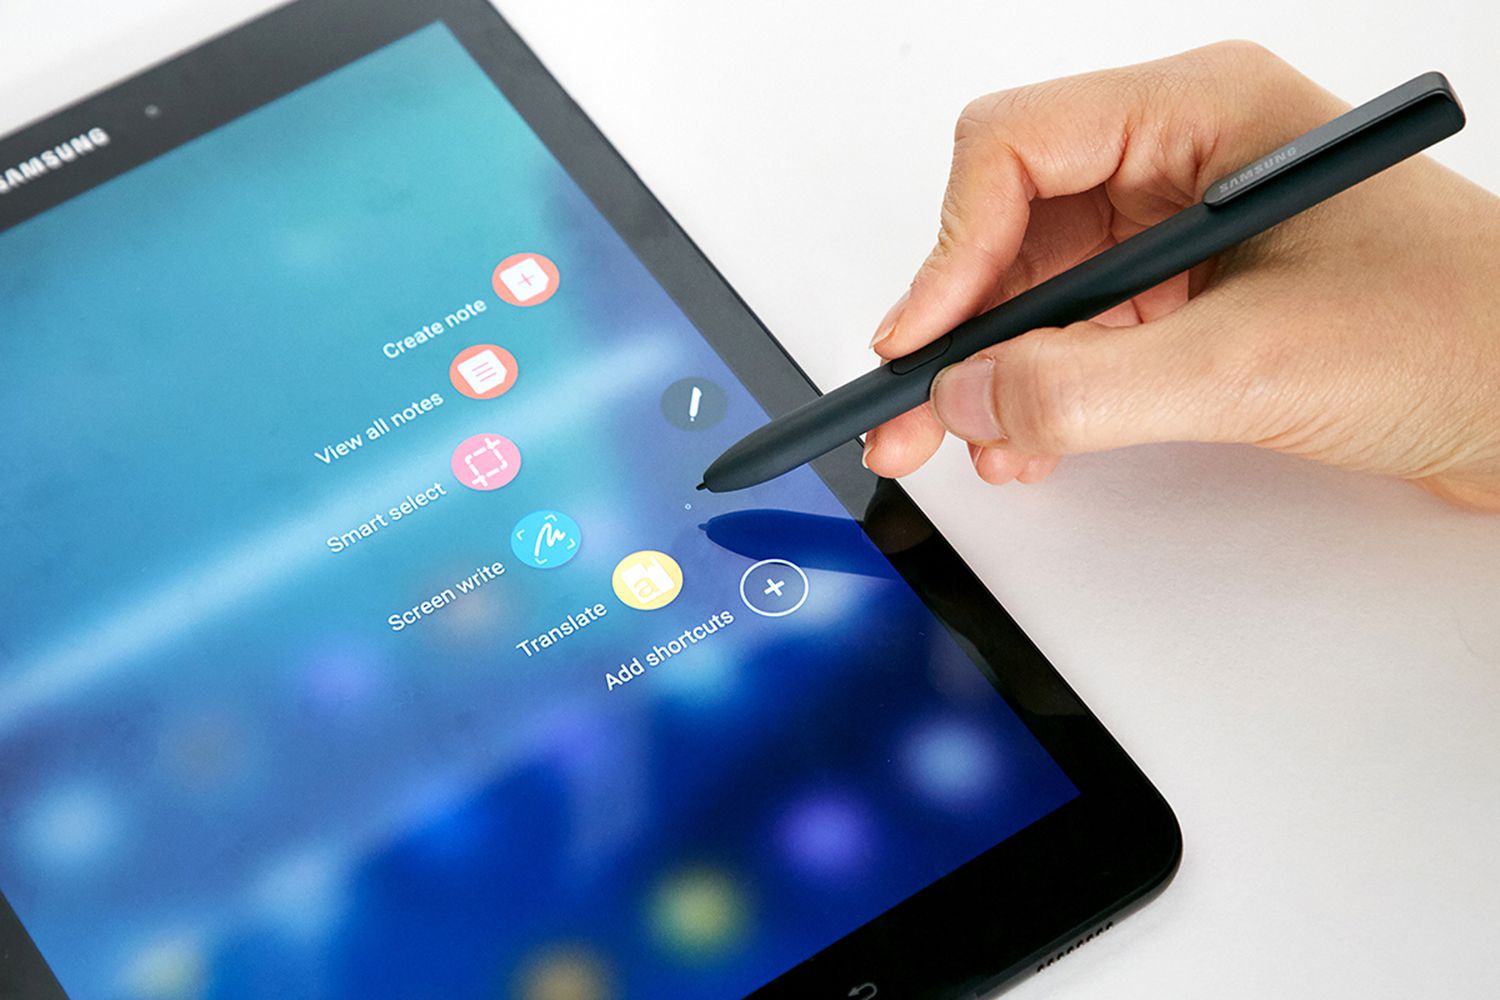
Step 7: Use the Smart Manager App
The Smart Manager app, available on Samsung tablets, is a powerful tool that can help you optimize and manage your device’s storage, performance, and battery life. It provides a convenient way to clear unnecessary files and free up space on your tablet’s internal storage.
To use the Smart Manager app to clear storage on your Samsung tablet, follow these steps:
- Open the Smart Manager app on your tablet. You can usually find it in the app drawer or by swiping down from the top of the screen and tapping the gear icon to access the settings, then locating the “Smart Manager” option.
- On the Smart Manager main screen, you will see several categories such as Battery, Storage, RAM, and Security. Tap on “Storage” or a similar storage-related option.
- The app will analyze your tablet’s storage usage and display a breakdown of the space used by different categories such as Apps, Pictures, Videos, Audio, and Documents.
- Tap on a specific category to view the files within it.
- Review the files and select any unnecessary ones that you want to delete.
- Tap on the “Delete” or trash bin icon to remove the selected files.
- Confirm the deletion when prompted.
- Repeat these steps for other categories or files that you want to clear.
In addition to clearing unnecessary files, the Smart Manager app also provides suggestions to optimize your tablet’s performance, improve battery life, and manage app permissions. It’s a handy tool to help you keep your Samsung tablet running smoothly and efficiently.
Make sure to regularly use the Smart Manager app to keep your tablet’s storage clean and optimized.
Step 8: Factory Reset the Tablet
If you have tried all the previous steps and are still facing storage issues on your Samsung tablet, performing a factory reset may be the solution. Factory resetting your tablet will erase all data, settings, and apps on the device, returning it to its original factory state. This can help resolve any persistent storage problems and give you a fresh start.
Before proceeding with a factory reset, it’s important to backup any important data or files that you want to keep, as they will be permanently erased. Once you have backed up your data, follow these steps to perform a factory reset:
- Open the Settings app on your tablet.
- Scroll down and tap on “General Management” or a similar option.
- Tap on “Reset” or “Reset options”.
- Select “Factory data reset” or a similar reset option.
- Review the information provided and tap on “Reset” or “Erase all data”.
- Enter your PIN or password if prompted.
- Confirm the factory reset when prompted.
- Wait for the reset process to complete. Your tablet will restart and begin the setup process.
After the factory reset, you can set up your tablet again by following the on-screen instructions. Remember to install only the necessary apps and avoid cluttering your tablet with unnecessary files to keep the storage optimized.
Note that performing a factory reset will erase all data, including your personal information and settings. Therefore, it’s crucial to back up any important data before proceeding with this step.
Factory resetting your tablet can be a drastic but effective solution for persistent storage issues. It is recommended to explore other storage management options before resorting to a factory reset.
Conclusion
Clearing the internal storage on your Samsung tablet is essential for maintaining optimal performance and making room for new apps and files. By following the steps outlined in this guide, you can effectively manage and free up space on your tablet’s internal storage.
Firstly, it’s important to check the storage space on your tablet to gauge how much space you need to free up. Then, remove unnecessary apps that are taking up valuable storage space. Clearing the cache can also help to eliminate unnecessary temporary files and improve performance.
Deleting unnecessary downloads and transferring files to an SD card or a computer can significantly free up internal storage. Utilizing cloud storage is another convenient option to store files securely while freeing up space on your tablet.
The Smart Manager app offers a comprehensive solution for managing storage, optimizing performance, and improving battery life. Lastly, if all else fails, a factory reset can provide a fresh start by restoring your tablet to its original factory state.
Remember to back up important data before performing a factory reset, as it will erase all data on the device.
By regularly implementing these steps, you can ensure that your Samsung tablet operates smoothly and efficiently, with ample storage space for your needs.