Introduction
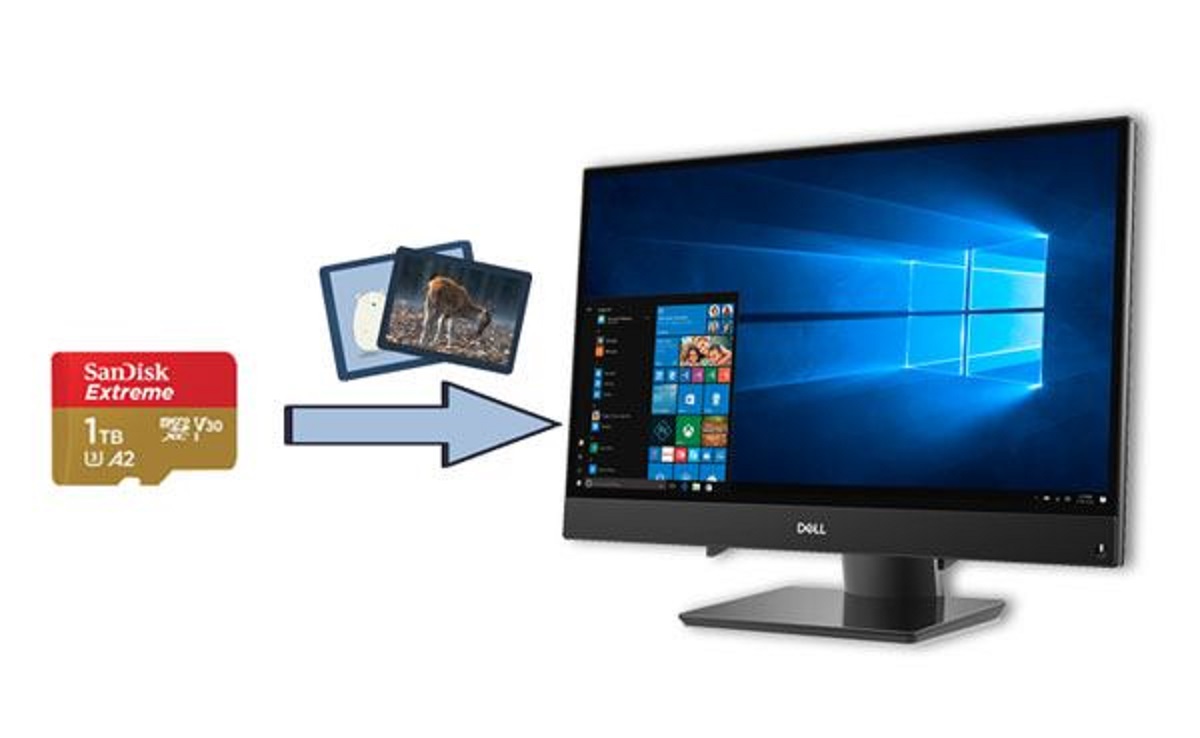
Transferring files from an SD card to your computer is a common task that can be quite useful for various purposes. Whether you want to back up your important data, free up space on your SD card, or simply have easy access to your files on a larger screen, knowing how to transfer your SD card files to your computer is essential.
In this article, we will guide you through the step-by-step process of transferring files from an SD card to your computer. By following these simple instructions, you will be able to seamlessly transfer photos, videos, documents, and other files, and have them readily available on your computer.
Before we get started, it’s important to note that the specific steps may vary slightly depending on your operating system and the type of computer you are using. However, the general process remains the same.
So, whether you are using a Windows PC, a Mac, or even a Linux system, our comprehensive guide will ensure that you can easily transfer files from your SD card to your computer hassle-free.
Step 1: Insert the SD card into a card reader
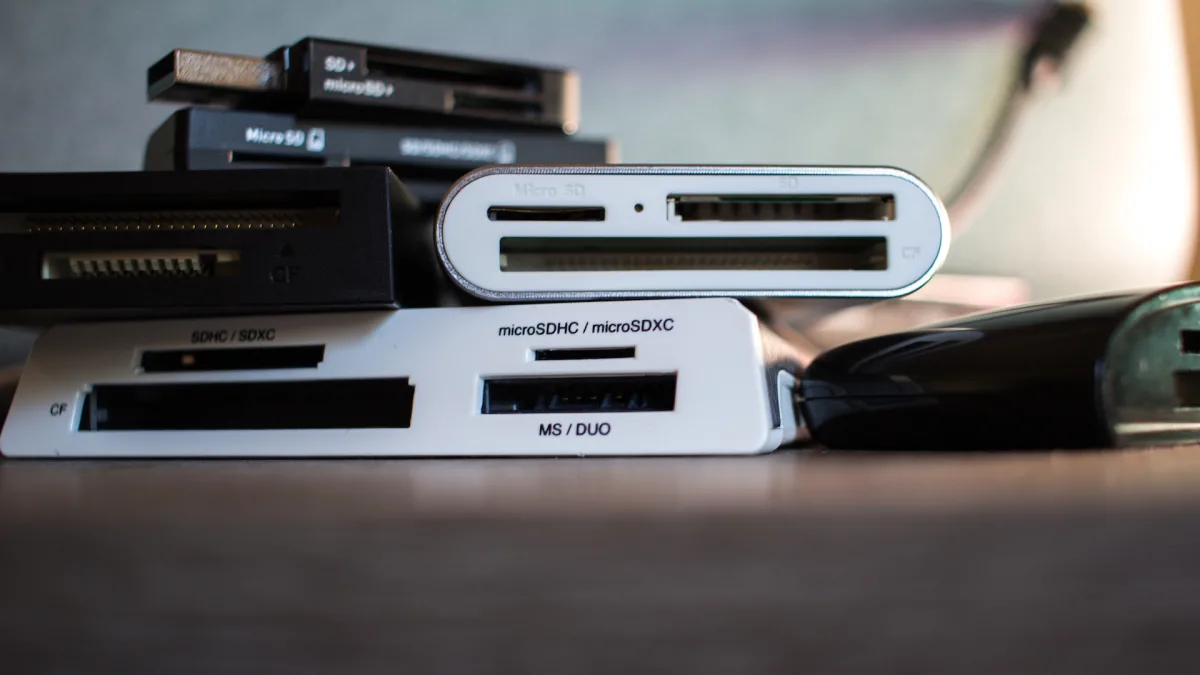
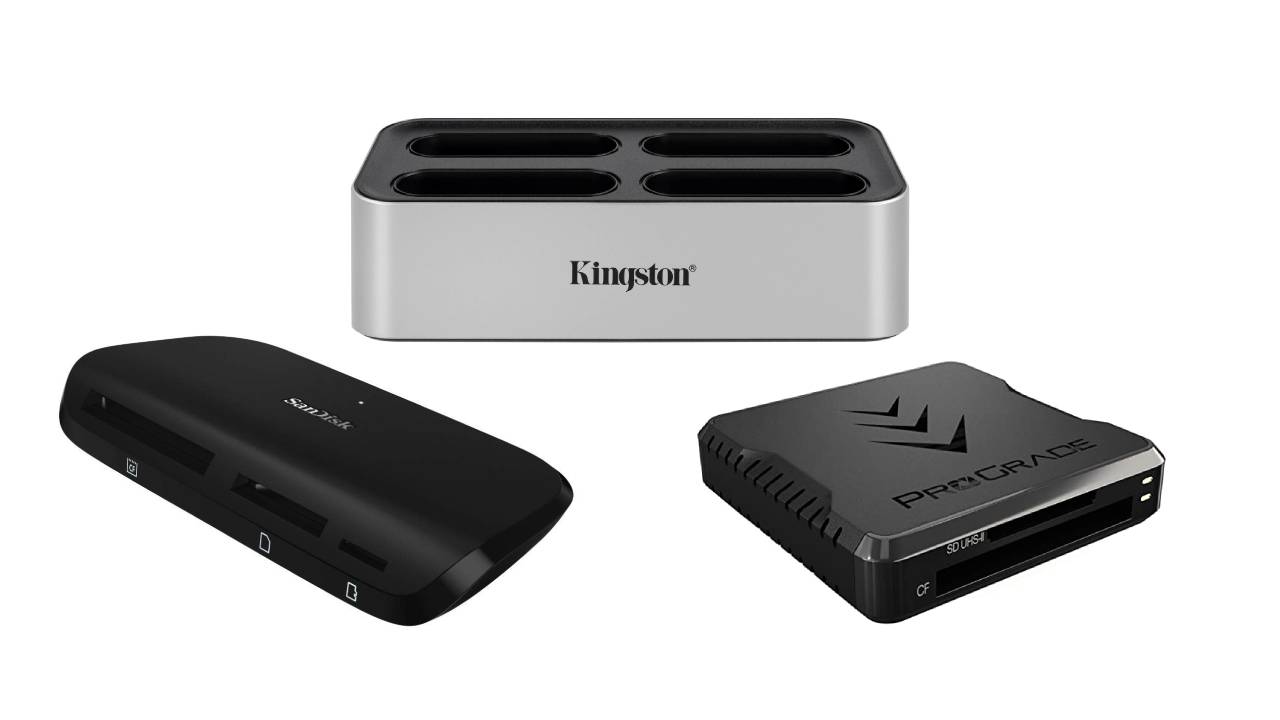
The first step in transferring files from your SD card to your computer is to insert the SD card into a card reader. A card reader is a device that allows you to connect your SD card to your computer for data transfer.
To begin, locate the slot for the SD card on the card reader. Most card readers have multiple slots to accommodate different types of memory cards. Ensure that you insert the SD card into the appropriate slot.
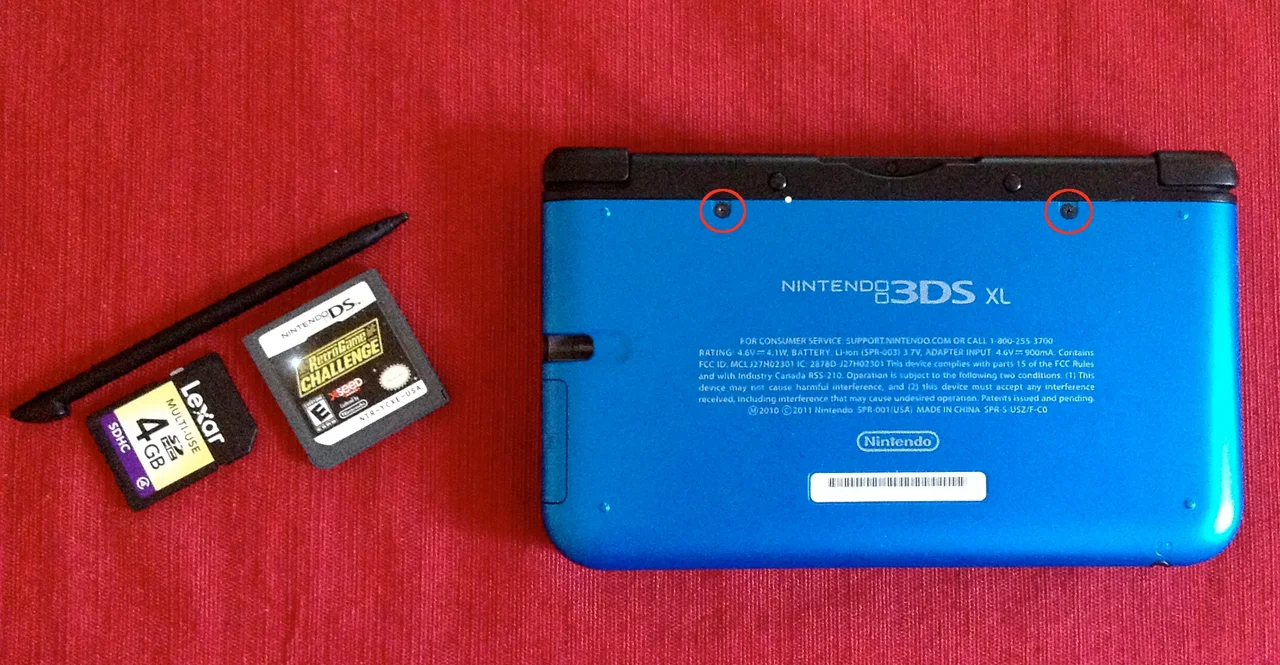
Handle the SD card with care and avoid touching the golden metal contacts on the card. This helps prevent any damage or data loss due to static electricity or fingerprints.
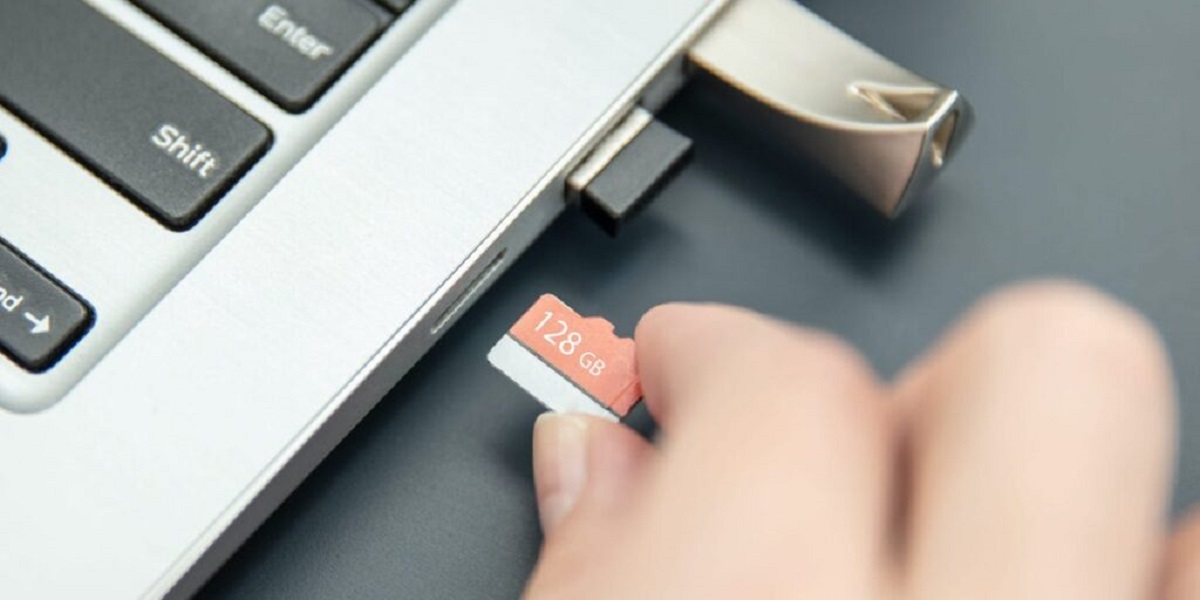
Gently insert the SD card into the slot, ensuring that it is properly aligned. Push the card in until you feel a slight click or resistance, indicating that the card is securely in place.
Once the SD card is inserted, you are ready to move on to the next step.
Remember to remove any other memory cards or USB devices from the card reader slots to avoid confusion or accidental transfers of files.
Step 2: Connect the card reader to your computer
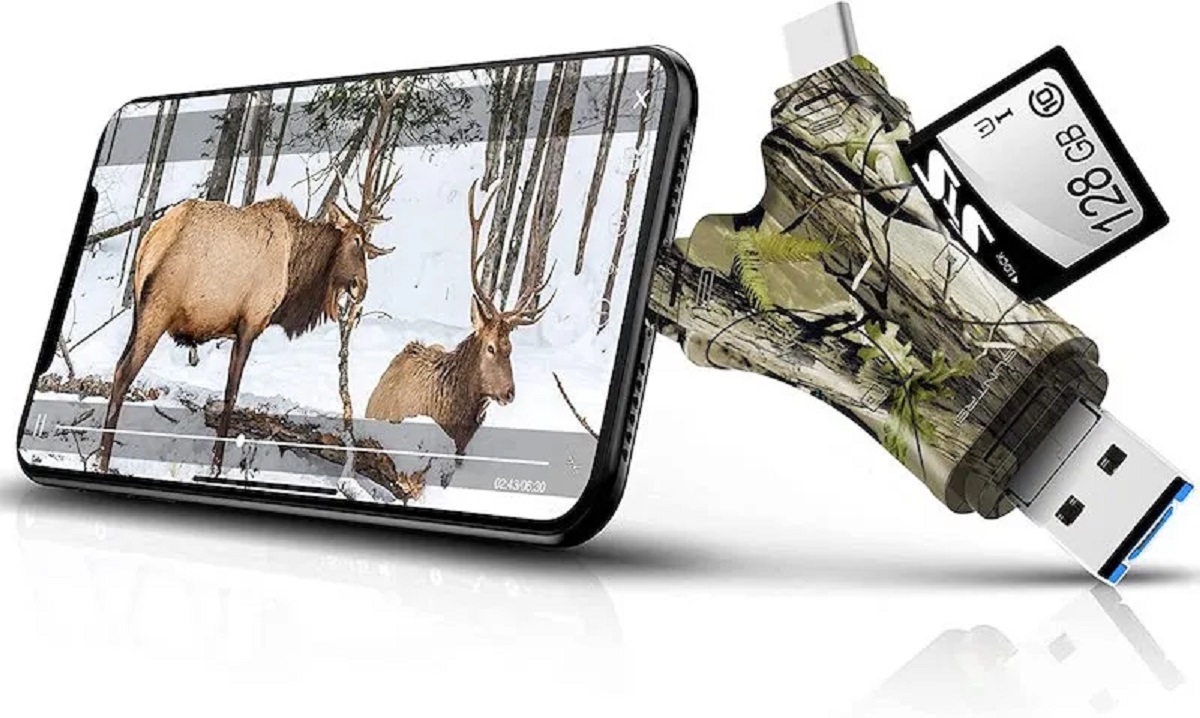
After inserting the SD card into the card reader, the next step is to connect the card reader to your computer. This allows your computer to recognize the SD card and enables the file transfer process.
First, locate an available USB port on your computer. USB ports are typically found on the front or back panel of a desktop computer or on the sides of a laptop.
Once you have identified a USB port, take the USB cable attached to the card reader and connect it to the USB port on your computer. Make sure the connection is secure.
Depending on the type of card reader you have, you may need to install drivers or software provided by the manufacturer. Follow the instructions provided with the card reader to install any necessary drivers.
Once the card reader is connected to your computer and the necessary drivers are installed, your computer will recognize the SD card as a removable storage device.
In the case of some modern computers, the SD card may also show up as a pop-up notification, indicating that it has been successfully connected. If this happens, you can simply click on the notification to open the SD card in the file explorer.
Now that your card reader is connected to your computer, you are ready to move on to the next step and access the files on your SD card.
Step 3: Open the file explorer on your computer
Once the card reader is connected to your computer, the next step is to open the file explorer. The file explorer is a software program on your computer that allows you to navigate through the files and folders stored on your system.
The method of opening the file explorer may vary slightly depending on your operating system. Here are some common ways to open the file explorer:
- For Windows: You can open the file explorer by clicking on the “File Explorer” or “Windows Explorer” icon in the taskbar, usually located at the bottom left corner of the screen. Alternatively, you can press the “Windows” key + “E” on your keyboard as a shortcut to open the file explorer.
- For Mac: You can open the file explorer by clicking on the “Finder” icon in the dock, usually located at the bottom of the screen. Additionally, you can press “Command” + “Space” to open the Spotlight search, type “Finder,” and press “Enter” to open the file explorer.
- For Linux: The file explorer may vary depending on the distribution you are using. In most cases, you can open the file explorer by clicking on the “Files” or “Home” icon in the launcher or taskbar.
Regardless of the operating system, once the file explorer is open, you will see a window displaying the files and folders on your computer.
Now that you have successfully opened the file explorer, you are ready to proceed to the next step and locate the SD card in the file explorer.
Step 4: Locate the SD card in the file explorer
With the file explorer open on your computer, it’s time to locate the SD card within the file system. This will allow you to access and manage the files stored on the SD card.
In the file explorer window, look for a section or panel that displays the list of connected drives and devices. The SD card will be listed as a separate drive or device.
The name of the SD card drive may vary depending on your computer’s configuration and the label you have assigned to the SD card. Typically, it will be labeled with a drive letter followed by the SD card’s capacity and/or name.
For example, in Windows, the SD card may be labeled as “Removable Disk (E:)” or “SD Card (G:)”, where “E:” or “G:” represents the assigned drive letter.
In Mac, the SD card may appear as “NO NAME” or with a custom name you have given to the card. It is usually located in the sidebar under the “Devices” section.
In Linux, the SD card may be listed under the “Devices” or “Drives” section, often with the label representing the SD card’s capacity or name.
Once you have located the SD card in the file explorer, you can double-click on it to open and explore its contents. The SD card may contain multiple folders and files, depending on how you have organized it.
Keep in mind that the file explorer may display other drives and devices as well, such as your computer’s internal storage or external hard drives. Make sure to only access and modify files within the SD card to avoid any accidental changes or deletions.
Now that you have successfully located the SD card in the file explorer, you are ready to move on to the next step and start transferring files from the SD card to your computer.
Step 5: Copy or move files from the SD card to your computer
Now that you have located the SD card in the file explorer, it’s time to transfer the files from the SD card to your computer. There are two main methods you can use: copying or moving the files.
To copy files:
- Select the files or folders you want to copy from the SD card. You can select multiple files by holding down the Ctrl key (Windows) or the Command key (Mac) while clicking on each file.
- Right-click on the selected files and choose “Copy” from the context menu. Alternatively, you can use the keyboard shortcut Ctrl+C (Windows) or Command+C (Mac) to copy the files.
- Navigate to the desired location on your computer where you want to store the copied files.
- Right-click on the destination folder or location and choose “Paste” from the context menu. Alternatively, you can use the keyboard shortcut Ctrl+V (Windows) or Command+V (Mac) to paste the files.
- The selected files will now be copied from the SD card to your computer, and you can access them in the destination folder you chose.
To move files:
- Select the files or folders you want to move from the SD card. You can select multiple files by holding down the Ctrl key (Windows) or the Command key (Mac) while clicking on each file.
- Right-click on the selected files and choose “Cut” or “Move” from the context menu. Alternatively, you can use the keyboard shortcut Ctrl+X (Windows) or Command+X (Mac) to cut the files.
- Navigate to the desired location on your computer where you want to move the files.
- Right-click on the destination folder or location and choose “Paste” from the context menu. Alternatively, you can use the keyboard shortcut Ctrl+V (Windows) or Command+V (Mac) to paste the files.
- The selected files will now be moved from the SD card to your computer, and you can access them in the destination folder you chose.
Copying files will create a replica of the files on your computer while keeping the original files on the SD card intact. Moving files, on the other hand, will transfer the files entirely from the SD card to your computer, removing them from the SD card.
Choose the method that best suits your needs. Once the files are successfully transferred, you can disconnect the SD card and enjoy easy access to your files on your computer.
Step 6: Safely remove the SD card from the computer
After successfully transferring files from the SD card to your computer, it is important to safely remove the SD card to avoid any potential data loss or damage.
Follow these steps to safely remove the SD card from your computer:
- Ensure that all file transfers from the SD card to your computer are complete. Make sure that no files are currently being copied, moved, or accessed from the SD card.
- In the file explorer, navigate to the list of drives and devices.
- Right-click on the SD card drive and select the “Eject” or “Safely Remove” option from the context menu. Alternatively, you may have a dedicated software or utility on your computer for safely removing external devices.
- Wait for a notification or confirmation message indicating that it is safe to remove the SD card. This ensures that all data transfers are complete and the SD card is no longer in use by your computer.
- Once you receive the confirmation message, gently remove the SD card from the card reader by grasping it at the edges and pulling it straight out.
It is essential to avoid forcefully removing or abruptly disconnecting the SD card as it may cause data corruption or damage to the card.
Now that you have safely removed the SD card from your computer, you can store it in a safe place or insert it into another device as needed.
Remember that you can repeat this process whenever you need to transfer files between your SD card and your computer.
By following these steps, you can ensure a seamless and secure transfer of files and maintain the integrity of your data on the SD card.
Conclusion
Transferring files from an SD card to your computer is a straightforward process that allows you to easily access and manage your files on a larger screen. Whether you want to back up important data, create more space on your SD card, or simply have a convenient way to view your files, following these steps will enable you to accomplish your goals.
Remember to take care when inserting and removing the SD card from the card reader to prevent any damage or data loss. Safely removing the SD card from your computer ensures the integrity of your files.
By inserting the SD card into a card reader and connecting it to your computer, you can open the file explorer and locate the SD card. From there, you can copy or move files to your computer, depending on your preference. Once the transfer is complete, you can safely remove the SD card from your computer.
Whether you are using a Windows PC, a Mac, or a Linux system, the general process remains the same, but the specific steps may vary slightly. Therefore, it is important to refer to the instructions specific to your operating system for precise guidance.
Now that you have mastered the process of transferring files from an SD card to your computer, you can more effectively manage and organize your files. Enjoy the convenience and flexibility that comes with having your files readily available on your computer!