Introduction
Welcome to the guide on how to change the SD card on a New 3DS! If you’re a proud owner of a New 3DS console, you’re already aware of the joy it brings with its immersive gaming experience. However, as you continue to explore and download more games or save data, you may find that your current SD card is running out of storage space. In such cases, it becomes necessary to upgrade or replace your SD card to ensure you can continue enjoying your games without any hitches.
Changing the SD card on a New 3DS might seem like a daunting task, but fear not. With this step-by-step guide, we will walk you through the process, making it easy and hassle-free. Before we dive in, it’s important to note that the New 3DS uses a microSD card, so you’ll need to have a compatible microSD card handy for the switch.
In the following sections, we will cover everything you need to know to successfully change your SD card on a New 3DS. We will discuss the reasons why you might need to make this change, provide a thorough step-by-step tutorial on how to transfer data from your old SD card to the new one, and guide you through the process of inserting the new card into your New 3DS. By the end of this guide, you’ll be equipped with the knowledge and confidence to upgrade your SD card and continue your gaming adventures without any interruption.
So, without further ado, let’s get started by exploring the reasons why you might need to change your SD card on a New 3DS.
Reasons to Change Your SD Card on New 3DS
There are several reasons why you might consider changing the SD card on your New 3DS. Here are a few common scenarios where upgrading or replacing the SD card becomes necessary:
- Insufficient Storage Space: One of the primary reasons to change your SD card is when you start running out of storage space. As you download more games, demos, or save data, the size of your SD card may no longer be adequate to accommodate your growing collection. Upgrading to a higher capacity SD card will allow you to store more games, applications, and multimedia files without worrying about space limitations.
- Faulty or Corrupted SD Card: Another common reason to change your SD card is if you’re experiencing issues with your current card. Sometimes, SD cards can become faulty, resulting in data corruption or loss. If you’re encountering frequent errors or experiencing difficulties accessing your data, it’s a good idea to swap out the faulty card with a new one to ensure smooth operation and prevent potential data loss.
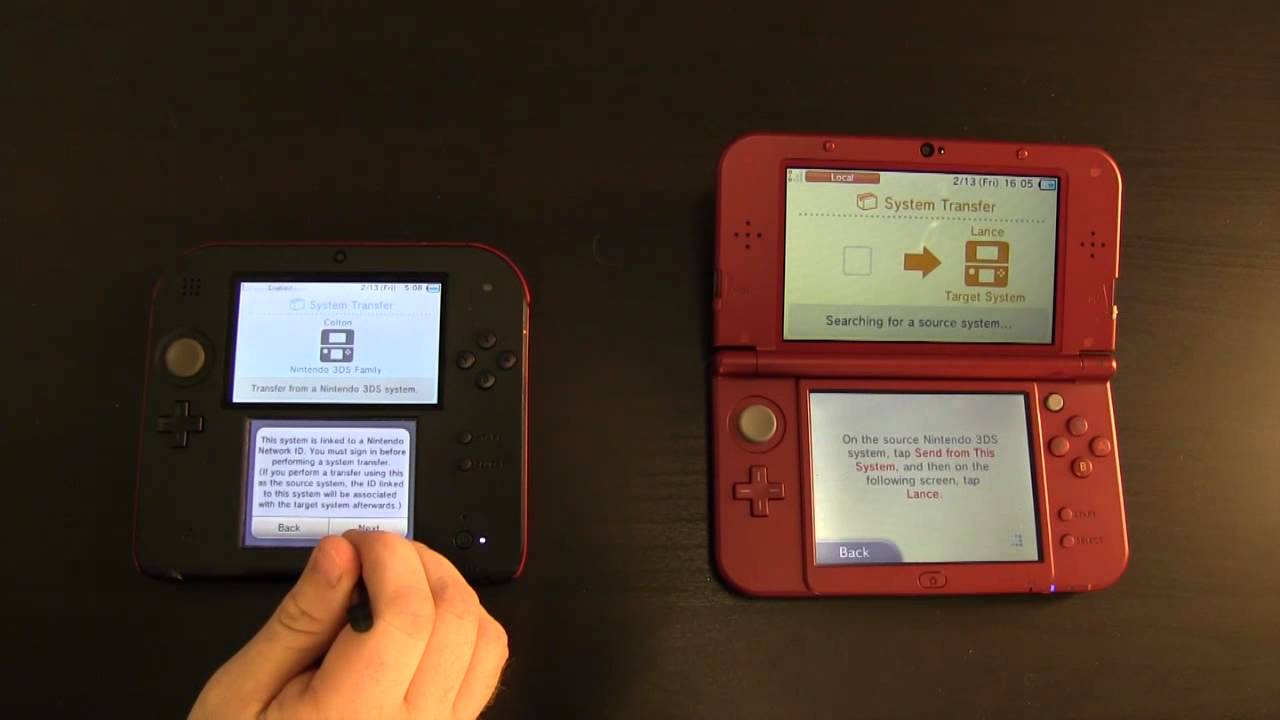
- Transferring Data to a New System: If you’re upgrading to a new New 3DS console, you’ll need to transfer all your data from the old system to the new one. This includes your game saves, downloaded games, and any additional content. To facilitate this transfer, you’ll need to move your SD card from the old system to the new one or use a new card altogether. In such cases, changing the SD card is essential to maintain your game progress and continue playing seamlessly on the new console.
- Upgrading to a Faster SD Card: SD cards come in different speed classes, ranging from Class 2 to Class 10. If you’re experiencing slow loading times or lag during gameplay, upgrading to a faster SD card can significantly improve performance. Higher speed cards have better read and write speeds, allowing for faster data transfer and smoother operation of your New 3DS console.
- Desire for Organization and Consolidation: Lastly, you may want to change your SD card simply to keep your gaming collection well-organized or consolidate multiple smaller cards into a single card. Having all your games and data on a single SD card can make it easier to manage and locate your content, providing a more streamlined gaming experience.
These are just a few of the common reasons why you might need to change your SD card on a New 3DS. Now that we understand the importance of upgrading or replacing the SD card let’s move on to the step-by-step process of changing your SD card.
Step 1: Preparing for the SD Card Swap
Before we start the actual process of changing the SD card on your New 3DS, it’s essential to make the necessary preparations. Here’s what you need to do:
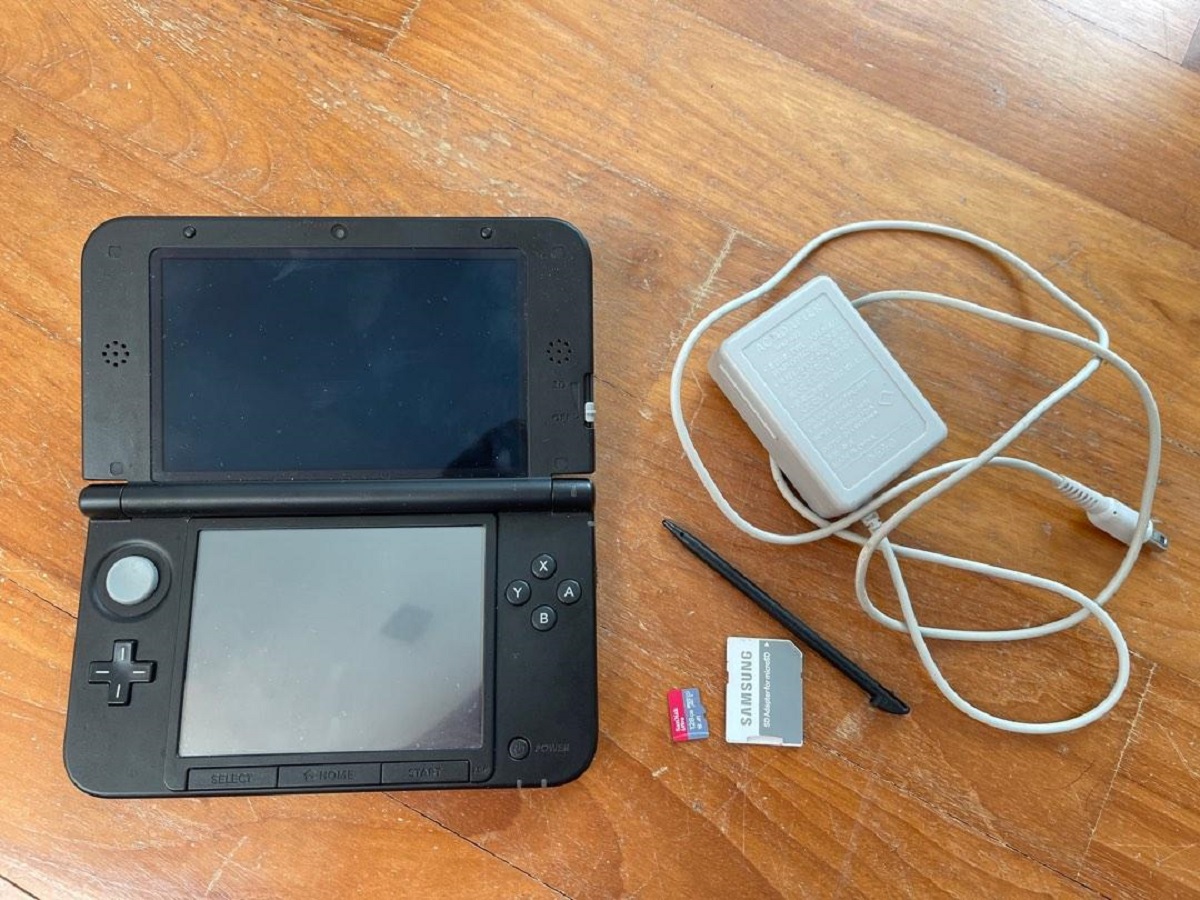
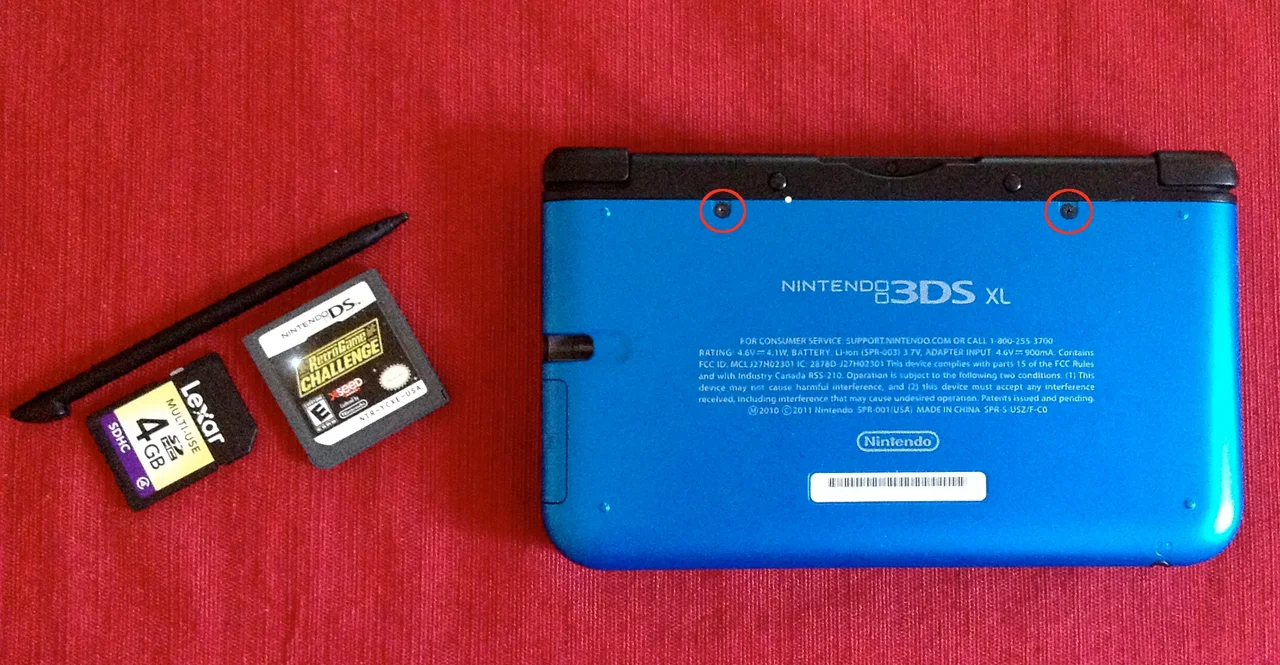
- Gather the Required Materials: To complete the SD card swap, you’ll need a few items. Firstly, ensure you have a compatible microSD card that meets the New 3DS’ specifications. Check your console’s documentation or the manufacturer’s website for the recommended SD card capacity and speed class. Additionally, you’ll need access to a computer with an SD card reader, as well as an SD card adapter if your computer doesn’t have a built-in reader. Lastly, have a small Phillips-head screwdriver ready, as you may need it to access the SD card slot on your New 3DS.
- Backup Your Data: It’s crucial to back up the data on your current SD card before proceeding with the swap. Connect your SD card to your computer using an SD card reader. Copy all the files and folders from the SD card to a folder on your computer’s hard drive. This step ensures that even if something goes wrong during the transfer process, you won’t lose your valuable game saves, downloaded games, or other important data.
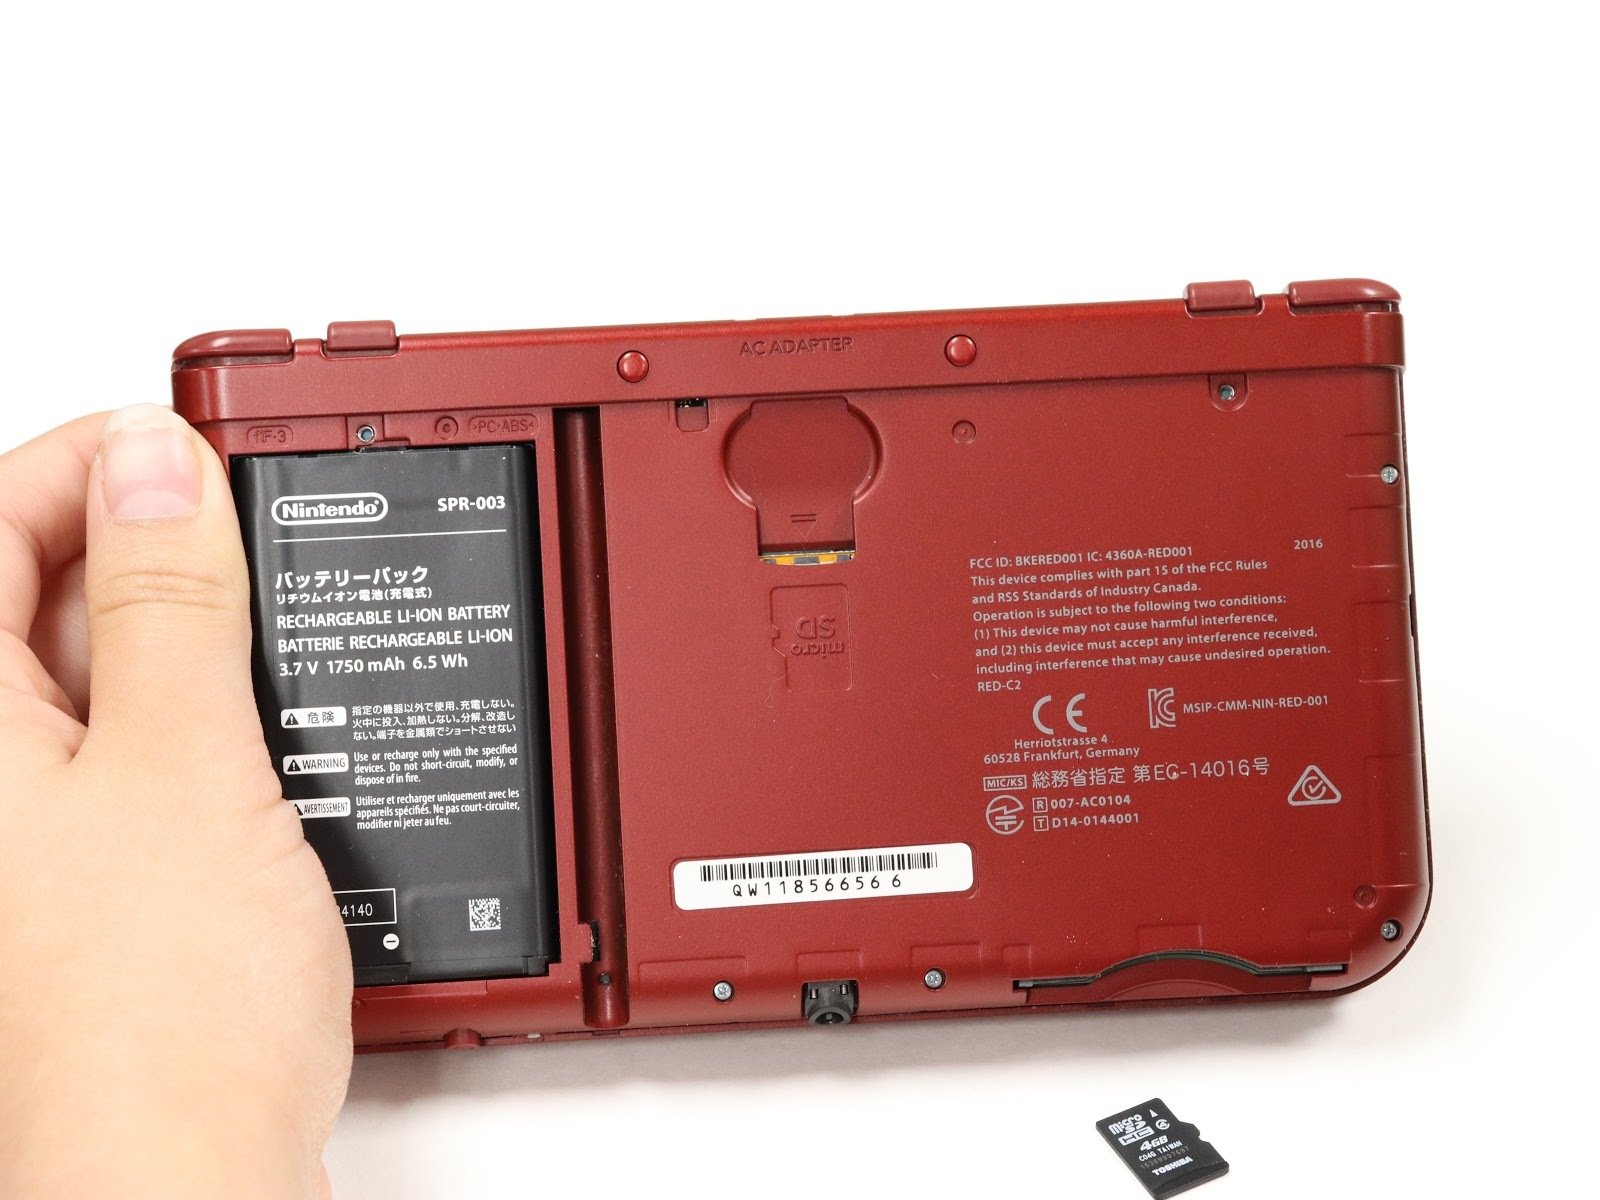
- Remove the Battery if Necessary: Depending on the model of your New 3DS console, you may need to remove the battery to access the SD card slot. Refer to your console’s documentation or an online guide for instructions specific to your model. Be careful and follow the instructions correctly to avoid damaging your console.
- Power Off Your New 3DS: Make sure your New 3DS is turned off before proceeding with the SD card swap. Press and hold the power button until the power options appear on the screen. Select “Power Off” to shut down the console.
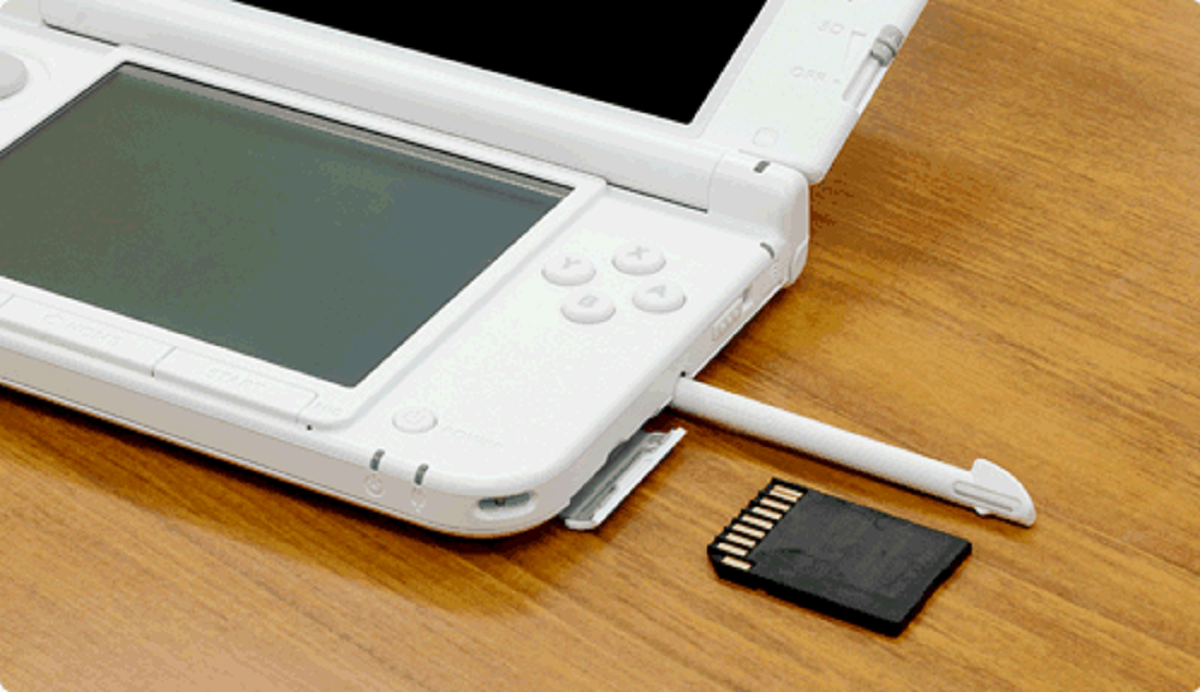
- Locate the SD Card Slot: The SD card slot on the New 3DS is typically located under the battery cover. If you’ve removed the battery, locate the slot on the console’s main body. On some models, it may be accessible from the side. Refer to your console’s documentation for the precise location of the SD card slot.
Once you’ve completed these preparations, you’re ready to move on to the next step: transferring data from your old SD card to the new one. Stay tuned for the next section!
Step 2: Transferring Data from Old SD Card
Now that you’re prepared, let’s dive into transferring the data from your old SD card to the new one. Follow these steps to ensure a smooth transfer:
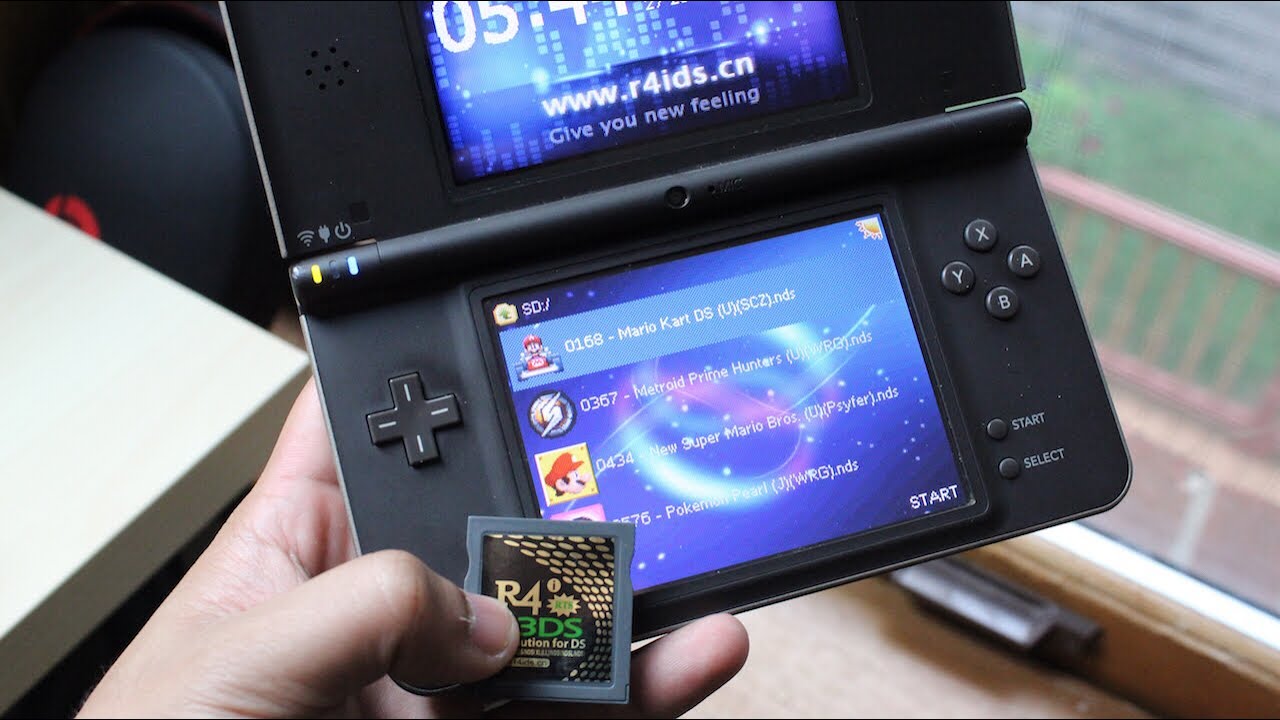
- Insert Your Old SD Card: Insert your old SD card into the SD card reader connected to your computer. If your computer doesn’t have a built-in card reader, use an external USB card reader or an SD card adapter.
- Copy the Data: Once your old SD card is connected, navigate to its contents on your computer. Select all the files and folders and copy them to a temporary location on your computer, such as a dedicated folder for this transfer.
- Insert the New SD Card: Take the new microSD card and insert it into the SD card reader connected to your computer. If necessary, use an SD card adapter to ensure compatibility.
- Format the New SD Card: Before you can transfer the data from your old SD card to the new one, it’s important to format the new card. This ensures that the new card is properly set up and ready for use with your New 3DS. Right-click on the new SD card in “My Computer” (Windows) or Finder (Mac), and select the option to format it. Choose the appropriate file system (usually FAT32 for SD cards) and start the formatting process.
- Copy the Data to the New SD Card: Once the new SD card is formatted, navigate to its location on your computer. Open the folder where you copied the data from your old SD card and copy all the files and folders to the new SD card. Ensure that you copy everything exactly as it was on the old card.
Once the data transfer is complete, you can proceed to the next step of inserting the new SD card into your New 3DS. We’ll cover that in detail in the following section, so keep reading!
Step 3: Transferring Data to the New SD Card
Now that you have successfully copied the data from your old SD card to the new one, it’s time to transfer the data to the new card and prepare it for use with your New 3DS. Follow these steps to complete the data transfer:
- Remove the Old SD Card: Before inserting the new SD card into your New 3DS, remove the old SD card from the SD card reader or adapter connected to your computer. Keep it safely aside as a backup.
- Insert the New SD Card: Take the new SD card and insert it into the SD card slot on your New 3DS. Ensure that the contacts on the card match the corresponding contacts in the slot.
- Power On Your New 3DS: Press and hold the power button on your New 3DS to turn it on. Allow it to boot up fully before proceeding.
- Access the System Settings: Once your New 3DS is powered on, navigate to the System Settings. You can find this option on the main menu of your console.
- Select Data Management: Within the System Settings, locate and select the “Data Management” option. This will allow you to manage your saved data and downloaded games.
- Choose the MicroSD Management Option: Within the Data Management menu, you should see an option for “microSD Management” or something similar. Select this option to initiate the data transfer process.
- Follow the On-Screen Instructions: The New 3DS will guide you through the process of transferring the data from your old SD card to the new one. Follow the on-screen instructions, and be patient as the transfer may take some time, depending on the amount of data being transferred.
Once the data transfer is complete, your New 3DS will reboot, and you’ll be ready to verify the data transfer and ensure that everything functions as expected. We’ll cover that in the next step, so keep reading!
Step 4: Inserting the New SD Card into the New 3DS
With your data successfully transferred to the new SD card, it’s time to insert it into your New 3DS. Follow these steps to complete the process:
- Ensure Power is Off: Before you begin, ensure that your New 3DS is powered off. If it is currently on, press and hold the power button until the power options appear, then select “Power Off” to shut down the console.
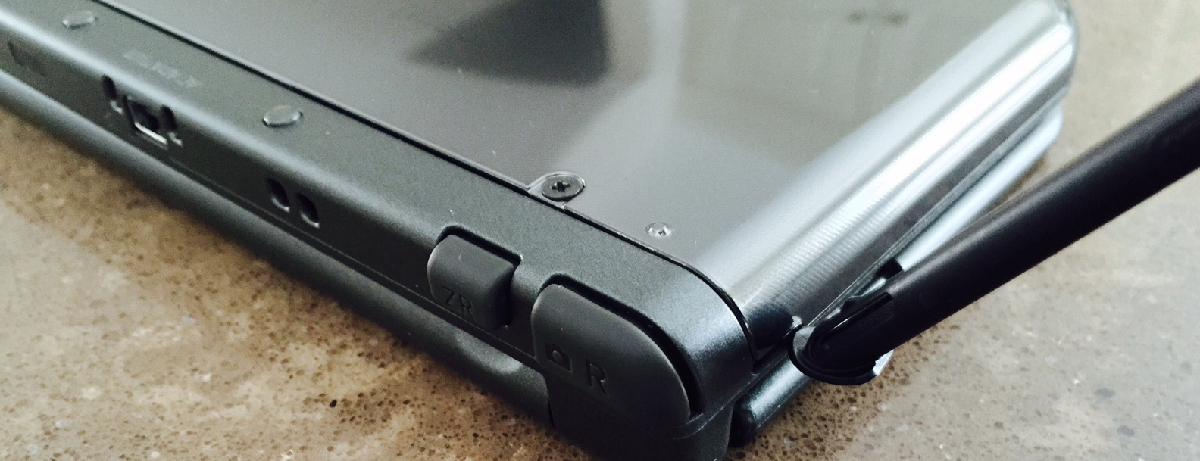
- Locate the SD Card Slot: Open the back cover of your New 3DS to reveal the SD card slot. Depending on the model, the slot may be located under the battery or on the side of the console. Refer to your console’s documentation if you’re unsure of its exact location.
- Prepare the New SD Card: Take the new SD card and carefully insert it into the SD card slot. Ensure that the contacts on the card are facing the appropriate direction and align with the contacts in the slot. Gently push the card in until it is fully inserted and securely seated in the slot.
- Close the Back Cover: Once the new SD card is securely inserted, close the back cover of your New 3DS. Ensure that it is properly aligned and snaps into place.
- Power On Your New 3DS: Press and hold the power button to turn on your New 3DS. Allow it to boot up fully.
Congratulations! The new SD card is now inserted into your New 3DS, and you’re ready to move on to the final step of verifying the data transfer and ensuring that everything is functioning correctly. Let’s go over that step in the next section.
Step 5: Verifying Data Transfer and Functionality
After inserting the new SD card into your New 3DS, it’s essential to verify that the data transfer was successful and ensure that everything is functioning as expected. Here’s what you need to do:
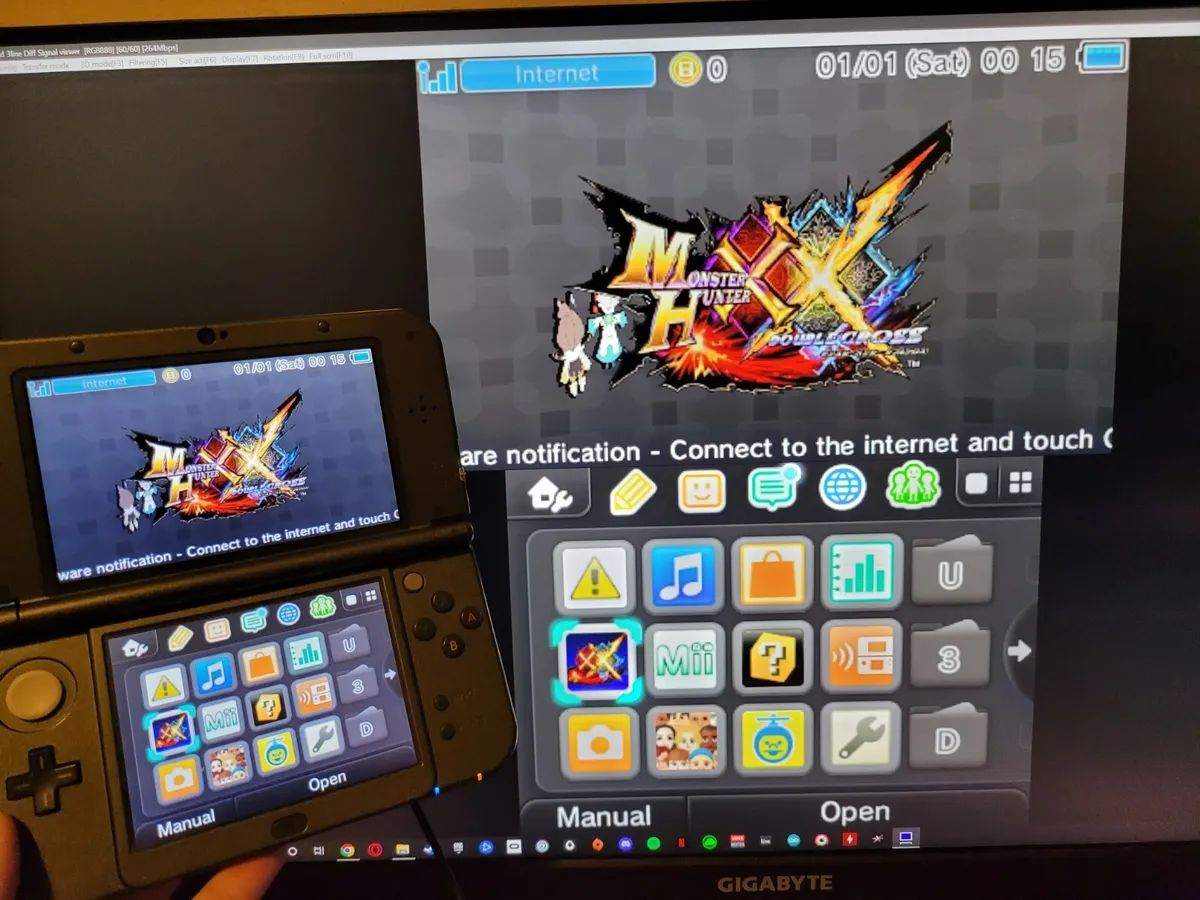
- Check for Data: Navigate through the menus of your New 3DS and ensure that all your downloaded games, saves, and other data are present. Verify that your game progress is intact and that you can access all your content without any issues.
- Test Gameplay: Launch a few games and play them for a little while to confirm that they run smoothly and without any noticeable lag or issues. Pay attention to any graphical glitches or abnormal behavior that may indicate a problem with the transferred data.
- Test Saving and Loading: Save your progress in various games and confirm that you can load the saves without any problems. Test different games to cover a wide range of scenarios and ensure that saving and loading functions are working correctly.
- Check for Corrupted Data: Occasionally, data corruption can occur during the transfer process. Open the downloaded games and other content that require activation or installation and verify that the data is not corrupted. If you encounter any issues or error messages, consult the documentation or support resources provided by the game or application developer.
- Monitor Performance: Keep an eye on the performance of your New 3DS after the SD card swap. Note any changes in loading times or overall system responsiveness. If you notice a significant improvement or degradation in performance, it could be related to the new SD card, and you may need to reassess the choice of card or investigate the issue further.
If you encounter any problems or inconsistencies during this verification process, double-check your data transfer steps, ensure that your new SD card is compatible with your New 3DS, and consider seeking support from the manufacturer or professional assistance if necessary.
Once you’re satisfied that everything is functioning correctly, you can rest assured that your new SD card is properly installed and your New 3DS is ready for the extended storage capacity. Enjoy your gaming experience without worrying about running out of space!
Conclusion
Congratulations! You have successfully learned how to change the SD card on your New 3DS. By following the steps outlined in this guide, you have expanded the storage capacity of your console and ensured a smooth transfer of your data. Whether you needed more space for new games or wanted to upgrade to a faster SD card, you can now enjoy a seamless gaming experience without worrying about storage limitations.
Remember, changing the SD card on a New 3DS is a straightforward process when you have the right information and tools at your disposal. By preparing for the swap, transferring data from the old SD card, transferring data to the new SD card, inserting the new card into your New 3DS, and verifying the data transfer and functionality, you have completed each step with precision and attention to detail.
If you encounter any issues during the process or have questions about specific steps, it’s always helpful to consult the documentation provided with your New 3DS or seek assistance from the manufacturer or a trusted support resource. Additionally, regularly backing up your data and keeping your SD card in good condition will ensure a smooth gaming experience in the long run.
Now that you have successfully changed your SD card on your New 3DS, you can continue to enjoy your favorite games, download new titles, and save your progress without worrying about storage limitations. Happy gaming!