Introduction
The Nintendo 3DS XL is a popular handheld gaming console that offers a fantastic gaming experience. One of the important components of the 3DS XL is the SD card, which is used to store games, applications, and other data. Having a clear understanding of the location and functionality of the SD card slot is crucial, especially when you want to upgrade or troubleshoot issues with the SD card.
In this article, we will explore the whereabouts of the SD card slot in the 3DS XL and provide a step-by-step guide on how to remove the SD card and insert a new one. We will also discuss the process of transferring your data from the old SD card to a new one. Additionally, we will delve into troubleshooting common SD card issues, so you can quickly resolve any potential problems you may encounter.
Whether you are a seasoned 3DS XL user or a new owner looking to expand your storage capacity, this guide is here to assist you. So, let’s dive in and discover where the SD card slot is located and how to manage your SD card effectively in the Nintendo 3DS XL.
Location of the SD Card Slot
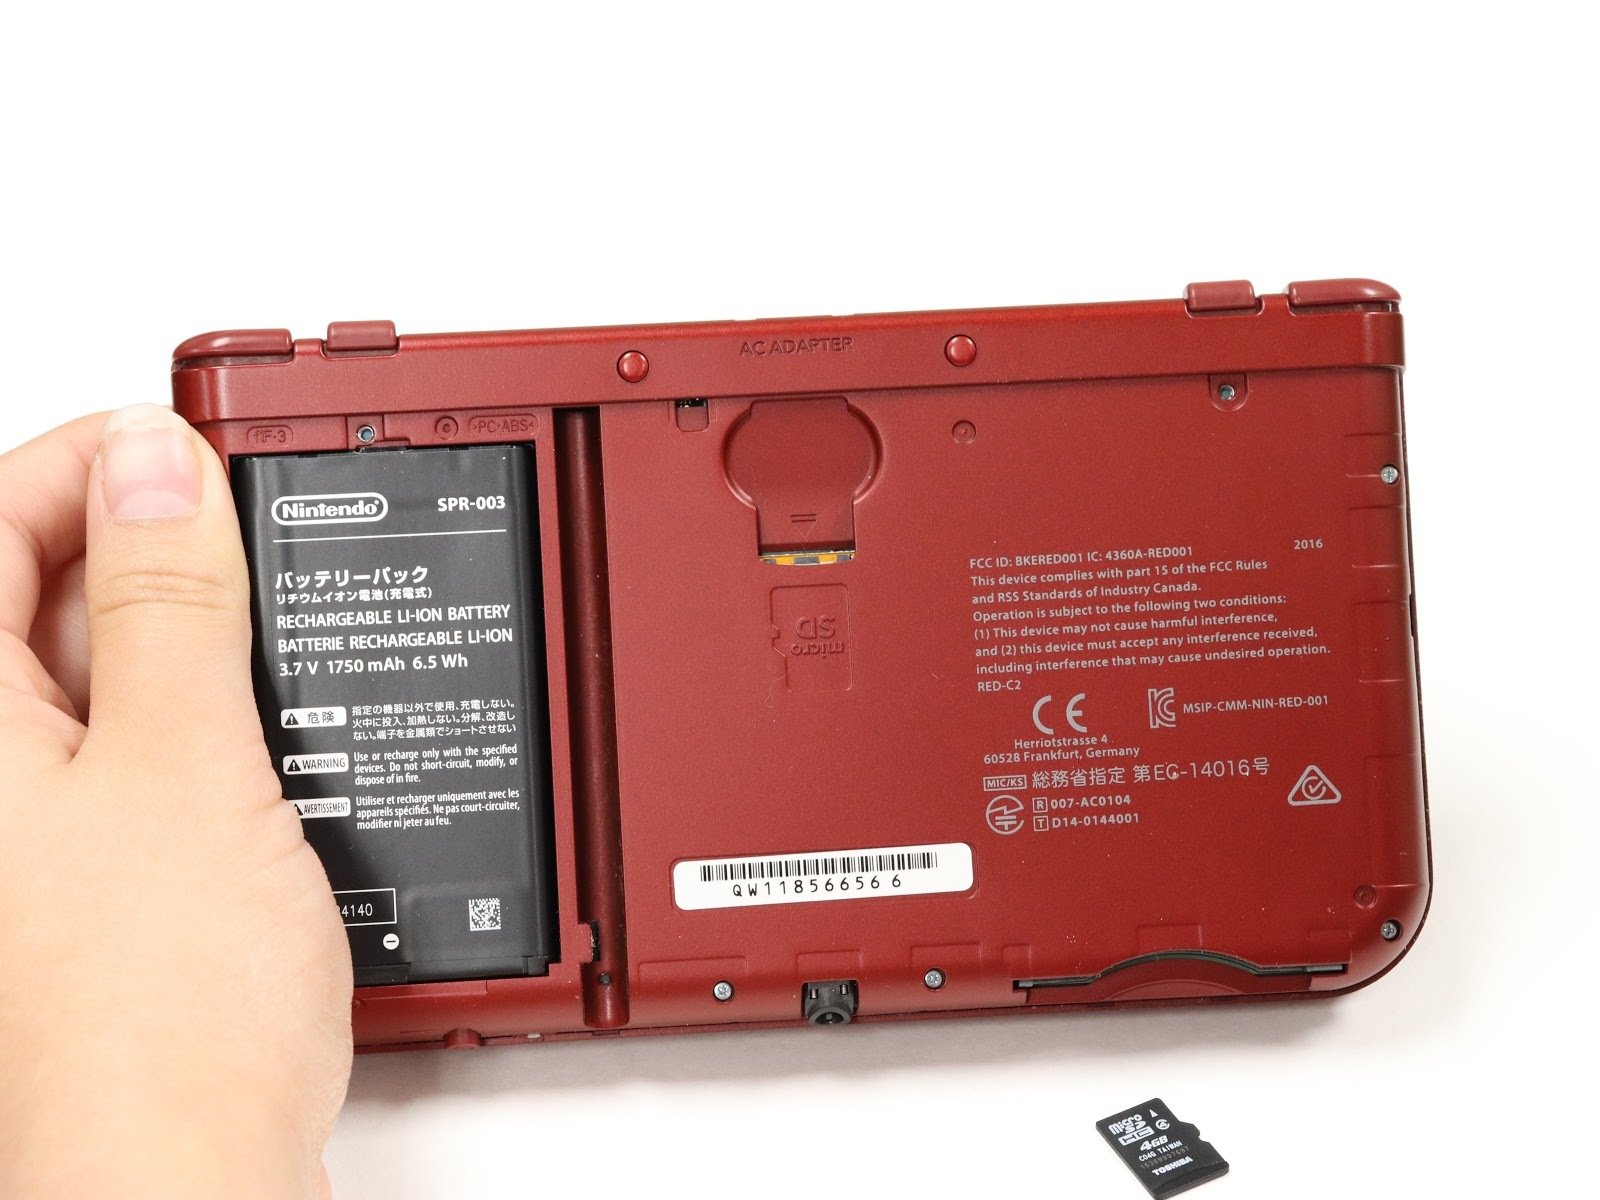
To access the SD card slot on the Nintendo 3DS XL, you will need to locate the device’s battery compartment. The SD card slot is conveniently situated underneath the bottom cover of the console, alongside the battery. This design ensures that the SD card is easily accessible, allowing for quick and seamless upgrades or replacements without the need to disassemble the entire device.
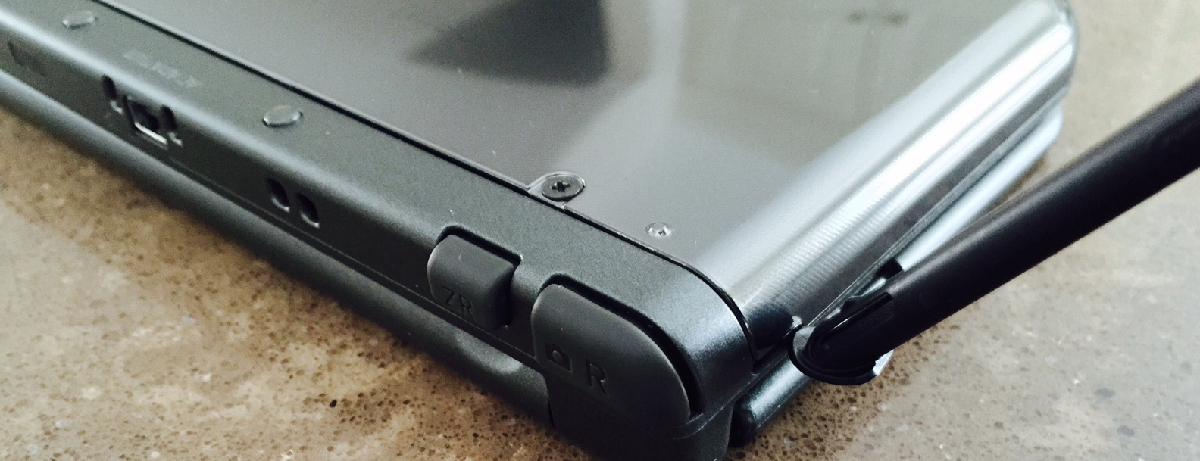
To locate the SD card slot, start by turning off your Nintendo 3DS XL and ensure it is disconnected from any power source. Flip the console over so that the back cover is facing upwards. Towards the bottom-left corner, you will see a small indentation or ridge on the cover. This is the area where the SD card slot is located.
To access the SD card slot, use your fingernail or a small, non-metallic tool to gently push or slide the bottom cover towards the top of the console. Be careful not to apply excessive force as you remove the cover. Once the cover is removed, you will be able to see the battery and the SD card slot on the right-hand side.
Please note that the SD card slot is specifically designed for microSD and microSDHC cards. It is essential to use the appropriate card size and format, as using incompatible cards may lead to errors or damage to the console. If you are unsure about the compatibility of your SD card, consult the Nintendo 3DS XL user manual or contact customer support for assistance.
Removing the SD Card
If you need to remove the SD card from your Nintendo 3DS XL for upgrading or transferring data, follow these simple steps to ensure a safe and hassle-free process:
- Make sure your Nintendo 3DS XL is turned off and disconnected from any power source.
- Locate the SD card slot on the right-hand side underneath the bottom cover of the console, as mentioned in the previous section.
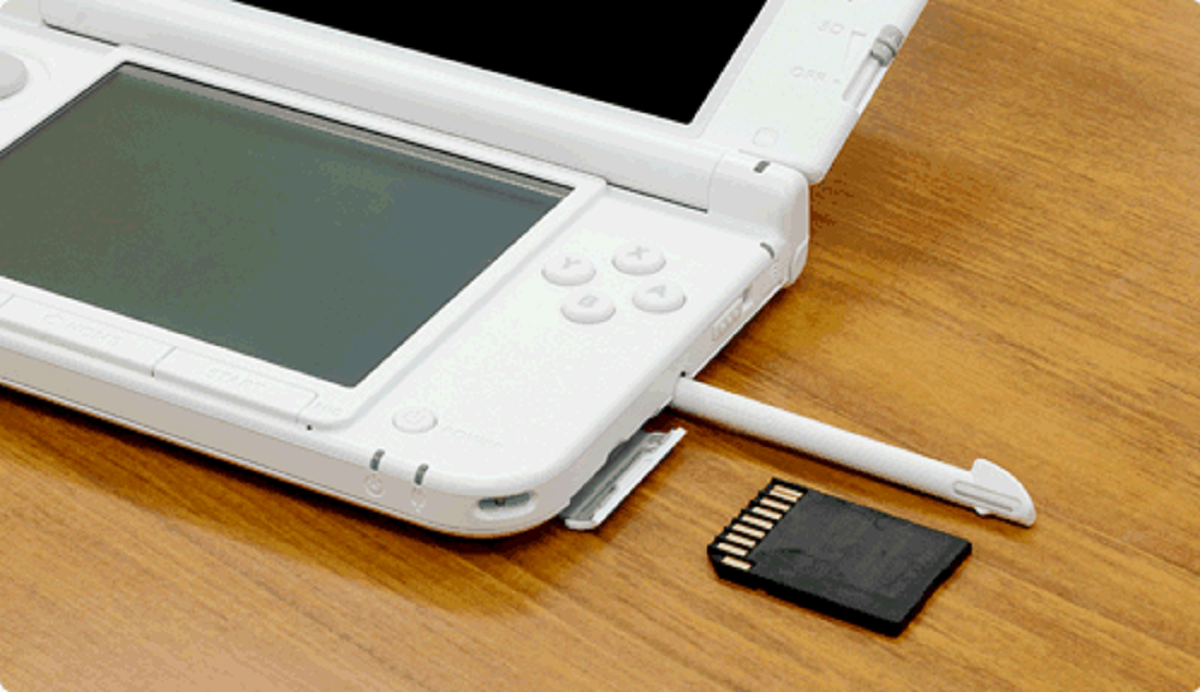
- Gently press the exposed edge of the SD card inward, and it should momentarily pop out of the slot, allowing for easy removal. Alternatively, you can use a non-metallic tool, such as a small plastic card or a fingernail, to carefully push the SD card and release it from the slot.
- Once the SD card is released, simply remove it from the slot by pulling it out with your fingers.
It is crucial to handle the SD card with care during removal. Avoid exerting excessive force or bending the card, as this can cause damage to the card or the console. Take your time and be gentle when removing the SD card to minimize the risk of any mishaps.
After successfully removing the SD card from your Nintendo 3DS XL, you are now ready to either insert a new SD card or perform any necessary data transfers. The next section will guide you through the process of inserting a new SD card into the console.
Inserting a new SD Card
If you have obtained a new SD card for your Nintendo 3DS XL or need to replace the existing one, follow these steps to safely insert the new card:
- Ensure that your Nintendo 3DS XL is turned off and disconnected from any power source.
- Locate the SD card slot on the right-hand side underneath the bottom cover of the console.
- Take the new SD card and align the notched edge of the card with the corresponding notch inside the SD card slot. This ensures that the card is inserted correctly.
- Gently insert the SD card into the slot, making sure it goes in smoothly and does not require excessive force. Do not try to force the card in if it meets resistance.
- Once inserted, you should feel a slight click or resistance as the card is securely locked into place.
- Double-check that the SD card is properly inserted by gently pulling on it. It should not come out easily if inserted correctly.
It is important to note that once you have inserted a new SD card, your Nintendo 3DS XL may prompt you to format the card. Formatting is necessary to ensure compatibility and proper functioning with the console. Be aware that formatting the SD card will erase all the data stored on it, so it is crucial to back up any important files before proceeding with the formatting process.
Now that you have successfully inserted a new SD card into your Nintendo 3DS XL, you can proceed to transfer your data from the old SD card to the new one. The following section will guide you through this process step by step.
Transferring Data to a new SD Card
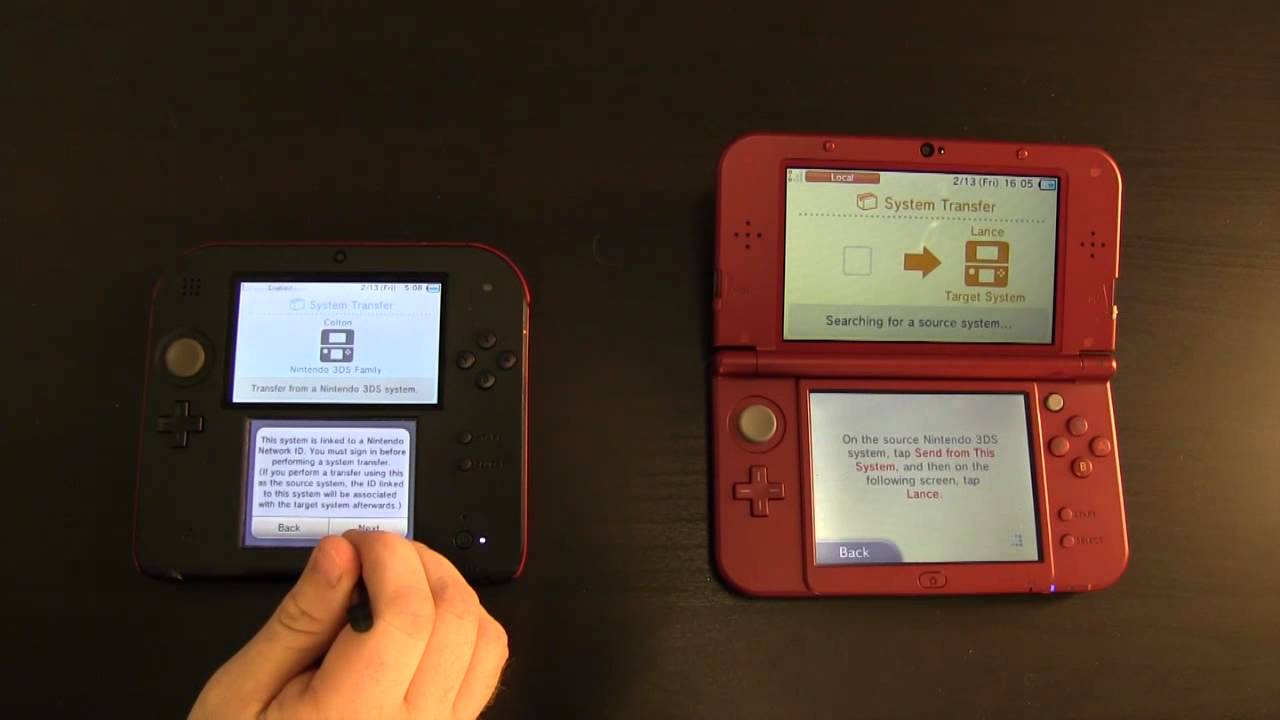
If you have inserted a new SD card into your Nintendo 3DS XL, it is likely that you will want to transfer your existing data from the old card to the new one. Follow these steps to smoothly transfer your data:
- Ensure that both your Nintendo 3DS XL and the new SD card are inserted and connected properly.
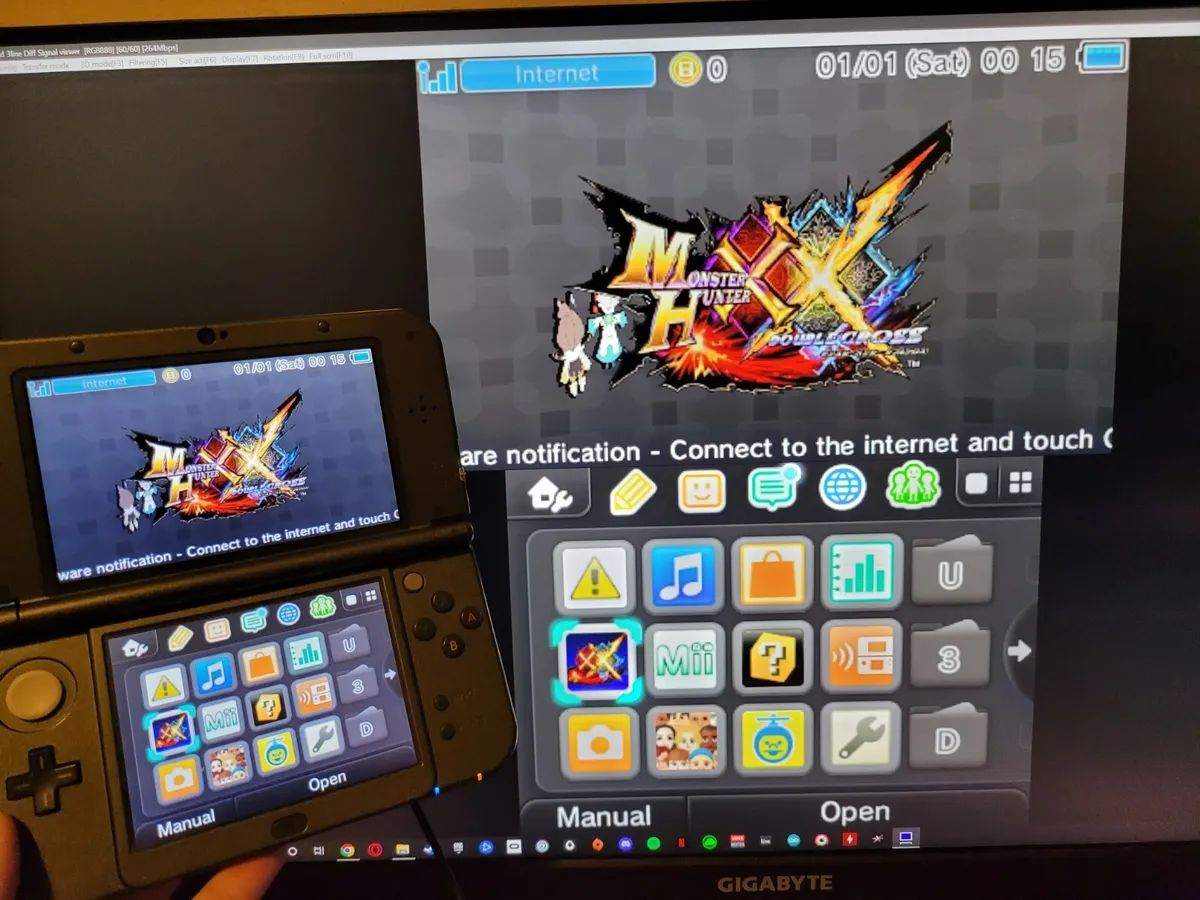
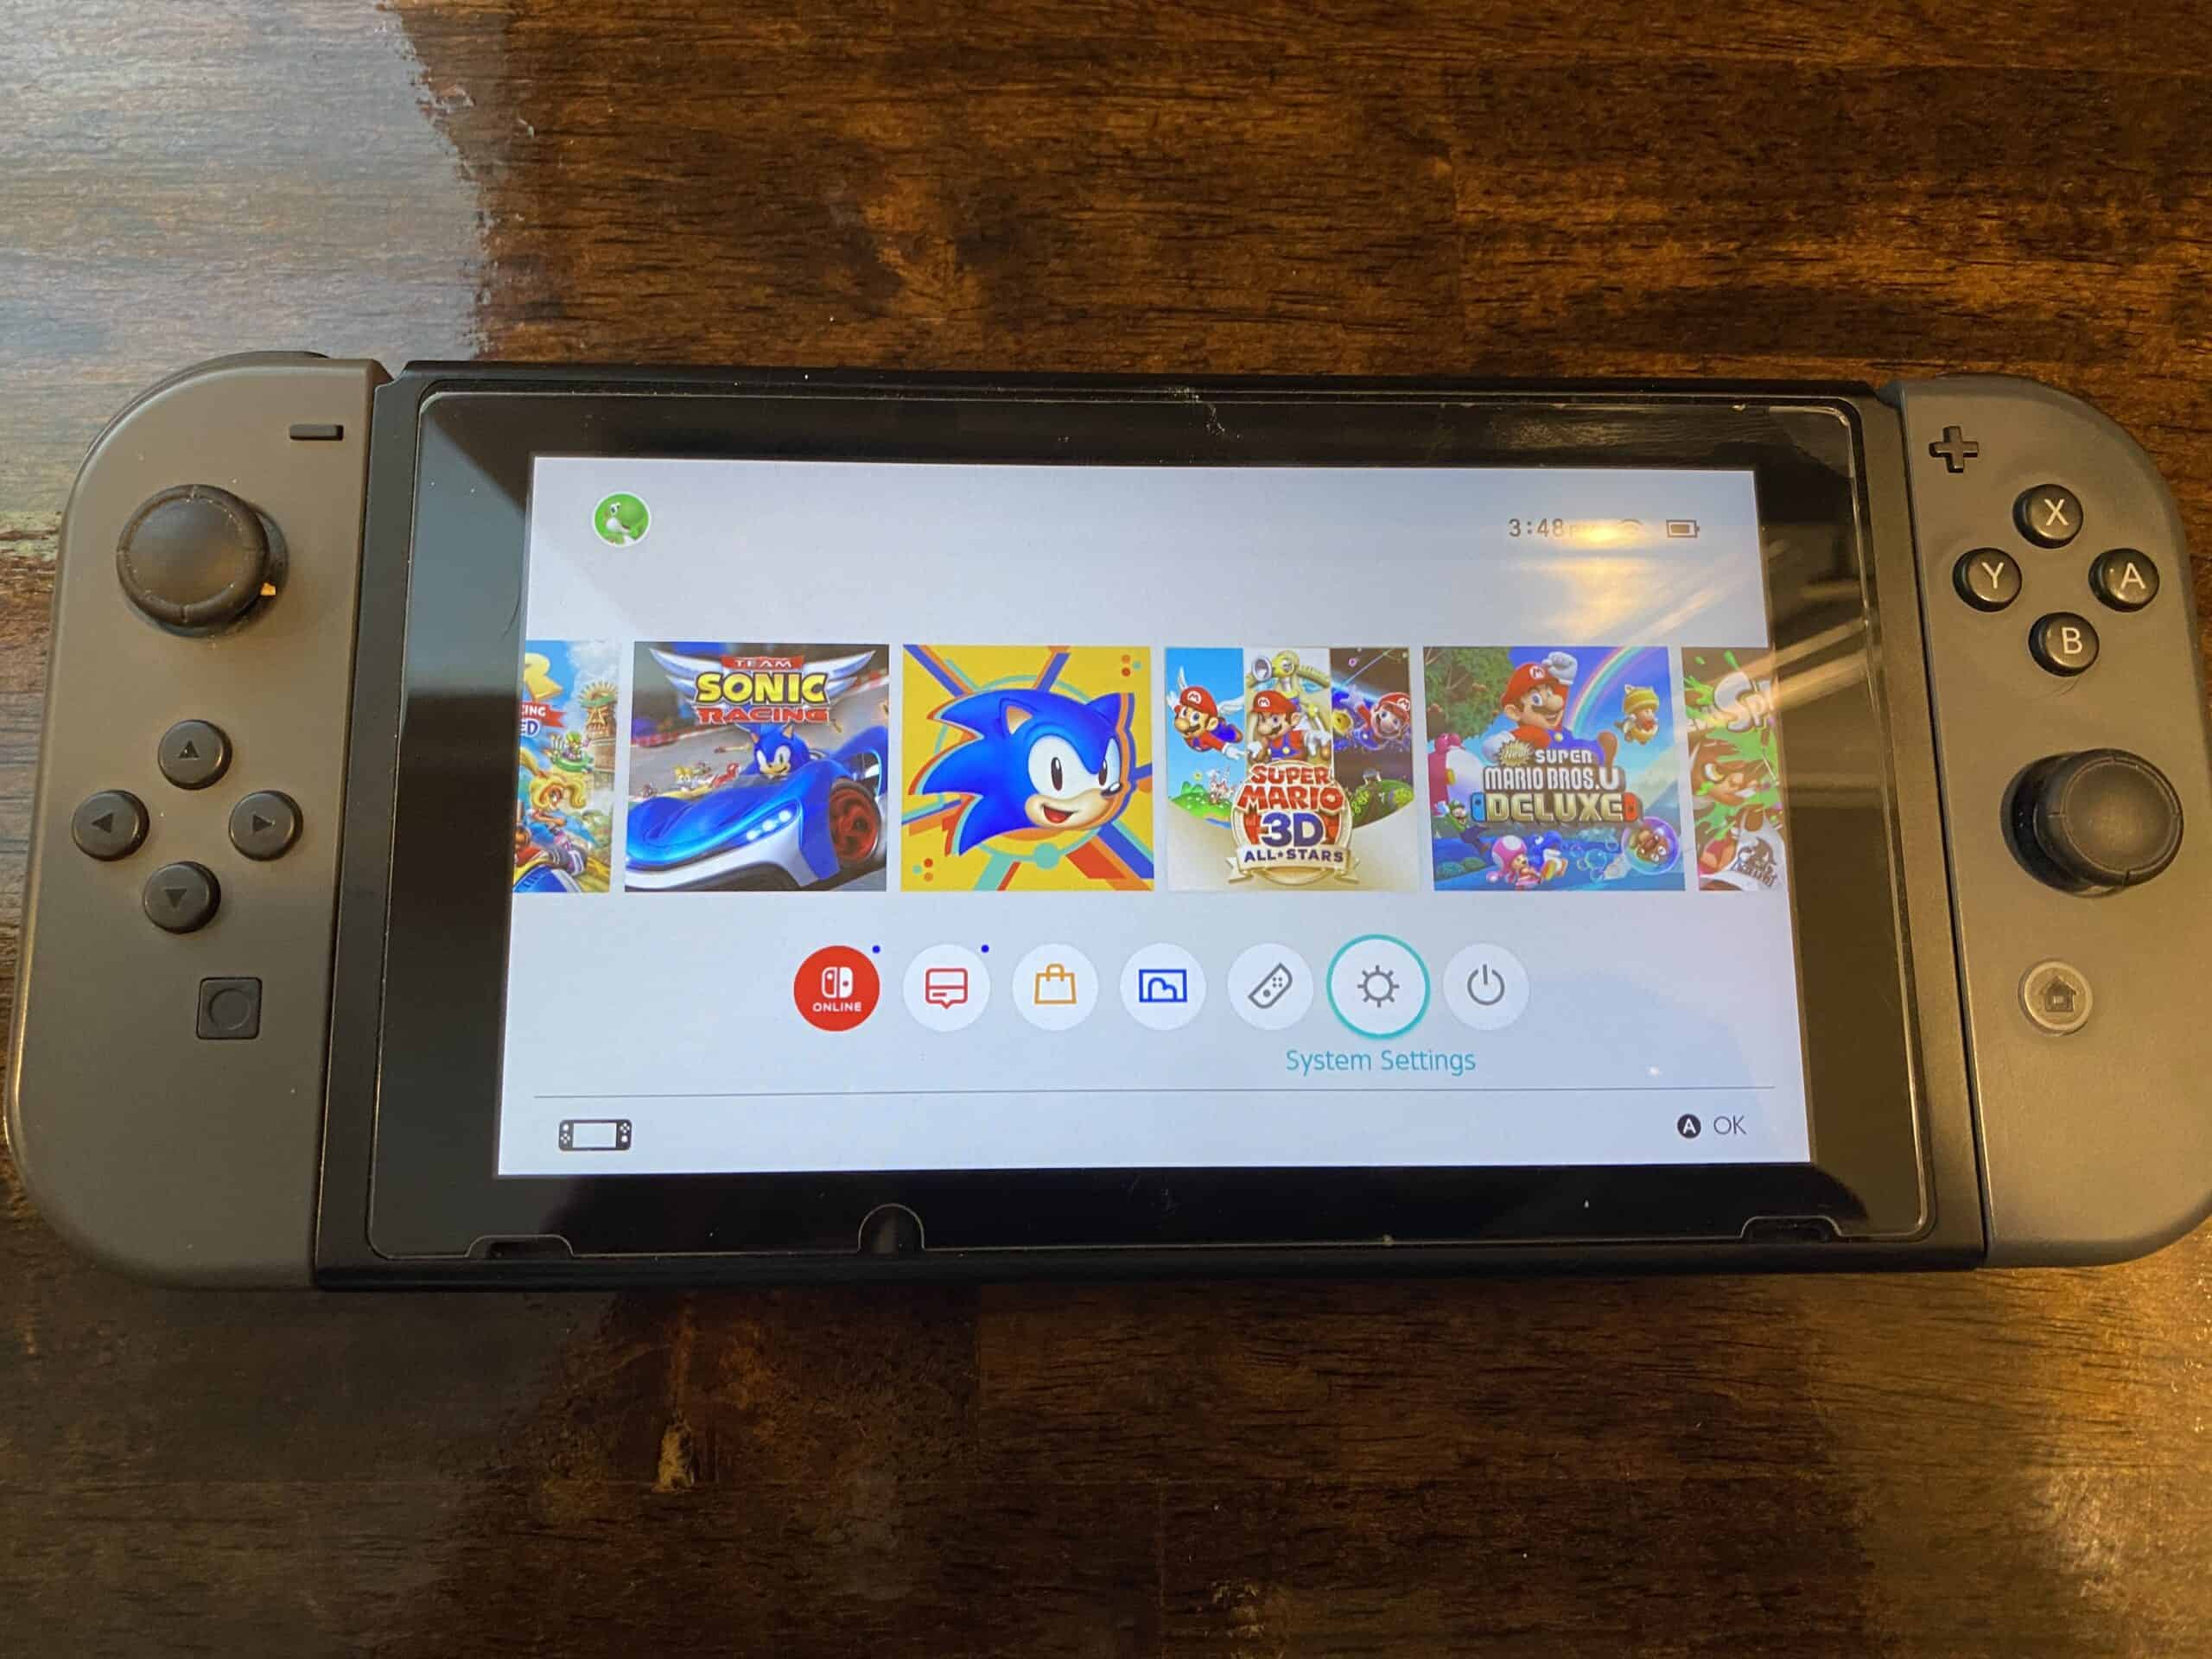
- Power on your Nintendo 3DS XL and access the System Settings from the Home Menu.
- Scroll through the options and select “Data Management”.
- Choose “microSD Management” and follow the on-screen prompts.
- Once the transfer option is selected, the system will guide you through the process, which involves removing the old SD card and inserting the new one.
- Follow the instructions provided on the screen to complete the data transfer. This process may take some time, depending on the amount of data being transferred.
It is crucial to ensure that both SD cards remain properly connected during the entire transfer process. Interrupting or disconnecting the cards prematurely can lead to data loss or corruption. It is also recommended to have the Nintendo 3DS XL fully charged or connected to a power source to avoid any interruption due to low battery.
Once the data transfer is complete, you can now enjoy your Nintendo 3DS XL with the new SD card, containing all your previously saved games, applications, and data. Remember to keep the old SD card stored in a safe place as a backup, in case you encounter any issues with the new card or need to switch back in the future.
With the successful transfer of data to your new SD card, you can now confidently explore and enjoy everything your Nintendo 3DS XL has to offer without any worries about losing your precious gaming progress or digital content.
Troubleshooting SD Card Issues
While the SD card in your Nintendo 3DS XL is generally reliable, you may encounter occasional issues that require troubleshooting. Here are some common problems you might experience and the steps to resolve them:
- SD Card Not Detected: If your console doesn’t recognize the SD card, ensure that it is inserted correctly and fully seated in the slot. Try removing and reinserting the card, making sure there are no obstructions or debris in the slot. If the problem persists, try using a different SD card to determine if the issue lies with the card or the console.
- Data Corruption: If you experience any data corruption on your SD card, it is essential to back up your data regularly. If you encounter a corrupted file or game, delete it from the SD card and attempt to redownload or reinstall it. If the problem continues, formatting the SD card could help. However, remember that formatting will erase all data, so be sure to back up your files before doing so.
- Insufficient Space: If you’re running out of space on your SD card, you can manage your data by archiving or deleting unnecessary games or applications. Alternatively, consider upgrading to a larger capacity SD card to accommodate your growing collection of games.
- Slow Loading Times: If your games or applications are taking longer than usual to load, it could be due to a slower SD card. Consider upgrading to a faster class SD card to improve loading times.
If you continue to experience issues with your SD card despite troubleshooting, it may be necessary to seek assistance from Nintendo customer support. They can provide further guidance and help determine if there is a hardware or software issue that needs to be addressed.
Remember, regular maintenance and care of your SD card, such as keeping it clean and protected from physical damage, can help minimize the risk of encountering problems. Ensuring you have a backup of your data and following proper procedures when removing or inserting the card can also contribute to a smooth and trouble-free experience.
Conclusion
In this guide, we have explored the location of the SD card slot in the Nintendo 3DS XL and provided step-by-step instructions on how to remove and insert a new SD card. We have also discussed the process of transferring data to a new SD card and troubleshooting common issues that may arise.
Knowing the exact location and functionality of the SD card slot is essential for effectively managing your Nintendo 3DS XL. With the ability to easily remove and insert the SD card, you can upgrade your console’s storage space or resolve any issues that may arise with the card.
Transferring data to a new SD card ensures that you can continue to enjoy your saved games, applications, and digital content without any interruptions. Following the proper steps and precautions during the data transfer process will help safeguard your valuable data and avoid any potential data loss or corruption.
If you encounter any SD card issues such as card detection problems, data corruption, or slow loading times, carefully following the troubleshooting steps outlined in this guide can help resolve these issues. However, if the problems persist, reaching out to Nintendo customer support is recommended for further assistance.
By mastering the management and troubleshooting of the SD card in your Nintendo 3DS XL, you can ensure a smooth and enjoyable gaming experience. Remember to handle the SD card with care, keep it clean and protected, and regularly backup your data to mitigate any future issues.
With the knowledge and guidance provided in this guide, you can confidently navigate the world of SD cards in your Nintendo 3DS XL and make the most out of your gaming adventures.