Introduction
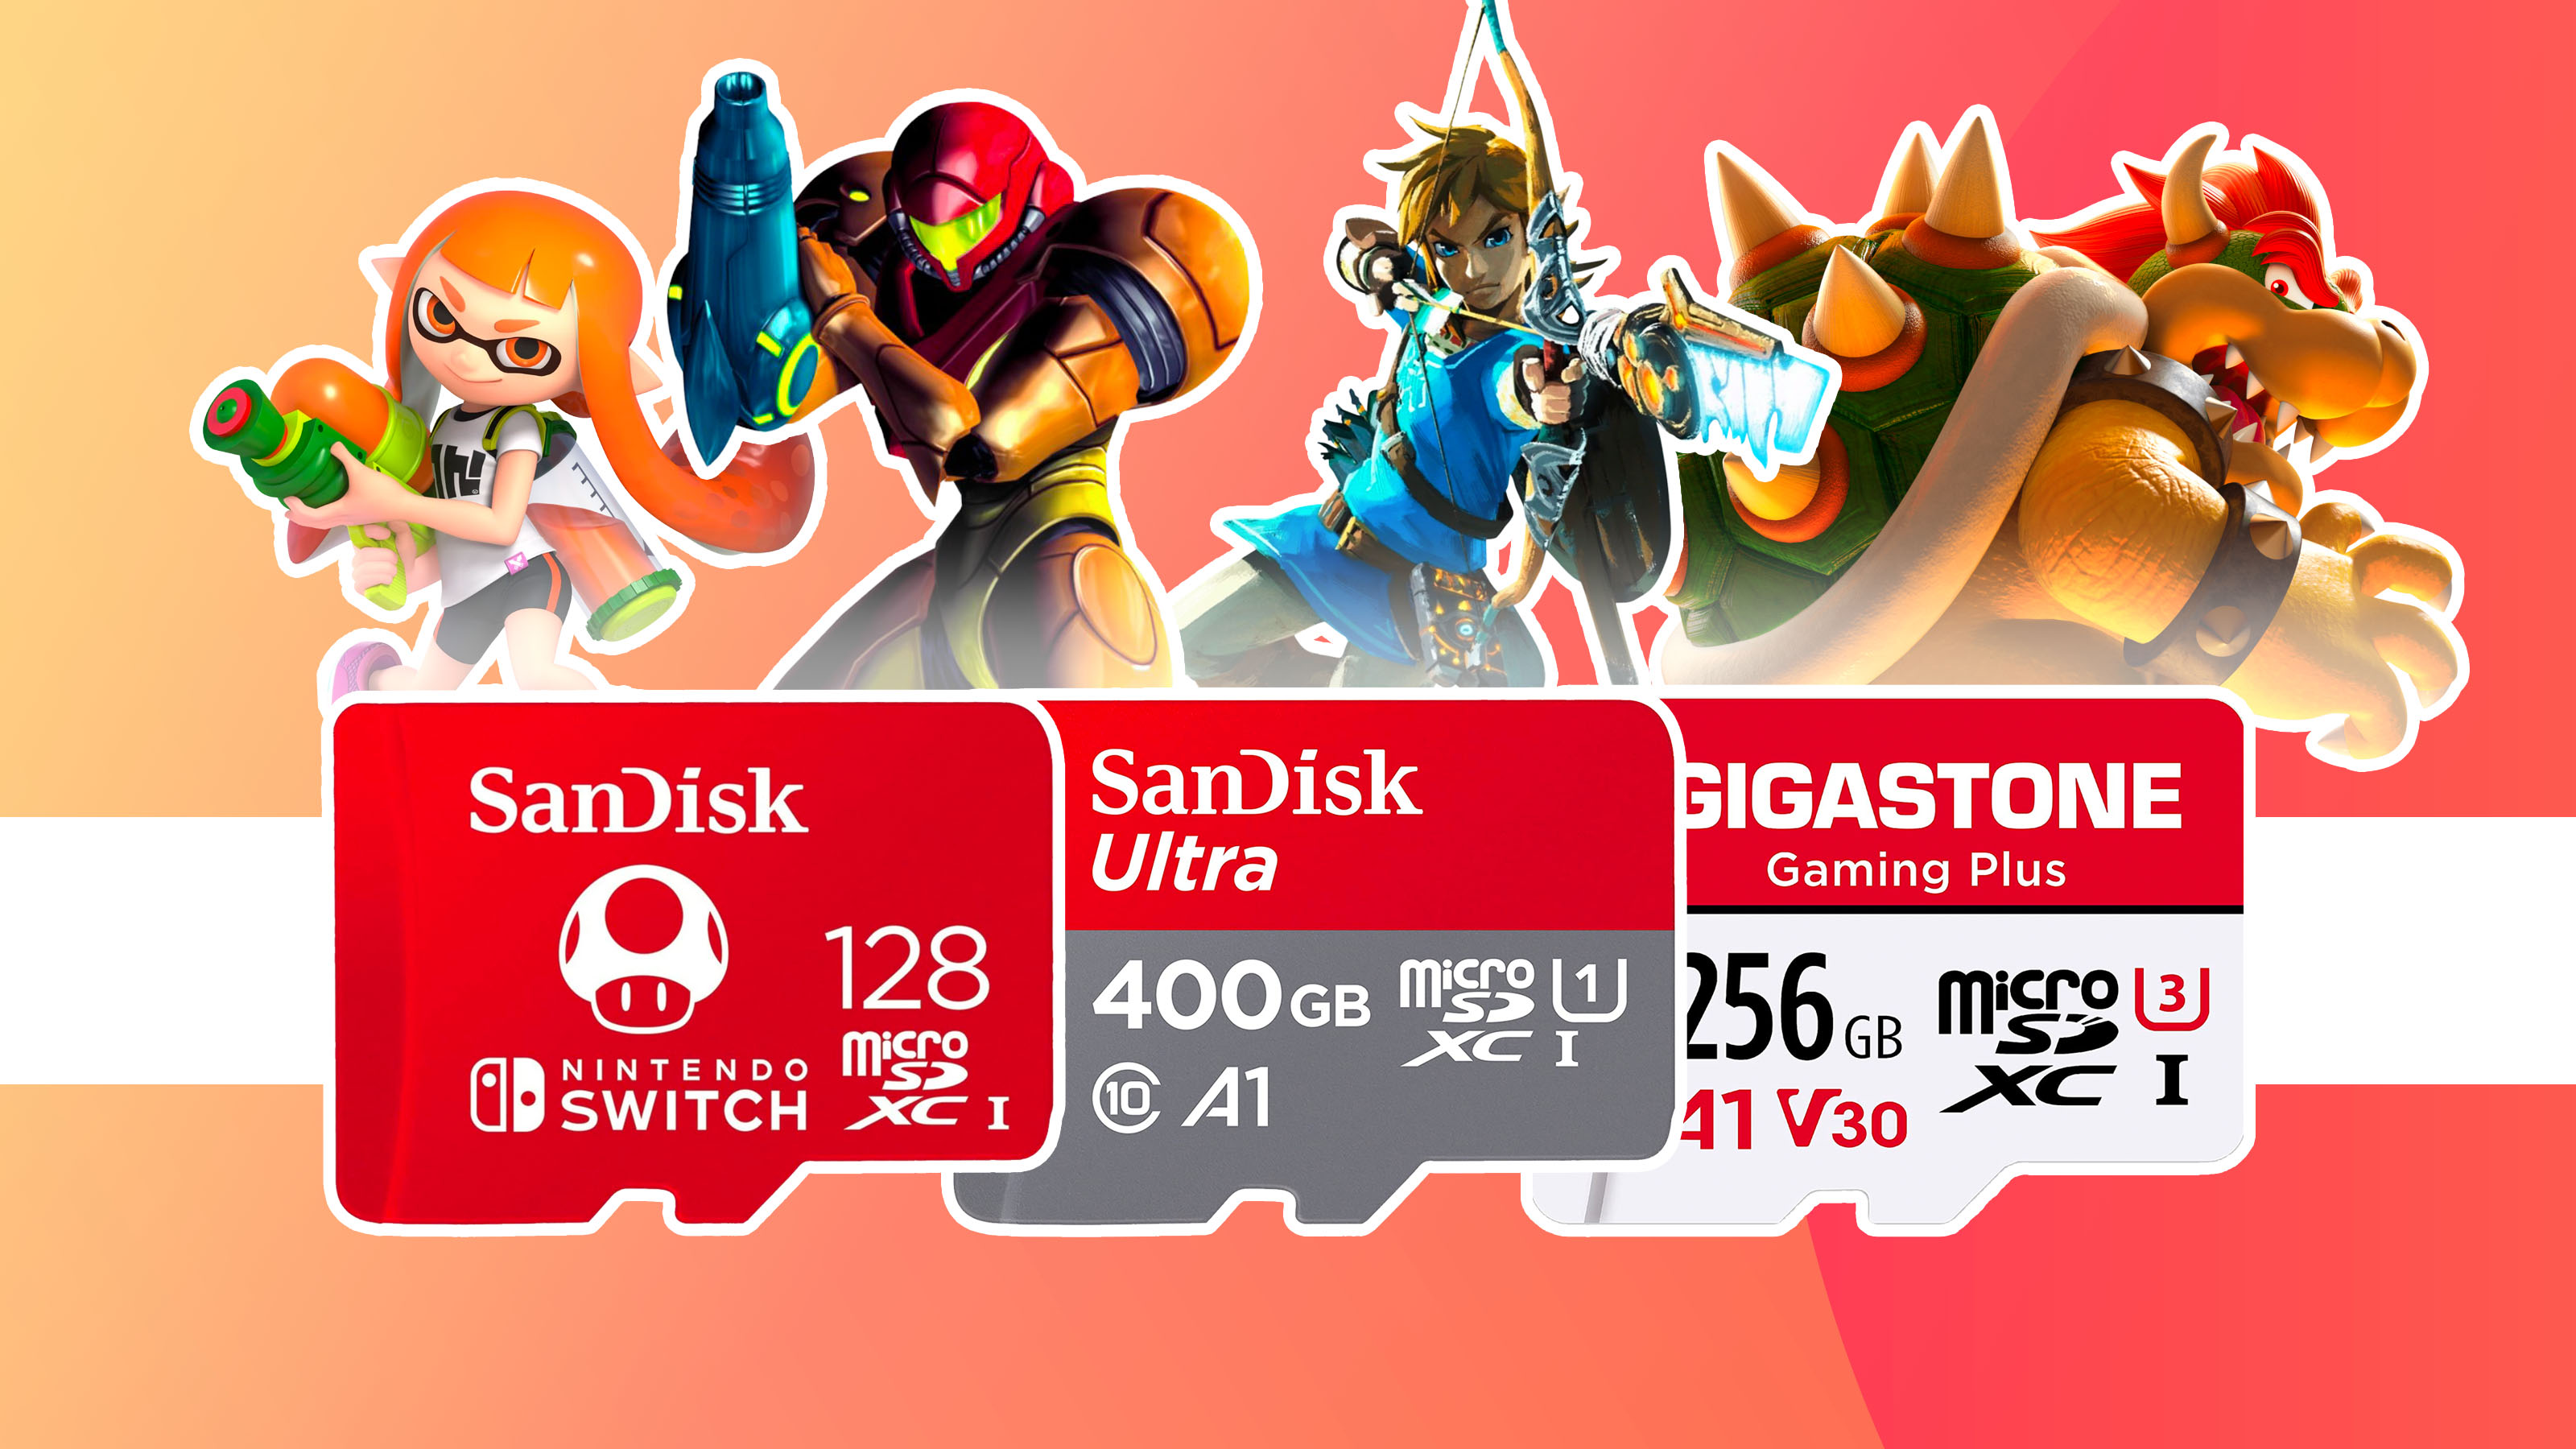
Welcome to our guide on how to format a 64GB SD card for the Nintendo 3DS! If you’re a proud owner of a 3DS, you might be looking to expand your storage capacity to make room for more games, photos, and videos. The 3DS supports SD cards up to 32GB by default, but with a few simple steps, you can format a larger 64GB SD card to work seamlessly with your 3DS.
Before we dive into the specifics of formatting, it’s important to understand the capabilities of the 64GB SD card. This high-capacity storage option offers plenty of space for your files, allowing you to carry a wide range of games and media on your Nintendo 3DS. However, formatting is necessary to ensure that the SD card is compatible with the 3DS system.
In this guide, we will walk you through the process of formatting your 64GB SD card, both on a computer and directly on the Nintendo 3DS itself. Additionally, we will provide troubleshooting tips to help you navigate any potential issues you may encounter along the way.
Before you proceed with formatting, it’s crucial to back up any important data on your existing 64GB SD card or any other device you plan to use. This step will help protect your files and prevent any potential loss. Once you’ve ensured that your data is safely backed up, you can proceed with the formatting process.
Now that you have an overview of what to expect in this guide, let’s delve into the step-by-step instructions for formatting your 64GB SD card for the Nintendo 3DS. Whether you’re a seasoned 3DS user or new to the system, this guide will equip you with the knowledge to expand your storage and make the most out of your gaming experience. Let’s get started!
Understanding the 64GB SD Card
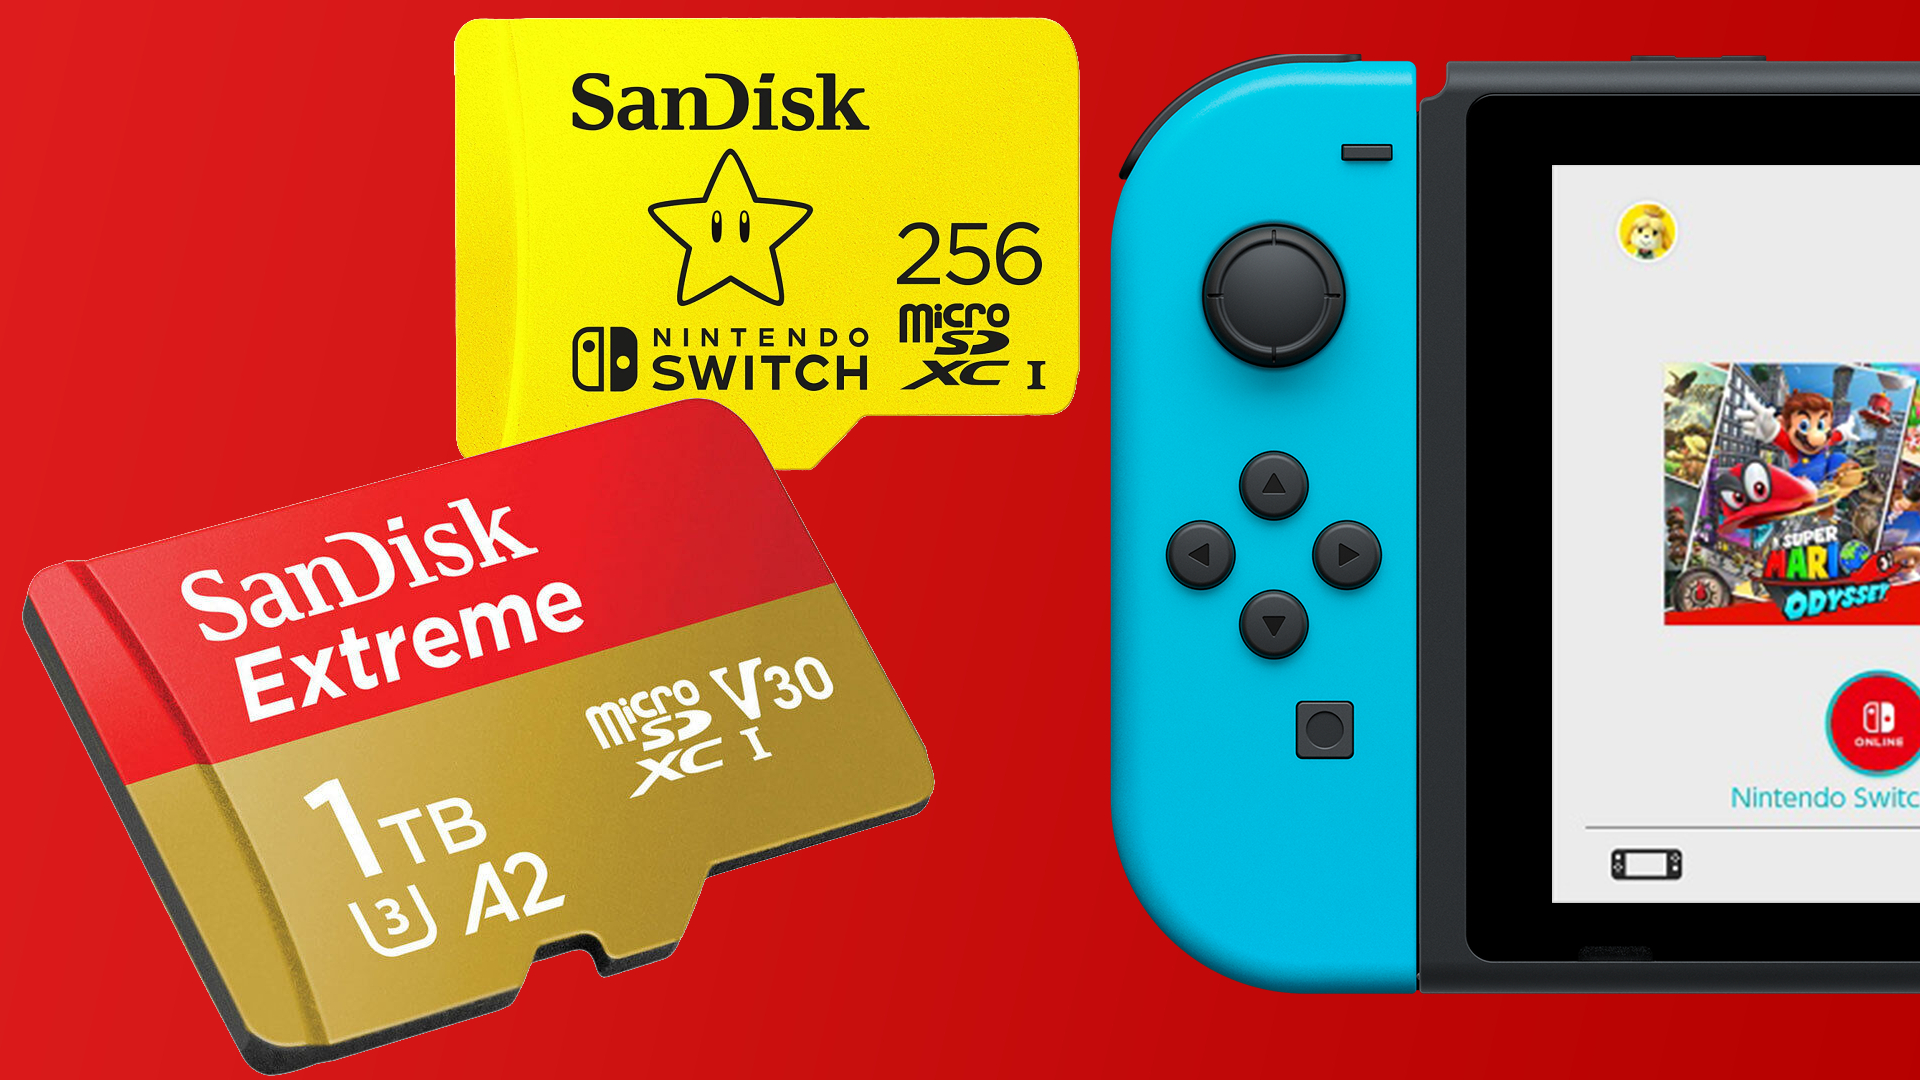
Before we proceed with formatting the 64GB SD card for the Nintendo 3DS, it’s essential to have a clear understanding of what it is and how it works. The 64GB SD card is a type of Secure Digital (SD) memory card that offers a high storage capacity, allowing you to store a large amount of data on your device. It is commonly used in digital cameras, smartphones, and portable gaming consoles like the Nintendo 3DS.
This high-capacity SD card is an excellent choice for 3DS users who want to expand their storage space for games, photos, videos, and other media. With 64GB of storage, you can have the convenience of carrying a wide range of content with you wherever you go.
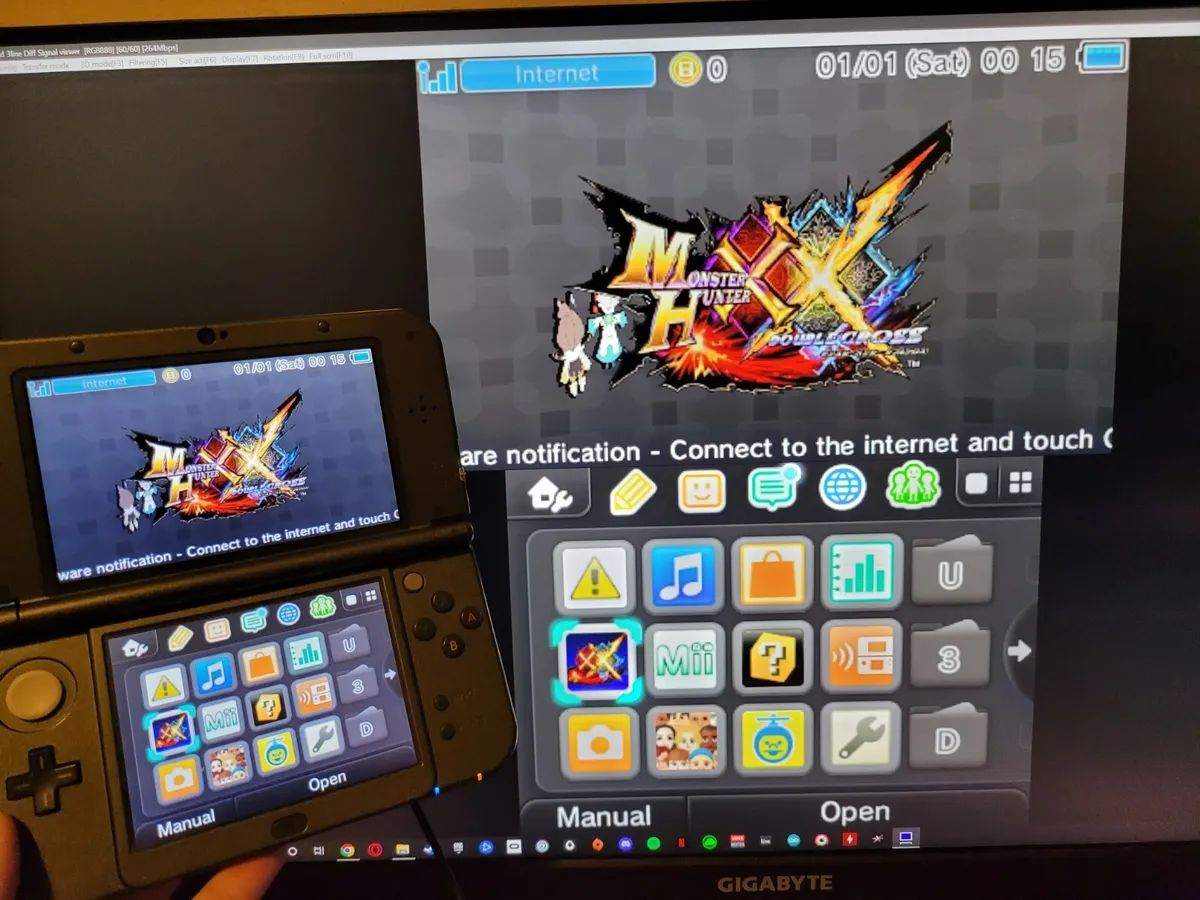
It’s important to note that the 3DS supports SD cards up to 32GB by default, so formatting is necessary to make the 64GB SD card compatible with the system. Formatting involves preparing the SD card to work with the specific file system used by the Nintendo 3DS. This process creates the necessary directory structure and ensures that the card functions seamlessly with the system’s operating system.
When you format the 64GB SD card, it will be completely erased, so it’s crucial to back up any important data before proceeding. This step will help you avoid losing any valuable content. Once the formatting process is complete, the SD card will be optimized for use on the Nintendo 3DS, allowing you to enjoy a smooth and hassle-free gaming experience.
Now that we have a better understanding of the 64GB SD card and why formatting is necessary, let’s move on to the next step: backing up any important data before proceeding with the formatting process. Remember, always exercise caution when making changes to your storage devices to prevent accidental data loss.
Backing Up Important Data
Before we proceed with formatting the 64GB SD card for your Nintendo 3DS, it is crucial to back up any important data that is currently stored on the card or any other device you plan to use. This step ensures the safety of your files and prevents potential loss during the formatting process.
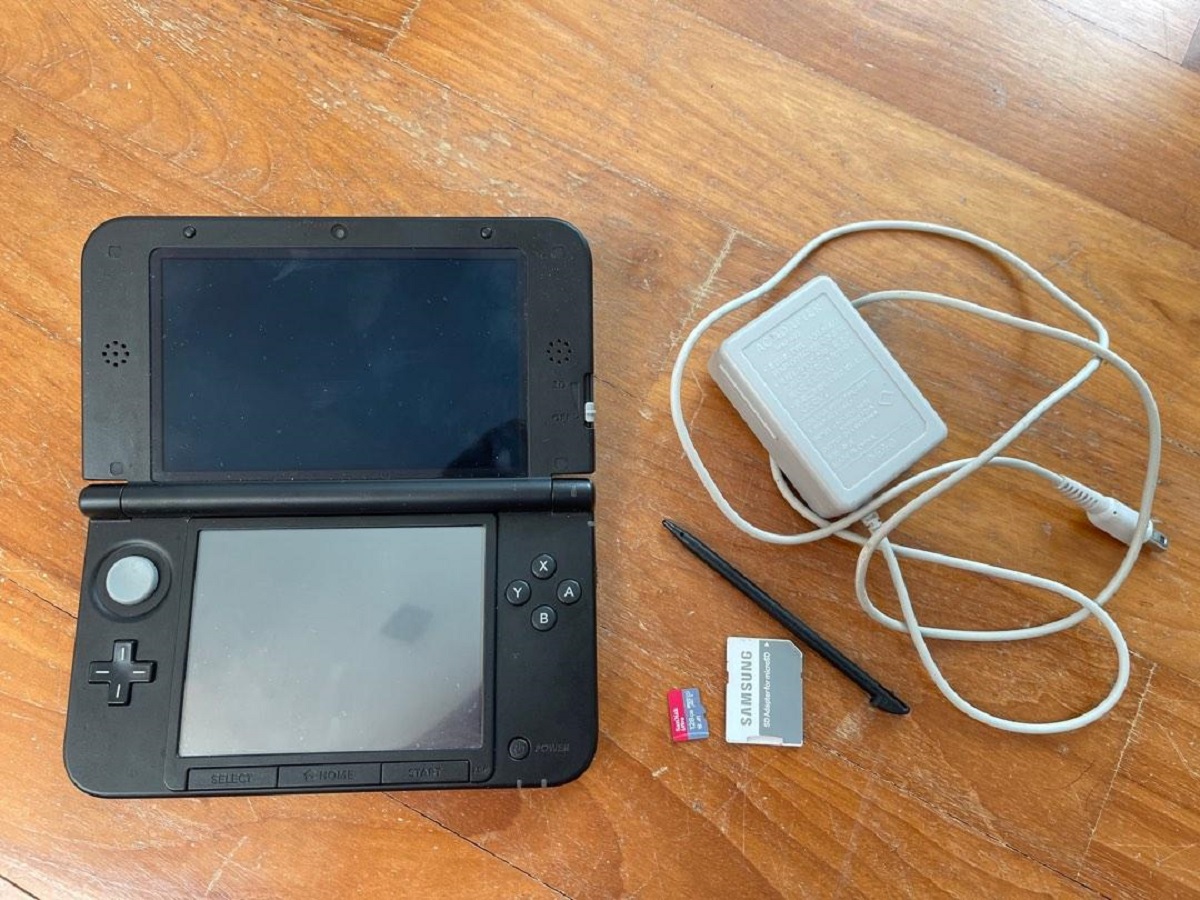
To back up your data, you have a few options. One option is to connect your 64GB SD card to a computer using an SD card reader. Once connected, you can copy and paste the files from the card to a folder on your computer’s hard drive. Alternatively, if your 3DS has a microSD management feature, you can connect your console to your computer via USB and transfer the files directly from the SD card to your computer.
It is essential to be thorough in your backup process, ensuring that all important files, including game save data, photos, and any other personal data, are properly copied. Double-check that you have created a backup of everything you want to keep before proceeding.
In addition to backing up your data locally on your computer, another option is to utilize cloud storage services. Cloud storage platforms such as Google Drive, Dropbox, or OneDrive offer a convenient way to store your files securely online. By uploading your important data to the cloud, you can access and retrieve it from any device with an internet connection.
It is crucial to note that backing up your data is not only essential during the formatting process but also for general data security. Regularly creating backups is a good practice to prevent permanent loss of data due to unforeseen circumstances, such as accidental deletion or hardware failure.
After you have successfully backed up your data, you can proceed with the formatting process confidently, knowing that your important files are safely stored in another location. In the next sections, we will guide you through formatting the 64GB SD card both on a computer and directly on your Nintendo 3DS.
Now that you have backed up your important data, let’s move on to the next step of formatting the 64GB SD card!
Formatting the SD Card on a Computer
If you prefer to format your 64GB SD card using a computer, follow the step-by-step instructions below:
- Insert your 64GB SD card into the SD card reader on your computer.
- Ensure that your computer recognizes the SD card and assigns it a drive letter.
- Open “This PC” or “My Computer” on your computer to access the SD card.
- Right-click on the drive letter assigned to the SD card and select “Format.”
- In the format options, choose the file system as FAT32.
- Leave the allocation unit size as the default setting.
- Check the box that says “Quick Format” to speed up the formatting process.
- Double-check that you have backed up all important data on the SD card before proceeding.
- Click “Start” to initiate the formatting process.
- Wait for the formatting process to complete.
- Once the formatting is finished, safely eject the SD card from the computer.
Now that you have successfully formatted the 64GB SD card on your computer, it is ready to be used with your Nintendo 3DS. In the next section, we will guide you through formatting the SD card directly on the 3DS system.
Note that if you encounter any errors or issues during the formatting process, refer to the troubleshooting tips in the following section. These tips will help you overcome common formatting issues and ensure a smooth experience.
With the SD card successfully formatted, you can now move on to formatting it directly on the Nintendo 3DS console. This method is particularly useful if you do not have access to a computer or prefer to format the SD card directly on the device. Continue reading for the step-by-step instructions.
Formatting the SD Card on a Nintendo 3DS
If you want to format the 64GB SD card directly on your Nintendo 3DS console, follow these simple steps:
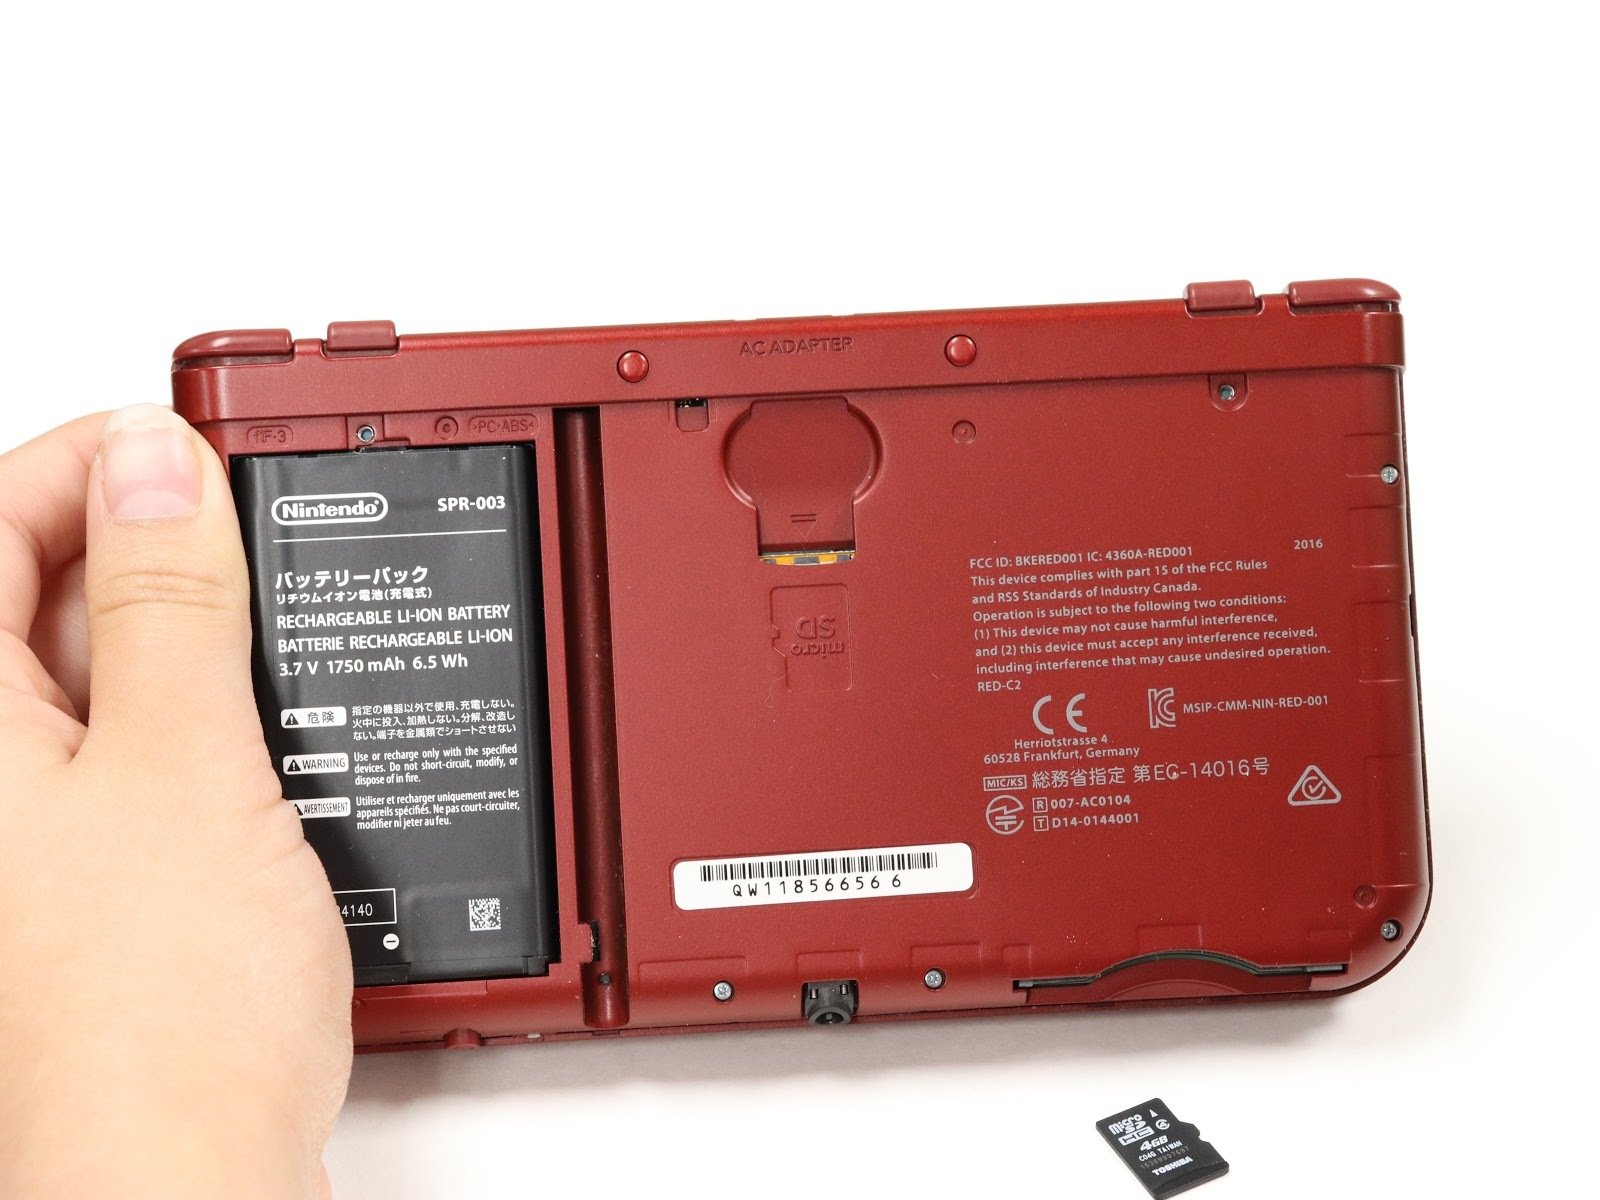
- Ensure that your Nintendo 3DS is powered off.
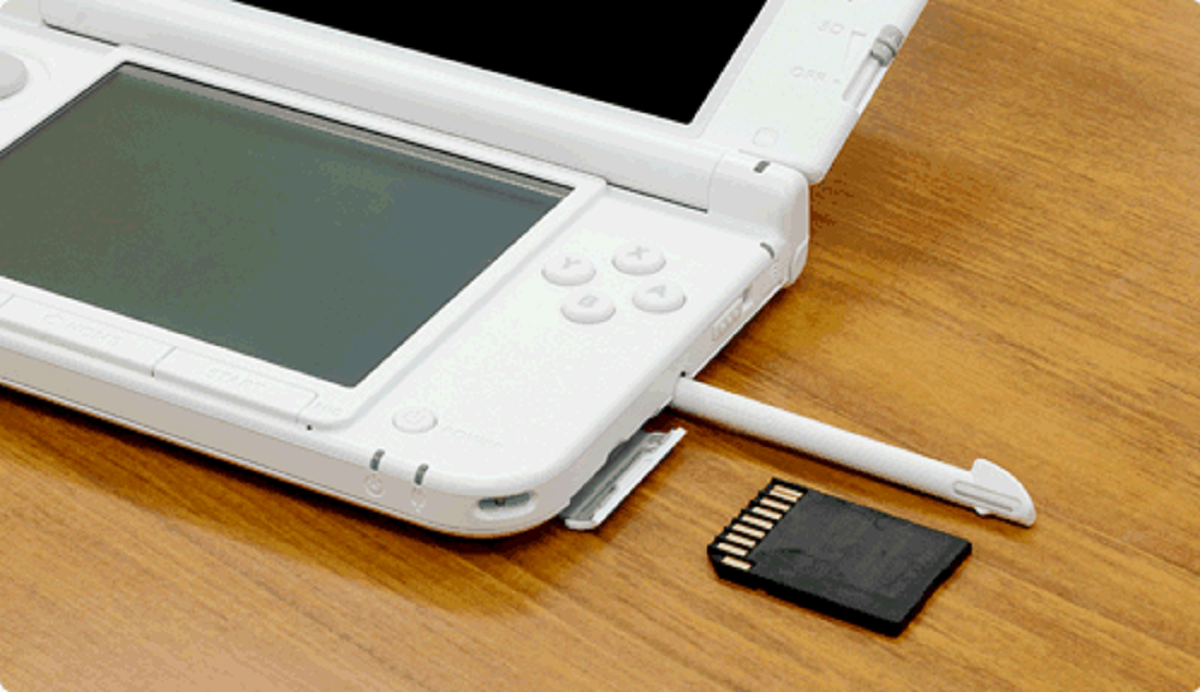
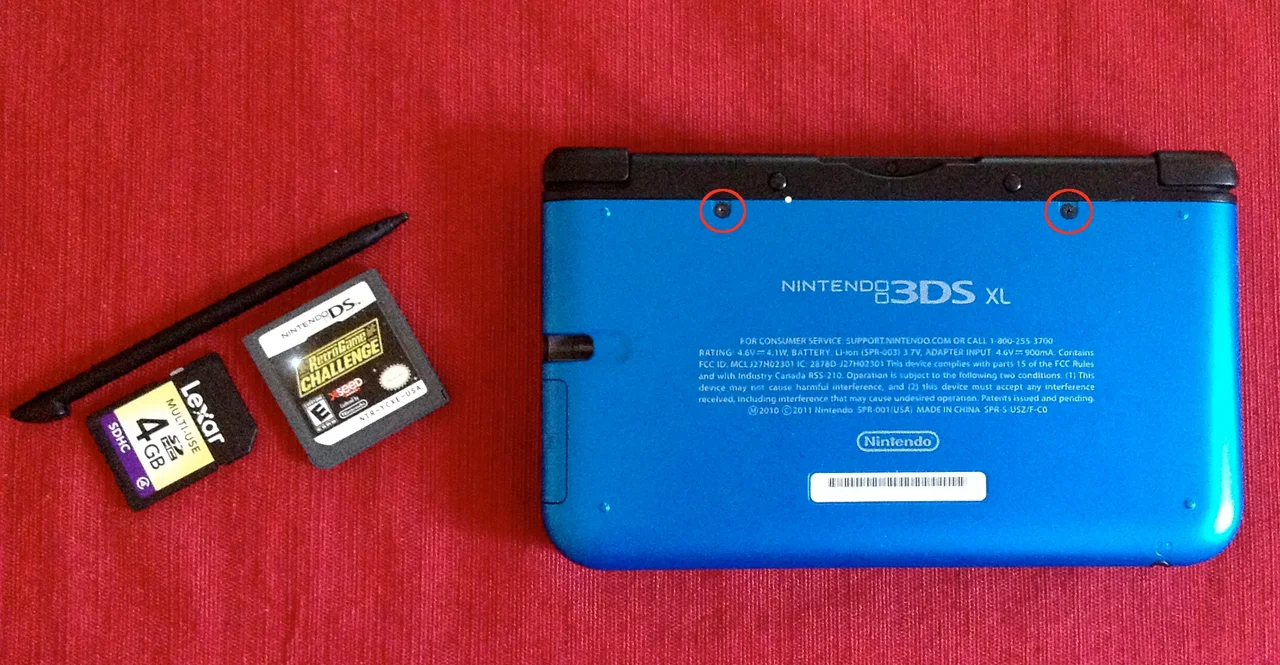
- Locate the SD card slot, which is located on the side or back of the console, depending on the model.
- Insert the 64GB SD card into the SD card slot until it clicks into place.
- Turn on your Nintendo 3DS console by pressing the power button.
- Navigate to the “System Settings” option on the home screen.
- Scroll down and select “Data Management.”
- Choose “Nintendo 3DS” from the available options.
- Select “Delete All Data” and confirm your selection.
- Read and understand the disclaimer information presented on the screen, and then select “Format System Memory.”
- Wait for the console to complete the formatting process. This may take a few minutes.
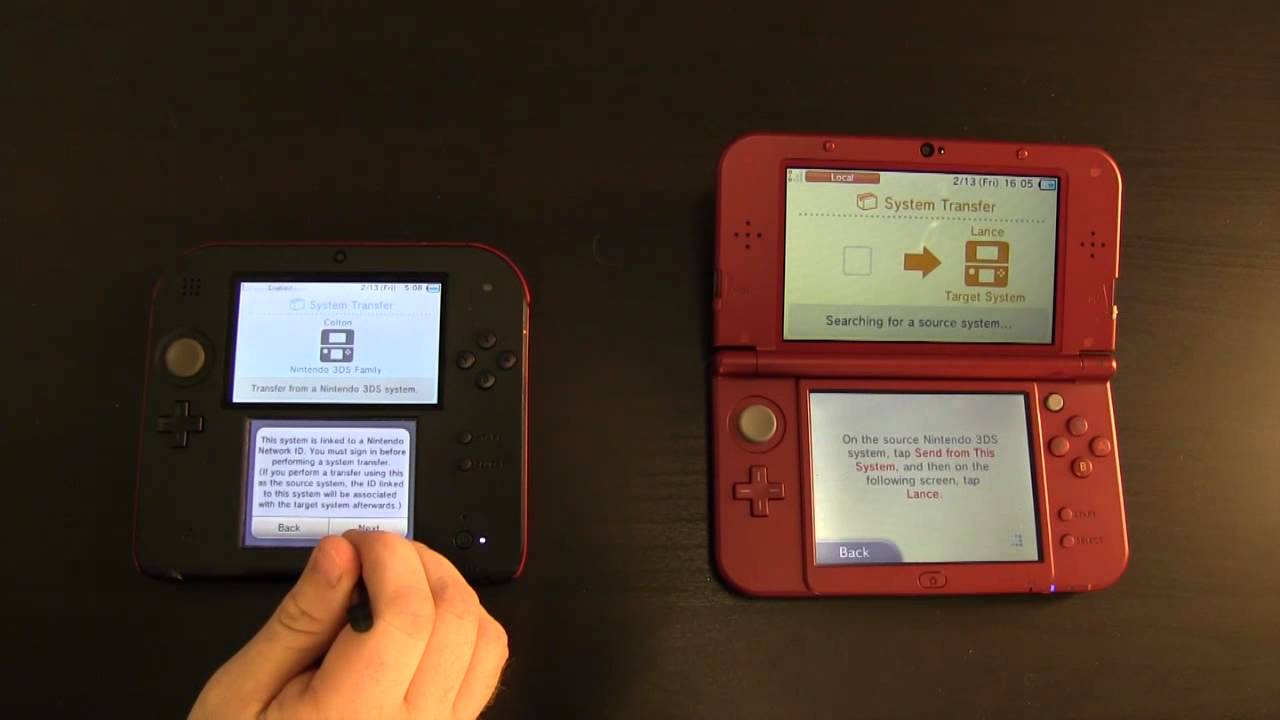
After the Nintendo 3DS finishes formatting the SD card, you will be prompted to set up your console again. Follow the on-screen instructions to complete the setup process.
Formatting the SD card directly on the Nintendo 3DS ensures that it is properly configured to work with the system’s file system and settings. This method is convenient and straightforward, eliminating the need for a computer to format your 64GB SD card.
If you encounter any issues or errors during the formatting process, do not panic. Head to the next section for troubleshooting tips to help you overcome common formatting problems.
With your SD card successfully formatted on the Nintendo 3DS, you are now ready to enjoy your expanded storage space and make the most of your gaming experience. In the next section, we will provide you with troubleshooting tips to address formatting issues that you may encounter along the way.
Troubleshooting Tips for Formatting Issues
Formatting an SD card can sometimes present challenges. If you encounter any issues during the formatting process, here are some troubleshooting tips to help you overcome common problems:
- Ensure that the SD card is inserted correctly: Make sure the SD card is properly inserted into the card reader on your computer or the SD card slot on your Nintendo 3DS. If it is not inserted correctly, the device may not recognize it.
- Check for write protection: Some SD cards have a write protection switch on the side. Ensure that this switch is in the unlocked position. If the switch is in the locked position, you will not be able to format the SD card.
- Try a different card reader or console: If you are experiencing issues with formatting on a computer or Nintendo 3DS, try using a different card reader or console. This will help determine if the problem lies with the device rather than the SD card itself.
- Update drivers and firmware: Ensure that your computer’s card reader or Nintendo 3DS console has the latest drivers and firmware installed. Outdated software can sometimes cause compatibility issues.
- Format using a different file system: If you are unable to format the SD card using the FAT32 file system, try using a different file system such as exFAT or NTFS. However, keep in mind that certain file systems may not be compatible with the Nintendo 3DS, so it’s best to stick with FAT32.
- Scan and repair the SD card: On your computer, you can use built-in utilities like CHKDSK (Windows) or Disk Utility (Mac) to scan and fix any errors on the SD card. This may help resolve formatting issues.
If you have tried the above troubleshooting tips and continue to experience difficulties with formatting, it is recommended to reach out to the manufacturer’s support for further assistance. They can provide more tailored solutions for the specific device and SD card you are using.
Remember, formatting the SD card will erase all existing data, so it is crucial to have a backup before starting the formatting process. By keeping backups, you can safeguard your important files and avoid permanent data loss.
With these troubleshooting tips, you should now be equipped to address common formatting issues and successfully format your 64GB SD card for use with the Nintendo 3DS. Once the formatting process is complete, you can enjoy the expanded storage space and maximize your gaming experience.
Conclusion
Congratulations! You have reached the end of our guide on how to format a 64GB SD card for your Nintendo 3DS. By following the step-by-step instructions and troubleshooting tips provided, you should now have a formatted SD card ready to use with your 3DS console.
Remember, formatting your 64GB SD card is an essential step to ensure compatibility with the Nintendo 3DS system. Whether you chose to format the card on a computer or directly on the 3DS, the process allows you to enjoy the expanded storage capacity and carry a wide range of games, photos, and videos with you on your gaming adventures.
Throughout this guide, we emphasized the importance of backing up your important data before formatting. Creating backups is crucial in safeguarding your files and preventing any potential loss. By taking this precaution, you can have peace of mind knowing that your valuable data is secure.
If you encountered any difficulties during the formatting process, our troubleshooting tips provided solutions to common issues. Remember to double-check the card insertion, ensure write protection is disabled, update drivers and firmware, and try different file systems if needed. In case of persistent issues, seeking support from the manufacturer is recommended.
We hope this guide has been helpful in assisting you with formatting your 64GB SD card for the Nintendo 3DS. Enjoy the increased storage space and make the most of your gaming experience with your newly formatted SD card. Happy gaming!