Introduction
Welcome to our guide on how to format an SD card for your 3DS! If you’re the proud owner of a Nintendo 3DS gaming console, you may find yourself needing to format your SD card for various reasons. Whether you want to free up space, troubleshoot issues, or prepare your SD card for a fresh start, formatting can help you achieve these goals.
The Nintendo 3DS uses an SD card to store game data, photos, videos, and more. Over time, these files can accumulate and impact the performance of your device. Formatting the SD card erases all the data on it, giving you a clean slate to start anew. It’s important to note that formatting will permanently delete all the files stored on the SD card, so make sure to back up any important data before proceeding.
In this guide, we will walk you through the step-by-step process of formatting an SD card for your 3DS. We’ll also discuss things to consider before formatting, how to back up your data, common issues you may encounter, and troubleshooting tips to help you along the way.
Formatting an SD card may seem daunting, but with our comprehensive guide, you’ll be able to navigate the process with ease. So, let’s dive in and learn how to format your SD card for a smooth and optimal gaming experience on your beloved Nintendo 3DS!
Why Format SD Card for 3Ds?
There are several reasons why you might need to format your SD card for your 3DS. Let’s explore some of the main motivations behind this process:
- Free up Space: Over time, your SD card can become filled with game data, photos, videos, and other files. This can lead to limited storage space, causing your 3DS to slow down or encounter performance issues. By formatting the SD card, you can reclaim valuable space and optimize your device’s performance.
- Troubleshoot Issues: If you’re experiencing glitches or errors on your 3DS, formatting the SD card can often help resolve these problems. Sometimes, corrupted or incompatible files can cause issues with the system. Formatting the SD card removes these potentially problematic files, giving your 3DS a fresh start.
- Prepare for a Fresh Start: Formatting the SD card is also necessary when preparing to sell or give away your 3DS. This ensures that all personal data, including saved games, photos, and other files, are completely erased from the SD card, protecting your privacy and preventing any future access to your information.
- Switching SD Cards: If you’re upgrading to a larger capacity SD card or replacing a faulty one, formatting the new card is essential. This allows the 3DS to properly recognize and utilize the new SD card, ensuring seamless access to your games and files.
- Fixing File Compatibility: In some cases, certain files or games may not work properly on your 3DS due to compatibility issues. By formatting the SD card, you can eliminate any conflicting or incompatible files, ensuring a smoother gaming experience.
As you can see, formatting your SD card for your 3DS offers a variety of benefits. Whether you need to free up space, troubleshoot issues, prepare for a fresh start, switch SD cards, or fix file compatibility, formatting can help you achieve your goals. Just remember to back up any important data before proceeding, as formatting will erase everything on your SD card.
Now that we understand the reasons behind formatting an SD card for your 3DS, let’s move on to the next section, where we’ll discuss the things you need to consider before formatting.
Things to Consider Before Formatting SD Card for 3Ds
Before you proceed with formatting your SD card for your 3DS, there are a few important factors to consider. Let’s take a look at what you need to keep in mind:
- Backup Your Data: Formatting your SD card will erase all the data stored on it. Therefore, it is crucial to back up any important files, such as game saves, photos, and videos, before proceeding with the formatting process. This will ensure that you don’t lose any valuable data that you wish to retain.
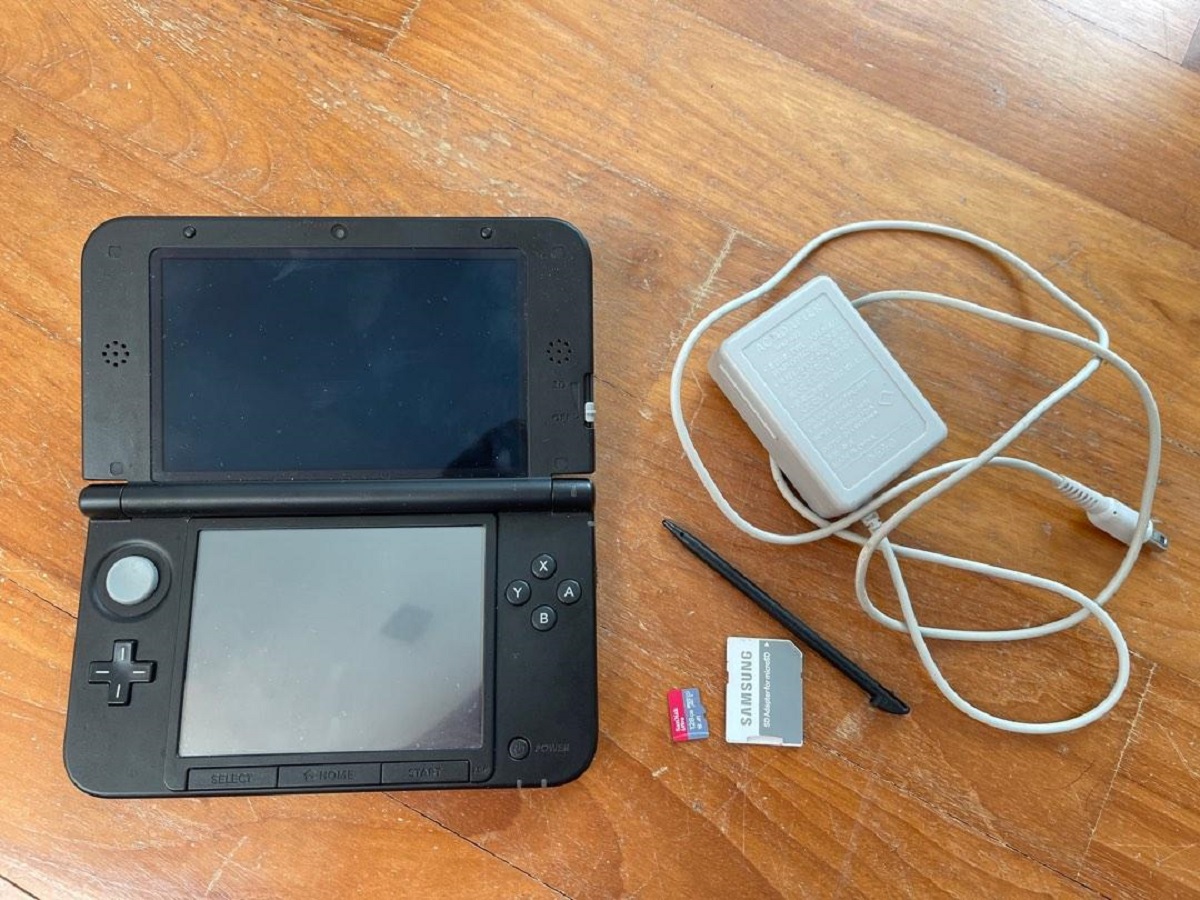
- Check for Compatibility: Make sure that the SD card you are using is compatible with your Nintendo 3DS. The 3DS supports SD (up to 2GB) and SDHC (4GB to 32GB) cards. SDXC cards with a capacity above 32GB are not compatible. When purchasing a new SD card, ensure that it falls within the supported range for your 3DS.
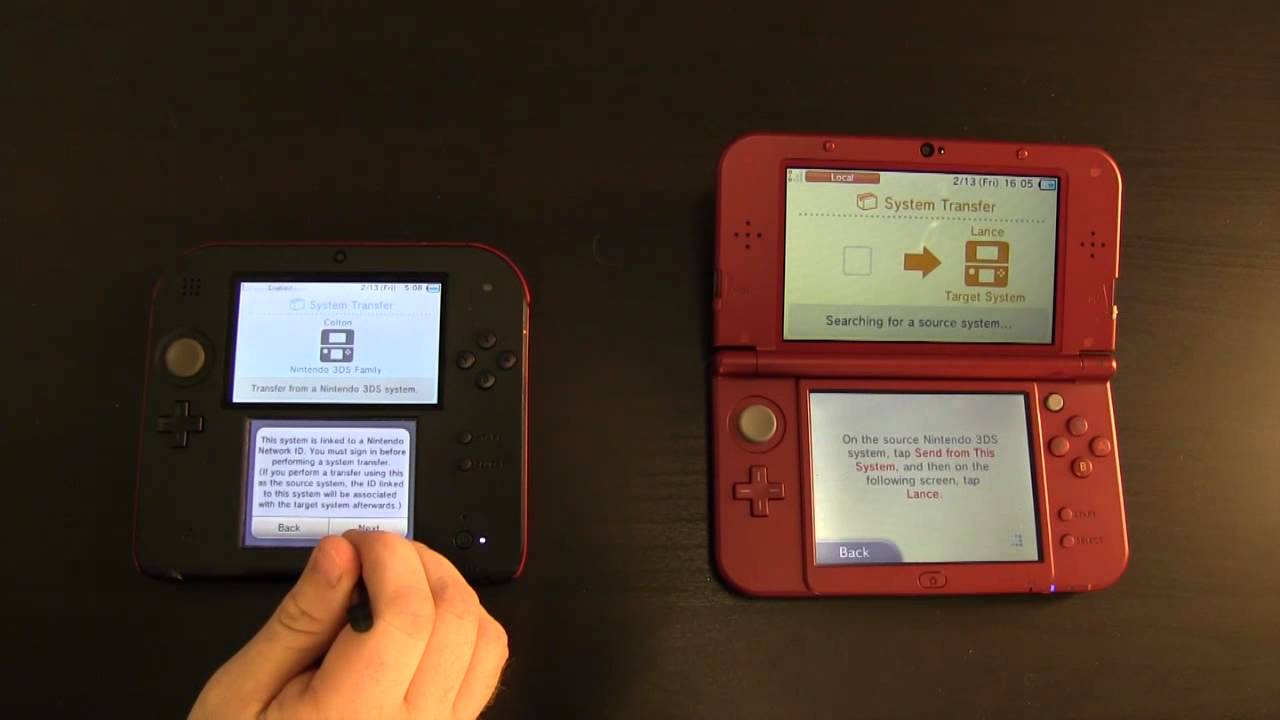
- Transfer Purchased Games: If you have purchased games from the Nintendo eShop, ensure that you have them linked to your Nintendo Network ID. This will allow you to re-download the games after formatting the SD card. Verify that you have the necessary login credentials associated with your Nintendo Network ID before proceeding.
- Remove the SD Card Safely: Before starting the formatting process, make sure to turn off your 3DS and remove the SD card safely. This will prevent any potential data corruption or damage to the card during the formatting process.
- Consider Alternative Solutions: Formatting should be seen as a last resort. If you’re experiencing minor issues with your 3DS or SD card, consider trying other troubleshooting methods before resorting to formatting. These could include cleaning the card’s contacts, resetting the system, or updating the firmware.
By taking these factors into account, you will be better prepared for the SD card formatting process. Remember, backing up your data is crucial to avoid any permanent data loss. Also, ensure that your SD card is compatible with your Nintendo 3DS, transfer any purchased games, remove the SD card safely, and consider alternative solutions before proceeding with the formatting process.
Now that we’ve covered the important considerations, it’s time to delve into the step-by-step guide on how to format an SD card for your 3DS.
Step-by-Step Guide to Format SD Card for 3Ds
Formatting an SD card for your 3DS is a straightforward process. Follow these step-by-step instructions to format your SD card with ease:
- Power Off Your 3DS: Make sure your 3DS is turned off before proceeding with the formatting process. This will prevent any potential data loss or damage to the SD card.
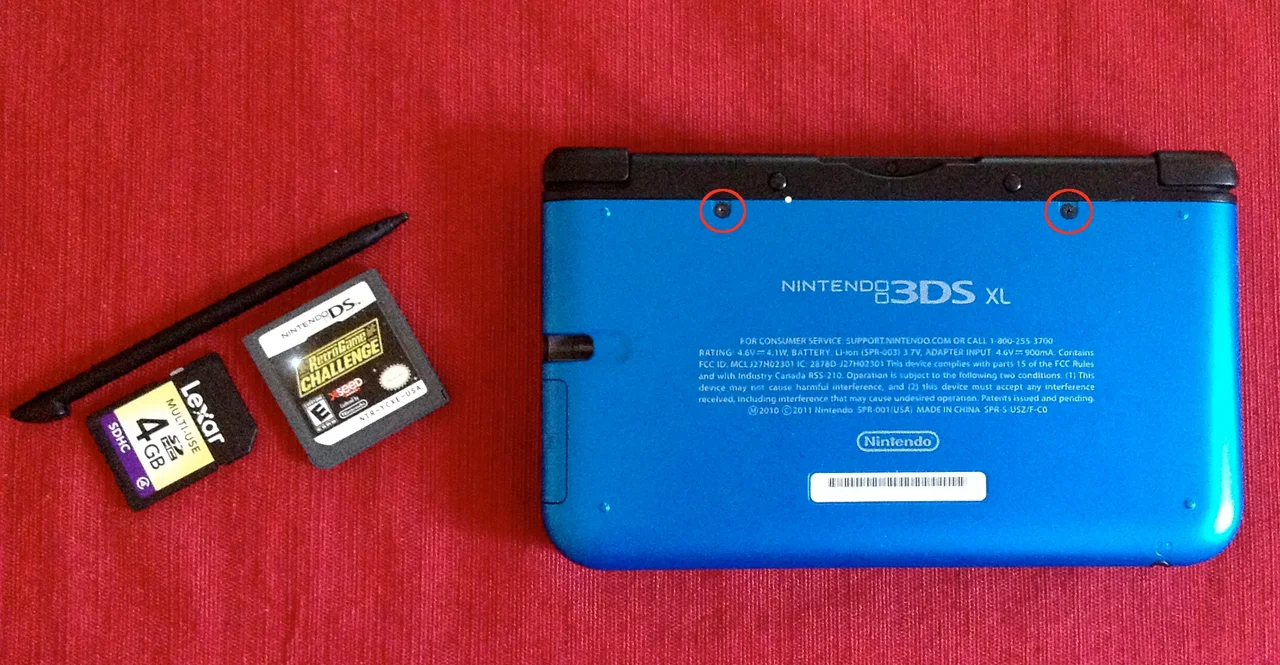
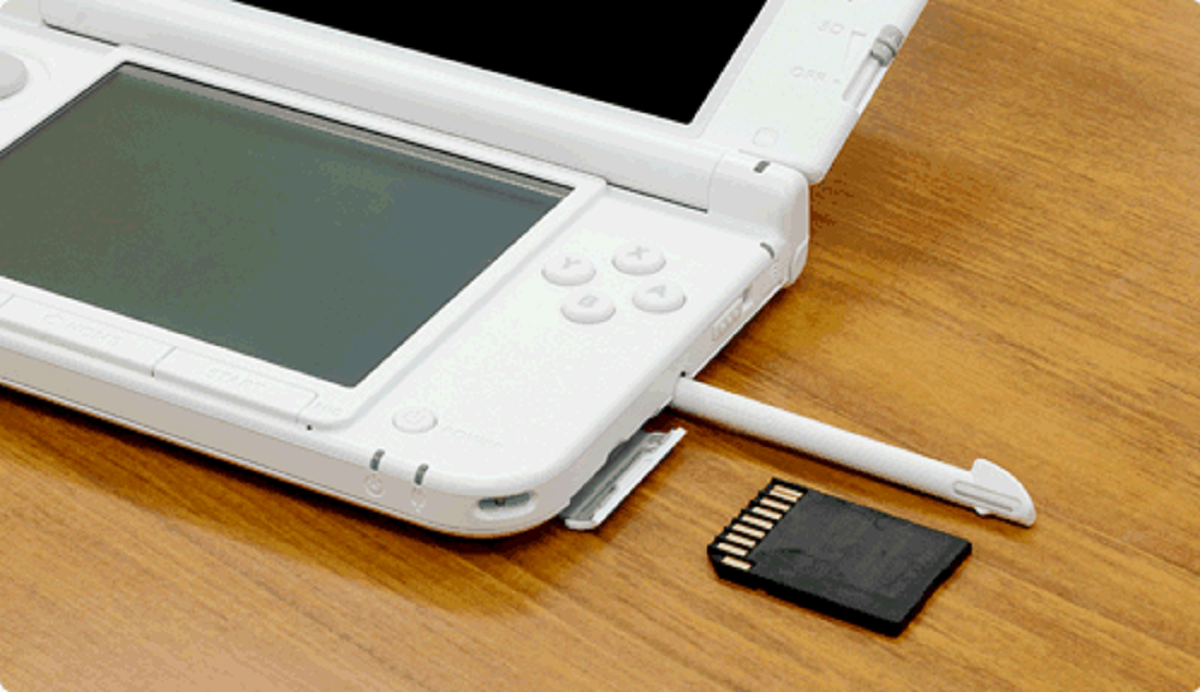
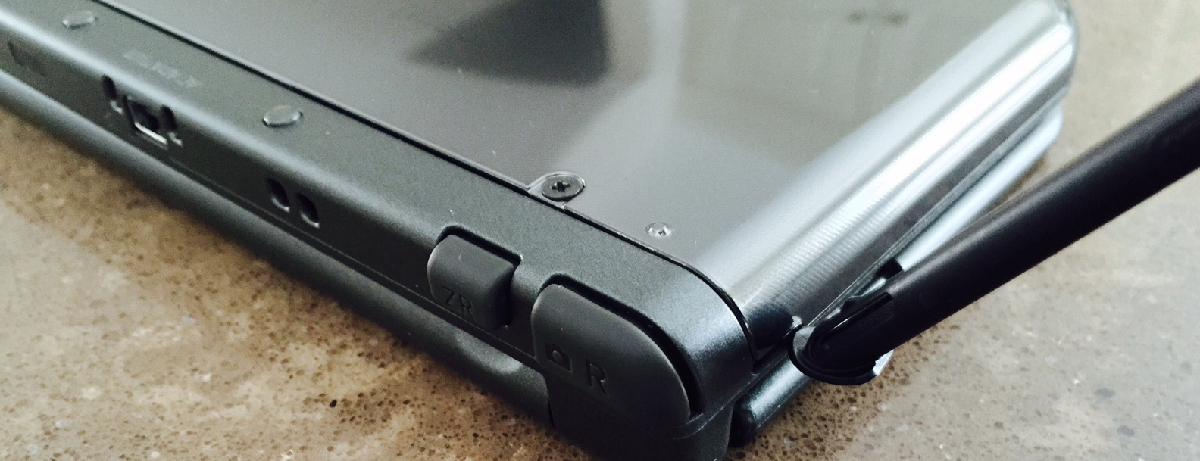
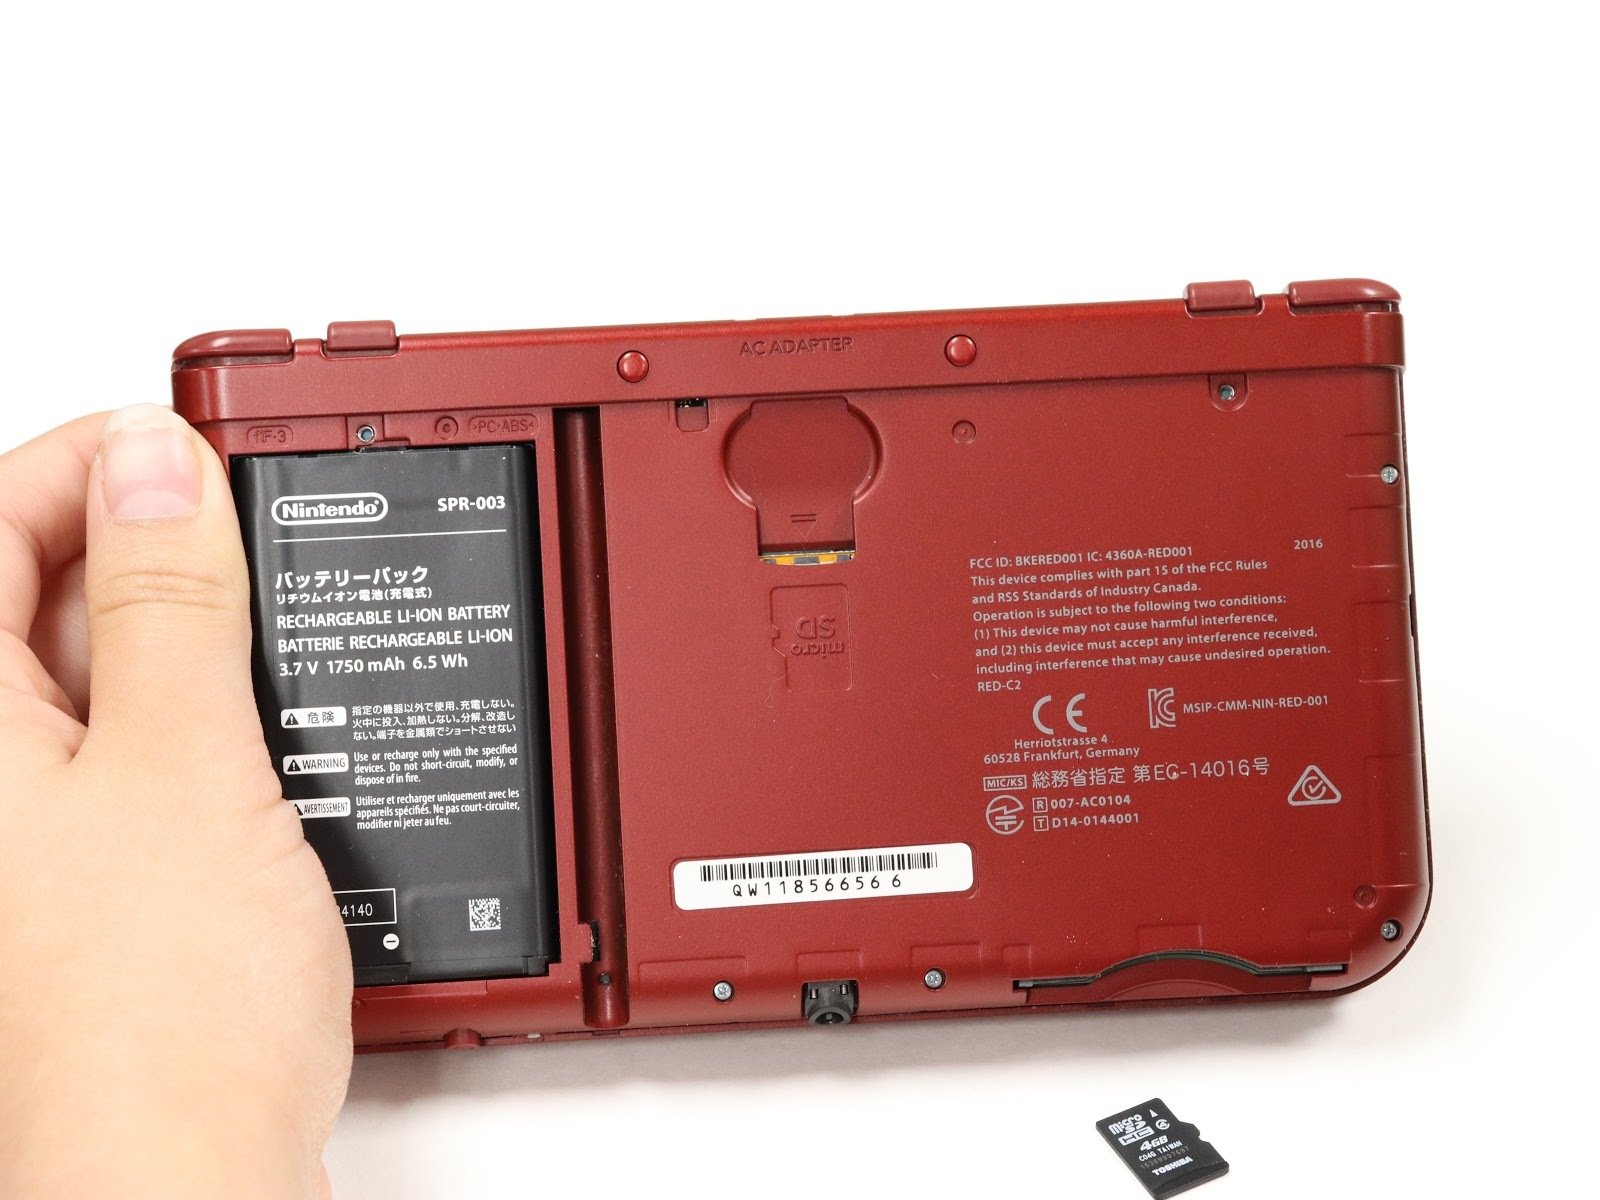
- Remove the SD Card: Locate the SD card slot on your 3DS and gently push the SD card in until you feel a slight click. This will release the SD card from its slot. Carefully remove the SD card from the slot and set it aside.
- Insert the SD Card into Your Computer: Take the SD card and insert it into the SD card reader on your computer. If your computer doesn’t have a built-in SD card reader, you can use an external card reader that connects via USB.
- Open File Explorer: On your computer, open File Explorer (Windows) or Finder (Mac) to access the SD card. It should appear as a removable drive.
- Backup Your Data (Optional and Recommended): Before proceeding with the formatting process, it is highly recommended to back up any important data on the SD card. Copy the files you wish to keep to a separate location on your computer to ensure they are saved.
- Format the SD Card: Right-click on the SD card drive and select the “Format” option from the context menu. This will open the formatting dialog box.
- Choose the File System and Allocation Unit Size: In the formatting dialog box, select the desired file system. For 3DS compatibility, it is recommended to choose FAT32 as the file system. Leave the allocation unit size as the default setting.
- Confirm and Start the Formatting Process: Double-check that you have selected the correct drive and file system settings. Once you’re satisfied, click on the “Start” or “Format” button to initiate the formatting process.
- Wait for the Formatting Process to Complete: The formatting process may take a few moments to complete, depending on the size of your SD card. During this time, ensure that you do not remove the SD card or interrupt the process.
- Eject the SD Card: Once the formatting process is complete, you will see a confirmation message. Safely eject the SD card from your computer by right-clicking on the SD card drive and selecting the “Eject” option.
- Insert the SD Card back into Your 3DS: Carefully reinsert the formatted SD card back into the SD card slot on your 3DS.
- Power On Your 3DS: Power on your 3DS and verify that the formatted SD card is recognized. Your 3DS is now ready to use with the freshly formatted SD card.
By following these step-by-step instructions, you can easily format your SD card for your 3DS. Remember to back up your data before formatting, choose the appropriate file system, and safely complete the process to avoid any data loss or damage. Now that you’ve successfully formatted your SD card, you can enjoy a clean slate and optimal performance on your Nintendo 3DS.
How to Back Up Your Data Before Formatting SD Card for 3Ds
Before formatting your SD card for your 3DS, it’s crucial to back up any important data to prevent permanent loss. Here’s a simple guide to help you back up your data:
- Connect Your SD Card to Your Computer: Insert the SD card into your computer using a built-in or external SD card reader.
- Open File Explorer: On your computer, open File Explorer (Windows) or Finder (Mac) to access the SD card.
- Create a New Folder: Right-click in the desired location on your computer and select “New Folder.” Give the folder a descriptive name to easily identify your backup files.
- Select and Copy Your Files: Navigate to the SD card in File Explorer/Finder and select the files and folders you want to back up. Copy them by either right-clicking and selecting “Copy” or using the keyboard shortcut (Ctrl+C or Command+C).
- Paste the Files into the Backup Folder: Go back to the newly created backup folder on your computer, right-click, and select “Paste” or use the keyboard shortcut (Ctrl+V or Command+V) to paste the copied files into the folder.
- Verify the Backup: Once the copying process is complete, take a moment to verify that all the files you intended to back up are successfully copied to the backup folder. Double-check that no files are missing or corrupted.
- Restore the Backup (If Necessary): After formatting the SD card and setting it up with your 3DS, you can restore your backed-up files by copying them back onto the SD card using the same process in reverse. Paste the files from the backup folder back into the appropriate locations on the SD card.
By following these steps, you can ensure that your important files and data are safely backed up before formatting your SD card for your 3DS. Taking the time to create a backup will provide peace of mind and protect you from the risk of permanent data loss during the formatting process.
Now that you know how to back up your data, you’re ready to proceed with formatting the SD card for your 3DS. Refer back to the earlier section for the step-by-step guide on formatting.
Common Issues and Troubleshooting Tips
While formatting an SD card for your 3DS is generally a straightforward process, you may encounter some common issues along the way. Here are a few typical problems and troubleshooting tips to help you overcome them:
- SD Card Not Recognized: If your 3DS doesn’t recognize the SD card after formatting, ensure that the card is inserted correctly and fully seated in the SD card slot. You can also try cleaning the SD card’s contacts with a soft cloth or compressed air to remove any dust or debris that may be obstructing the connection.
- Formatting Takes Too Long: If the formatting process is taking an unusually long time, it could indicate a problem with the SD card or your computer’s card reader. Try using a different SD card or card reader to see if the issue persists. Also, make sure that your computer is running smoothly and doesn’t have any performance-related issues.
- Files Not Copying Back after Formatting: If you have backed up your files before formatting but encounter difficulties copying them back onto the SD card, check the file system compatibility. Ensure that you have formatted the SD card with the appropriate file system, such as FAT32. Additionally, check the file name lengths and file path, as there may be restrictions on how deep the folders can be or the length of file names.
- Persistent Performance Issues: If your 3DS continues to experience performance issues even after formatting the SD card, consider performing a system update to ensure you have the latest firmware. You can also try resetting your 3DS to factory settings to clear any potential software conflicts or glitches. However, make sure to back up any important data before performing a system reset.
- Corrupted Files: If you encounter corrupted files on your SD card, run a scan using antivirus or anti-malware software on your computer to check for any potential issues. You can also try re-downloading or reinstalling problematic game files from official sources or contacting customer support for assistance.
These are some common issues you may come across when formatting an SD card for your 3DS. By following the troubleshooting tips provided, you can overcome these challenges and ensure a successful formatting and gaming experience.
If you encounter issues that are not covered here or if the problem persists, consider reaching out to official Nintendo support channels or online communities dedicated to Nintendo 3DS discussions. They can provide further guidance and assistance tailored to your specific situation.
Now that you’re equipped with troubleshooting tips, you’re ready to tackle any challenges that may arise during the formatting process!
Conclusion
In conclusion, formatting an SD card for your 3DS is a simple yet important process that can help optimize your gaming experience. Whether you need to free up space, troubleshoot issues, prepare for a fresh start, switch SD cards, or fix file compatibility, formatting can be a valuable solution.
Before formatting, remember to back up your data to avoid permanent loss. This ensures that any important files, game saves, photos, and videos are safely preserved. Take the time to verify and restore the backup after formatting.
Throughout this guide, we have provided you with a step-by-step process on how to format your SD card for your 3DS, as well as tips for troubleshooting common issues. By following these instructions and troubleshooting steps, you can navigate through the formatting process smoothly and overcome any challenges you may encounter.
Always consider the compatibility of the SD card and ensure you are using a supported file system. Safely eject the SD card from your computer and insert it back into your 3DS once formatting is complete. Power on your 3DS and verify that the formatted SD card is recognized.
If you face persistent issues or encounter problems beyond the scope of this guide, reach out to official Nintendo support or online communities for further assistance.
We hope this guide has provided you with the necessary information and guidance to successfully format your SD card for your 3DS. Enjoy your gaming experience with a fresh and optimized SD card!