Introduction
Transferring data from one SD card to another is a common task that many of us encounter. Whether you are upgrading to a larger capacity card or simply need to transfer data to a different device, knowing how to efficiently and safely transfer your data is essential.
With the advancements in technology, SD cards have become a popular and convenient way to store and transport data. From photos and videos to important documents and files, these tiny storage devices can hold a significant amount of information.
However, the process of transferring data from one SD card to another may seem a bit confusing, especially for those who are not familiar with the nuances of file management. In this article, we will guide you through the steps of transferring data from an SD card to another, ensuring a smooth and hassle-free experience.
Whether you are a tech-savvy individual or a beginner, this comprehensive guide will provide you with the necessary information and techniques to successfully transfer your data. By following these step-by-step instructions, you can confidently and efficiently transfer your data without the risk of losing any important files.
So, if you’re ready to learn how to transfer data from one SD card to another, let’s dive in and explore the different methods and techniques that you can use. Whether you prefer a direct computer-to-card approach or utilizing a card reader, we have got you covered.
Remember, the process may vary slightly based on your operating system and the specific devices you are using, but the principles remain the same. With a little patience and attention to detail, you’ll be able to successfully transfer your data and utilize your SD cards to their full potential.
Selecting the Right SD Card
When it comes to transferring data from one SD card to another, it’s important to start with the right SD card that suits your needs. With a wide variety of options available in the market, choosing the right SD card can sometimes be overwhelming. However, by considering a few key factors, you can make an informed decision that will ensure a successful and seamless data transfer.
First and foremost, consider the capacity of the SD card. This refers to the amount of data that the card can store. SD cards come in various capacities, ranging from a few gigabytes to multiple terabytes. Assess your storage needs and determine the amount of data you intend to transfer. If you plan on transferring a large volume of data or storing high-resolution files such as videos and photos, opt for a higher capacity SD card.
Another important factor to consider is the speed class of the SD card. Speed class refers to the minimum write speed of the card and is denoted by a number inside a U-shaped symbol. The higher the number, the faster the card will write data. Depending on your requirements, such as recording high-resolution videos or capturing burst-mode photos, you may need a higher speed class SD card to ensure smooth performance.
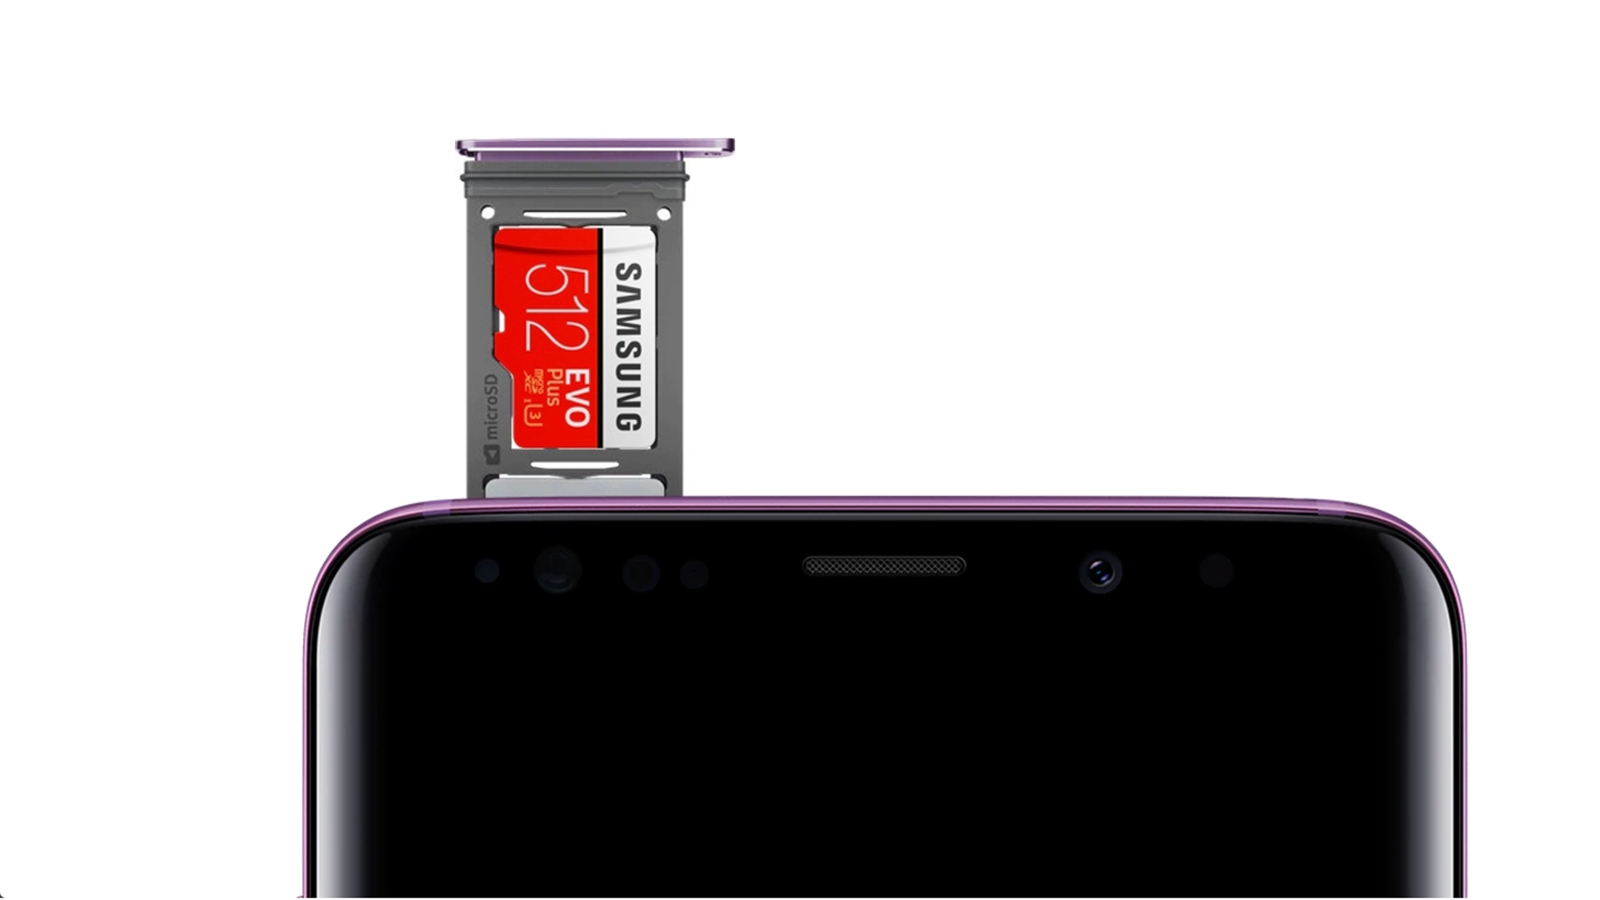
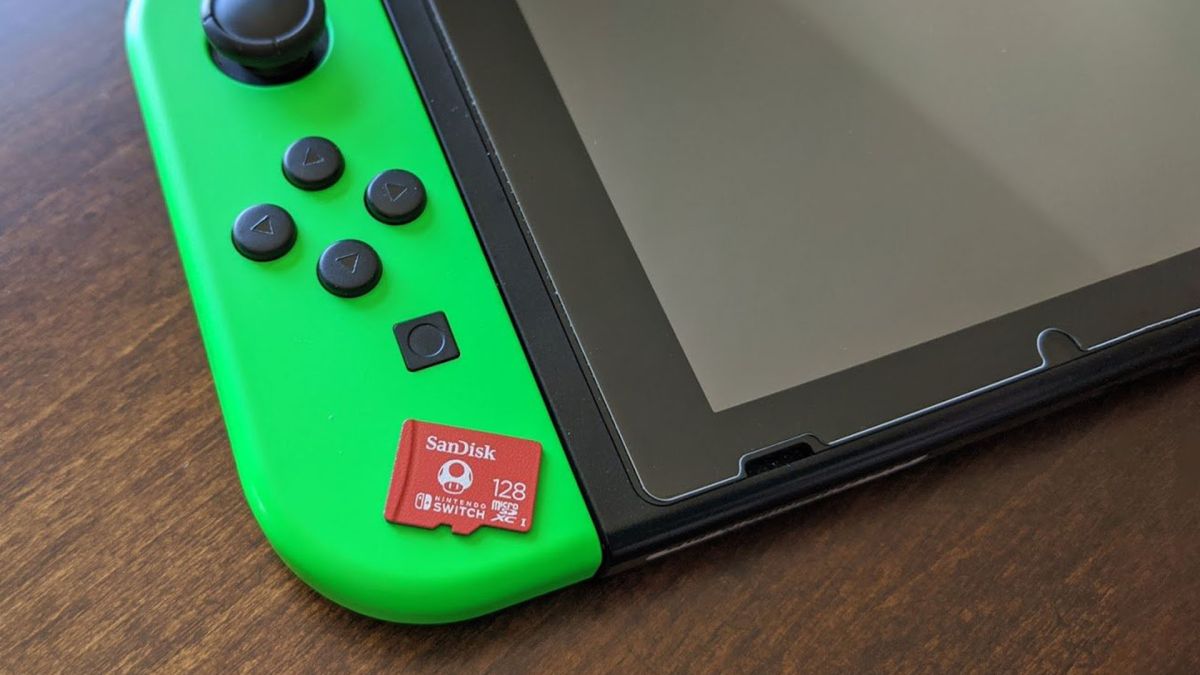
In addition to capacity and speed class, consider the physical size and compatibility of the SD card. The three main types of SD cards are standard SD, microSD, and miniSD. Ensure that your device supports the type of SD card you choose. Some devices may require an adapter to accommodate a smaller-sized SD card.
It’s also worth noting that some SD cards offer additional features such as waterproof, shockproof, and temperature-proof capabilities. These features can be beneficial if you plan on using the SD card in extreme environments or situations where durability is a concern.
Last but not least, consider the brand and reliability of the SD card. Opt for well-known and reputable brands that have a track record of producing quality SD cards. The last thing you want is to invest in a subpar SD card that could potentially result in data loss or corruption.
By carefully considering these factors, you can select the right SD card that meets your storage needs and ensures a smooth data transfer process. Remember to check the specifications and compatibility of the SD card with your devices to avoid any compatibility issues. With the right SD card in hand, you are ready to move on to the next steps of transferring your data.
Inserting the SD Card
Now that you have selected the right SD card for your data transfer needs, the next step is to properly insert the SD card into your device. Although this may seem like a straightforward process, it’s important to follow the correct procedure to avoid damaging the SD card or the device itself.
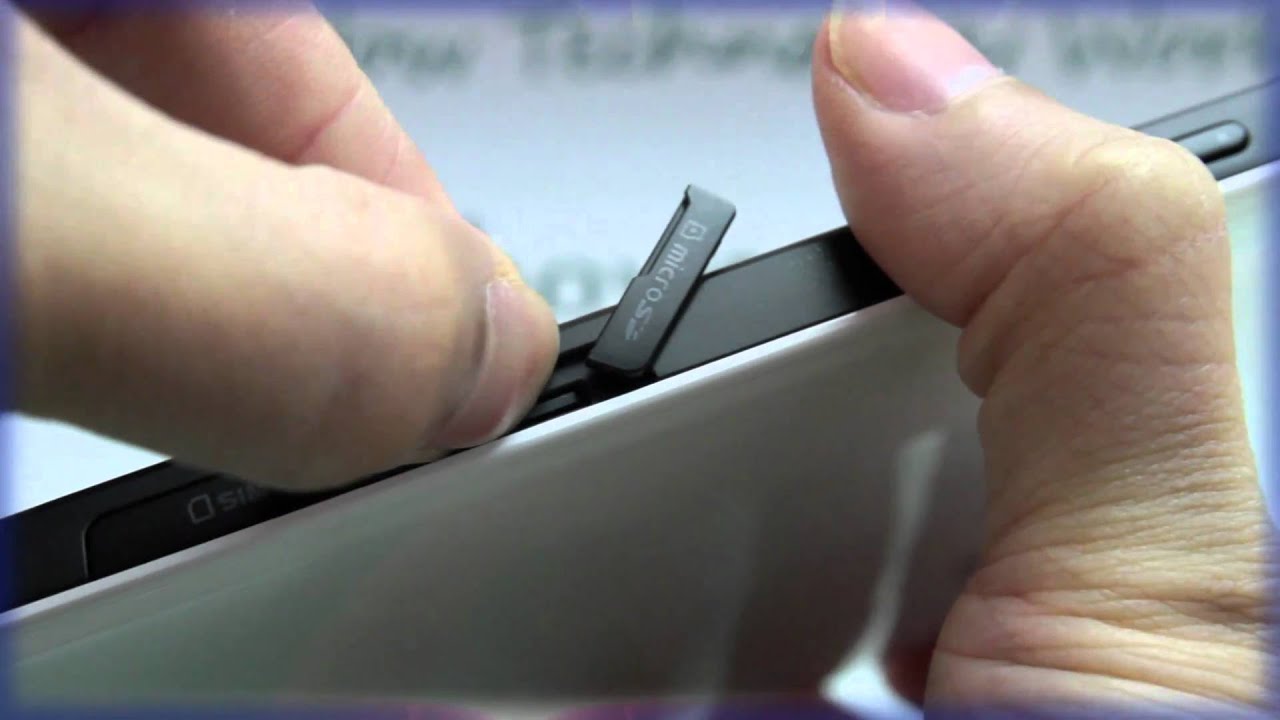
Before inserting the SD card, make sure your device is powered off. This will prevent any potential damage to the SD card or the device’s internal components. Locate the SD card slot on your device; it is usually labeled and can be found on the side or back of your device.
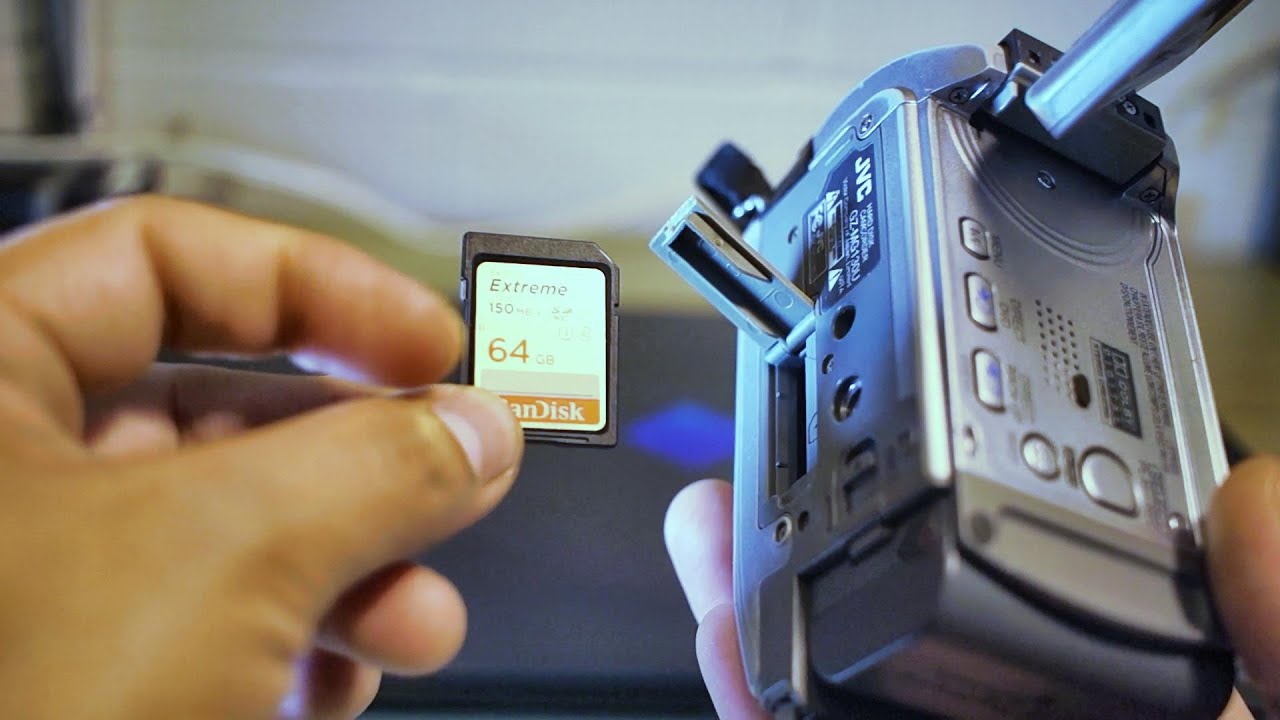
If you are using a full-sized SD card, gently push the card into the slot until it clicks into place. Ensure that the metal contacts on the SD card are facing down and aligning with the corresponding contacts in the SD card slot. Be gentle and avoid using excessive force to prevent bending or damaging the SD card or the slot.
If you are using a microSD card or a miniSD card, you may need to use an adapter to insert it into the standard SD card slot on your device. Insert the microSD card into the adapter or the miniSD card into the adapter, aligning the metal contacts properly, and then insert the adapter into the SD card slot of your device.
Once the SD card is inserted, power on your device. The device should recognize the SD card and display it as available storage. If the SD card does not appear or is not detected, try removing and reinserting the card, ensuring it is properly aligned and fully inserted. If the issue persists, try using a different SD card or consult the device’s user manual for troubleshooting steps.
It’s important to note that some devices may require you to format the newly inserted SD card before using it. Formatting erases any existing data on the card and prepares it for use. Check the device’s instructions or settings menu to see if formatting is required. If so, follow the on-screen prompts or select the formatting option to initialize the SD card for use.
With the SD card successfully inserted and recognized by your device, you are now ready to proceed with the data transfer process. Whether you are using your computer’s built-in SD card reader or an external card reader, the following sections will guide you through the different methods of transferring data from the SD card to your computer or another SD card.
Connecting the SD Card to Your Computer
If you are planning to transfer data from your SD card to your computer, the first step is to connect the SD card to your computer. There are a couple of methods you can use depending on the available ports on your computer and the type of SD card you are using.
If your computer has a built-in SD card reader, locate the SD card slot on your computer. It is usually located on the side or front of the computer and is labeled with the SD card logo. Insert the SD card into the slot, making sure that the metal contacts on the card are facing down and aligning with the contacts in the card slot. Push the card in until it clicks into place.
If your computer doesn’t have a built-in SD card reader or if you prefer to use an external card reader, connect the card reader to an available USB port on your computer. Insert the SD card into the card reader, following the same procedure as mentioned above.
Once the SD card is connected, your computer should recognize it as a removable storage device. The operating system will assign a drive letter to the SD card, and you will be able to access its contents on your computer.
To ensure a successful connection, it’s important to wait a few moments after inserting the SD card to give your computer enough time to recognize it. If the SD card is not detected, try disconnecting and reconnecting it or using a different USB port if using an external card reader.
It’s worth mentioning that some computers may require additional drivers to be installed for the SD card reader to work properly. In most cases, the drivers are automatically installed by the operating system. However, if your computer doesn’t recognize the SD card or prompts you to install drivers, check the manufacturer’s website for the specific drivers or consult the computer’s user manual for further instructions.
With the SD card successfully connected to your computer, you are now ready to proceed with transferring data from the SD card to your computer. The following sections will outline the different methods you can use to transfer data, whether you prefer using the File Explorer and drag-and-drop method or utilizing a specialized software.
Using File Explorer
One of the most common and straightforward methods of transferring data from an SD card to your computer is by using the built-in File Explorer (or Finder on Mac). This method allows you to manually navigate through the files on the SD card and copy them to your computer’s storage.
To begin, open the File Explorer on your Windows computer or Finder on your Mac. Locate and click on the SD card drive, which is usually labeled with the drive letter assigned to the card (e.g., E:, F:, etc.).
Once you have accessed the SD card, you will see a list of files and folders stored on the card. Navigate to the folder that contains the data you want to transfer.
To select multiple files or folders, hold down the Ctrl key (or Command key on Mac) and click on each item you want to transfer. Alternatively, you can click and drag your cursor to select a group of files or folders.
Once you have selected the desired files and folders, right-click on any of the selected items and choose the “Copy” option from the context menu. Alternatively, you can press Ctrl+C (or Command+C on Mac) to copy the selected files.
Navigate to the location on your computer where you want to transfer the data. This can be a specific folder or the desktop. Right-click on the destination location and choose the “Paste” option from the context menu. Alternatively, you can press Ctrl+V (or Command+V on Mac) to paste the copied files.
The selected files and folders will now be copied from the SD card to your computer. The transfer process may take some time depending on the size of the files and the speed of your computer and SD card.
Once the transfer is complete, you can safely eject the SD card from your computer. Right-click on the SD card drive in the File Explorer/Finder and select the “Eject” option. Wait until you see a notification confirming that it is safe to remove the SD card before physically removing it from your computer.
Using File Explorer (or Finder) provides a convenient way to transfer data from your SD card to your computer. You have full control over selecting specific files and organizing them in the desired location on your computer’s storage.
This method is ideal for those who prefer a manual approach and want to have complete control over the files being transferred. However, if you have a large number of files or want to streamline the transfer process, you may want to consider using specialized software for a more efficient data transfer.
Drag and Drop Method
The drag and drop method is another simple and intuitive way to transfer data from an SD card to your computer. This method allows you to visually select and transfer files by simply dragging them from the SD card to a designated location on your computer.
To begin, open the File Explorer (Windows) or Finder (Mac) on your computer. Insert the SD card into your computer’s SD card slot or connect it via an external card reader.
Navigate to the SD card drive in the File Explorer or Finder. This is typically labeled with the assigned drive letter or SD card name.
Once you have accessed the SD card, you will see a list of files and folders stored on the card. Locate the files you want to transfer and click on them to select them.
To select multiple files, hold down the Ctrl key (Windows) or Command key (Mac) and click on each file you want to transfer. To select a range of files, click on the first file, hold down the Shift key, and click on the last file.
With the files selected, click and hold on one of the selected files, then drag them to the desired location on your computer. This can be a specific folder, the desktop, or any other location where you want to transfer the files.
While dragging the files, you will see a visual indicator that shows the files being moved. Once you have reached the destination location, release the mouse button to drop the files.
The selected files will now be transferred from the SD card to your computer. The transfer process may take some time depending on the size of the files and the speed of your computer and SD card.
Once the transfer is complete, you can safely eject the SD card from your computer. Right-click on the SD card drive in the File Explorer/Finder and select the “Eject” option. Wait until you see a notification confirming that it is safe to remove the SD card before physically removing it from your computer.
The drag and drop method offers a visually intuitive way to transfer files from an SD card to your computer. It allows you to quickly select and organize files by simply dragging them to the desired location. This method is ideal for those who prefer a more visual and interactive approach to file transfer.
While the drag and drop method is simple and convenient, it may not be suitable for large-scale file transfers or when you need to filter specific file types. In such cases, utilizing specialized software can provide a more efficient and streamlined data transfer process.
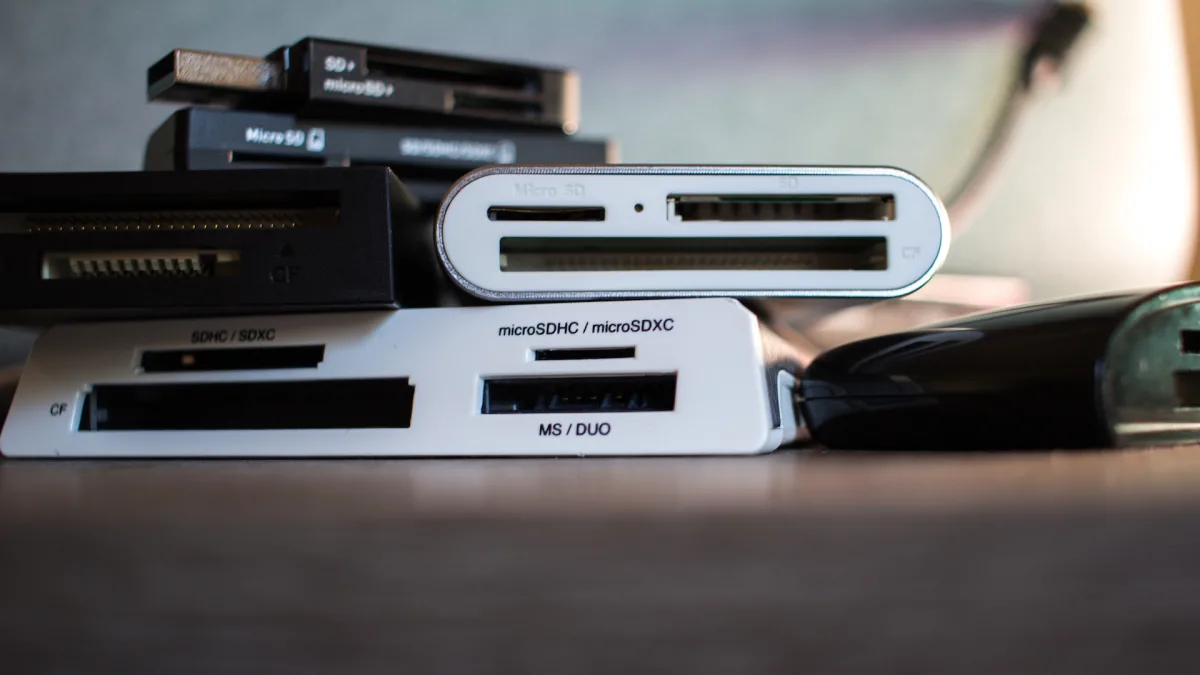
Using a Card Reader
If your computer doesn’t have a built-in SD card reader or if you prefer a separate device for SD card transfers, using a card reader is a convenient option. A card reader is a small device that connects to your computer via USB and allows you to easily transfer data from an SD card to your computer.
To begin, insert the SD card into the appropriate slot on the card reader. Most card readers have multiple slots to accommodate different types of memory cards, including SD cards.
Once the SD card is inserted into the card reader, connect the card reader to an available USB port on your computer. The computer should automatically detect the card reader and install any necessary drivers.
After the card reader is recognized by your computer, open the File Explorer (Windows) or Finder (Mac) to access the files on the SD card.
In the File Explorer or Finder, you should see the SD card listed as a removable storage device. Click on the SD card drive to view its contents.
Similar to the previous methods, you can now select the files or folders you want to transfer from the SD card to your computer. Use the Ctrl key (Windows) or Command key (Mac) to select multiple files or folders.
With the files selected, right-click on any of the selected items and choose the “Copy” option from the context menu. Alternatively, you can press Ctrl+C (Windows) or Command+C (Mac) to copy the files.
Navigate to the location on your computer where you want to transfer the data. Right-click on the destination location and choose the “Paste” option from the context menu. Alternatively, you can press Ctrl+V (Windows) or Command+V (Mac) to paste the copied files.
The selected files will now be copied from the SD card to your computer. The transfer process may take some time depending on the size of the files and the speed of your computer and SD card.
Once the transfer is complete, you can safely disconnect the card reader from your computer. Right-click on the card reader icon in the system tray (Windows) or in the Finder sidebar (Mac) and select the “Eject” or “Safely Remove” option. Wait until you receive confirmation that it is safe to remove the card reader before disconnecting it from your computer.
Using a card reader is a simple and efficient way to transfer data from an SD card to your computer, especially if your computer doesn’t have a built-in card reader. It offers a plug-and-play experience, allowing you to easily access and transfer files from the SD card.
Whether you’re using a card reader or another method, the next sections will outline the steps to transfer the data from the SD card to your computer and, if desired, to a new SD card.
Transferring Data from SD Card to Computer
Once you have connected your SD card to your computer, whether through a built-in card reader or an external card reader, you are ready to transfer the data from the SD card to your computer’s storage. There are several methods you can use for this process, including using the File Explorer or Finder, drag and drop method, or specialized software.
If you prefer using the built-in file management system of your operating system, you can use the File Explorer (Windows) or Finder (Mac) to manually select and copy the files from the SD card and paste them into your desired location on your computer. This method gives you full control over selecting and organizing the files.
Alternatively, you can use the drag and drop method, which involves visually selecting the files on the SD card and dragging them to the desired location on your computer. This method is intuitive and allows for quick transfers by simply dragging and dropping the files.
If you have a large number of files or want to streamline the transfer process, utilizing specialized software can be beneficial. There are various third-party software options available that offer advanced features such as batch transfers, file filtering, and progress tracking.
Regardless of the method you choose, the general steps remain the same. First, select the files or folders you want to transfer from the SD card. This can be done by either highlighting the files using keyboard shortcuts or mouse selection, or by using the software’s interface for selecting files.
Once the files are selected, initiate the transfer process by either copying and pasting the files using the file management system, dragging and dropping the files to the desired location, or following the instructions provided by the specialized software you are using.
During the transfer process, it is important to ensure that there is enough available storage space on your computer to accommodate the files. Verify that the destination location has enough free space to accommodate the transferred data.
The transfer speed may vary depending on various factors such as the file size, the speed of the SD card, the connection type (USB 2.0, USB 3.0, etc.), and the resources of your computer. Large files or a large number of files may take longer to transfer, so it is important to be patient during the process.
Once the transfer is complete, double-check that all the files have been successfully transferred and are accessible on your computer. It is advisable to keep a backup of the transferred files to ensure data integrity.
After confirming the successful transfer of data, you can safely eject the SD card from your computer. Follow the instructions provided in the previous sections to safely remove the SD card from either the built-in card reader or the external card reader.
Transferring data from an SD card to your computer allows you to access and manage your files more conveniently. Whether you are backing up important files or freeing up space on your SD card, the process is essential for efficient data management.
In the next sections, we will explore the steps to connect a new SD card to your computer and transfer the data from your computer’s storage to the new SD card.
Ejecting the SD Card Safely
After successfully transferring data from your SD card to your computer, it’s crucial to safely eject the SD card before physically removing it. Properly ejecting the SD card ensures that all files are closed, minimizing the chances of data corruption or loss. Here’s how to safely eject your SD card.
If you’re using a Windows computer, locate the SD card icon in the File Explorer. Right-click on the SD card icon and select the “Eject” or “Safely Remove” option from the context menu. Wait for a notification to appear, confirming that it is safe to remove the device.
On a Mac computer, you’ll find the SD card listed in the Finder sidebar. To eject the SD card, simply click on the eject icon (an upward-pointing arrow) next to the SD card’s name. Alternatively, you can also drag the SD card icon to the Trash or right-click on it and select “Eject” from the context menu.
Regardless of the operating system, it’s crucial to wait until you receive a confirmation message before physically removing the SD card. This ensures that all data is properly saved and any ongoing read or write processes are completed.
Once you’ve safely ejected the SD card, carefully remove it from the card slot or the card reader. Avoid pulling it out forcefully or at an angle, as this can damage the card or the slot. Hold the SD card by its edges and gently pull it straight out.
It’s essential to handle the SD card with care, as they are sensitive storage devices. Avoid touching the gold contacts on the underside of the card, as dirt or fingerprints can interfere with the card’s performance. If necessary, use a soft, lint-free cloth to clean the contacts before storing the SD card in a protective case.
Safely ejecting the SD card not only protects your data but also helps maintain the integrity of the card itself. By following these steps, you can prevent data corruption and ensure that your SD card remains in good working condition for future use.
With the SD card safely removed from your computer, you’re now ready to connect a new SD card if needed or complete the data transfer process. In the subsequent sections, we will guide you through the steps of connecting a new SD card and transferring data from your computer to the new card.
Connecting the New SD Card
Once you’ve successfully transferred the data from your previous SD card to your computer, you may want to connect a new SD card to either expand your storage capacity or replace the older card. Here’s how you can connect the new SD card to your computer:
First, ensure your computer is powered off before inserting the new SD card. This precaution ensures that the card is inserted safely without causing any damage.
Locate the SD card slot on your computer. It is typically located on the side or back of the device or, in the case of laptops, might be integrated into the side of the device or accessible via a memory card slot.
If using a full-sized SD card, gently push the new card into the slot until it clicks into place. Ensure that the metal contacts on the SD card are facing down and aligning with the corresponding contacts in the card slot. Apply gentle pressure and avoid using excessive force to prevent any damage to the card or slot.
Alternatively, if you are using a microSD or miniSD card, you may need an adapter to connect it to the standard SD card slot on your computer. Insert the microSD or miniSD card into the adapter, ensuring that the metal contacts are properly aligned, and then insert the adapter into the SD card slot of your computer.
Once the new SD card is securely inserted, power on your computer. The computer should recognize the new card as a removable storage device and assign a drive letter to it. You will be able to access and manage the new SD card’s contents through the File Explorer (Windows) or Finder (Mac).
Occasionally, some new SD cards require formatting before use. If prompted, follow the on-screen instructions or format the SD card manually using your computer’s built-in formatting tool or a third-party software. Formatting erases all existing data on the card, so ensure that you have backed up any important data prior to formatting.
With the new SD card successfully connected to your computer, you are now ready to transfer the data from your computer to the new card. In the following sections, we will guide you through the process of transferring the data and ensuring a smooth and efficient transfer.
Transferring Data to the New SD Card
Now that you have successfully connected your new SD card to your computer, it’s time to transfer the data from your computer to the new card. Whether you are expanding your storage capacity or replacing an older card, the process is relatively straightforward.
Start by opening the File Explorer (Windows) or Finder (Mac) on your computer. Locate the files or folders that you want to transfer to the new SD card. This can be done by navigating to the files’ current location on your computer.
Select the files or folders you want to transfer to the new SD card. You can do this by clicking and dragging your mouse to select multiple items, or by using keyboard shortcuts such as Ctrl+A (Windows) or Command+A (Mac) to select all items in a folder.
Once the files are selected, right-click on any of the selected items and choose the “Copy” option from the context menu. Alternatively, you can press Ctrl+C (Windows) or Command+C (Mac) on your keyboard to copy the files.
Open the new SD card on your computer by clicking on its drive letter or name in the File Explorer (Windows) or Finder (Mac). This will allow you to access the SD card’s storage and view its contents.
Right-click on an empty area within the SD card’s storage and choose the “Paste” option from the context menu. Alternatively, you can press Ctrl+V (Windows) or Command+V (Mac) on your keyboard to paste the copied files onto the SD card.
The files will now be transferred from your computer to the new SD card. The time it takes to complete the transfer will depend on the size of the files and the speed of your computer. Larger files or a large number of files may require more time to transfer.
Once the transfer is complete, double-check the new SD card to ensure that all the files have been successfully transferred and are accessible. Verify that the files are intact without any errors or corruptions.
If you have additional files or folders to transfer, repeat the previous steps until all the data is copied to the new SD card. Organize the files within the SD card as desired, creating new folders or arranging them in a way that suits your needs.
Remember to keep a backup of your transferred files for extra data security. It’s always a good practice to have redundant copies in case of unexpected data loss or damage to the SD card.
Once you have confirmed that all the data has been successfully transferred to the new SD card, you are ready to safely eject the SD card from your computer. Refer to the previous sections on how to properly eject the SD card from your operating system.
With the data securely transferred to the new SD card, you can now use it in your desired device, whether it’s a camera, smartphone, tablet, or any other device that supports SD card storage. Enjoy the expanded storage capacity or the fresh start with your new SD card!
Ejecting the New SD Card Safely
After successfully transferring your data to the new SD card, it’s essential to follow the proper procedure for ejecting the card from your computer. Ejecting the SD card safely ensures that all files are closed, preventing data corruption and ensuring the integrity of the transferred data. Here’s how to safely eject the new SD card:
If you’re using a Windows computer, locate the new SD card icon in the File Explorer. Right-click on the SD card icon and select the “Eject” or “Safely Remove” option from the context menu. Wait for a notification to appear, confirming that it is safe to remove the device.
On a Mac computer, you’ll find the new SD card listed in the Finder sidebar. To eject the SD card, simply click on the eject icon (an upward-pointing arrow) next to its name. Alternatively, you can also drag the SD card icon to the Trash or right-click on it and select “Eject” from the context menu.
It’s crucial to wait until you receive a confirmation message before physically removing the SD card. This ensures that all data is properly saved, any ongoing read or write processes are completed, and the card is no longer in use by the operating system or any of its applications.
Once you’ve safely ejected the new SD card, carefully remove it from the card slot or the card reader. Avoid pulling it out forcefully or at an angle, as this can damage the card or the slot. Hold the SD card by its edges and gently pull it straight out.
Handle the SD card with care to avoid any damage or scratches, as they can potentially impact its performance and data integrity. Avoid touching the gold contacts on the underside of the card, as dirt, dust, or fingerprints can interfere with the card’s connection and cause issues with data transfer or device recognition.
If you are not immediately using the SD card in another device, it’s best to store it in a protective case or a safe place to prevent any physical damage or exposure to harsh environmental elements.
By properly ejecting the new SD card, you ensure that the data transfer process is successfully completed, minimizing the risk of data loss or corruption. The new SD card is now ready to be used in your desired device, whether it’s a camera, smartphone, tablet, or any other device that supports SD card storage.
Remember to make regular backups of your data, keeping redundant copies on your computer or other storage devices to safeguard against unexpected data loss. Additionally, it’s a good practice to periodically check the integrity of the files on the SD card by verifying them or running disk scanning tools to detect and repair any potential errors.
With the new SD card safely ejected and ready for use, you can enjoy the convenience and expanded storage capacity it provides, securely storing your important files and memories!
Conclusion
Transferring data from one SD card to another is a common task that allows for efficient data management and increased storage capacity. Whether you are upgrading to a larger SD card or simply need to transfer data to a different device, understanding the process is essential. In this guide, we have explored various methods to transfer data from an SD card to a computer and from a computer to a new SD card.
Starting with the selection of the right SD card, we discussed factors such as capacity, speed class, physical size, compatibility, and brand reliability. By choosing an appropriate SD card, you can ensure seamless and reliable data transfers.
We then covered the steps to insert the SD card into your computer, whether through a built-in card reader or an external card reader. Proper insertion helps establish a stable connection and prepares the SD card for data transfer.
Next, we explored different methods to transfer data from the SD card to your computer. Using File Explorer or Finder, you can manually navigate the files and folders on the SD card and copy them to your computer. The drag and drop method offers a visual and intuitive way to select and transfer files with ease.
If you have a large number of files or want to streamline the transfer process, using specialized software can provide advanced features for efficient data transfer.
Once the data is transferred to your computer, safely ejecting the SD card is crucial to protect its data integrity. Following the proper ejection procedure ensures that all files are closed and the SD card can be safely removed from the computer.
If you have a new SD card and need to transfer data from your computer to the card, we discussed the steps to connect the new SD card and transfer the data seamlessly. By following these steps, you can enjoy expanded storage capacity or a fresh start with your new SD card.
Finally, we emphasized the importance of safely ejecting the new SD card from the computer. Proper ejection prevents data corruption and ensures the integrity of the transferred data.
In conclusion, transferring data from one SD card to another is a straightforward process that can significantly improve your data management and storage capabilities. By understanding the necessary steps and following best practices, you can ensure successful and secure data transfers, enabling you to efficiently utilize your SD cards and safeguard your valuable files.