Introduction
Welcome to the world of Android! Android devices offer a wide range of features and capabilities to enhance our mobile experience. One popular feature is the ability to download files, apps, and media directly to the device for offline access. While internal storage is available on most Android devices, there are times when it may not be sufficient to accommodate all our downloads.
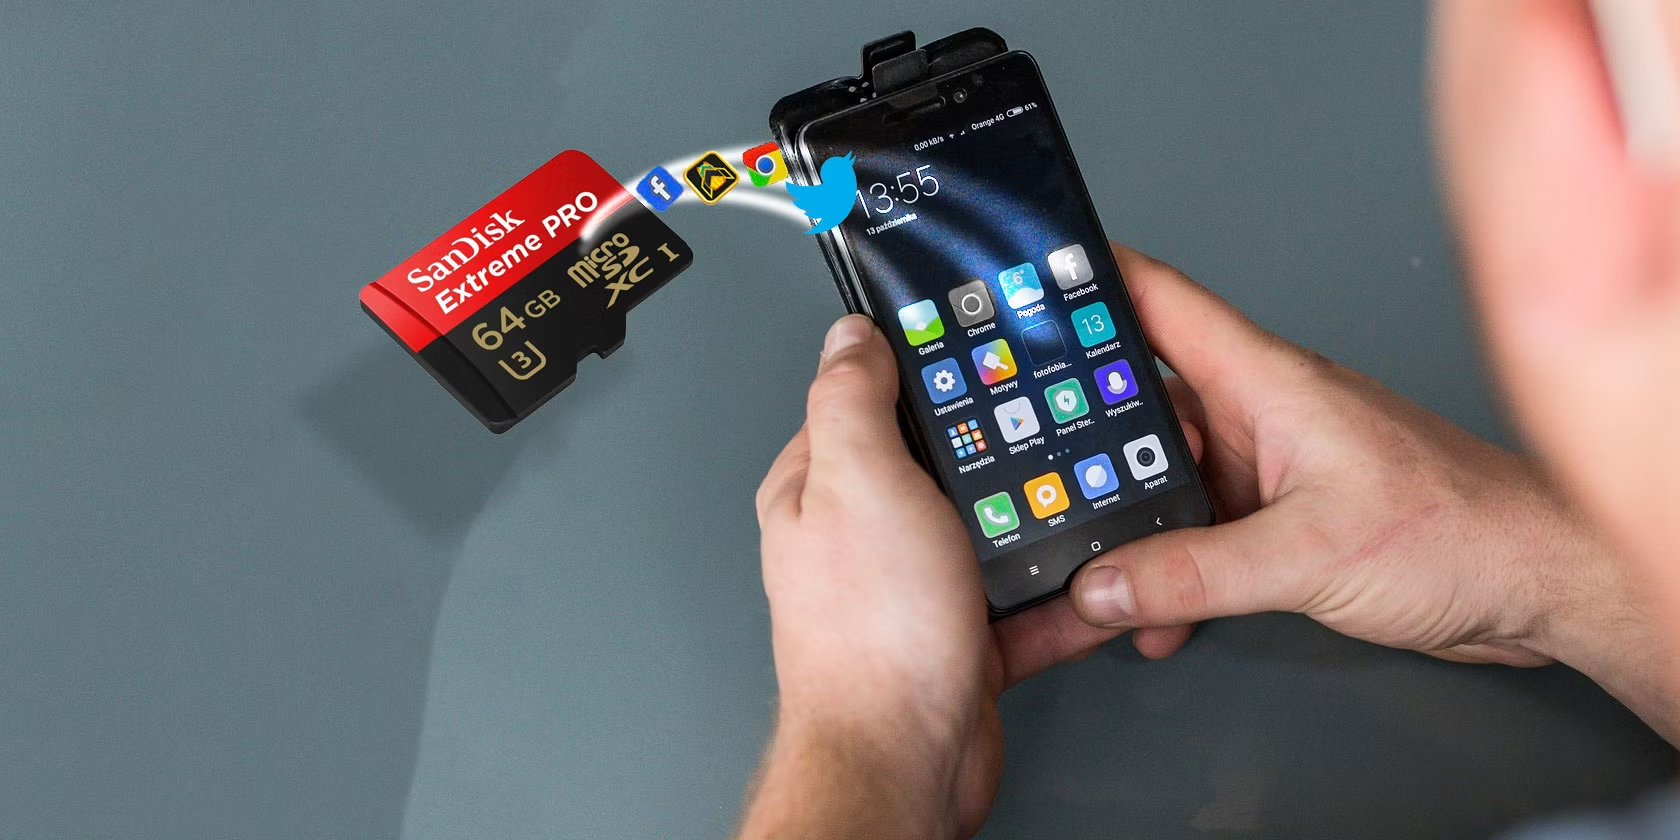
This is where the external SD card comes to the rescue. An SD card provides additional storage space to store files, apps, and media, allowing you to free up valuable internal storage. In this article, we will guide you through the process of downloading files directly to the SD card on your Android device, helping you make the most of your available storage.
Whether you are a seasoned Android user or new to the platform, it is essential to understand how to download files to the SD card. By doing so, you can avoid running out of storage space, keep your device running smoothly, and have quick access to your favorite apps and files.
Before we dive into the steps, it’s important to note that the process may vary slightly depending on the specific version of Android you are using and the manufacturer of your device. However, the general principles remain the same, and we will provide instructions applicable to most Android devices.
So, without further ado, let’s get started and learn how to make Android download files directly to the SD card.
Why Downloading Files to SD Card is Important
Downloading files to the SD card on your Android device offers several advantages and benefits. Let’s explore why it is important to make use of the SD card for downloads:
- Increased Storage Capacity: One of the primary reasons to download files directly to the SD card is to expand your device’s storage capacity. Internal storage on Android devices can be limited, especially on budget-friendly models. The SD card provides additional space to store your files, allowing you to download more apps, music, videos, and documents without worrying about running out of storage.
- Improved Device Performance: When your device’s internal storage is full, it can impact its performance. By downloading files directly to the SD card, you can free up internal storage space, resulting in smoother performance and faster device responsiveness. This is particularly important for devices with limited RAM, as it helps optimize resource allocation.
- Easier File Organization: Having files stored on the SD card allows for better organization. You can categorize files into folders, making it easier to find and access them when needed. This is particularly useful if you frequently download different types of files, such as documents, images, and videos.
- Seamless Data Transfer: If you switch between devices or upgrade your Android phone, having files stored on the SD card makes it easier to transfer your data. Simply remove the SD card from your old device and insert it into your new device to access your files without the need for complicated data transfer methods.
- Protection Against Data Loss: While internal storage can be susceptible to data loss due to device malfunctions or software issues, the SD card offers an additional layer of security. By downloading important files directly to the SD card, you can minimize the risk of losing valuable data.
By making use of the SD card for downloads, you can optimize your device’s storage, ensure smooth performance, and organize your files effectively. With these benefits in mind, let’s explore the step-by-step process of downloading files directly to the SD card on your Android device.
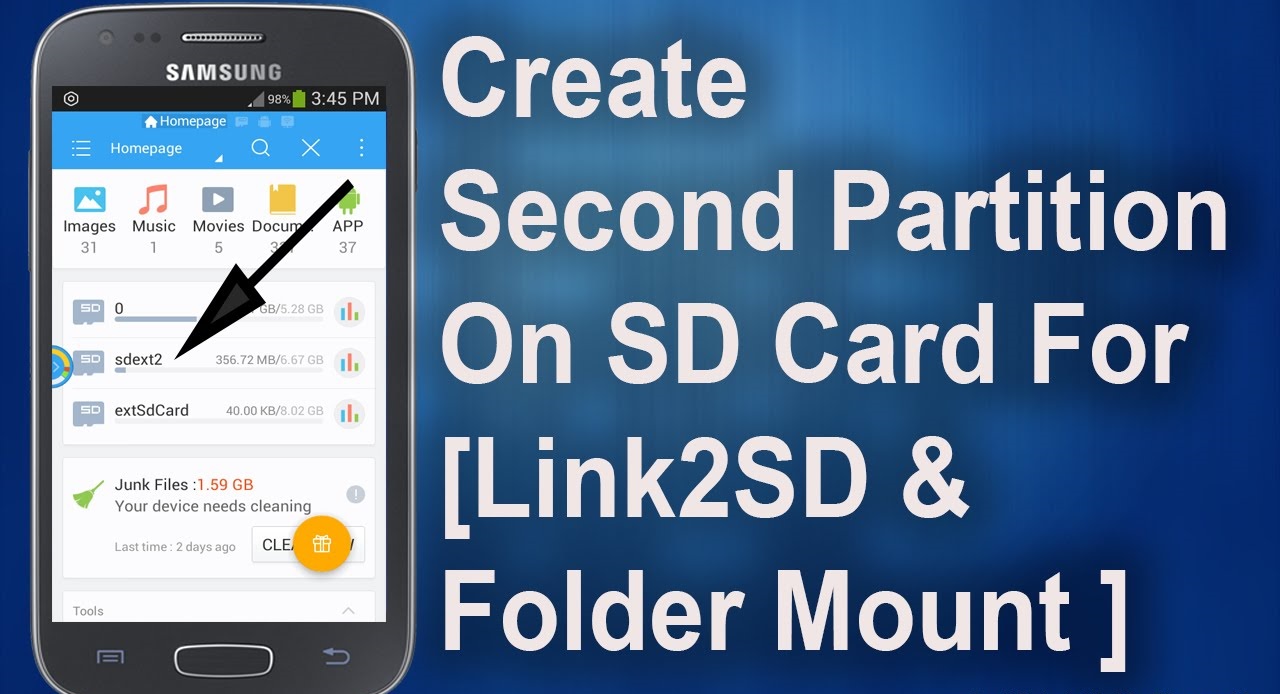
Step 1: Checking for Available Storage Space on SD Card
Before you start downloading files to the SD card, it is essential to check the available storage space to ensure it has enough capacity to accommodate your downloads. Here’s how you can check the storage space on your SD card:
- Open the “Settings” app on your Android device. You can usually find it on your home screen or in the app drawer.
- Scroll down and select the “Storage” option. This may also be called “Device Storage” or “Storage & USB,” depending on your device and Android version.
- In the “Storage” settings, you will see a breakdown of the storage usage on your device. Look for the section that displays the SD card storage. It will show you the total space available and the amount of space that is already used.
- Take note of the available space on your SD card, ensuring it has enough free storage to accommodate the files you intend to download. If the available space is limited, consider deleting unnecessary files or transferring existing files to your computer or cloud storage to make space for new downloads.
By checking the available storage space on your SD card, you can ensure that you have enough capacity to download the files you want without encountering any storage-related issues. Once you have confirmed sufficient space, you can proceed to the next step of changing the download location in your device’s settings.
Step 2: Changing the Download Location in Settings
To ensure that your Android device downloads files directly to the SD card, you need to change the default download location in your device’s settings. Follow these steps to modify the download location:
- Open the “Settings” app on your Android device.
- Scroll down and select the “Apps” or “Applications” option. This may also be labeled as “Apps & Notifications,” depending on your device and Android version.
- In the “Apps” settings, you will see a list of all the installed applications on your device. Tap on the three-dot menu icon or the “More” option (represented by three vertical dots or lines) at the top-right corner of the screen.
- From the dropdown menu that appears, select “App info” or “Manage apps.” This will open a detailed view of all your installed apps.
- Look for the web browser or download manager app that you use to download files. Tap on it to access its settings.
- In the app settings, look for the “Storage” or “Storage & cache” option. This may vary depending on the app and Android version.
- Under the “Storage” settings, you will find the option to change the default download location. Tap on it to open the available storage options.
- Select the “SD card” or “External storage” option as the new default download location. This will ensure that all future downloads will be saved directly to the SD card.
- Exit the app settings, and you’re done! Your Android device will now download files directly to the SD card.
By changing the download location in your device’s settings, you can ensure that all the files you download will be saved directly to the SD card. This means you can free up precious internal storage space and keep your files organized in one place. Now that you have set the default download location, let’s explore how to change the storage location within individual apps.
Step 3: Changing the Default Storage Location in App Settings
While you have changed the default download location in the device settings, some apps have their own storage settings that need to be modified to ensure files are saved directly to the SD card. Follow these steps to change the default storage location in app settings:
- Open the app for which you want to change the default storage location.
- Access the app’s settings or preferences menu. This can usually be found by tapping on the three-dot menu icon or the gear icon, typically located in the top-right corner of the app.
- Look for a setting related to storage or download location. The exact name and location may vary depending on the app you are using.
- Tap on the storage or download location setting, and select the “SD card” or “External storage” option.
- Save the changes and exit the app settings.
By changing the default storage location in the app settings, you ensure that all new downloads made within that app will be saved directly to the SD card. This is particularly useful for apps that you frequently use to download files, such as music streaming apps, video download apps, or document management apps.
Do note that not all apps have the option to change the storage location. In such cases, your device’s default storage settings will be applied. If an app does not have a storage location setting, it will automatically save downloaded files to the default location set in your device’s settings.
Now that you have adjusted the default storage location in app settings, you can continue to the next step, which involves using third-party file manager apps to manage and organize your downloads on the SD card.
Step 4: Utilizing Third-Party File Manager Apps
While changing the default storage location is crucial, utilizing third-party file manager apps can further enhance your ability to manage and organize your downloads on the SD card. These apps offer advanced features and functionalities that make it easier to navigate through your files and perform various file management tasks. Follow these steps to make the most out of third-party file manager apps:
- Visit the Google Play Store and search for a reliable file manager app. Some popular options include “ES File Explorer,” “Solid Explorer,” and “Astro File Manager.”
- Download and install the file manager app of your choice.
- Open the file manager app and grant any necessary permissions it requires to access your device’s storage and SD card.
- Once inside the app, you will see a user-friendly interface that allows you to browse through your files and folders on the SD card.
- Use the file manager’s search function, sorting options, and navigation tools to locate your downloaded files quickly.
- You can also create new folders, move files, and rename files to keep everything organized in a way that suits your preferences.
- Explore the additional features offered by the file manager app, such as file compression, cloud storage integration, and file encryption, to further optimize your file management experience.
- Regularly use the file manager app to clean up any unnecessary files and ensure that your SD card storage space is being efficiently utilized.
Third-party file manager apps not only provide a user-friendly interface for managing your downloads but also expand your capabilities with additional features. By using these apps, you can easily locate, organize, and manipulate your downloaded files, ensuring a clutter-free SD card and easy access to your files when you need them.
Now that you are familiar with using third-party file manager apps to manage your downloads, let’s move on to the next step, which involves installing apps directly to the SD card to save internal storage space.
Step 5: Installing Apps Directly to SD Card
Installing apps directly to the SD card can help you save valuable internal storage space on your Android device. This step is especially useful when you have limited internal storage or if you prefer to keep your internal storage clean for essential system files. Follow these steps to install apps directly to the SD card:
- Open the “Settings” app on your Android device.
- Scroll down and select the “Apps” or “Applications” option. This may also be labeled as “Apps & Notifications,” depending on your device and Android version.
- In the “Apps” settings, you will see a list of all the installed applications on your device.
- Tap on the app that you want to install directly to the SD card. This will open the app’s details page.
- Look for the “Storage” or “Storage & cache” option. This may vary depending on the app and Android version.
- Tap on the “Change” or “Storage location” option.
- Select the “SD card” or “External storage” option as the new storage location for the app.
- If prompted, confirm the storage change and wait for the app to be moved to the SD card.
- Repeat the process for other apps that you want to install directly to the SD card.
By installing apps directly to the SD card, you can save internal storage space for system files and essential apps. Note that not all apps can be moved to the SD card, as it depends on how the app is developed by the developers. Some apps may require certain files or data to be stored on the internal storage.
Furthermore, it is essential to keep in mind that removing the SD card from your device may make the apps installed on it inaccessible until the SD card is reinserted. Thus, ensure that you have the SD card inserted when using apps installed on it.
Now that you know how to install apps directly to the SD card, let’s proceed to the next step, which involves moving existing apps from internal storage to the SD card.
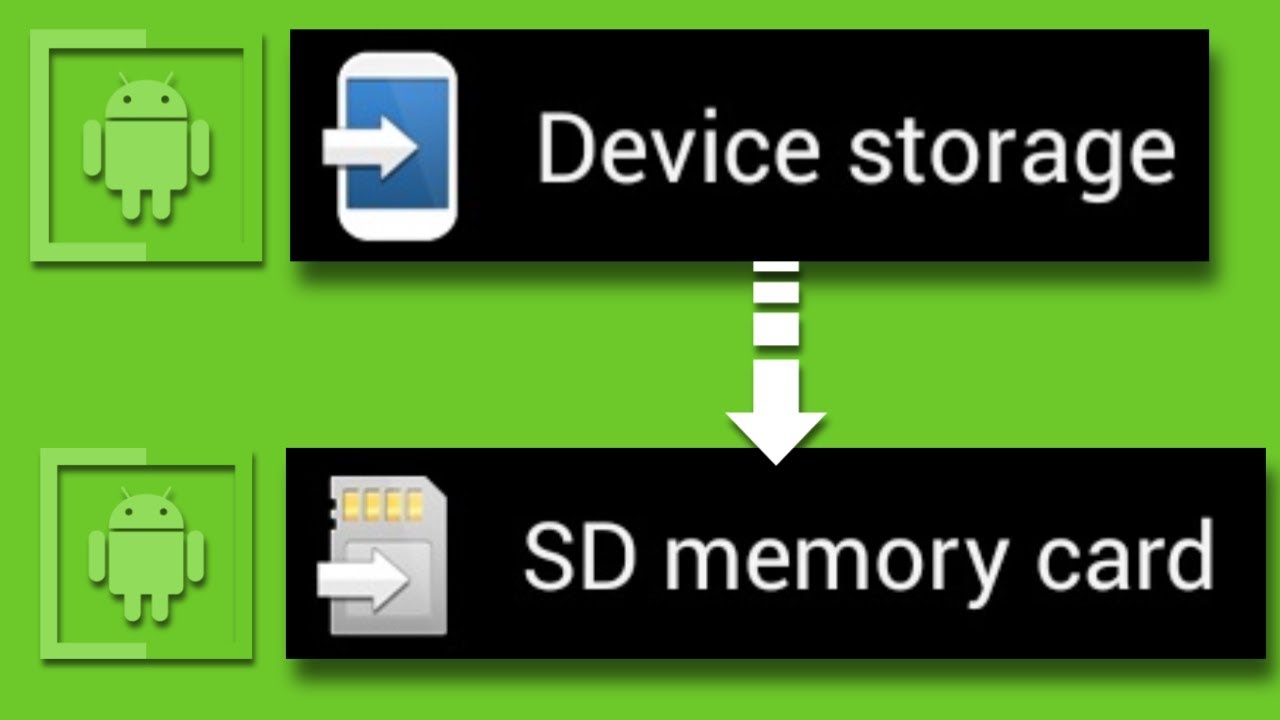
Step 6: Moving Existing Apps to SD Card
If you already have apps installed on your Android device’s internal storage, you can free up space by moving them to the SD card. This step allows you to keep your internal storage clean and utilize the additional storage capacity of the SD card. Follow these steps to move existing apps to the SD card:
- Open the “Settings” app on your Android device.
- Scroll down and select the “Apps” or “Applications” option. This may also be labeled as “Apps & Notifications,” depending on your device and Android version.
- In the “Apps” settings, you will see a list of all the installed applications on your device.
- Tap on the app that you want to move to the SD card. This will open the app’s details page.
- Look for the “Storage” or “Storage & cache” option. This may vary depending on the app and Android version.
- Tap on the “Change” or “Storage location” option.
- Select the “SD card” or “External storage” option as the new storage location for the app.
- If prompted, confirm the storage change and wait for the app to be moved to the SD card. The time taken for the app to move will depend on its size and the speed of your device.
- Repeat the process for other apps that you want to move to the SD card.
By moving existing apps to the SD card, you can free up internal storage space and effectively utilize the storage capacity of the SD card. However, keep in mind that some apps may not be movable to the SD card due to technical restrictions imposed by the app developers.
Additionally, it is important to note that while moving apps to the SD card can free up space on your device, it may result in slightly slower performance for the app, especially if the SD card has slower read/write speeds compared to the internal storage.
Now that you know how to move existing apps to the SD card, let’s move on to the next step, which involves using external download managers to optimize the download process.
Step 7: Using External Download Managers
External download managers can enhance your downloading experience on Android devices by providing additional features and optimizations. These download managers offer advanced functionalities, such as faster download speeds, scheduling options, and even the ability to pause and resume downloads. Follow these steps to make the most out of external download managers:
- Visit the Google Play Store and search for a reliable download manager app. Some popular options include “Advanced Download Manager (ADM),” “IDM: Fastest Download Manager,” and “Loader Droid Download Manager.”
- Download and install the download manager app of your choice.
- When you come across a file or media you want to download, instead of using the default browser or app, share the link with the download manager app.
- The download manager app will automatically take over the download process. You can monitor the progress, set preferences, and manage the downloaded files within the app.
- Explore the additional features offered by the download manager app, such as batch downloads, speed optimization, and integration with cloud storage services or web browsers.
- Customize the settings of the download manager app to suit your preferences, including choosing the default download folder on the SD card.
- Utilize features like pausing and resuming downloads, which can be handy when dealing with inconsistent or limited network connectivity.
- Benefit from improved download speeds and a more efficient downloading process, thanks to the advanced algorithms and optimizations provided by the download manager app.
By using external download managers, you can take control of your downloads and enjoy enhanced features that the default browser or app may not provide. These tools can help you optimize your downloading experience and effectively manage your downloaded files, especially when saving them directly to the SD card.
Now that you have learned how to use external download managers, you are equipped with the necessary knowledge to make the most out of your Android device’s downloading capabilities.
Conclusion
Congratulations! You have now learned how to make the most of your Android device’s storage capacity by downloading files directly to the SD card. By following the steps outlined in this guide, you can optimize your device’s performance, organize your downloads, and ensure that you never run out of storage space.
We started by understanding why downloading files to the SD card is important. We explored the benefits of increased storage capacity, improved device performance, easier file organization, seamless data transfer, and protection against data loss.
We then walked through the step-by-step process of checking for available storage space on the SD card, changing the default download location in settings, and modifying the default storage location in individual app settings. We also discussed how to make use of third-party file manager apps to efficiently manage and navigate through your downloads on the SD card.
In addition, we covered how to install apps directly to the SD card, freeing up valuable internal storage space. We also learned how to move existing apps to the SD card, and the considerations to keep in mind when doing so.
Lastly, we explored the benefits of using external download managers to optimize the downloading process, ensuring faster speeds and advanced features for a seamless experience.
By following these steps and utilizing the tips and techniques mentioned in this guide, you can fully leverage the capabilities of your Android device’s SD card storage. Enjoy the freedom of downloading more files, apps, and media without worrying about running out of space or compromising your device’s performance.
Now it’s time to put this knowledge into action and take control of your downloads on your Android device’s SD card. Happy downloading!