Introduction
Are you running out of storage space on your Android device? Do you wish to install more apps or games but don’t have enough internal storage? One solution to this problem is to create a second partition on your SD card and use it as additional internal storage. In this guide, we will walk you through the process of partitioning your SD card and setting up Link2SD, a popular app that allows you to move apps and their data to the second partition.
By partitioning your SD card, you can expand the available storage space for your apps and games, giving you more freedom to install new applications without worrying about running out of space. This method is especially useful for devices with limited internal storage or devices that don’t support adopting the SD card as internal storage. With Link2SD, you can easily move apps, data, and even the app’s cache to the second partition, freeing up internal storage space and improving overall device performance.
Before proceeding with the partitioning process, it’s important to note that this method may void your device’s warranty and there is a risk of data loss. Therefore, it is highly recommended to backup all important data on your SD card before starting. Additionally, make sure you have a fully charged device and a reliable SD card to avoid any potential issues.
In this step-by-step guide, we will walk you through the process of partitioning your SD card and setting up Link2SD. We will be using two popular partitioning tools, EaseUS Partition Master and MiniTool Partition Wizard, to accomplish this. These tools provide a user-friendly interface and can be used on both Windows and Mac systems. Whether you’re a beginner or an experienced user, this guide will help you create a second partition on your SD card and optimize your device’s storage capacity.
Why partition the SD card?
Partitioning your SD card brings several benefits and can greatly improve your Android device’s storage capacity and performance. Here are some reasons why you should consider partitioning your SD card:
- Increased storage space: By creating a second partition on your SD card, you effectively increase the available storage space for your device. This is particularly useful if your device has limited internal storage or if you want to use the SD card for storing apps and data.
- Ability to move apps and data: Partitioning the SD card allows you to move apps and their related data to the second partition, freeing up precious internal storage space. With apps like Link2SD, you can easily transfer apps from the internal storage to the SD card partition, reducing the burden on the device’s internal memory.
- Improved device performance: When your internal storage is full, it can lead to slower device performance, lagging apps, and difficulty in installing new applications. By moving apps and data to the SD card partition, you can alleviate this strain on the internal storage, resulting in smoother performance and faster operation of your Android device.
- Flexibility: Partitioning your SD card gives you the flexibility to choose how you want to utilize the storage space. You can allocate specific amounts of space for apps, data, and other media files according to your needs. It allows you to organize your storage in a way that best suits your requirements.
- Backup and restore: Having a partitioned SD card also makes it easier to backup and restore data. With apps like Titanium Backup, you can selectively backup and restore apps, app data, and system settings directly from the SD card partition, providing an extra layer of security and convenience.
Overall, partitioning your SD card gives you more control over your device’s storage space and enhances its performance. It allows you to maximize the available storage capacity, move apps to the SD card, and enjoy a smoother Android experience. With the benefits it brings, partitioning the SD card is a worthwhile step to optimize your device’s storage and productivity.
How to check if the SD card is already partitioned
Before proceeding with the partitioning process, it’s important to check if your SD card is already partitioned. Here are a few simple steps to help you determine if your SD card has existing partitions:
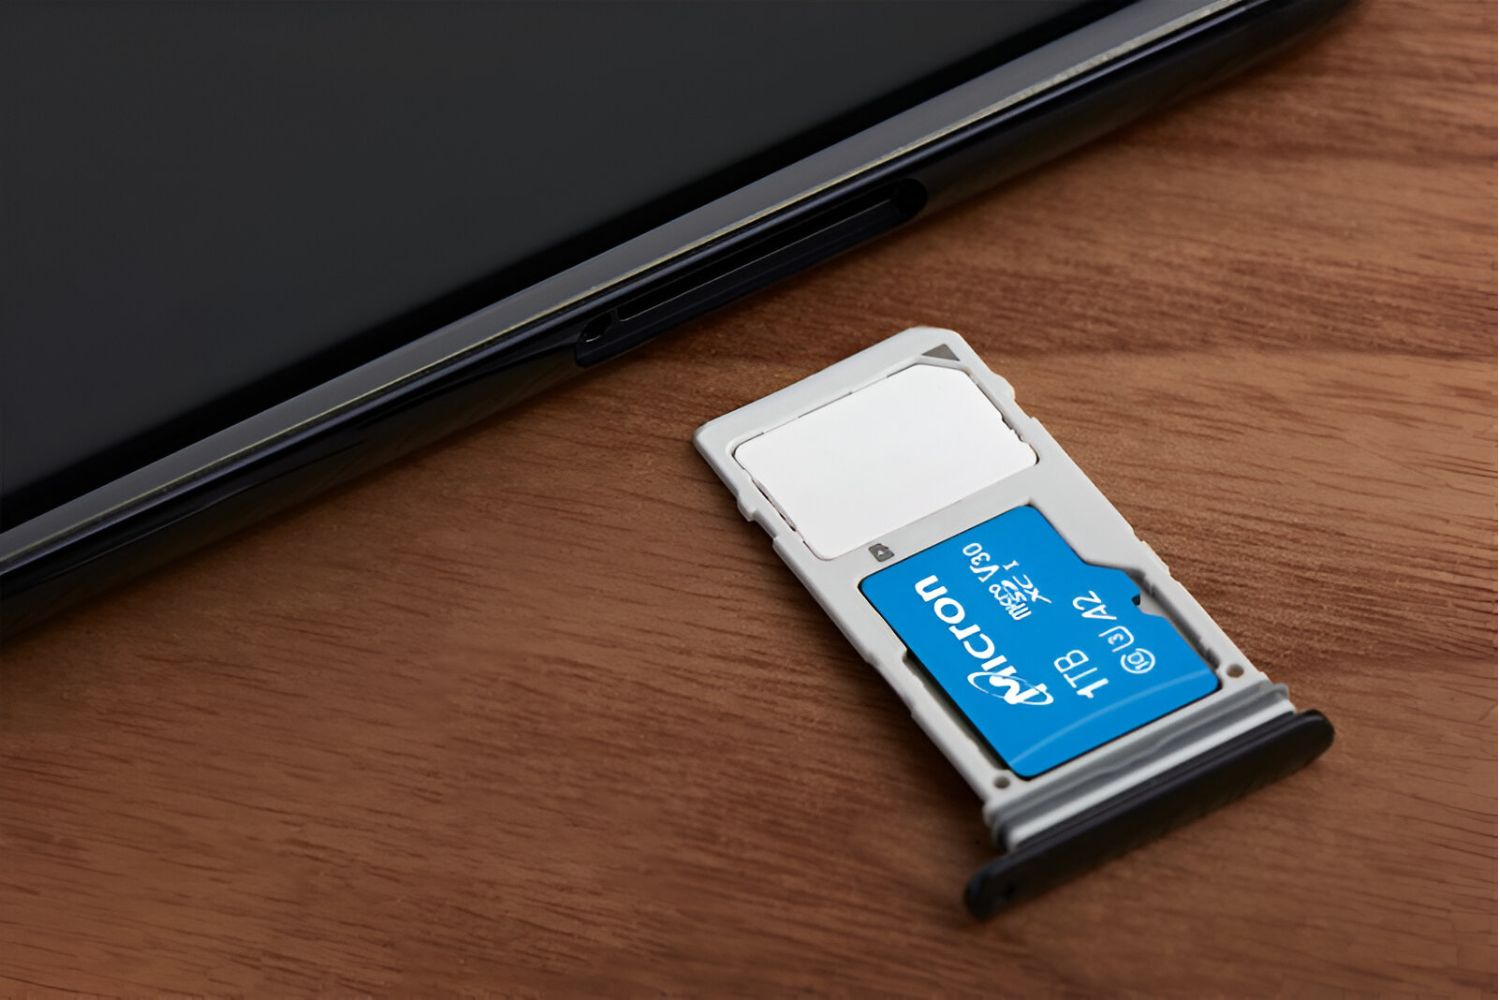
- Insert the SD card into your device: Make sure your Android device is powered off. Carefully insert the SD card into the designated slot on your device. Ensure that it is properly inserted and secured.
- Power on your device: Turn on your Android device and wait for it to boot up fully. Once the device has powered on, go to the home screen.
- Access the storage settings: Open the Settings app on your Android device. Look for the section related to storage or memory. The exact location may vary based on your device’s brand and operating system version.
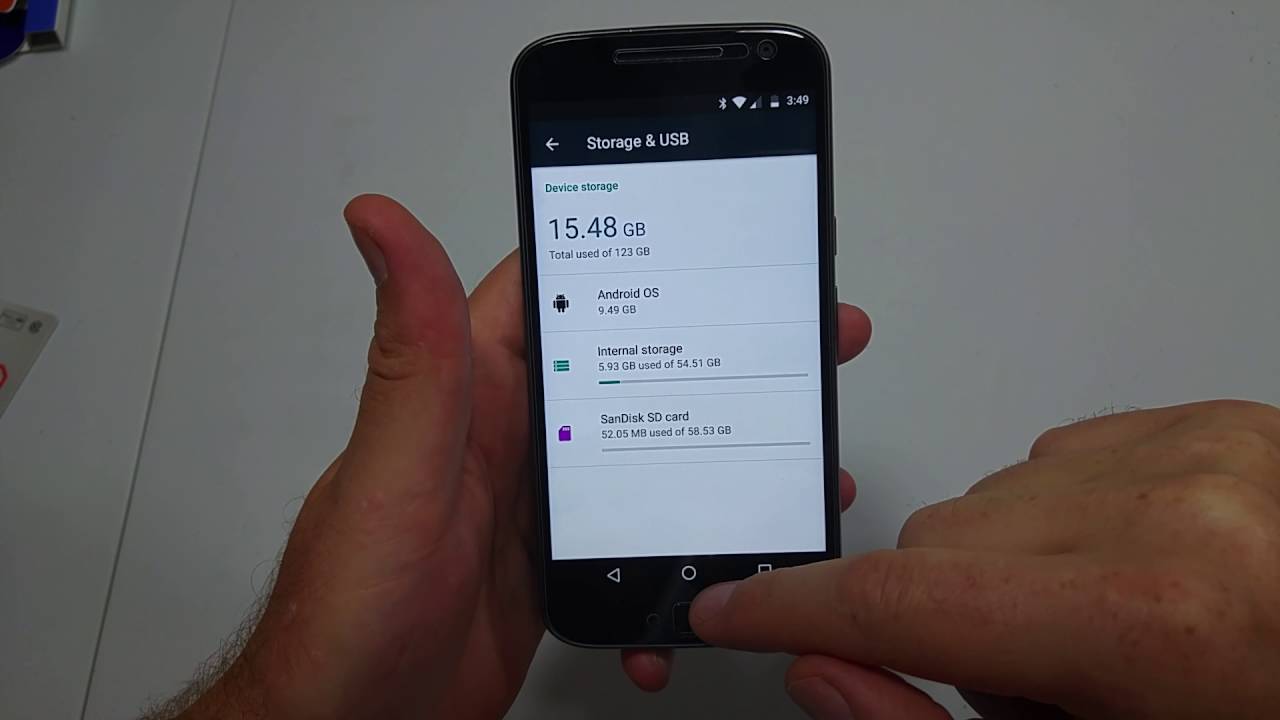
- Check available storage: Within the storage settings, you should see information about your device’s internal storage and external storage (SD card). Look for details such as total space, used space, and available space.
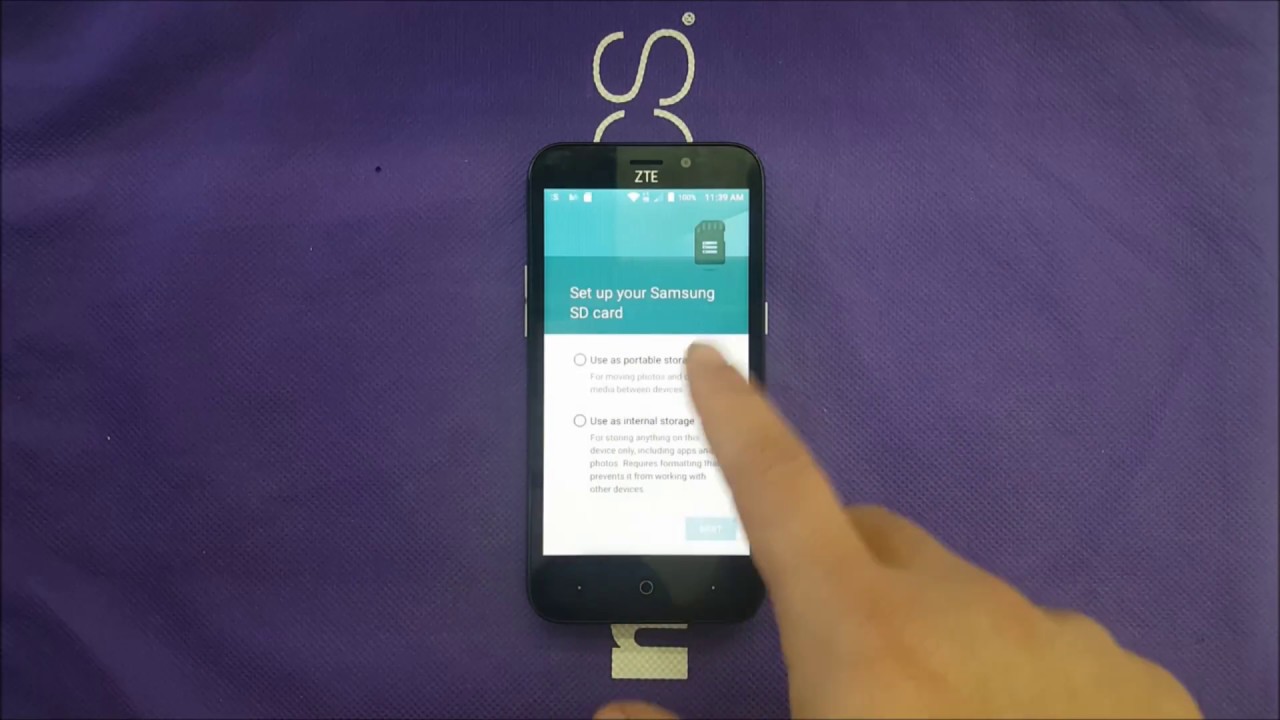
- Look for multiple partitions: If your SD card is already partitioned, you will notice multiple sections representing each partition. The number of partitions may vary depending on the previous partitioning setup. The partitions may be labeled as “Internal storage” and “External storage,” or they may have different names based on how they were set up.
- Verify the partition size: If there are multiple partitions, you can check the size of each partition. The sizes will be displayed next to the respective partition label. This will help you identify if the SD card has been partitioned or if it is just a single partition.
If you see multiple partitions and the sizes match your expectation, then your SD card is already partitioned. This means that you can proceed to the next step of setting up Link2SD and utilizing the existing partitions. However, if you only see a single partition or you are unsure about the current partitioning status, it’s recommended to proceed with the partitioning process to ensure optimal storage management on your SD card.
Now that you have checked whether your SD card is already partitioned or not, let’s move on to the next steps to backup your data and download the necessary software.
Backup your data
Before proceeding with any modifications to your SD card, it is crucial to back up all existing data to prevent any potential loss. This step ensures that your files, apps, and personal data are safe in case of any unforeseen issues during the partitioning process. Here are the steps to backup your data:
- Connect your Android device to a computer: Use a USB cable to connect your Android device to a computer. Ensure that the device is recognized by the computer and that you have the necessary access to transfer files.
- Access the SD card: Once the connection is established, navigate to the SD card storage on your computer by opening the file explorer or Finder, depending on your operating system.
- Copy important files and folders: Browse through the SD card storage and identify the important files, folders, and data that you wish to back up. This may include photos, videos, documents, app data, or any other personal files. Copy and paste these items to a designated location on your computer’s hard drive.
- Export app data: If you have specific apps on your Android device that store data internally, you may need to export this data separately. Some apps offer built-in backup and export features, while others may require you to manually copy the app data folders from the SD card storage. Consult the app’s documentation or support resources to determine the correct method for exporting the app data.
- Verify the backup: Once all the necessary files and data have been copied to your computer, take a moment to verify the backup’s integrity. Ensure that the files are accessible and that they haven’t been corrupted during the transfer process.
By following these steps, you can secure your data and have a backup readily available in case you encounter any issues during the partitioning process. It’s always better to err on the side of caution and ensure that your important files are safely backed up.
With your data backed up, you are now ready to proceed with downloading the necessary software to partition your SD card. Let’s move on to the next section and explore the software options available.
Download necessary software
In order to partition your SD card, you will need to download and install two software tools: EaseUS Partition Master and MiniTool Partition Wizard. These tools provide user-friendly interfaces and offer reliable partitioning capabilities. Follow the steps below to download and install the necessary software:
- Visit the official websites: Open your preferred web browser and navigate to the official websites of EaseUS Partition Master (https://www.easeus.com/partition-manager/) and MiniTool Partition Wizard (https://www.partitionwizard.com/free-partition-manager.html).
- Download EaseUS Partition Master: On the EaseUS Partition Master website, locate the download button or link. Click on it to start the download process. Choose the appropriate version for your operating system (Windows or Mac) and save the installation file to your computer.
- Download MiniTool Partition Wizard: On the MiniTool Partition Wizard website, you will find a download button or link. Click on it to initiate the download. Select the version that corresponds to your computer’s operating system (Windows or Mac) and save the installation file to your computer.
- Install the software: Once the download is complete, locate the installation files on your computer and double-click on them to start the installation process. Follow the on-screen instructions to install EaseUS Partition Master and MiniTool Partition Wizard on your computer.
- Ensure virus protection: Before proceeding with the installation, it’s advisable to run a virus scan on the installation files to ensure they are safe and free from any malware.
- Launch the software: After the installation is complete, launch both EaseUS Partition Master and MiniTool Partition Wizard on your computer. Familiarize yourself with the user interface of each tool, as we will be using them to partition the SD card in the following steps.
By downloading and installing EaseUS Partition Master and MiniTool Partition Wizard, you have the necessary software tools to proceed with partitioning your SD card. These tools offer robust features and a user-friendly experience, making the partitioning process relatively straightforward. In the next sections, we will guide you through the steps to partition the SD card using these software tools.
Partition the SD card using EaseUS Partition Master
Now that you have downloaded and installed EaseUS Partition Master, you can proceed with partitioning your SD card. Follow these steps to partition the SD card using EaseUS Partition Master:
- Open EaseUS Partition Master: Launch the EaseUS Partition Master software on your computer. When the main interface appears, you should see a list of available disks and partitions.
- Locate your SD card: Look for your SD card in the list of disks and partitions. It should be labeled with the assigned drive letter and the capacity of the card.
- Choose the partition function: Right-click on the SD card and select the “Partition” option from the context menu. A new window will open with partitioning options.
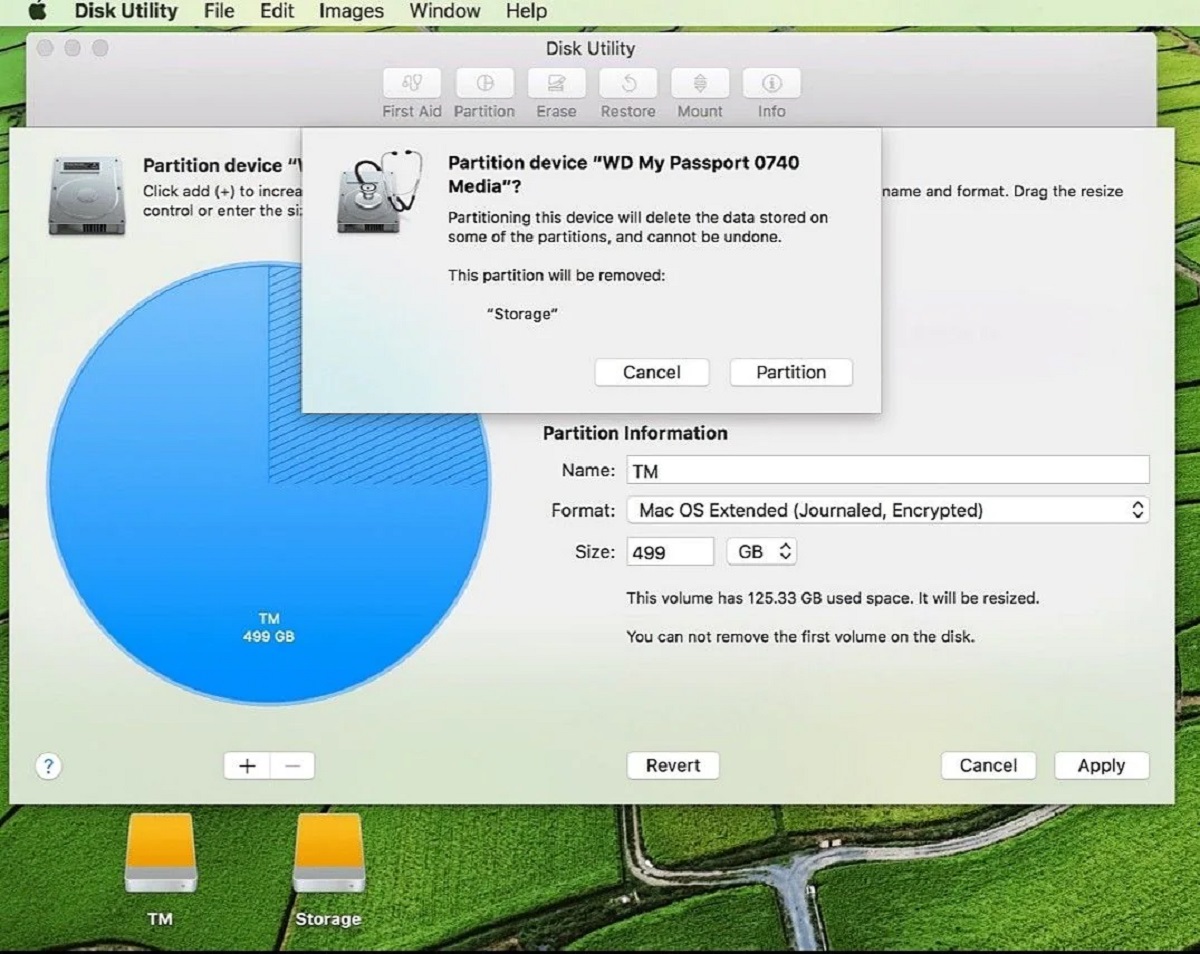
- Resize the existing partition: In the partition window, you will see a graphical representation of the current partitions on your SD card. Select the existing partition and click on the “Resize/Move” option from the toolbar.
- Allocate unallocated space: Adjust the size of the existing partition by dragging the handle to the desired size. This will create unallocated space on the SD card, which will be used for the second partition.
- Create a new partition: Right-click on the unallocated space and select the “Create” option. In the new partition window, set the desired size, file system type, and partition label for the second partition.
- Apply the changes: Once you have configured the partition settings, click on the “Apply” button to apply the changes to the SD card. EaseUS Partition Master will prompt you to confirm the operation. Click “Yes” to proceed with partitioning.
- Wait for the process: EaseUS Partition Master will now start partitioning the SD card based on your specified settings. The process may take some time to complete, depending on the size of the SD card and the speed of your computer.
- Complete the partitioning: Once the partitioning process is finished, you will receive a notification indicating that the operation was successful. You can now close EaseUS Partition Master and continue with the setup of the second partition.
Your SD card is now partitioned with a new second partition using EaseUS Partition Master. You can proceed to the next section to create the second partition using MiniTool Partition Wizard and format it for use.
Create the second partition using MiniTool Partition Wizard
Now that you have partitioned your SD card using EaseUS Partition Master, it’s time to create the second partition using MiniTool Partition Wizard. Follow these steps to create the second partition:
- Open MiniTool Partition Wizard: Launch the MiniTool Partition Wizard software on your computer. Once the main interface appears, you should see a list of all the disks and partitions on your system.
- Locate your SD card: Look for your SD card in the list of disks and partitions. It should be labeled with the drive letter assigned to it.
- Choose the partition function: Right-click on the SD card and select the “Create” option from the context menu. A dialog box will appear, allowing you to configure the settings for the new partition.
- Adjust the partition size: In the dialog box, specify the desired size for the second partition. You can either enter the size manually or adjust the slider to allocate a proportionate amount of space.
- Select the file system type: Choose the file system type for the new partition. It is recommended to select “FAT32” or “exFAT” for better compatibility with different devices.
- Assign a drive letter or mount point: Choose a drive letter or a mount point for the second partition. Ensure that the drive letter or mount point is different from the one assigned to the existing partition.
- Apply the changes: Once you have configured the partition settings, click on the “Apply” button to apply the changes to the SD card. MiniTool Partition Wizard will display a summary of the pending operations. Click “Yes” to proceed with creating the second partition.
- Wait for the process: MiniTool Partition Wizard will now create the second partition on the SD card based on your specified settings. The process may take some time, depending on the size of the partition and the speed of your computer.
- Complete the partition creation: Once the partition creation process is finished, you will receive a notification indicating that the operation was successful. You can now close MiniTool Partition Wizard and proceed to format the second partition.
Congratulations! You have successfully created the second partition on your SD card using MiniTool Partition Wizard. The next step is to format the partition to make it ready for use with Link2SD. In the following section, we will guide you through the process of formatting the second partition.
Format the second partition
After creating the second partition on your SD card using MiniTool Partition Wizard, the next step is to format the partition. Formatting the partition prepares it for use and ensures compatibility with your Android device. Follow these steps to format the second partition:
- Connect your SD card: Insert the SD card into your Android device or connect it to your computer using a card reader.
- Access the storage settings: On your Android device, open the Settings app and navigate to the storage or memory options. This location may vary depending on your device’s brand and operating system version.
- Select the second partition: Within the storage settings, you should see the SD card listed with its respective partitions. Identify the second partition that you created using MiniTool Partition Wizard.
- Format the second partition: Tap on the second partition and select the option to format it. Choose the file system type, such as FAT32 or exFAT, and provide a label for the partition if desired.
- Confirm the formatting: Before proceeding with the formatting process, the Android device may display a warning to confirm that you wish to format the partition. Ensure that you have selected the correct partition and confirm the formatting.
- Wait for the process: The formatting process will begin, and it may take some time to complete, depending on the size of the partition and the speed of your device.
- Complete the formatting: Once the formatting process is finished, you will receive a notification indicating that the operation was successful. The second partition is now formatted and ready for use.
Formatting the second partition prepares it for use with Link2SD and ensures that it is recognized by your Android device as additional internal storage. Now that the second partition is formatted, you can proceed with setting up Link2SD to utilize the partition for moving apps and data. In the next section, we will guide you through the setup process of Link2SD.
Set up Link2SD
With the second partition on your SD card created and formatted, it’s time to set up Link2SD. Link2SD is an app that allows you to move apps and their data to the second partition, effectively expanding your device’s internal storage. Follow the steps below to set up Link2SD:
- Download and install Link2SD: Open the Google Play Store on your Android device and search for “Link2SD.” Download and install the app on your device.
- Grant root access: In order to use Link2SD and perform advanced functions, your device needs to be rooted. If your device is not already rooted, you will need to follow the appropriate rooting instructions for your specific device model.
- Launch Link2SD: Open Link2SD from your app drawer. The app will prompt you to grant it root access. Allow the necessary permissions for Link2SD to function properly.
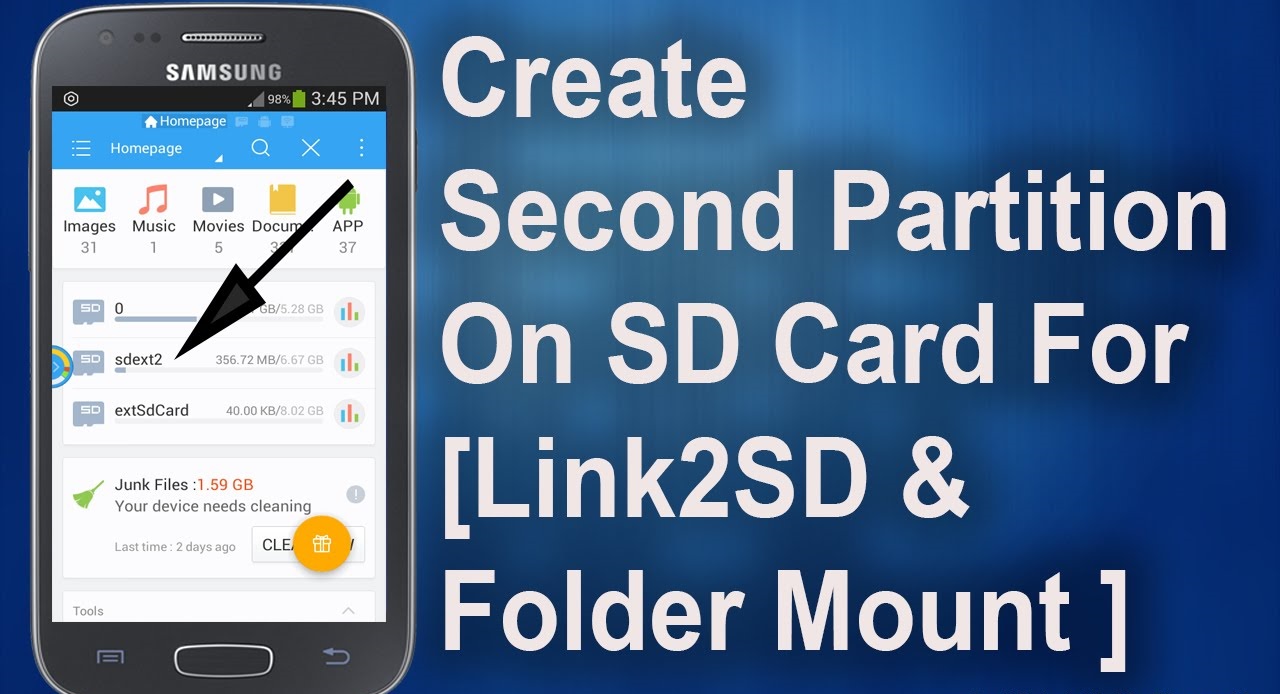
- Select the partition: On the main screen of Link2SD, you will see a list of available partitions. Tap on the second partition that you created and formatted with MiniTool Partition Wizard.
- Set up auto-mount: Link2SD will ask if you want to enable an auto-mount feature. Select “YES” to ensure that the second partition is automatically mounted on every device boot.
- Choose app installation mode: Select the desired app installation mode. “Auto” is recommended, as it automatically moves new apps to the second partition. You can also choose “Internal” if you prefer to manually decide which apps to move.
- Reboot your device: After configuring the settings, it’s recommended to reboot your device to ensure that the changes take effect.
- Use Link2SD to move apps: With Link2SD set up, you can now start moving apps to the second partition. Open Link2SD, select an app from the list, and tap on “Move to SD card” to move it to the second partition.
- Manage app data and cache: Link2SD also allows you to move app data and cache to the second partition. On the app’s details page, you can select “Move app data” or “Move app cache” to free up internal storage.
With Link2SD set up and the second partition utilized for app storage, you can now enjoy the benefits of expanded internal storage on your Android device. Link2SD provides a convenient way to move apps and their data, freeing up space and improving device performance. Explore the app’s features and options to customize your storage management and optimize your Android experience.
Conclusion
Partitioning your SD card and setting up Link2SD is a great way to expand your Android device’s storage capacity and optimize its performance. By following the steps outlined in this guide, you can successfully create a second partition on your SD card, format it, and utilize it for app storage using Link2SD.
Partitioning your SD card provides increased storage space, the ability to move apps and data, improved device performance, flexibility in storage organization, and easier backup and restore options. With the help of tools like EaseUS Partition Master and MiniTool Partition Wizard, the partitioning process becomes user-friendly and accessible, even for beginners.
Setting up Link2SD allows you to take full advantage of the second partition by easily moving apps and their related data. This not only frees up internal storage space but also enhances the overall performance of your Android device. Link2SD offers features such as app installation modes, automatic mounting, and the ability to manage app data and cache.
However, it’s important to note that partitioning your SD card and using third-party tools like Link2SD may void your device’s warranty. Additionally, there is always a risk of data loss during the partitioning process. Therefore, it is crucial to backup all important data before proceeding and to proceed with caution.
By leveraging the benefits of partitioning your SD card and utilizing Link2SD, you can optimize your Android device’s storage capacity, improve performance, and have more flexibility in managing your apps and data.
Now that you have completed the setup, enjoy the expanded storage and make the most out of your Android device’s capabilities!