Introduction
Welcome to our guide on how to create a playlist on Amazon Music, a popular streaming platform that allows you to enjoy a vast collection of music. Whether you’re a music enthusiast or simply looking to curate your own personalized music experience, creating a playlist can be a fun and convenient way to organize your favorite songs.
With Amazon Music, you have access to millions of songs across various genres, artists, and albums. The platform offers a user-friendly interface, making it easy for you to navigate and discover new music. Creating playlists allows you to group together songs that fit a specific mood, theme, or occasion, giving you complete control over your listening experience.
Whether you want to create a workout playlist to keep you motivated during your fitness sessions, a relaxing playlist for a cozy evening at home, or a compilation of your favorite songs from a specific artist or genre, Amazon Music lets you curate the perfect soundtrack for any moment.
This step-by-step guide will walk you through the process of creating a playlist on Amazon Music, from signing in to your account to customizing your playlist settings. So, grab your headphones, and let’s get started on creating your personalized music collection!
Step 1: Sign in to your Amazon Music account
The first step in creating a playlist on Amazon Music is to sign in to your account. If you don’t have an account, you can easily create one by visiting the Amazon Music website and following the registration process.
Once you are signed in, you will have access to all the features and functionalities of Amazon Music, including the ability to create and manage your playlists. To sign in, follow these simple steps:
- Open your preferred web browser and go to the Amazon Music website.
- Click on the “Sign In” button located at the top right corner of the page.
- Enter your Amazon email address and password in the designated fields.
- Click on the “Sign In” button to log in to your account.
Once you have successfully signed in, you will be redirected to the Amazon Music homepage, where you can begin exploring and creating your playlists.
It’s important to note that if you have an Amazon Prime membership, you will have access to a wider selection of songs and additional features on Amazon Music. If you’re not a Prime member, you can still enjoy the benefits of Amazon Music by signing up for a standalone subscription.
Now that you’re signed in to your Amazon Music account, you’re ready to move on to the next step and start building your own custom playlist with your favorite songs.
Step 2: Navigate to the music section
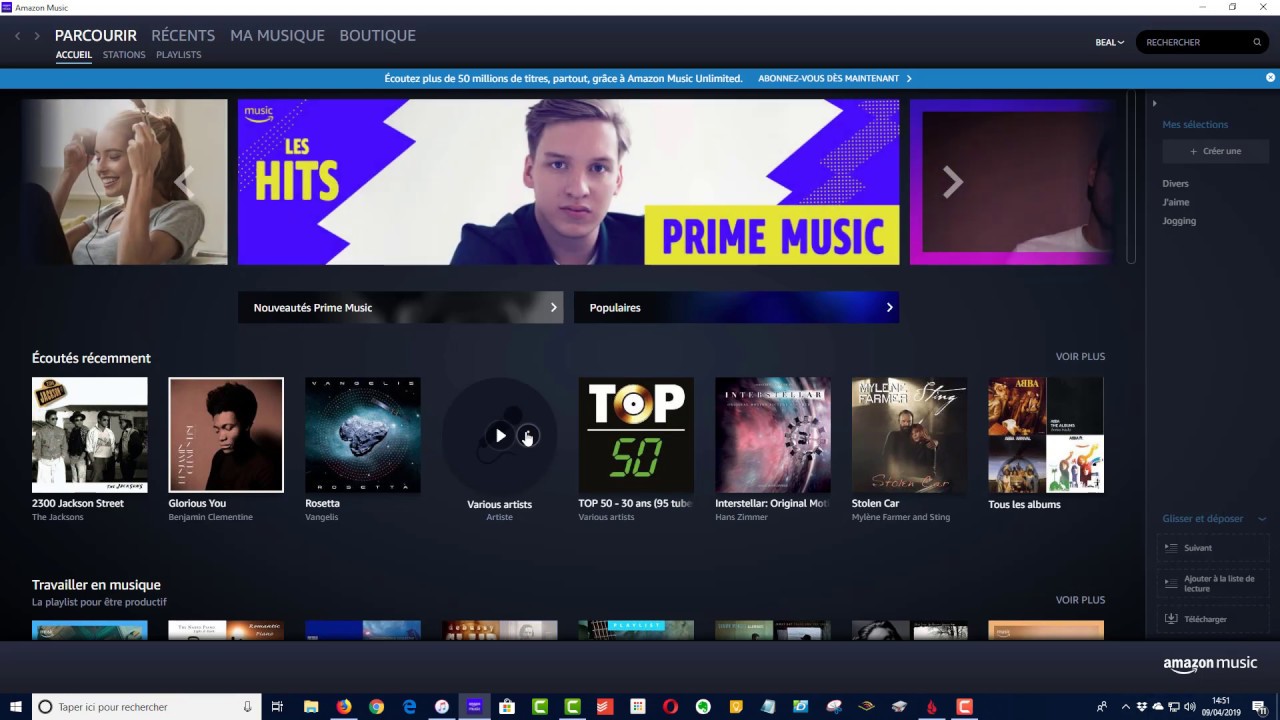
After signing in to your Amazon Music account, the next step is to navigate to the music section. This is where you can browse and search for songs to include in your playlist. Follow these steps to find the music section:
- On the Amazon Music homepage, look for the navigation menu located at the top of the page.
- Hover your mouse cursor over the “Browse” or “Your Library” option in the menu, depending on the layout of your Amazon Music account.
- Click on the “Music” or “My Music” option from the drop-down menu that appears.
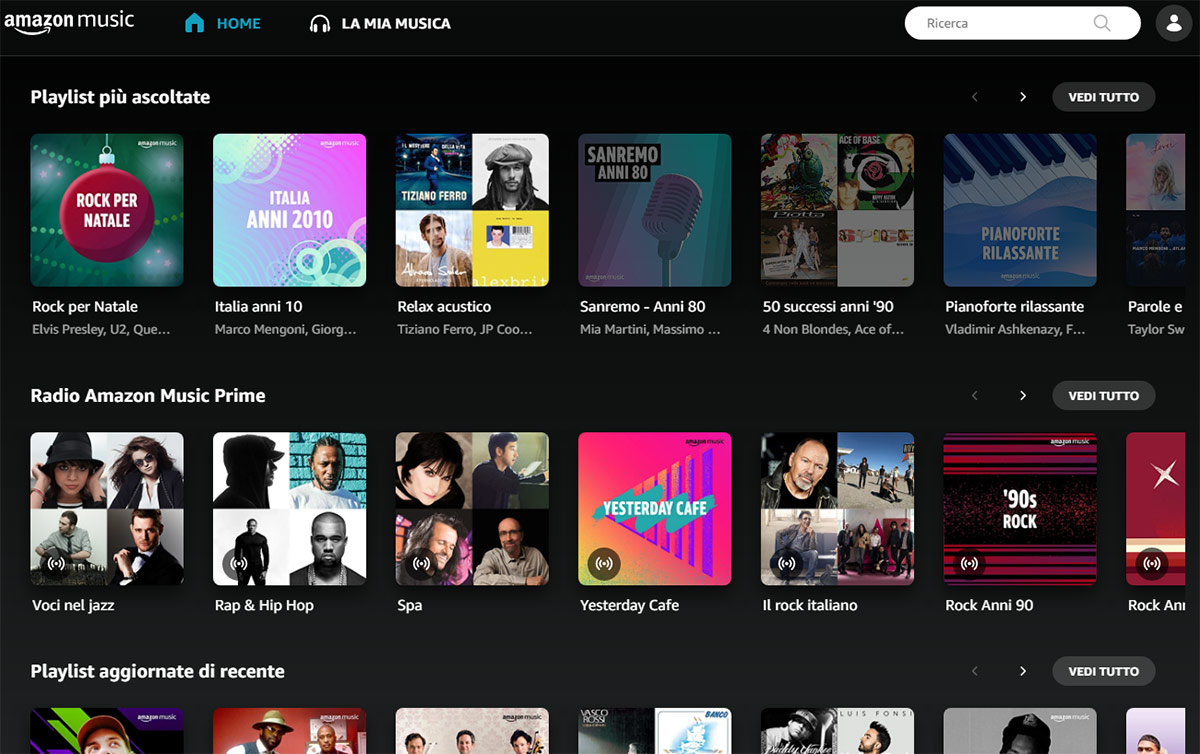
By selecting the music section, you will be directed to a page that showcases various categories, including playlists, artists, albums, and genres. This is where you’ll find a wide range of songs to choose from when creating your playlist.
You can explore different genres or search for specific artists, albums, or songs using the search bar located at the top of the page. Amazon Music also offers curated playlists and recommendations based on your listening preferences, making it easier to discover new music that suits your taste.
Once you’re in the music section, you’re ready to move on to the next step and start selecting songs to include in your playlist. Whether you’re looking for classic hits, current chart-toppers, or hidden gems, Amazon Music has a vast library that caters to all music lovers.
Step 3: Browse and search for songs
Now that you have navigated to the music section in your Amazon Music account, it’s time to browse and search for songs to include in your playlist. Amazon Music offers a variety of ways to discover and select your favorite tracks. Follow these steps to browse and search for songs:
- On the music section page, you’ll find different categories such as playlists, artists, albums, and genres. Browse through these categories to find songs that resonate with your musical preferences.
- If you have a specific song in mind, you can use the search bar located at the top of the page. Simply enter the name of the song, artist, or album you’re looking for, and Amazon Music will provide you with relevant search results.
- As you scroll through the search results or browse through the different categories, you can listen to song previews by clicking on the play button next to each track. This allows you to get a taste of the song before adding it to your playlist.
- To add a song to your playlist, simply click on the “Add to Library” or “+ Add” button next to the track. This will save the song to your personal library, making it accessible for later use in your playlist.
Amazon Music also offers personalized recommendations based on your listening history and preferences. These recommendations can help you discover new songs and artists that you may not have come across otherwise.
Whether you’re in the mood for a specific genre, searching for a particular artist, or exploring curated playlists, Amazon Music provides a diverse selection of songs to choose from. Take your time to browse and search for songs that resonate with you and reflect the mood or theme you want to capture in your playlist.
Now that you know how to browse and search for songs, let’s move on to the next step and learn how to select and add songs to your playlist.
Step 4: Select songs for your playlist
With Amazon Music, you have access to a vast library of songs spanning various genres, artists, and albums. Now that you’ve learned how to browse and search for songs, it’s time to select the perfect tracks to include in your playlist. Follow these steps to choose songs for your playlist:
- Review the search results or browse through the different categories, playlists, artists, or albums to find songs that resonate with your musical taste and fit the theme or mood you want to create in your playlist.
- Listen to song previews by clicking on the play button next to each track. Pay attention to the melody, lyrics, and overall vibe of the song to ensure it aligns with the desired feel of your playlist.
- Consider a mix of popular hits, personal favorites, and lesser-known gems to create a well-rounded playlist that caters to different musical preferences.
- Be mindful of the order and flow of the songs. Think about how one song transitions into the next and create a cohesive listening experience.
- Remember that you can always add or remove songs from your playlist later, so don’t be afraid to experiment and make adjustments as needed.
When selecting songs, it’s important to consider the length of your playlist as well. If you want a shorter playlist, choose a handful of songs that you absolutely love. For longer playlists, you can expand your selection to include a wider range of songs.
Whether you’re curating a playlist for a specific occasion, capturing different moods, or simply compiling your all-time favorite tracks, take the time to select the songs that resonate with you personally.
Now that you’ve chosen the songs for your playlist, it’s time to move on to the next step and learn how to create a new playlist on Amazon Music.
Step 5: Create a new playlist
Now that you have selected the perfect songs for your playlist, it’s time to create a new playlist on Amazon Music. Follow these simple steps to get started:
- On the Amazon Music website, navigate to your library or playlists section. The exact location may vary depending on the layout of your Amazon Music account.
- Look for the “Create Playlist” or “New Playlist” button. It is usually located near the top or in a prominent position within the playlists section.
- Click on the “Create Playlist” or “New Playlist” button to begin the playlist creation process.
- Give your playlist a distinctive and descriptive name that reflects its theme or mood. For example, you can title it “Workout Jams” or “Chill Vibes.”
- Optionally, you can add a playlist cover image by clicking on the “Add Cover” or “Choose Image” button. This allows you to personalize your playlist and make it visually appealing.
- Once you have entered the name and, if desired, added a cover image, click on the “Create” or “Save” button to create your new playlist.
After creating your playlist, it will appear in your library or playlists section, ready for you to add songs and customize to your liking.
Keep in mind that you can create multiple playlists to cater to different moods, occasions, or genres. This allows you to easily switch between playlists based on your current preferences or activities.
Now that you have created a new playlist, it’s time to move on to the next step and learn how to add songs to your playlist on Amazon Music.
Step 6: Add songs to your playlist
With your new playlist created, it’s time to start adding songs to it on Amazon Music. Follow these steps to add your selected songs to your playlist:
- Navigate to the music section or your personal library in your Amazon Music account.
- Locate the songs you want to add to your playlist. You can use the search bar, browse through genres or personalized recommendations, or access your saved songs.
- Once you find a song you want to add, click on the “Add to Playlist” or “Add to Library” button next to it. A drop-down menu will appear with the option to select the playlist you want to add the song to.
- Select the playlist you created in the previous step from the drop-down menu. The song will then be added to your chosen playlist.
- Repeat this process for each song you want to add to your playlist. You can add as many songs as you like, creating a unique collection that suits your preferences.
It’s worth noting that you can add songs to your playlist from multiple sources, including albums, artists, and playlists. This gives you flexibility in curating a diverse and personalized collection of songs.
Furthermore, if you come across new songs that you want to add to your playlist after its creation, simply follow the same process mentioned above to add them. Your playlist is not static, and you can continuously update it with new songs or remove songs if you wish.
Now that you have added songs to your playlist, let’s move on to the next step and learn how to arrange the order of songs in your playlist on Amazon Music.
Step 7: Arrange the order of songs in your playlist
Once you have added songs to your playlist on Amazon Music, you have the option to arrange the order of the songs to create a seamless and enjoyable listening experience. Follow these steps to arrange the order of songs in your playlist:
- Navigate to the playlist you want to reorder in your Amazon Music account.
- Locate the songs within the playlist. They are usually listed in the order they were added.
- To rearrange the songs, click and hold on the song you want to move. Drag it to the desired position within the playlist.
- Repeat this process for each song you want to rearrange.
- As you rearrange the songs, you will notice the order updating in real-time within your playlist.
By customizing the order of songs, you can create a unique flow, ensuring that one song transitions smoothly into the next. This allows you to curate a playlist that aligns with your desired mood or theme.
Keep in mind that Amazon Music also offers an autoplay feature, which plays songs in a specific order based on algorithms and your previous listening history. However, by manually arranging the songs in your playlist, you have more control over the sequence and can create a more personalized listening experience.
Whether you want a playlist that gradually builds up energy, follows a specific storyline, or simply showcases your favorite songs in a specific order, arranging the songs in your playlist can greatly enhance your music listening journey.
Now that you have rearranged the songs in your playlist, it’s time to move on to the next step and learn how to customize your playlist settings on Amazon Music.
Step 8: Customize your playlist settings
With your songs arranged in the desired order, you can now customize your playlist settings on Amazon Music to further enhance your listening experience. Follow these steps to make adjustments and personalize your playlist:
- Navigate to the playlist you want to customize in your Amazon Music account.
- Look for the settings or options menu associated with the playlist. It is usually represented by three dots or an ellipsis icon.
- Click on the settings menu to reveal a drop-down menu of customization options.
- Explore the different settings available for your playlist. These may include options such as loop, shuffle, repeat, sharing, and collaborative features.
- Toggle the settings to enable or disable the desired options. For example, you can choose to shuffle the songs in your playlist for a more randomized listening experience.
- Consider adjusting the privacy settings of your playlist. You may want to keep it private for your personal enjoyment or make it public to share with others.
Customizing your playlist settings allows you to tailor the listening experience to your preferences. Whether you want to repeat a specific song, enable shuffle mode, or collaborate with others to build a playlist together, Amazon Music provides various options to make your playlist truly your own.
It’s worth mentioning that the customization options available may vary depending on the specific features and capabilities of your Amazon Music subscription. Both Amazon Prime members and standalone Amazon Music subscribers can access a range of customization options to personalize their playlists.
Now that you have customized your playlist settings, it’s time to move on to the final step – saving and renaming your playlist on Amazon Music.
Step 9: Save and rename your playlist
After creating and customizing your playlist on Amazon Music, it’s essential to save your changes and give your playlist a meaningful and memorable name. Follow these simple steps to save and rename your playlist:
- Navigate to the playlist you want to save and rename in your Amazon Music account.
- Ensure that all the songs and customization settings are as you desire.
- Look for the option to save or update your playlist. This is usually located near the playlist title or within the playlist settings menu.
- Click on the save or update button to apply your changes and finalize your playlist.
- To rename your playlist, locate the option to edit the playlist name. This is often indicated by an edit or pencil-like icon.
- Click on the edit or pencil icon and enter the new name for your playlist.
- Click on the save or update button to save the new playlist name.
Saving and renaming your playlist ensures that your changes are preserved and allows you to easily identify and access your playlist in the future. A well-chosen name can also add a personal touch and make your playlist feel more meaningful and unique.
As you continue to curate your music library and discover new songs, you can always revisit your playlist, add more songs to it, or make further adjustments based on your evolving preferences.
Now that you have saved and renamed your playlist, you have successfully completed all the steps to create a playlist on Amazon Music. Enjoy your personalized collection of songs and the seamless listening experience it provides!
Conclusion
Creating a playlist on Amazon Music is a fantastic way to curate your own personalized music collection and enhance your listening experience. Through the simple steps outlined in this guide, you can sign in to your Amazon Music account, navigate to the music section, browse and search for songs, select the perfect tracks, create a new playlist, add songs to it, arrange the order, customize the settings, and finally save and rename your playlist.
With access to a vast library of songs, genres, and artists, Amazon Music provides a diverse range of options to cater to your musical preferences. Whether you’re looking to create a workout playlist to keep you motivated, a relaxing playlist for unwinding after a long day, or a compilation of your favorite songs, Amazon Music allows you to curate the perfect soundtrack for any occasion.
By following these step-by-step instructions, you can create unique playlists that reflect your personal taste and desired mood. From organizing the order of songs to customizing settings and sharing your playlists with others, Amazon Music offers a user-friendly interface and an array of features to make the playlist creation process seamless and enjoyable.
Remember, curating a playlist is a dynamic process, and you have the flexibility to add or remove songs, rearrange the order, and make ongoing adjustments as your musical preferences evolve. Let your creativity flow and experiment with different themes, genres, or moods to create playlists that truly resonate with you.
So, grab your headphones and get started on creating your own personalized playlist on Amazon Music. Let the power of music transport you, inspire you, and accompany you on any journey or moment.