Introduction
Welcome to our guide on how to delete on a keyboard! Whether you’re a seasoned typist or just starting your journey with computers, knowing how to efficiently delete text is a fundamental skill. In this article, we’ll explore the various techniques for deleting text using a keyboard, from removing individual characters to deleting entire paragraphs.
The delete key on a keyboard is a powerful tool that allows you to quickly and easily remove unwanted text. While it may seem like a simple task, having a good understanding of the different deletion methods can significantly improve your productivity and streamline your workflow.
Throughout this guide, we’ll cover both basic and advanced techniques to suit users of all skill levels. Whether you’re editing a document, writing an email, or working on a coding project, mastering the art of deletion will save you time and frustration.
Before we delve into the various deletion methods, it’s important to note that the specific key labels and keyboard shortcuts can vary depending on the device and operating system you’re using. We’ll provide general instructions and commonly used shortcuts, but keep in mind that your keyboard layout may have slight differences.
Now, let’s dive in and explore the world of deletion on a keyboard! From removing a single character to undoing a whole delete, we’ll equip you with the knowledge and skills you need to become a deletion pro.
Understanding the delete key
Before we begin learning about different deletion techniques, it’s important to understand the function and purpose of the delete key. The delete key is a specialized key on the keyboard that is designed to remove characters, words, lines, or selected blocks of text. The specific function of the delete key can vary depending on the context in which it is used.
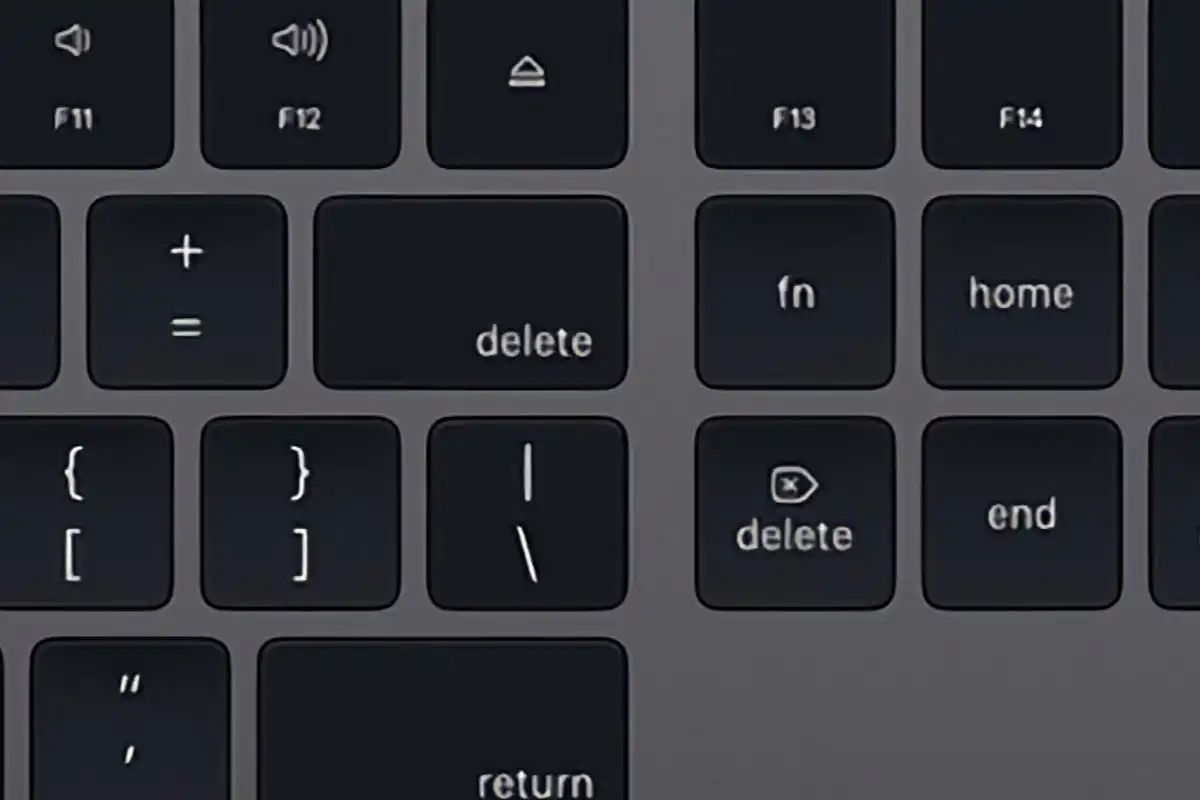
In most cases, the delete key is used to remove the character that is located to the right of the cursor. This is often referred to as a forward delete. On some keyboards, especially those found on laptops, the delete key may be labeled with a different symbol, such as an arrow pointing to the right.
In addition to the forward delete function, the delete key can also be used to remove text that is located to the left of the cursor. This is commonly known as a backward delete, and it is usually achieved by combining the delete key with the fn (function) key on laptops or by using the backspace key on desktop keyboards.
Understanding how the delete key functions and its various applications is essential for efficient text editing. Whether you’re making minor corrections or deleting large portions of text, having a solid grasp of the delete key’s capabilities will greatly enhance your editing skills.
Now that we have a clear understanding of the delete key, let’s move on to the different techniques for deleting text using a keyboard. In the next section, we’ll learn how to delete a single character and explore some useful shortcuts to make the process even faster and more convenient.
Deleting a single character
Deleting a single character is a basic yet essential skill when it comes to text editing. Whether you want to correct a typo or remove a misplaced character, knowing how to delete individual characters can save you time and ensure accurate communication.
To delete a character to the right of the cursor, simply position the cursor directly after the character you want to remove and press the delete key. This action will eliminate the character and shift the text to the left to fill the gap.
If you want to delete a character to the left of the cursor (backward delete), you can use the backspace key. Place the cursor just before the character you want to delete and press the backspace key. The character will be removed, and the remaining text will shift to the right.
In addition to using the delete and backspace keys, there are a few useful shortcuts that can streamline the process of deleting individual characters:
- Pressing Ctrl + D (Command + Delete on Mac) will perform a forward delete, removing the character to the right of the cursor.
- Using Ctrl + Backspace (Option + Delete on Mac) will perform a backward delete, removing the character to the left of the cursor.
These shortcuts can be especially handy when working with large amounts of text or needing to delete characters quickly and efficiently.
Now you know how to delete a single character using both the delete key and backspace key, as well as some useful shortcuts. In the next section, we’ll explore how to delete an entire word, which can be a valuable technique when editing longer pieces of text or correcting mistakes.
Deleting a word
Deleting a word at a time can be a useful technique for quickly removing a larger portion of text. Whether you want to delete a misspelled word or eliminate unnecessary sentences, knowing how to delete words efficiently can save you valuable time.
To delete a word to the right of the cursor, first, position the cursor at the end of the word you want to remove. Then, press the Ctrl (Control) key along with the delete key. This action will delete the entire word, including any spaces or punctuation marks following it.
If you want to delete a word to the left of the cursor, position the cursor at the beginning of the word you want to delete. Press the Ctrl (Control) key along with the backspace key. This action will remove the entire word, including any preceding spaces or punctuation marks.
Another handy shortcut for deleting a word at a time is to use Ctrl + Backspace. This combination will delete the entire word directly to the left of the cursor, making it a quick option when you need to remove words in rapid succession.
Deleting words can be especially helpful when proofreading and editing lengthy documents or when you need to make substantial changes to your writing. By mastering the art of deleting words efficiently, you can ensure your text remains clear, concise, and error-free.
Now that you know how to delete individual characters and words, it’s time to take it a step further. In the next section, we’ll learn how to delete an entire line, which can be particularly useful when working with structured documents or formatting paragraphs.
Deleting a line
Deleting a line of text can be a handy technique when you want to remove an entire sentence or paragraph quickly. Whether you’re editing a document, coding, or working with any text-based application, knowing how to delete lines efficiently can greatly enhance your productivity.
To delete a line of text, first, position the cursor at the beginning of the line you want to remove. Then, press the Shift key along with the end (or end) key. This action will highlight the entire line of text from the cursor position to the end of the line. Once the line is selected, press the delete or backspace key to remove it.
Alternatively, you can also use a combination of keyboard shortcuts to delete a line. On Windows, try using the Ctrl key along with the Shift key and the L key. On a Mac, use the Command key along with the Shift key and the Delete key. These shortcuts will delete the current line or the line in which the cursor is positioned.
Deleting a line of text is especially useful when you want to make significant edits or remove entire sections quickly. By deleting lines, you can streamline your writing or coding process, ensuring that your work is clean, concise, and well-organized.
Now that you know how to delete individual characters, words, and lines, let’s move on to the next section, where we’ll explore how to delete a paragraph. Whether you’re working on a document or writing a blog post, deleting paragraphs can help you improve the flow and structure of your text.
Deleting a paragraph
Deleting a paragraph is a powerful technique when you want to remove a significant chunk of text all at once. Whether you’re reorganizing your thoughts, restructuring a document, or revising a lengthy piece of writing, knowing how to delete paragraphs efficiently can save you time and effort.
To delete a paragraph, first, position the cursor anywhere within the paragraph you want to remove. Then, press the Ctrl (Control) key along with the Shift key and the down arrow key (or the up arrow key). This action will select the entire paragraph. Once selected, press the delete or backspace key to eliminate the paragraph.
Another method to delete a paragraph is to use the combination of Ctrl (Control) key along with the Shift key and the L key on Windows (or the Command key on a Mac). This shortcut will delete the current paragraph or the paragraph in which the cursor is positioned.
Deleting paragraphs can be particularly useful when you’re restructuring a document or removing unnecessary information. It allows you to create a more cohesive and focused piece of writing by eliminating irrelevant or redundant paragraphs.
Keep in mind that deleting a paragraph can’t be undone by simply using the undo function. Therefore, it’s important to double-check your selection before confirming the deletion.
Now that you’ve learned how to delete individual characters, words, lines, and paragraphs, you have a comprehensive set of tools to efficiently remove text from your documents. In the next section, we’ll explore how to delete a selected block of text, which can be useful for specific editing or formatting needs.
Deleting a selected block of text
Deleting a selected block of text allows you to remove a specific portion of your document, whether it’s a few sentences, a whole paragraph, or even an entire section. This technique is especially useful when you want to delete non-contiguous text or when you need to remove a specific section while preserving the rest of the content.
To delete a selected block of text, first, click and drag your cursor to highlight the desired portion of the text. Alternatively, you can use the Shift key along with the arrow keys to expand the selection. Once the block of text is selected, press the delete or backspace key, and the selected text will be removed.
It’s worth noting that deleting a selected block of text can be undone using the undo function, giving you the flexibility to make changes without permanently losing the content. However, make sure to double-check your selection before confirming the deletion, as undoing large-scale deletions may not always be ideal.
Deleting a selected block of text is a versatile technique that can be used in various scenarios, such as rearranging paragraphs, removing specific sections, or cleaning up formatting errors. By mastering this skill, you can efficiently manage and edit your documents with precision.
Now that you’ve learned how to delete individual characters, words, lines, paragraphs, and selected blocks of text, you have a wide range of techniques at your disposal for efficient text editing. In the next sections, we’ll explore how to undo a delete and redo a delete, as well as some helpful shortcut keys for deletion.
Undoing a delete
Undoing a delete is a crucial feature that allows you to reverse a deletion and recover the previously deleted text or content. Whether you accidentally deleted important information or changed your mind after deleting a portion of text, knowing how to undo a delete can save you from potential frustration and loss.
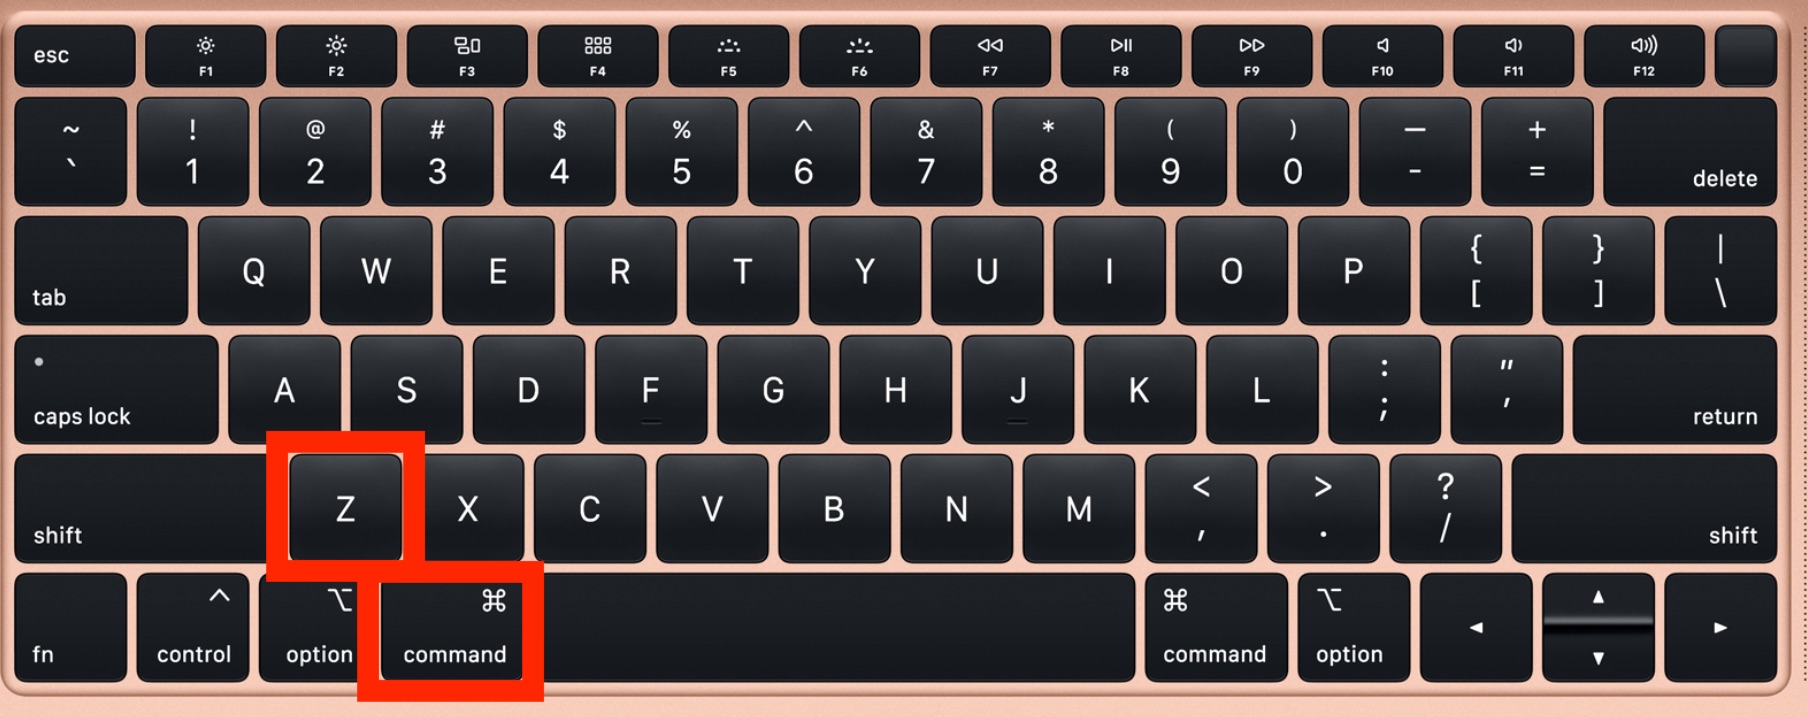
To undo a delete, simply press the Ctrl (Control) key along with the Z key on Windows or the Command key along with the Z key on a Mac. This action will revert the most recent deletion, restoring the deleted text or content to its original position.
Most text editing applications and software have multiple levels of undo, meaning you can undo multiple deletions in consecutive order. If you want to undo multiple deletions, press the Ctrl (Control) key along with the Z key multiple times or use the corresponding command on a Mac.
It’s important to note that the undo function might have limitations, such as a predefined number of actions that can be undone or a time limit for the availability of undo actions. Therefore, it’s always a good idea to save your work regularly to avoid losing important changes.
Undoing a delete allows you to rectify unintentional deletions, recover lost content, and maintain the integrity of your work. It’s a valuable tool that can help you undo mistakes and ensure that your text remains accurate and complete.
Now that you’ve learned how to undo a delete, let’s move on to the next section, where we’ll explore how to redo a delete. Understanding how to redo a delete can be useful when you want to revert an undo action or revisit a previously deleted portion of text.
Redoing a delete
Redoing a delete allows you to restore content that was previously deleted using the undo function. Whether you want to bring back a deleted paragraph or recover a section of code that was unintentionally removed, knowing how to redo a delete can help you reverse an undo action and restore the deleted text or content.
To redo a delete, press the Ctrl (Control) key along with the Y key on Windows, or the Command key along with the Shift key and the Z key on a Mac. This action will restore the most recently undone deletion, bringing back the deleted text or content to its original position.
Similar to the undo function, most text editing applications and software have multiple levels of redo, allowing you to redo multiple previously undone deletions. If you want to redo multiple deletions, press the Ctrl (Control) key along with the Y key (Windows) or use the corresponding command on a Mac multiple times.
It’s important to note that the redo function is only available if there is a previously undone deletion to restore. Once a new edit is made after an undo action, the redo history may be cleared, and the redo function may no longer be available for that particular deletion.
Redoing a delete provides flexibility when you want to reverse an undo action or retrieve content that you no longer want to remain deleted. It allows you to recover lost information or revisit previously removed sections, giving you full control over your text editing process.
Now that you understand how to redo a delete, let’s move on to the next section, where we’ll explore some helpful shortcut keys for deletion. These shortcuts can make your text editing tasks even more efficient and further streamline your workflow.
Using shortcut keys for deletion
Shortcut keys for deletion are convenient and efficient ways to remove text without the need for manual cursor navigation. By utilizing these keyboard shortcuts, you can save time and enhance your productivity while editing or writing content.
Here are some commonly used shortcut keys for deletion:
- Ctrl + Delete (Command + Delete on Mac): Deletes the word to the right of the cursor.
- Ctrl + Backspace (Option + Delete on Mac): Deletes the word to the left of the cursor.
- Ctrl + D (Command + Delete on Mac): Deletes the character to the right of the cursor.
- Ctrl + Backspace (Option + Delete on Mac): Deletes the character to the left of the cursor.
- Shift + End + Delete (or backspace): Deletes the entire line of text from the cursor to the end (or beginning) of the line.
- Ctrl + Shift + L (or Command + Shift + Delete on Mac): Deletes the current line or the line in which the cursor is positioned.
These shortcut keys vary depending on the operating system and software you’re using. It’s always a good idea to familiarize yourself with the specific keyboard shortcuts available in your text editor or program of choice to maximize your efficiency.
By incorporating shortcut keys into your workflow, you can quickly delete characters, words, lines, or entire sections of text with just a few keystrokes. This enables you to edit and revise your content seamlessly, making the text editing process more fluid and effortless.
Now that you’ve learned about various shortcut keys for deletion, let’s address some common deletion issues you may encounter while editing or writing text.
Troubleshooting common deletion issues
While deleting text using keyboard shortcuts or the delete key is generally straightforward, you may encounter some common issues along the way. Understanding and troubleshooting these problems can help you overcome any obstacles and ensure smooth text editing.
Here are a few common deletion issues and their solutions:
- Accidental deletions: It’s easy to make mistakes and delete text unintentionally. To avoid accidental deletions, make sure to double-check your selection before pressing the delete key or using keyboard shortcuts. Utilize the undo function if you mistakenly delete something.
- Deletions in the wrong direction: If you find that deletions are happening in the opposite direction than intended (e.g., characters being deleted to the left instead of the right), check if the “Insert” key on your keyboard is enabled. Disabling the “Insert” key will help ensure that deletions occur in the desired direction.
- Missing or misconfigured shortcut keys: If some shortcut keys for deletion are not working or perform unexpected actions, double-check your keyboard settings and make sure the correct shortcuts are assigned for the desired deletions. You may need to customize your keyboard shortcuts in your text editor or adjust your system preferences accordingly.
- Limitations in specific applications: Some applications or text editors may have certain limitations or variations in deletion functionality. Check the documentation or support resources of the specific application or text editor you’re using to understand any unique deletion behaviors or limitations.
By troubleshooting these common deletion issues, you can ensure a smoother editing experience and avoid frustrating setbacks. Remember, practice and familiarity with your specific text editing environment are key to mastering efficient deletion techniques.
With these troubleshooting tips in mind, you can confidently navigate any challenges that arise while deleting text using your keyboard. Now, armed with a wealth of deletion knowledge, you can optimize your text editing workflow and improve your overall productivity.
Conclusion
Congratulations! You’ve reached the end of our guide on how to delete on a keyboard. We’ve covered a wide array of techniques and shortcuts, from deleting individual characters to removing entire paragraphs. By mastering these deletion methods, you can significantly enhance your text editing skills and boost your productivity.
Understanding the capabilities of the delete key and utilizing shortcuts for deletion allows you to efficiently remove unwanted text, correct errors, and improve the overall quality of your writing. Whether you’re a student, a professional, or simply someone who works with text on a regular basis, knowing how to delete effectively is an essential skill.
Throughout this guide, we’ve highlighted the importance of double-checking your selections and being mindful of any specific limitations or variations in deletion functionality within different applications or text editors. By honing your deletion techniques, troubleshooting common issues, and utilizing keyboard shortcuts, you can navigate any text editing task with ease.
Remember, practice makes perfect. Take the time to familiarize yourself with the specific keyboards and software you use, as keyboard layouts and shortcut keys may vary. By incorporating these techniques into your workflow, you’ll become a deletion pro in no time.
Now it’s time to put your newfound knowledge into action. Start deleting with confidence, refining your text, and streamlining your writing process. Happy typing and deleting!