To delete a row in Google Sheets, right-click the row number on the left side of the sheet and choose "Delete row" from the context menu. This is the quickest and most direct method for removing a single unwanted row from your spreadsheet.
How to delete a row in Google Sheets with a right-click
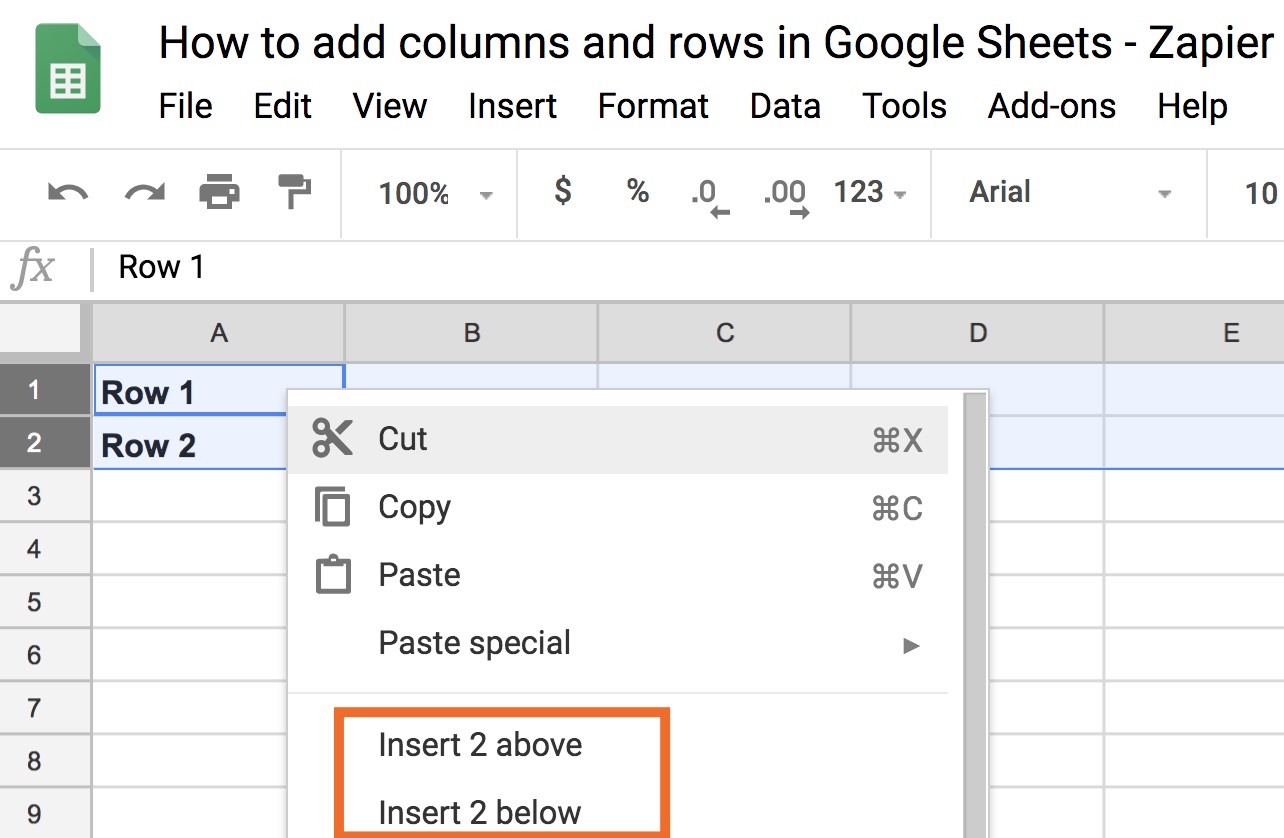
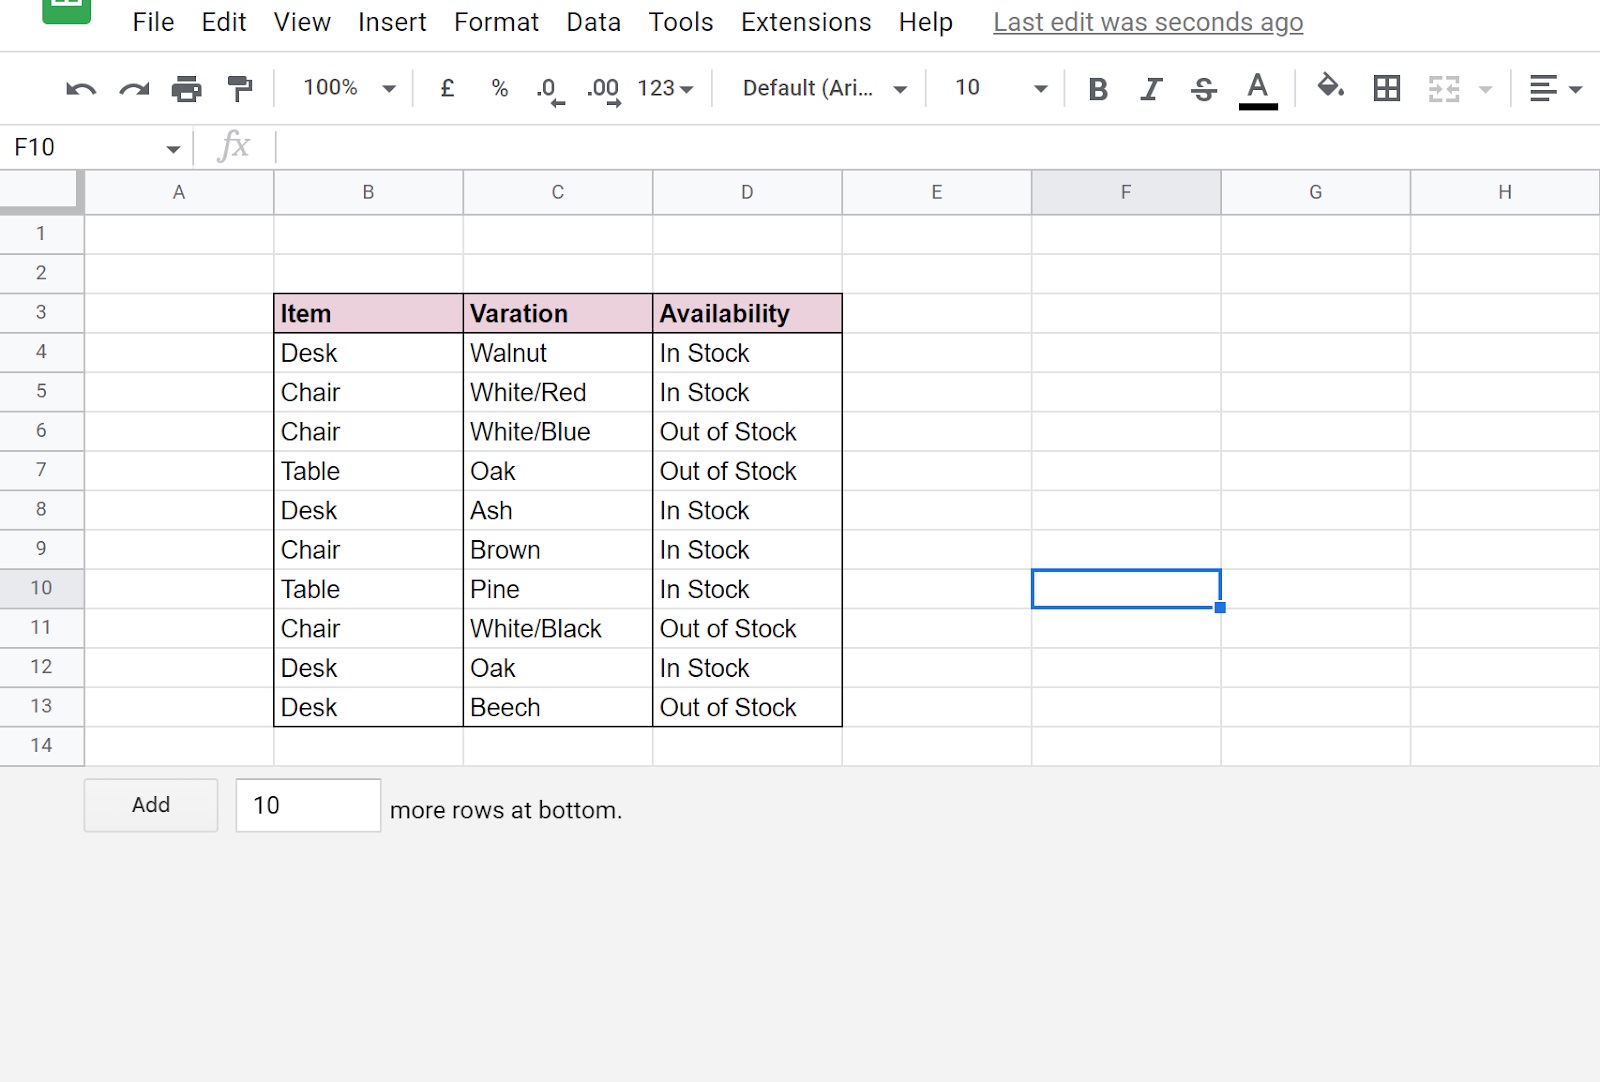
The right-click method is the most intuitive way to remove a row because it places the delete option exactly where you're already working. Start by clicking the row number on the far left of the sheet to highlight the entire row, or click any single cell within that row. Then right-click on the selected row number or cell to open the context menu. From the menu that appears, choose "Delete row." The row disappears instantly, and all rows below it shift upward to fill the gap.
This approach works well when you're removing just one row here and there while reviewing data. It's especially handy if you're already using your mouse for other tasks like selecting cells or scrolling through the sheet.
How to delete a row using the Edit menu
If you prefer working from the top navigation bar, the Edit menu offers a reliable alternative. Select a cell in the row you want to delete, or click the row number to select the entire row. Then go to the "Edit" menu in the top bar, hover over "Delete," and choose "Delete row" (or "Delete rows X, Y" if you've selected multiple). The row is removed immediately, and the rows below shift up.
This method is useful when you're already navigating through menu options for other formatting or data tasks. It provides the same result as right-clicking but follows a more structured, menu-based path that some users find easier to remember.
How to delete a row with keyboard shortcuts
Keyboard shortcuts are the fastest method for power users who want to keep their hands on the keys. Click any cell in the row you want to delete, then press Shift + Space to select the entire row. After that, press Ctrl + Alt + - (Windows) or Cmd + Option + - (Mac) to open the delete options menu, then select "Row." The row is deleted instantly.
Alternatively, if you've already selected the row with Shift + Space, you can use the shortcut Ctrl + Alt + - to bring up all delete options available in the menu and choose "Row" from there. This shortcut combination is particularly effective when you're deleting rows in rapid succession, such as cleaning up a large dataset. If you make a mistake, press Ctrl + Z (Windows) or Cmd + Z (Mac) to undo the deletion immediately.
How to delete multiple rows at once
Deleting multiple rows at once is a time-saving technique when you need to remove a block of unwanted data. Click the row number of the first row you want to delete, then hold down the Shift key and click the row number of the last row in the range. This selects all rows between the two clicks. All selected rows are removed simultaneously, and the rows below shift up to fill the space.
This method is ideal for cleaning up large sections of a spreadsheet, such as removing several blank rows or deleting a block of outdated entries. Just double-check your selection before confirming, since deleting multiple rows at once removes a larger amount of data in one action.
Important tips before you delete a row
Before you delete any row, be aware that deleting rows can affect formulas and charts that reference the data in those rows. If a formula in another cell refers to a cell in the deleted row, it may return an error or recalculate unexpectedly. Similarly, charts that include data from deleted rows will automatically update, which could change the visual representation of your data. Always review your formulas and charts after deleting rows to ensure everything still works as intended.
If you accidentally delete the wrong row, you can undo the action by clicking the "Undo" button at the top of the sheet or by pressing Ctrl + Z (Windows) or Cmd + Z (Mac). This restores the deleted row and any associated data instantly. For larger deletions or when working with important data, consider making a copy of your sheet before you start removing rows, so you always have a backup to fall back on.
Related reading: How To Print Google Sheets and How To Add Columns In Google Sheets.