How to Control Alt Delete on Chromebook
Controlling Alt Delete on a Chromebook is a useful feature that allows you to perform various functions, such as opening the Task Manager, logging out of your account, and restarting the Chromebook. While the traditional keyboard shortcut for Alt Delete is not available on Chromebooks, there are alternative methods you can use to accomplish the same tasks.
Here are three methods you can employ to control Alt Delete on your Chromebook:
- Method 1: Using the Power Button
- Method 2: Using the Keyboard Shortcut
- Method 3: Using the On-Screen Keyboard
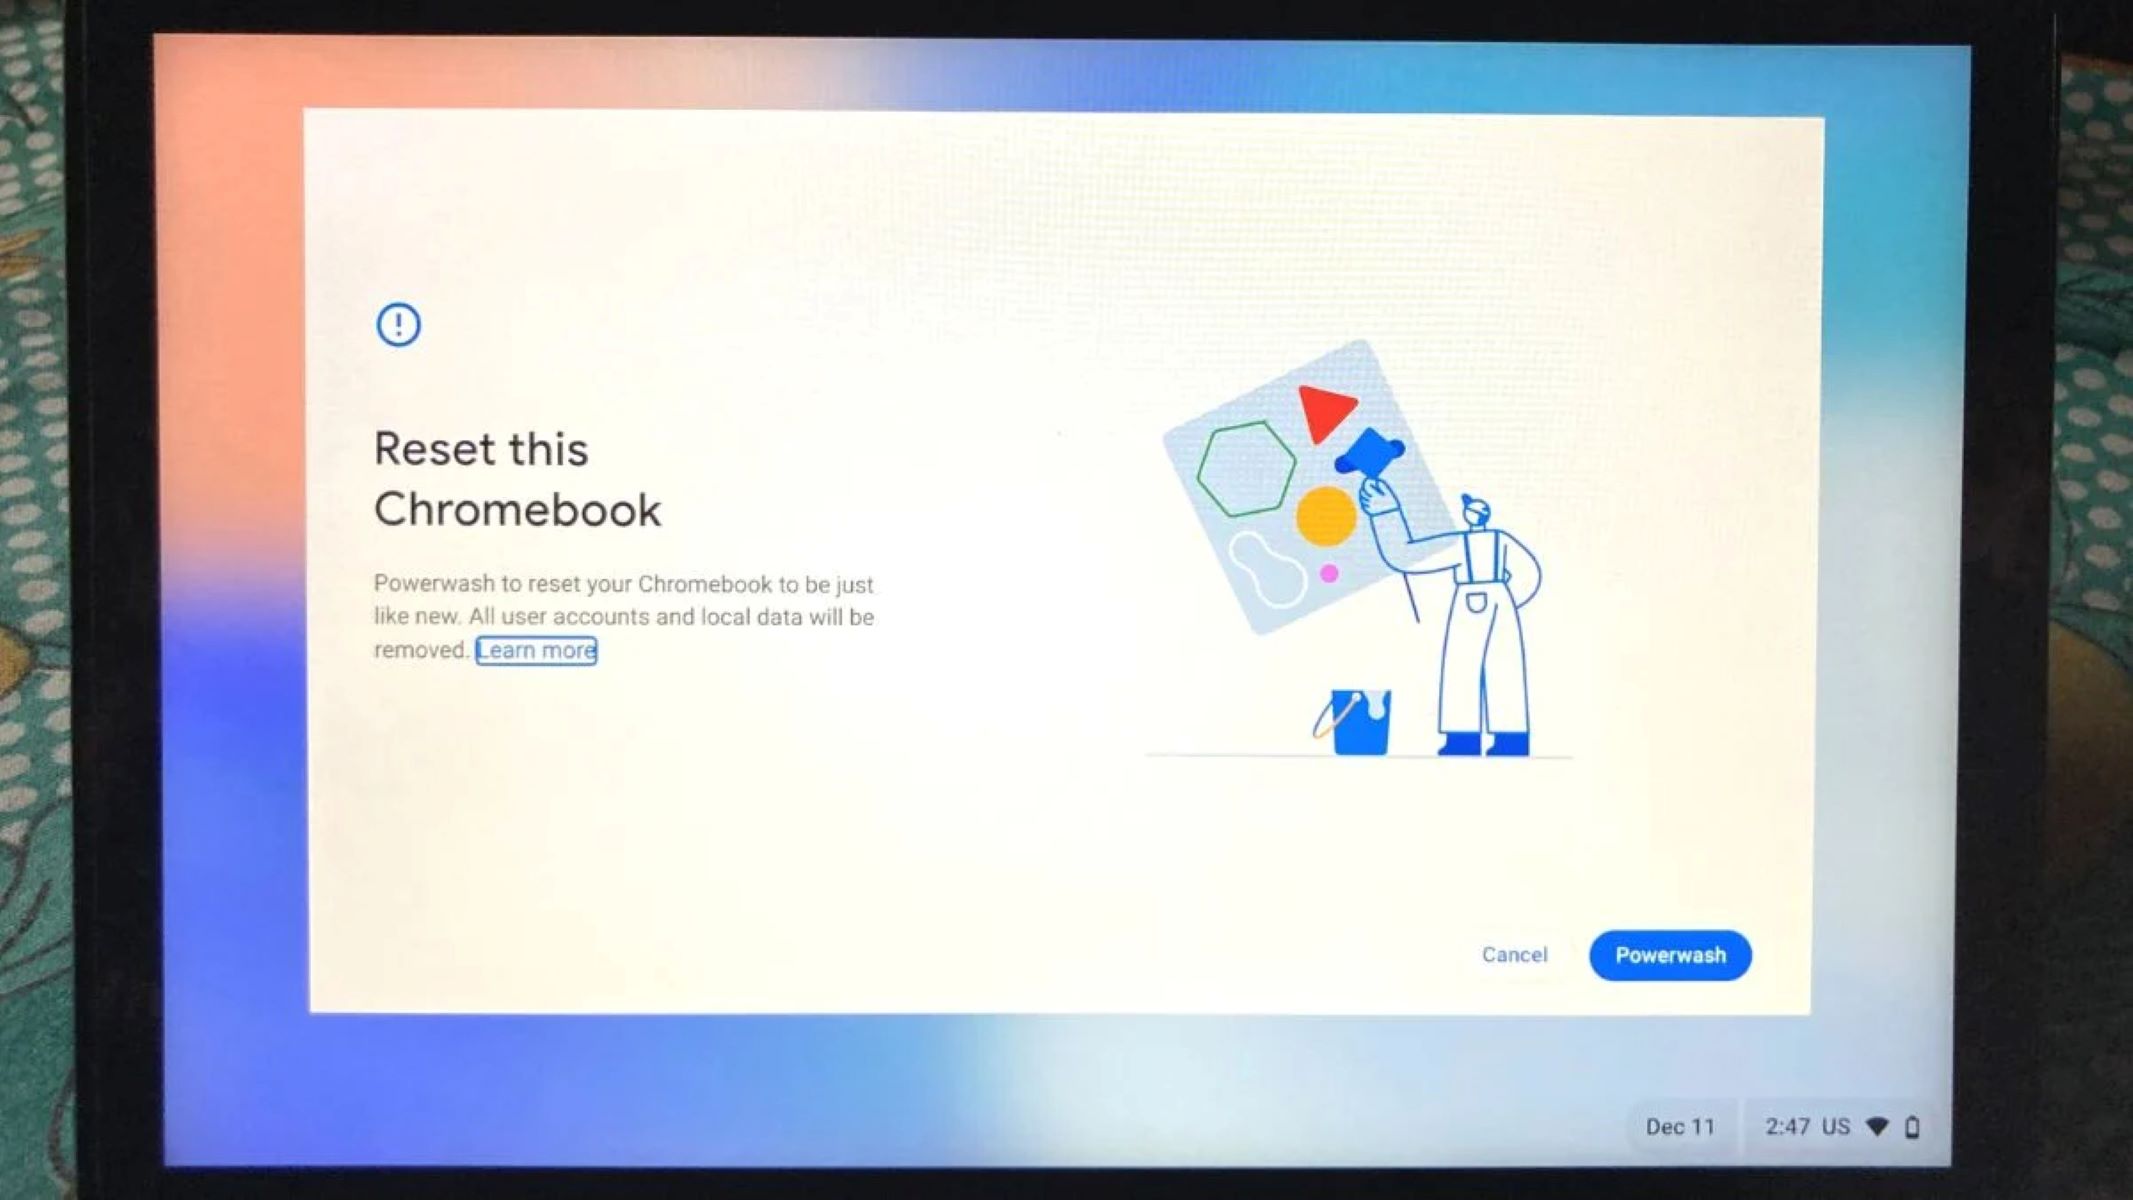
One way to control Alt Delete on your Chromebook is by using the power button. Press and hold the power button for at least 5 seconds until the screen goes black. Then, wait a few seconds and press the power button again to turn on the Chromebook. This will force a restart, similar to pressing Alt Delete on a traditional keyboard.
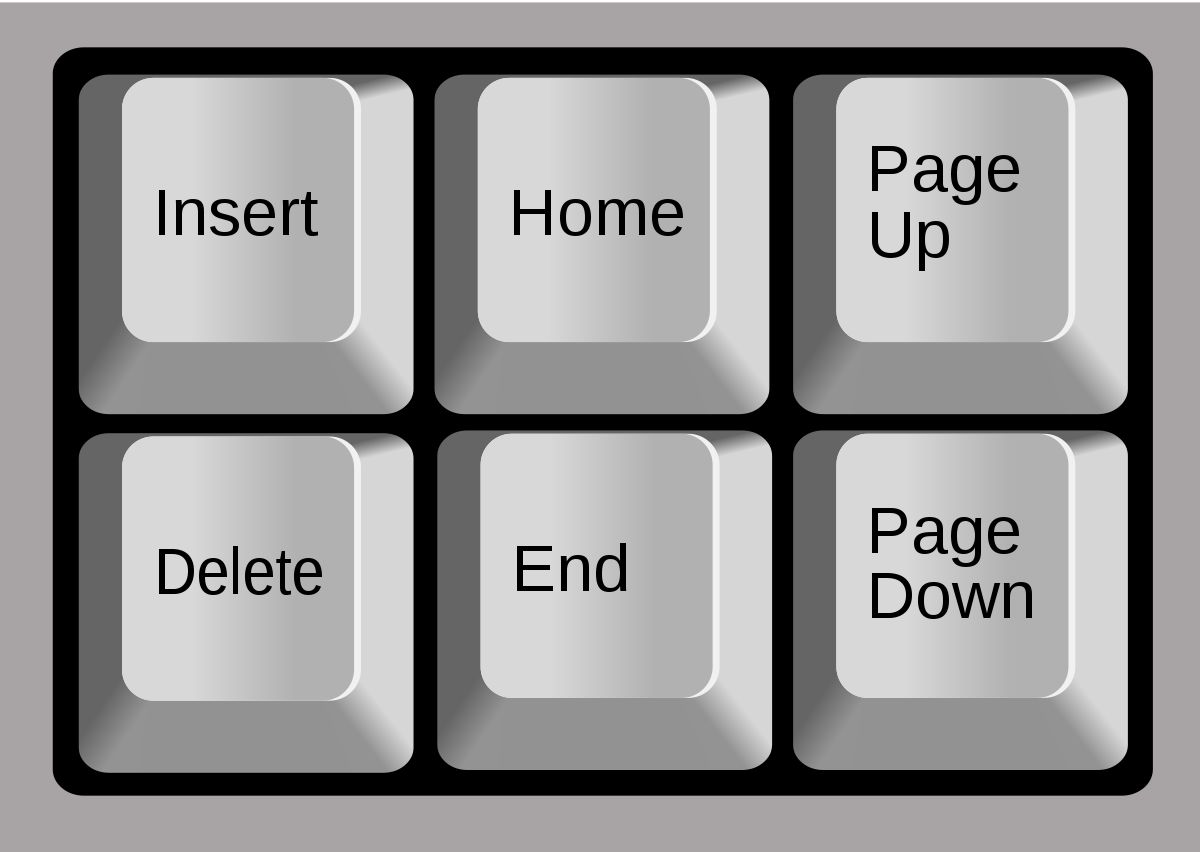
Although Alt Delete is not available on Chromebooks, you can achieve similar functionality by pressing the following key combination: Esc + Refresh (F3). The Esc key is typically located in the top-left corner of the keyboard, while the Refresh key is usually found in the top row, next to the brightness controls. Pressing these keys simultaneously will bring up the system menu, where you can choose options like opening the Task Manager or signing out.
If you prefer a more visual approach, you can use the on-screen keyboard to control Alt Delete on your Chromebook. To access the on-screen keyboard, click on the system tray in the bottom-right corner of the screen, then click on the “Keyboard” icon. A virtual keyboard will appear, which includes a Delete key and other necessary functions. Simply click on the Delete key to perform the desired action.
By utilizing these alternative methods, you can effectively control Alt Delete on your Chromebook and perform essential functions like restarting the device or opening the Task Manager. Whether you prefer using the power button, keyboard shortcuts, or the on-screen keyboard, you have multiple options to choose from based on your preference and convenience.
Introduction
A Chromebook is a popular choice for many users due to its simplicity, speed, and security. However, if you’re used to utilizing the Alt Delete combination on a traditional keyboard, you may be wondering how to achieve the same functions on your Chromebook. Controlling Alt Delete on a Chromebook is essential for performing functions like opening the Task Manager or restarting the device. Although the traditional Alt Delete shortcut is not available on Chromebooks, there are alternative methods you can use to accomplish the same tasks.
In this article, we will explore different ways to control Alt Delete on a Chromebook, providing you with the information you need to navigate this unique feature. Whether you’re a new Chromebook user or an experienced one looking for alternative methods, you’ll find the solutions you’re seeking right here.
We will discuss three methods for controlling Alt Delete on your Chromebook:
- Using the Power Button: This method involves using the power button to force a restart of your Chromebook, simulating the Alt Delete functionality.
- Using the Keyboard Shortcut: While the traditional Alt Delete combination may not be available, we’ll show you a keyboard shortcut that achieves similar functionality.
- Using the On-Screen Keyboard: For those who prefer a visual approach, we’ll explore how to use the on-screen keyboard to control Alt Delete on your Chromebook.
By the end of this article, you’ll have a clear understanding of the various methods available to control Alt Delete on your Chromebook. So, let’s dive in and explore these alternative methods to ensure you can effectively manage your device’s functions and maximize your Chromebook experience.
Why Controlling Alt Delete is Important on Chromebook
Controlling Alt Delete on a Chromebook may seem like a small aspect, but it holds significant importance when it comes to managing your device effectively. Here are a few reasons why understanding how to control Alt Delete on your Chromebook is crucial:
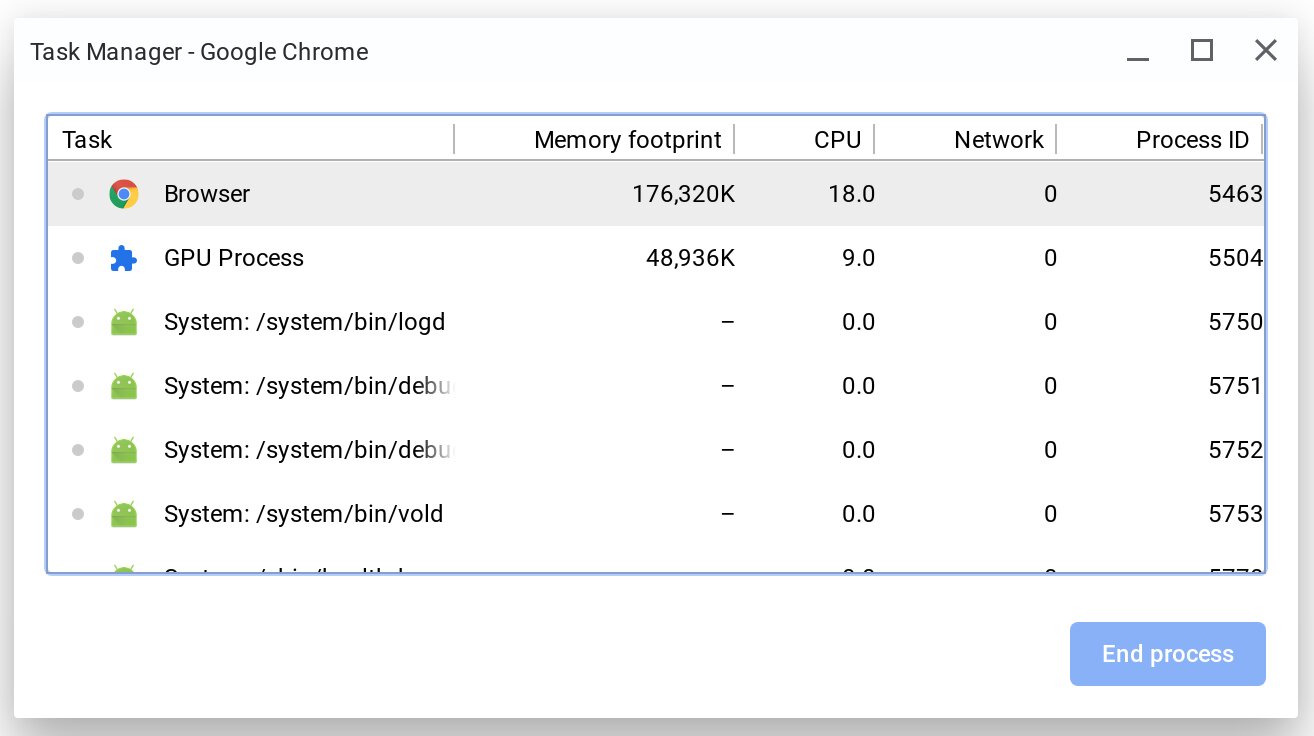
- Task Manager Access: Alt Delete on a traditional keyboard allows users to open the Task Manager, which provides valuable insights into the processes and applications running on the system. By having access to the Task Manager, you can easily identify and close any unresponsive or problematic applications, freeing up system resources and improving overall performance. Knowing alternative methods to access the Task Manager on your Chromebook ensures that you can maintain optimal system efficiency.
- System Restarts: Alt Delete on traditional keyboards also allows users to perform a system restart when encountering software issues or glitches. Restarting the device can resolve minor system problems, clean up temporary files, and help restore the device’s performance. Having alternative methods to initiate a restart is essential for Chromebook users to address any software-related issues that may arise.
- Account Management: On traditional keyboards, Alt Delete can be used to log out of the current user account or switch between user accounts. This feature is particularly useful when sharing a Chromebook with multiple users, as it allows each person to keep their information secure and maintain a personalized experience. Understanding alternative methods to control Alt Delete enables you to manage your user accounts effectively on your Chromebook.
By having a clear understanding of how to control Alt Delete on your Chromebook, you gain the ability to access the Task Manager, perform system restarts, and manage user accounts efficiently. These functions are crucial for troubleshooting issues, managing system performance, and ensuring a smooth and personalized user experience.
Now that we’ve explored the importance of controlling Alt Delete on a Chromebook, let’s move on to the different methods you can use to achieve this functionality.
Method 1: Using the Power Button
One of the most straightforward ways to control Alt Delete on your Chromebook is by using the power button. Although it may not be as intuitive as the traditional keyboard shortcut, it effectively achieves the same result. Here’s how you can use the power button to control Alt Delete:
- Press and hold the power button on your Chromebook for at least 5 seconds.
- The screen will go black, indicating that the device is turning off.
- Wait a few seconds, and then press the power button again to turn on the Chromebook.
By following these steps, you initiate a force restart of your Chromebook, which simulates the functionality of Alt Delete on a traditional keyboard. This method is particularly useful when you encounter unresponsive applications or system issues that can be resolved through a restart.
It’s important to note that performing a force restart using the power button may lead to the loss of any unsaved work or data. Therefore, it’s advisable to save your work and close any open applications before utilizing this method.
Now that you’re familiar with using the power button as an alternative method to control Alt Delete on your Chromebook, let’s explore another method using a keyboard shortcut.
Method 2: Using the Keyboard Shortcut
While the traditional Alt Delete combination may not be available on Chromebooks, there is a keyboard shortcut that can achieve similar functionality. By using this alternative combination, you can access essential features on your Chromebook. Here’s how you can use the keyboard shortcut:
- Press and hold the Esc key, which is typically located in the top-left corner of the keyboard.
- While holding the Esc key, press the Refresh (F3) key, usually found in the top row, next to the brightness controls.
- Releasing the keys will bring up the system menu, where you can choose various options.
The system menu includes functions like opening the Task Manager, signing out of your account, and viewing system information. Although the keyboard shortcut is different from the traditional Alt Delete, it provides similar functionality and allows you to manage your Chromebook efficiently.
This method is particularly useful for accessing the Task Manager on your Chromebook. By opening the Task Manager, you can identify and close any unresponsive or resource-intensive applications, improving system performance.
Now that you’re familiar with using the keyboard shortcut to control Alt Delete on your Chromebook, let’s explore another method using the on-screen keyboard.
Method 3: Using the On-Screen Keyboard
If you prefer a more visual approach or if your Chromebook’s physical keyboard is not functioning properly, you can use the on-screen keyboard to control Alt Delete. Here’s how you can access and utilize the on-screen keyboard on your Chromebook:
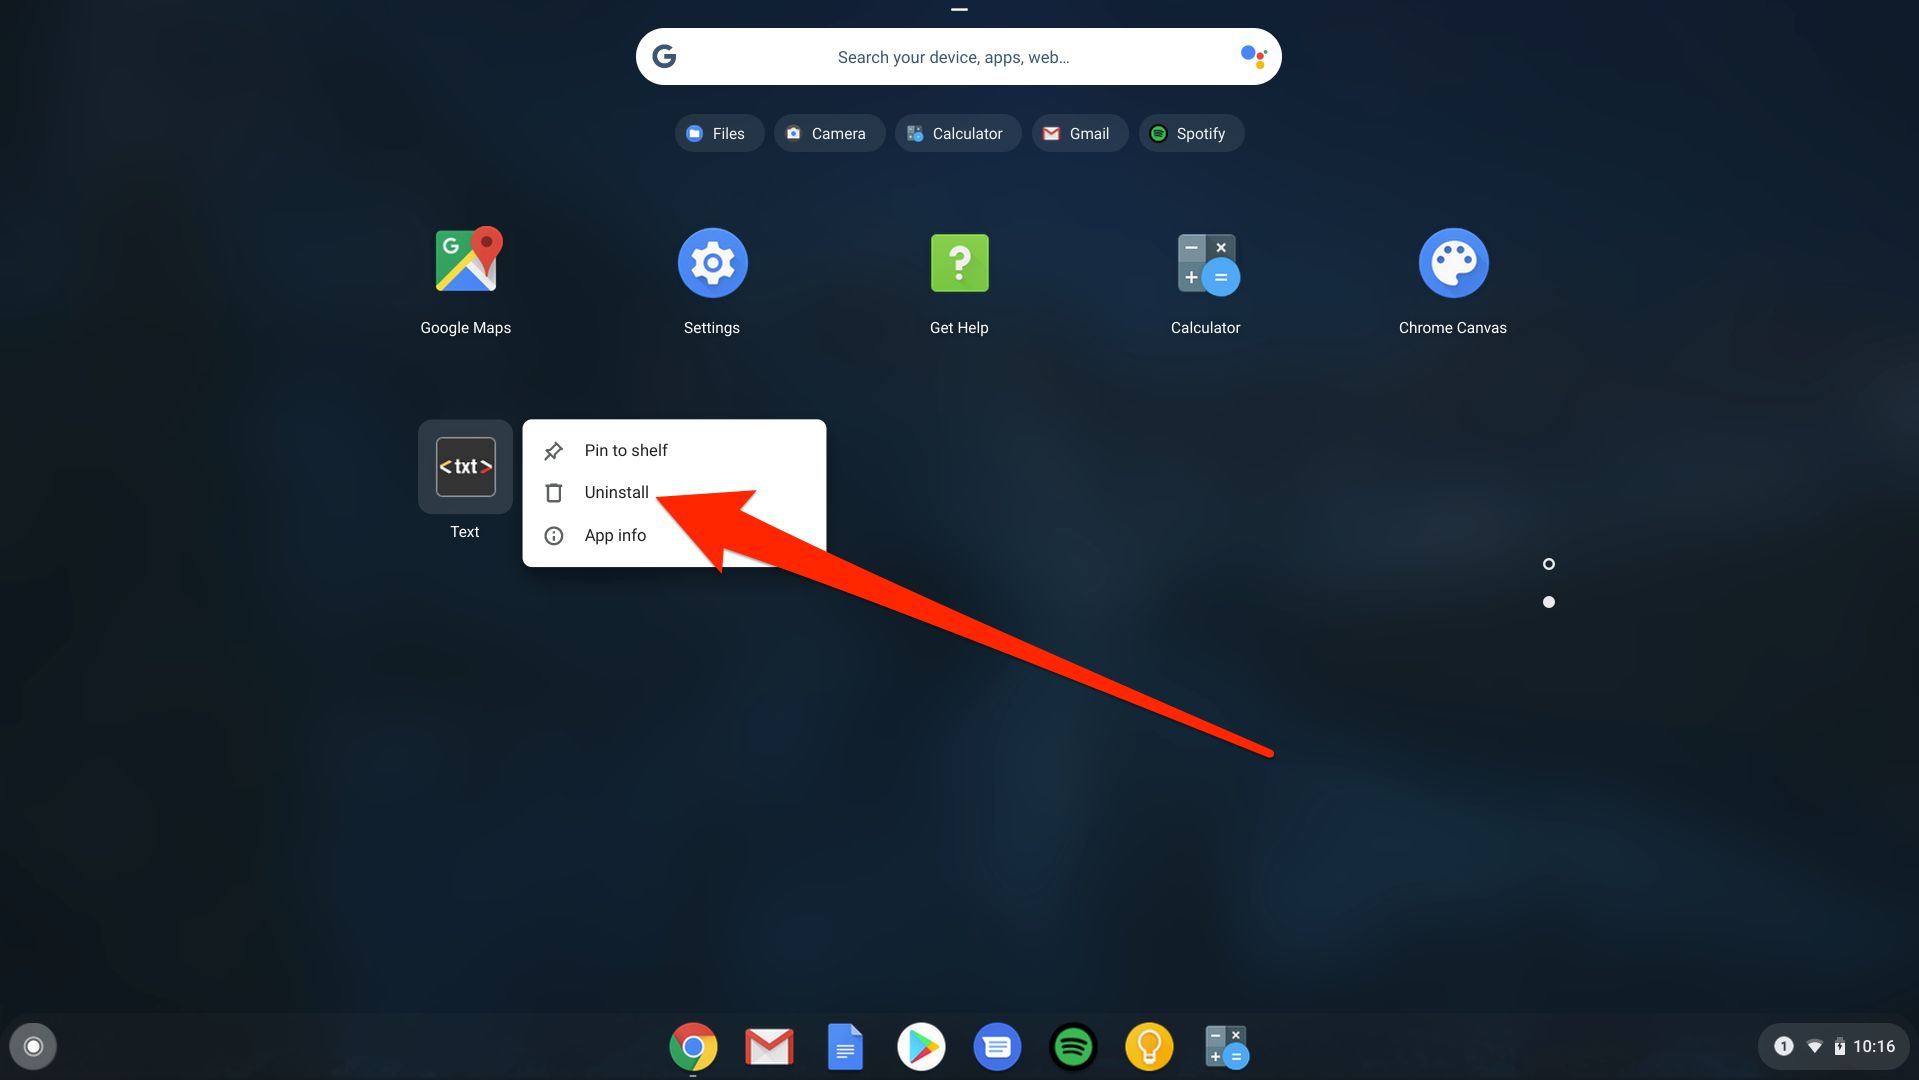
- Click on the system tray in the bottom-right corner of the screen, usually represented by the clock and other icons.
- From the system tray, click on the “Keyboard” icon. This will open the on-screen keyboard on your Chromebook.
- Within the on-screen keyboard, you’ll find keys that mimic a traditional keyboard, including the Delete key.
- Click on the Delete key to perform the desired action, such as closing an application or clearing text.
The on-screen keyboard provides a visual representation of a keyboard, allowing you to control Alt Delete and perform various other functions without using the physical keyboard. This method is especially useful when your physical keyboard is not functioning correctly or when you prefer a more visual means of input.
It’s worth noting that the on-screen keyboard may not be available in certain versions or configurations of Chromebooks. If you don’t see the “Keyboard” icon in the system tray, you can access the on-screen keyboard by navigating to your Chromebook’s settings and enabling it from there.
Now that you’re familiar with using the on-screen keyboard as an alternative method to control Alt Delete on your Chromebook, you have multiple options at your disposal based on your preference and convenience.
Conclusion
Controlling Alt Delete on a Chromebook may not be as straightforward as on a traditional keyboard, but with the alternative methods we discussed, you can achieve the same functionality and effectively manage your device. Whether you choose to use the power button, the keyboard shortcut, or the on-screen keyboard, you have multiple options at your disposal.
By understanding how to control Alt Delete on your Chromebook, you can access essential features like the Task Manager, perform system restarts, and manage user accounts efficiently. These functions are crucial for troubleshooting issues, optimizing system performance, and ensuring a smooth user experience.
Remember that using the power button to force a restart should be done with caution, as it may result in the loss of unsaved work. Always save your work and close any open applications before utilizing this method.
Using the keyboard shortcut (Esc + Refresh) provides a convenient way to access the system menu and perform functions similar to Alt Delete on a traditional keyboard. This method is particularly useful for opening the Task Manager and managing system processes.
If you prefer a more visual approach or if your physical keyboard is not functioning, the on-screen keyboard allows you to control Alt Delete and perform various tasks without the need for a physical keyboard. Be sure to enable the on-screen keyboard in your Chromebook’s settings if it is not readily available in the system tray.
In conclusion, by familiarizing yourself with these alternative methods to control Alt Delete on your Chromebook, you can effectively manage your device and optimize its performance. Whether you choose the power button, the keyboard shortcut, or the on-screen keyboard, these options provide the flexibility and convenience you need to navigate your Chromebook with ease.