Introduction:
Welcome to our guide on how to connect an iPhone to a Chromebook! Chromebooks are becoming increasingly popular for their lightweight design and user-friendly interface. However, if you’re new to the Chromebook ecosystem, you may be wondering how to connect your iPhone and easily transfer files between the two devices.
While Chromebooks are primarily designed to work seamlessly with Google services, such as Google Drive, you can still connect your iPhone to your Chromebook and transfer files effortlessly. Whether you want to share photos, videos, or documents, we’ll walk you through the step-by-step process to get your devices connected in no time.
Connecting your iPhone to a Chromebook opens up a world of possibilities, allowing you to access and transfer files between devices. Whether you’re a student, professional, or someone who loves the convenience of having multiple devices connected, this guide will help you make the most out of your Chromebook-iPhone pairing.
So, let’s dive in and discover how to connect your iPhone to a Chromebook!
Step 1: Check your iPhone’s compatibility:
Before proceeding with the connection process, it’s important to ensure that your iPhone is compatible with your Chromebook. The majority of Chromebooks support iPhone connectivity, but it’s always a good idea to double-check.
Firstly, check that your iPhone is running a compatible version of iOS. Most recent versions should work with Chromebooks, but it’s recommended to have iOS 9 or higher for optimal compatibility.
Next, make sure that your Chromebook has the necessary ports and capabilities to connect to an iPhone. Typically, Chromebooks will have one or more USB-C ports, which can be used to establish a physical connection with your iPhone.
If you have an older iPhone model that uses the traditional USB-A connector, you may need a USB-C to USB-A adapter to connect it to your Chromebook. These adapters are readily available online or at electronics stores.
Additionally, ensure that your iPhone’s lightning cable is in good condition and functioning properly. Faulty cables can cause connectivity issues and hinder the transfer process.
Lastly, it’s worth noting that while you can connect your iPhone to a Chromebook, some features, such as iTunes syncing, may not be available. Chromebooks rely on cloud-based services, so it’s advisable to use Google Drive or other cloud storage platforms for file synchronization between your devices.
Once you’ve confirmed that your iPhone is compatible with your Chromebook, you’re ready to move on to the next steps in the connection process.
Step 2: Update your iPhone’s iOS:
Updating your iPhone’s iOS to the latest version is essential before connecting it to your Chromebook. Software updates often include important bug fixes, security enhancements, and improved compatibility with other devices and systems.
To check for updates on your iPhone, follow these steps:
- Go to the “Settings” app on your iPhone’s home screen.
- Scroll down and tap on “General.”
- Tap on “Software Update.”
- If an update is available, tap on “Download and Install.”
- Follow the on-screen instructions to complete the update process.
It’s recommended to connect your iPhone to a Wi-Fi network before initiating the update, as iOS updates can be large and may consume a significant amount of mobile data.
By keeping your iPhone’s iOS up to date, you ensure that it has the latest security patches and features, providing a smoother and more secure experience when connecting it to your Chromebook.
Once the update is completed, move on to the next steps to continue setting up your iPhone and Chromebook connection.
Step 3: Install Google Drive on your iPhone:
In order to seamlessly transfer files between your iPhone and Chromebook, it’s essential to have the Google Drive app installed on your iPhone. Google Drive is a cloud storage service that allows you to store, access, and share files across multiple devices.
Follow these steps to install Google Drive on your iPhone:
- Open the App Store on your iPhone.
- Tap on the search bar at the bottom of the screen and type in “Google Drive.”
- Tap on the “Get” button next to the Google Drive app.
- Wait for the app to download and install on your device.
- Once the installation is complete, tap on the “Open” button to launch the Google Drive app.
After opening the Google Drive app, sign in with your Google account. If you don’t have a Google account, you can create one by tapping on “Create account.”
Google Drive provides a user-friendly interface where you can upload, organize, and access your files. It also offers features like file sharing and collaboration, making it a versatile tool for managing your files between your iPhone and Chromebook.
With Google Drive installed on your iPhone, you’re now ready to set up your Chromebook for the connection process. Let’s move on to the next step!
Step 4: Set up your Chromebook:
Before connecting your iPhone to your Chromebook, you need to ensure that your Chromebook is properly set up and ready for the process. Setting up a Chromebook is a straightforward process that can be completed in a few simple steps.
Follow these steps to set up your Chromebook:
- Turn on your Chromebook by pressing the power button.
- On the initial setup screen, select your language and keyboard preferences.
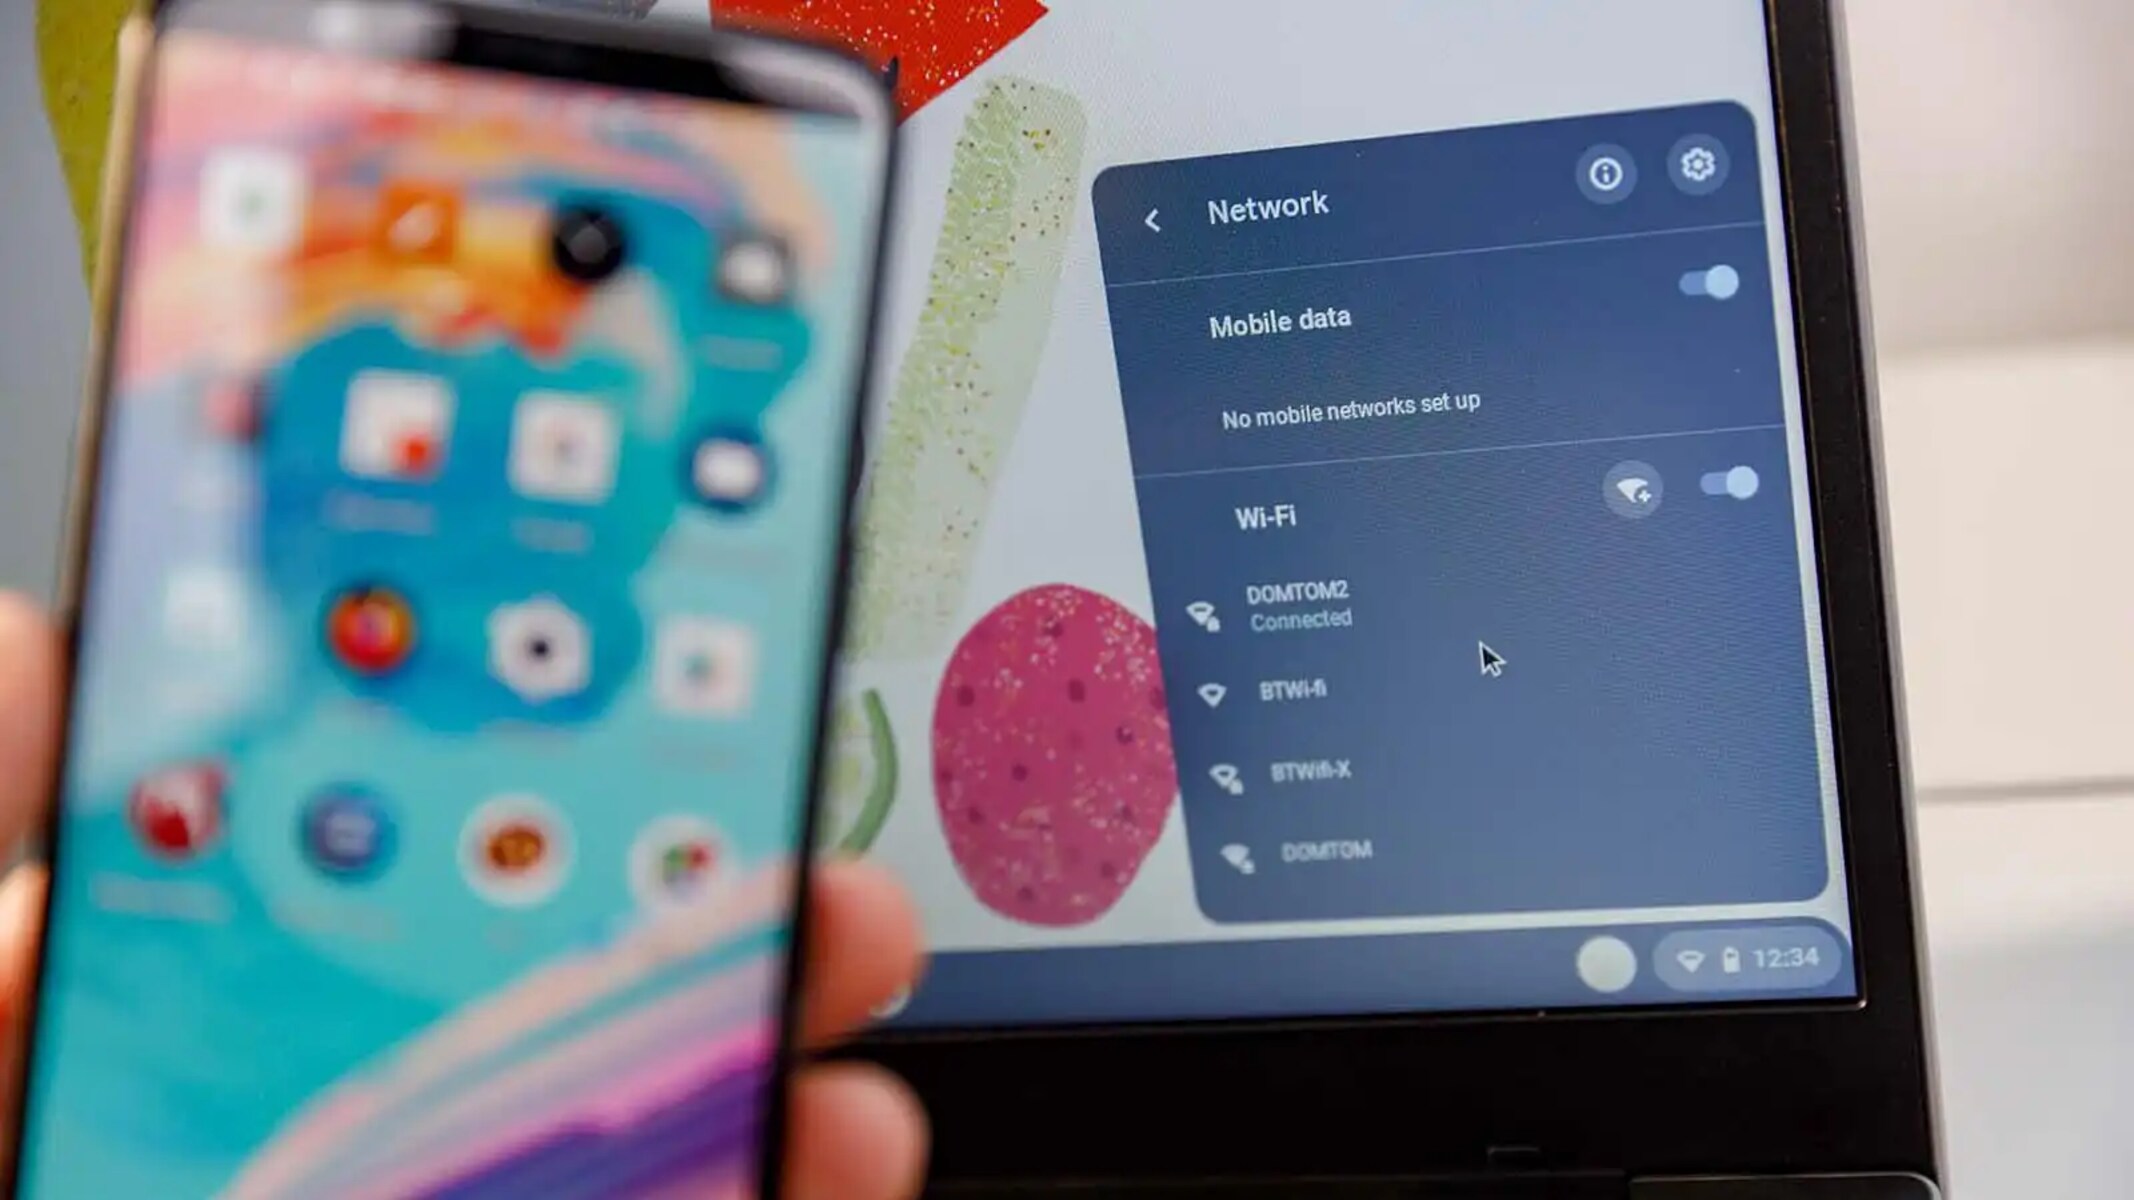
- Connect your Chromebook to a Wi-Fi network by selecting the network from the available options.
- Follow the on-screen instructions to sign in to your Google account. If you don’t have a Google account, you can create one by selecting the “Create account” option.
- Once you’ve signed in, your Chromebook will start syncing your Google account settings and preferences. This may take a few minutes, so be patient.
- After the syncing process is complete, you’ll be taken to the Chrome OS desktop screen, where you can customize your settings and access various apps and features.
At this point, your Chromebook is ready to be connected to your iPhone. Make sure you have the Google Drive app installed on your iPhone, as mentioned in the previous step.
With both your iPhone and Chromebook set up, let’s move on to the next step to sign in to Google Drive on your Chromebook.
Step 5: Sign in to Google Drive on your Chromebook:
Before connecting your iPhone to your Chromebook, it’s important to sign in to your Google Drive account on your Chromebook. This will ensure that you can access and transfer files seamlessly between your devices.
Follow these steps to sign in to Google Drive on your Chromebook:
- On your Chromebook’s desktop screen, locate and click on the “Apps” grid icon in the bottom left corner.
- In the Apps menu, click on the “Google Drive” app.
- A sign-in window will appear asking for your Google account credentials.
- Enter your Google account email or phone number, and click “Next.”
- Enter your Google account password, and click “Next.”
- If you have two-factor authentication enabled for your Google account, follow the additional steps to complete the sign-in process.
- Once you’ve successfully signed in, Google Drive will open, displaying your stored files and folders.
Now that you’re signed in to Google Drive on your Chromebook, you can easily access and manage your files. This also prepares your Chromebook for the next step, which involves connecting your iPhone using a USB cable.
With all the necessary preparations done, let’s move on to the next step to connect your iPhone to your Chromebook!
Step 6: Connect your iPhone to your Chromebook using a USB cable:
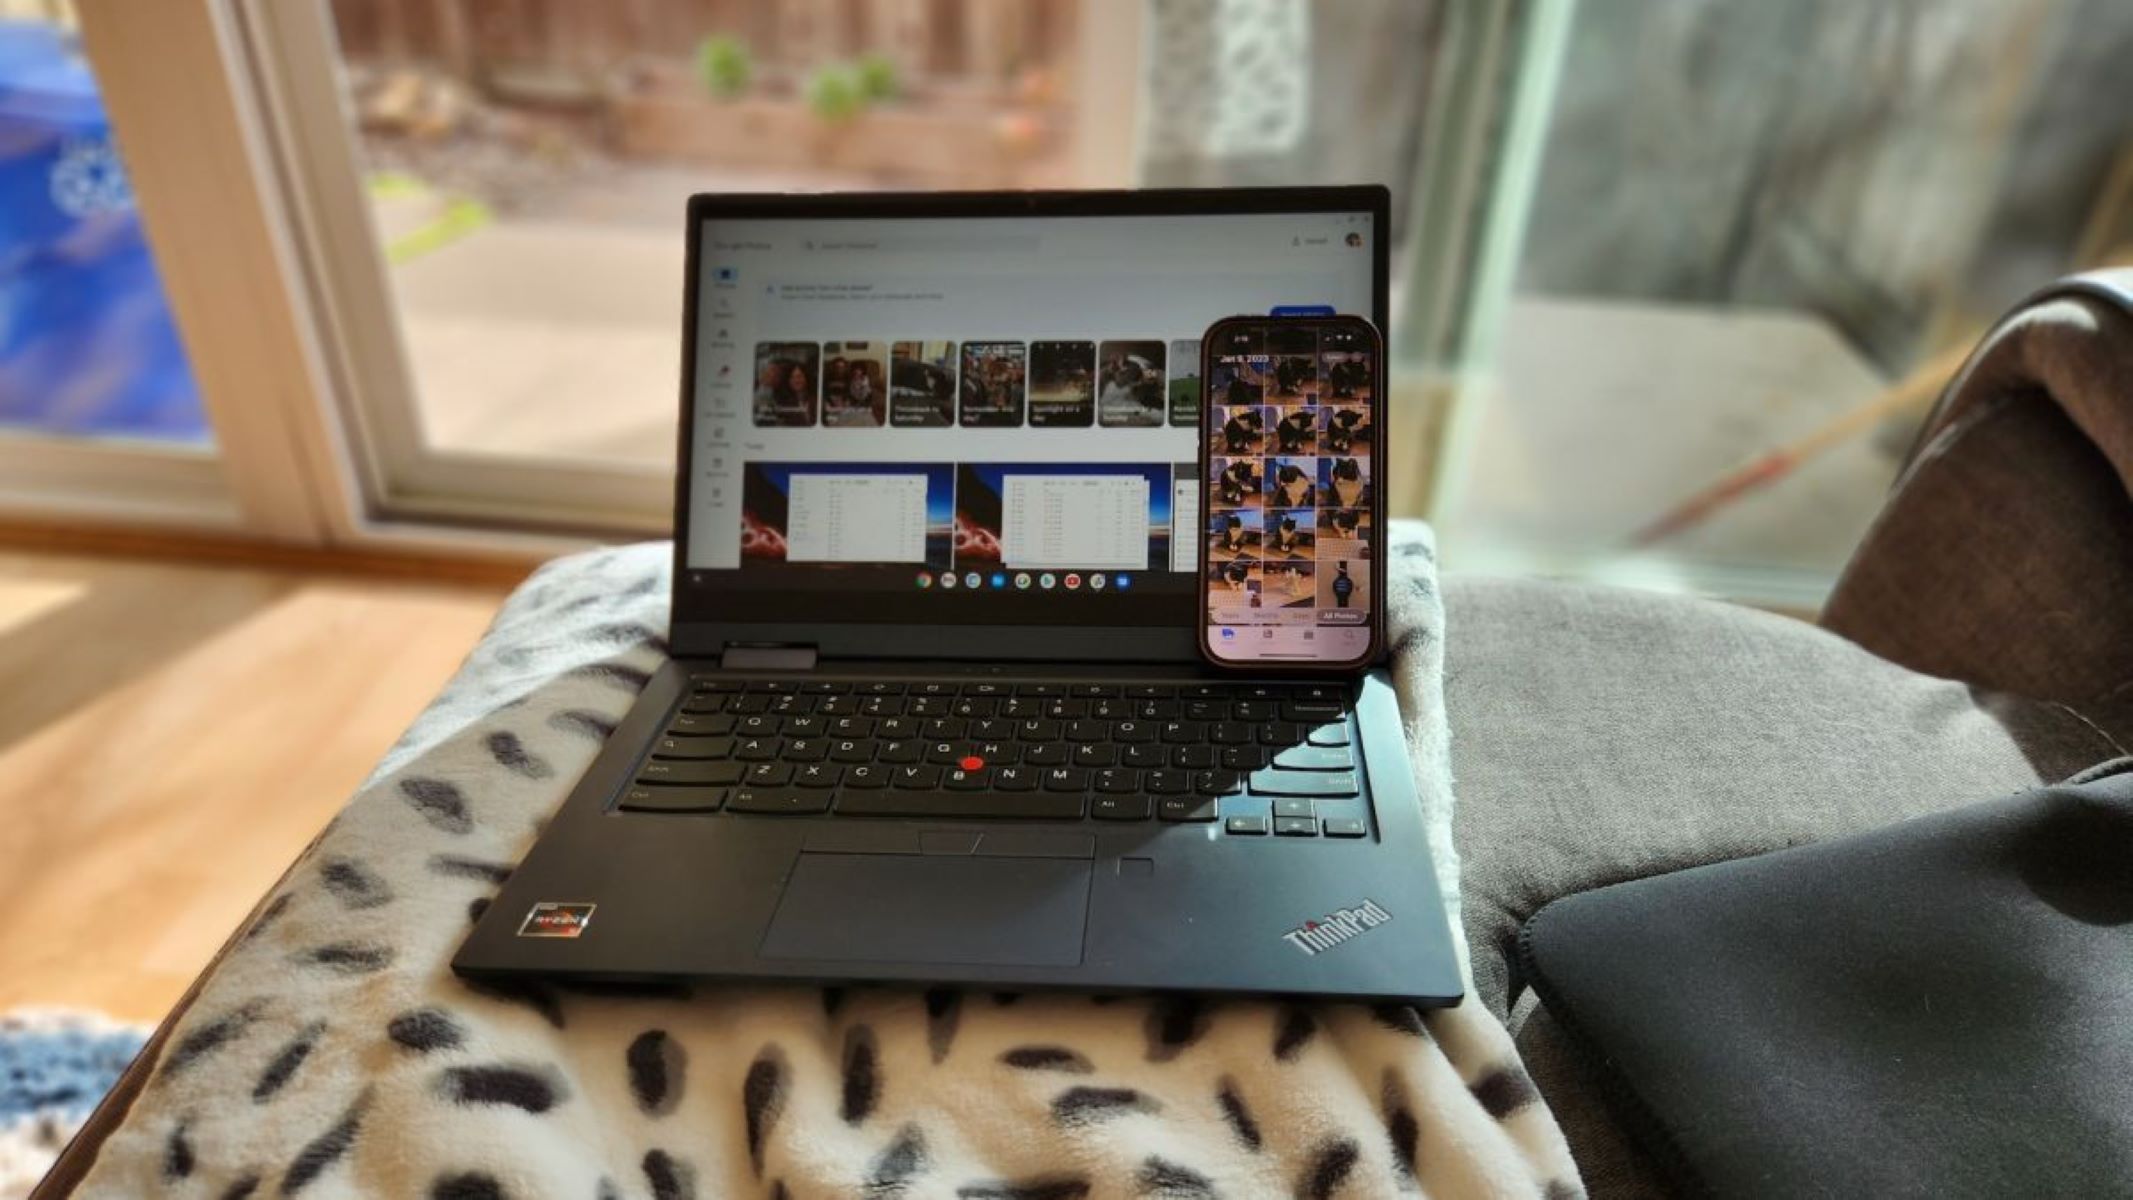
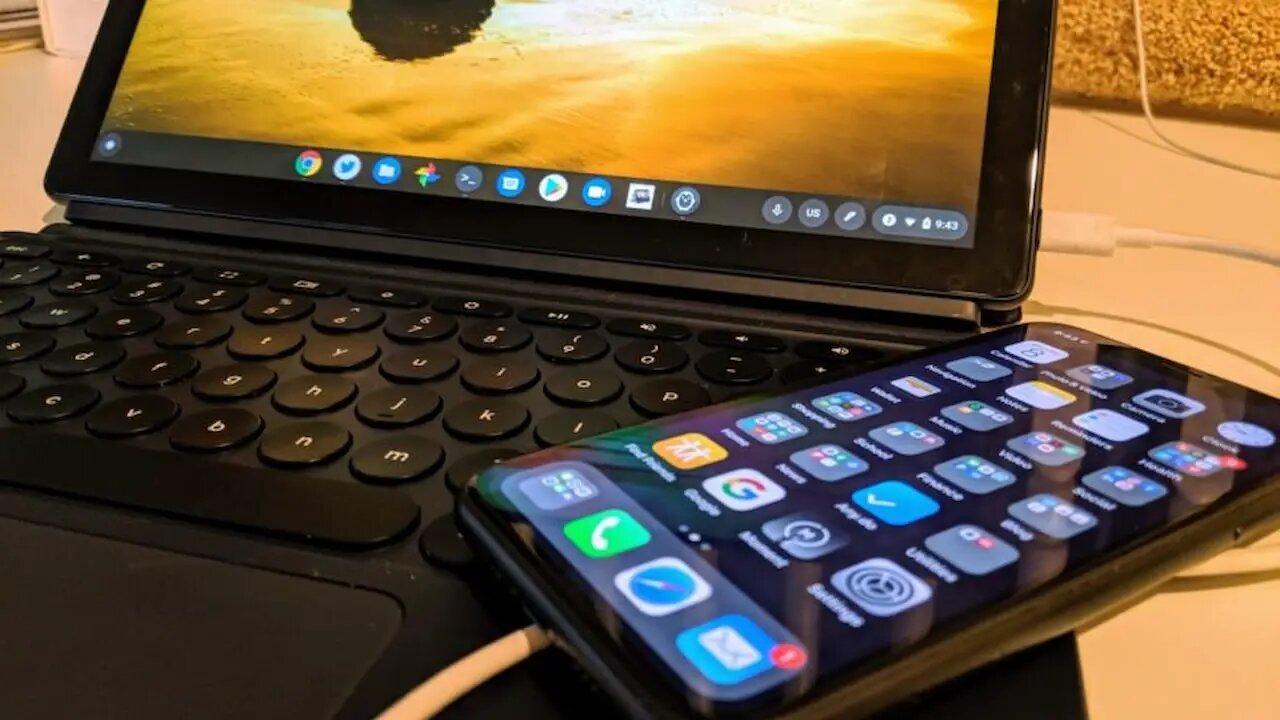
Now that you have your iPhone and Chromebook prepared, it’s time to connect the two devices using a USB cable. This will establish a physical connection between your devices, allowing for the transfer of files.
Follow these steps to connect your iPhone to your Chromebook:
- Take the USB cable that came with your iPhone or a compatible USB-C to Lightning cable.
- Connect one end of the USB cable to your iPhone’s Lightning port.
- Connect the other end of the USB cable to an available USB-C port on your Chromebook.
- After connecting the two devices, your Chromebook might display a notification confirming the connection.
Once the connection is established, your iPhone will also display a notification asking if you trust the connected computer. Tap “Trust” to proceed with the connection.
It’s important to note that if you’re connecting your iPhone to your Chromebook for the first time, the devices might not immediately recognize each other. In this case, wait for a few seconds for the devices to establish a connection. If the connection is not established automatically, try disconnecting and reconnecting the USB cable.
With your iPhone successfully connected to your Chromebook, you’re now ready to transfer files between the two devices. We will explore the file transfer process in detail in the next step.
Step 7: Transfer files between your iPhone and Chromebook:
Now that your iPhone is connected to your Chromebook, you can begin transferring files between the two devices. There are a few different methods you can use to accomplish this, depending on your preferences and the type of files you want to transfer.
Here are a couple of methods to transfer files between your iPhone and Chromebook:
Method 1: Uploading files to Google Drive:
- On your Chromebook, open the Google Drive app.
- Click on the “+” (New) button and select “Upload Files.”
- Navigate to the location on your iPhone where the files you want to transfer are stored.
- Select the files you want to upload and click “Open.”
- The selected files will be uploaded to your Google Drive storage.
- Once the upload is complete, you can access these files on both your iPhone and Chromebook through the Google Drive app.
Method 2: Using cloud storage apps:
- Install the cloud storage app of your choice, such as Dropbox or OneDrive, on both your iPhone and Chromebook.
- Sign in to your cloud storage account on both devices.
- On your iPhone, select the files you want to transfer and choose the “Share” option.
- From the sharing options, select the cloud storage app you installed.
- The files will be uploaded to your cloud storage account.
- Access the cloud storage app on your Chromebook to view and download the transferred files.
These methods will allow you to transfer files, such as photos, videos, documents, and more, between your iPhone and Chromebook seamlessly. Remember to keep your file sizes and internet connection in mind to ensure smooth and speedy transfers.
With the file transfer process complete, you can now disconnect your iPhone from your Chromebook. We will cover the disconnection process in the final step.
Step 8: Disconnect your iPhone from your Chromebook:
Once you have successfully transferred files between your iPhone and Chromebook, it’s important to disconnect your devices properly to avoid any data loss or damage.
Follow these steps to safely disconnect your iPhone from your Chromebook:
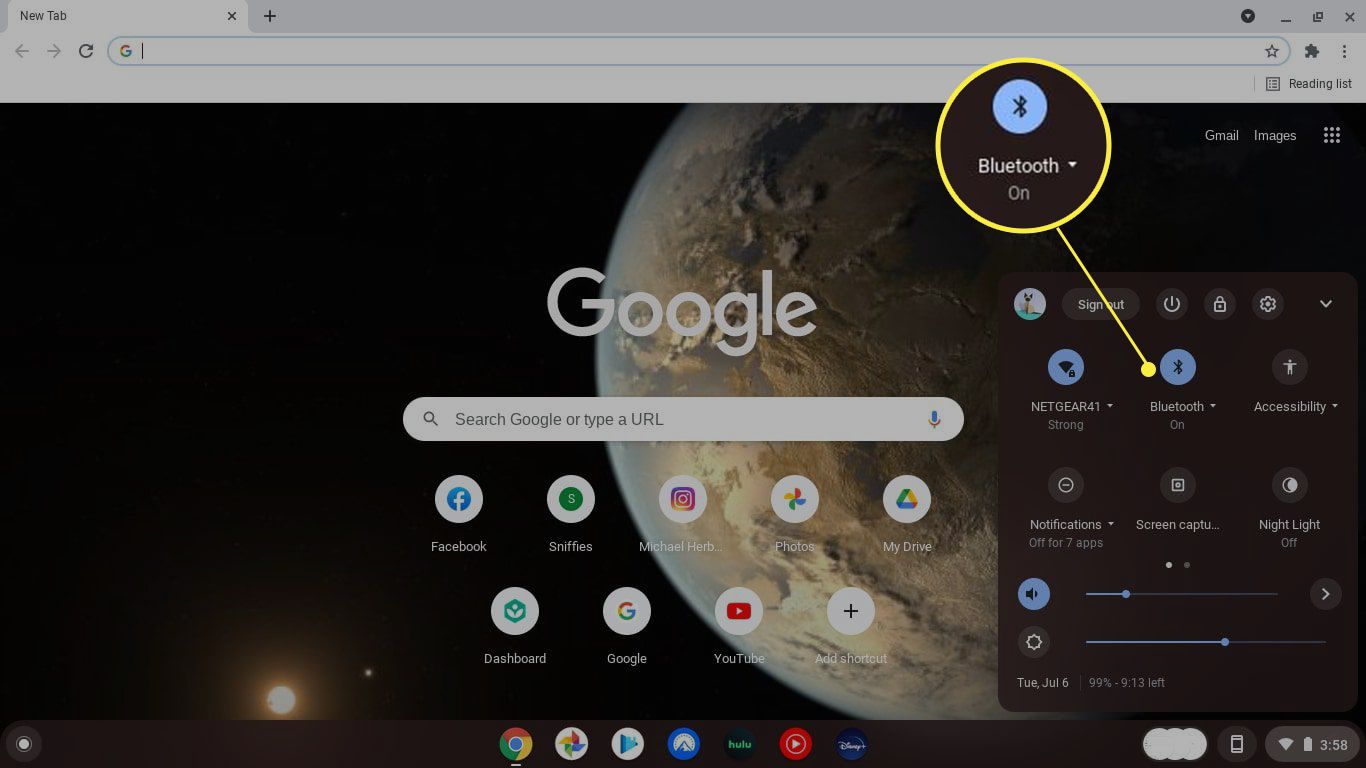
- On your Chromebook, locate the system tray in the bottom-right corner of the screen.
- Click on the clock icon to open the quick settings menu.
- Click on the “Connected devices” icon, which looks like a phone with an arrow pointing away from it.
- A list of connected devices will appear. Locate your iPhone in the list.
- Click on the options icon (three vertical dots) next to your iPhone.
- From the drop-down menu, click on “Disconnect.”
- A confirmation message will appear. Click on “Disconnect” to confirm.
- Once the disconnection process is complete, you can safely unplug the USB cable from your iPhone’s Lightning port and the USB-C port on your Chromebook.
It’s important to disconnect your devices properly to ensure that all files are saved and that there is no risk of data corruption. This step helps protect your files and keep both your iPhone and Chromebook in good working order.
Congratulations! You have successfully learned how to connect your iPhone to a Chromebook and transfer files between the two devices. With this knowledge, you can enjoy seamless connectivity and efficient file management across your devices.
Remember, whenever you need to connect your iPhone to your Chromebook in the future, you can follow these steps to establish a smooth connection and transfer files effortlessly.
Conclusion:
Connecting your iPhone to a Chromebook opens up a world of possibilities in terms of file sharing, synchronization, and convenience. By following the step-by-step guide provided, you can seamlessly connect your iPhone to your Chromebook and transfer files between the two devices with ease.
We started by ensuring the compatibility of your iPhone and the availability of necessary ports on your Chromebook. Then, we emphasized the importance of updating your iPhone’s iOS to the latest version to ensure optimal compatibility and security.
Next, we covered the installation of the Google Drive app on your iPhone, which serves as a bridge for effortless file management between your devices. We also discussed the process of setting up your Chromebook and signing in to Google Drive to prepare for the connection.
We then proceeded to guide you through the physical connection of your iPhone to your Chromebook using a USB cable, ensuring a stable and secure connection.
After establishing the connection, we explored different methods to transfer files between your iPhone and Chromebook, including uploading files to Google Drive and utilizing cloud storage apps.
Finally, we concluded with the proper disconnection of your iPhone from your Chromebook to safeguard your files and maintain the integrity of both devices.
By following these steps, you have learned how to connect an iPhone to a Chromebook successfully and leverage the benefits of seamless file transfer and synchronization.
Now that you have the knowledge and skills to connect your iPhone to your Chromebook, you can enjoy the convenience of managing and sharing files effortlessly between devices. Whether you’re a student, a professional, or anyone in between, the ability to connect your iPhone to a Chromebook opens up a new level of productivity and efficiency in your digital life.
Remember, whenever you need to connect your iPhone to your Chromebook, refer back to this guide to ensure a smooth and successful connection process. Happy file transferring!