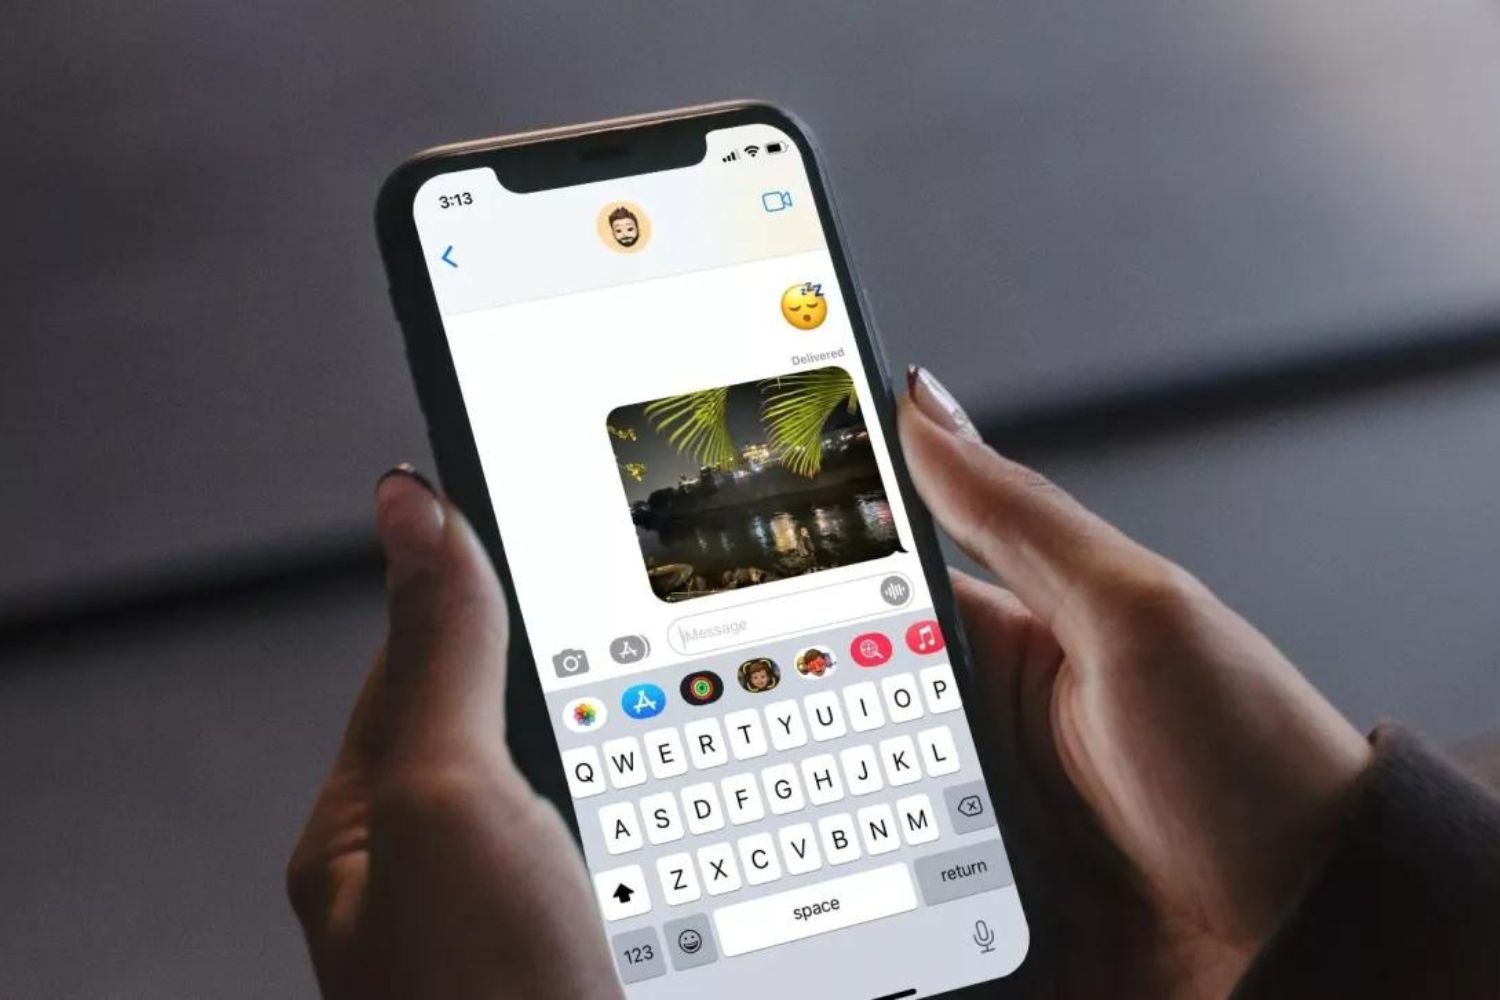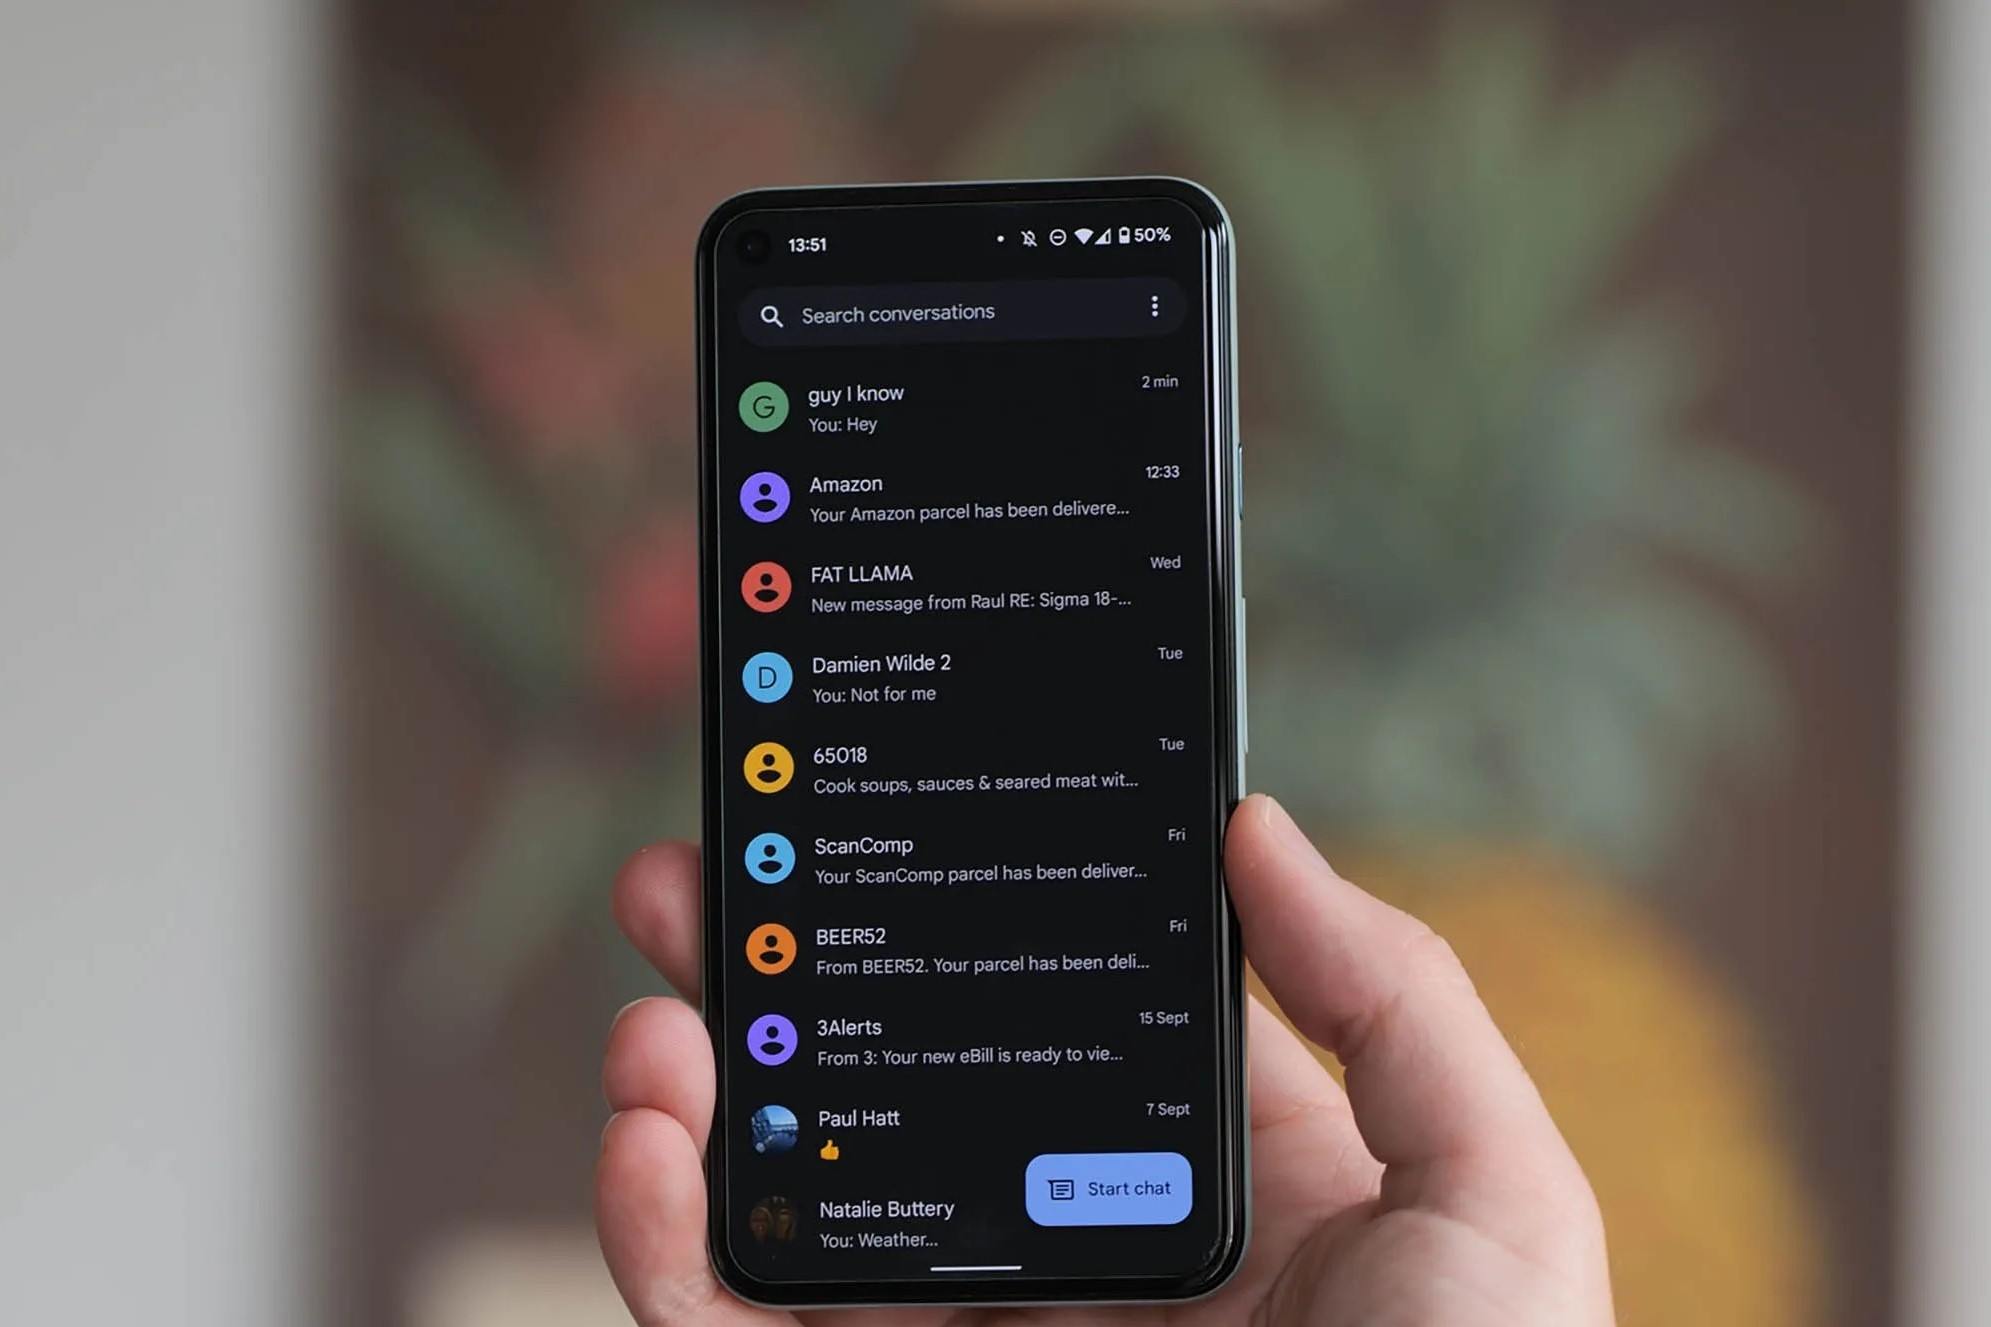
You can use iMessage on a Chromebook, but only if you have a dedicated Mac that stays powered on and connected to the internet; there is no direct iMessage app for ChromeOS. The core workaround is to remotely access that Mac or use a relay service, and you can even add someone to iMessage from that remote session, while the practical alternative for most people is sending SMS texts from an Android phone via Google Messages.
The hard truth: you need a Mac to use iMessage on a Chromebook
Let’s clear up the most common misconception first: Google Messages on a Chromebook is not iMessage. Google Messages only sends and receives SMS messages from an Android phone, and it has nothing to do with Apple’s blue-bubble service. iMessage is a secure messaging service that Apple restricts to its own ecosystem, Macs, iPhones, iPads, and Apple Watches. To get iMessage working on a Chromebook, you must have a dedicated macOS device (like a Mac Mini, MacBook, or iMac from late 2014 or newer) that acts as a host or server. That Mac needs to be powered on, online, and signed into an Apple Account. Without that Mac, the methods below simply won’t work.
Method 1: Use Chrome Remote Desktop to control your Mac
This method gives you a virtual Mac desktop on your Chromebook, so you can open the iMessage app exactly as you would on the Mac itself. It’s the most direct way to use iMessage on a Chromebook, and it also gives you access to other Mac-only apps. The trade-off is that your Mac must remain on and reachable, and you may notice some lag depending on your internet connection.
- On your Mac, make sure iMessage is set up and the computer is connected to the internet.
- On your Chromebook, open the Chrome browser and install the Chrome Remote Desktop extension from the Chrome Web Store.
- Launch the extension from your apps launcher and follow the on-screen instructions to set up remote access.
- On your Mac, install the Chrome Remote Desktop client application when prompted.
- After setup, you’ll see a list of available computers in the extension on your Chromebook. Select your Mac and click Connect.
- Enter your Mac’s login credentials (username and password) to establish the remote connection.
- Once connected, you’ll see your Mac’s desktop on your Chromebook. Open the iMessage app and start messaging.
This method requires your Mac to be accessible from your Chromebook at all times, and the experience is only as smooth as your network allows. If you need a lag-free, real-time conversation, this might feel sluggish, but it’s the most faithful way to get the full iMessage experience on a Chromebook.
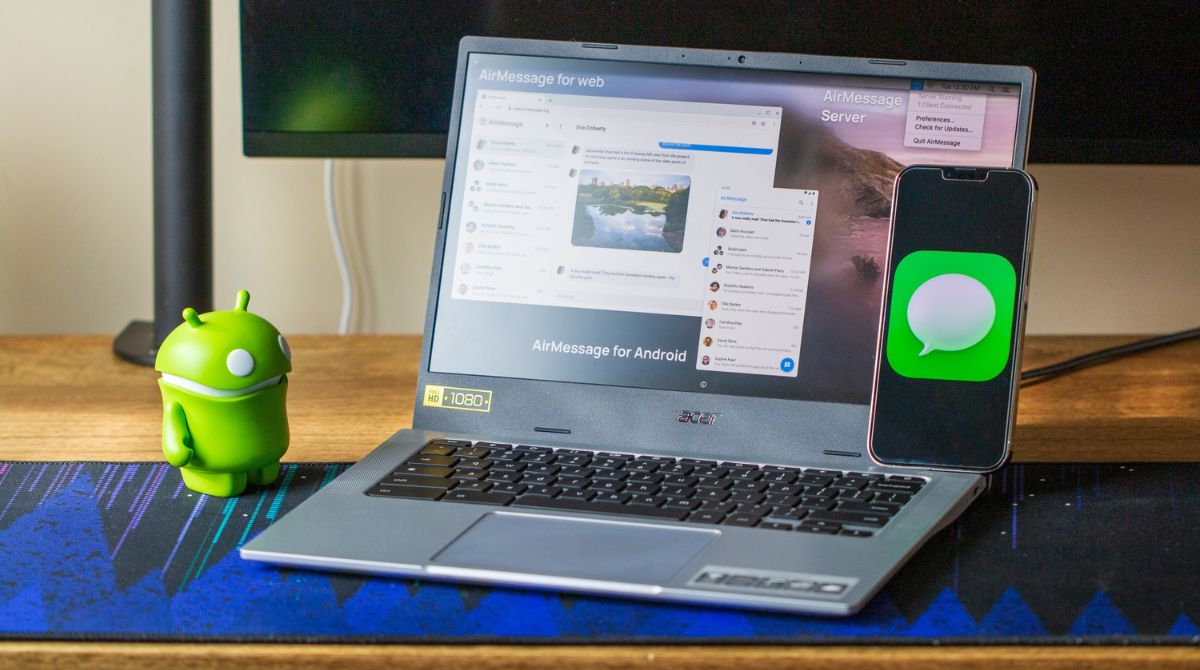
Method 2: Set up a third-party relay server like AirMessage
If you don’t want to control your Mac’s entire desktop, a third-party relay server can bridge iMessage to your Chromebook through a dedicated app. AirMessage is the most common option: it runs on your Mac, forwards iMessages to a server, and then delivers them to a web or Android app on your Chromebook. This gives you a more native-feeling messaging interface without the overhead of remote desktop. However, you’ll need to trust the third-party app with your messages, and some iMessage features like end-to-end encryption may not be fully supported.
- On your Mac, download and install AirMessage (or a similar relay app) from a trusted source.
- Keep your Mac running and connected to the internet, it acts as the always-on server.
- On your Chromebook, install the AirMessage web app or Android app from the Play Store.
- Follow the app’s setup instructions to link your Chromebook to your Mac’s AirMessage server.
- Sign in with your Apple Account credentials through the app.
- You can now send and receive iMessages on your Chromebook through the relay app.
This method is lighter than remote desktop because you only see a messaging window, not your whole Mac. But it still depends on your Mac being on and online, and you should research any app before installing it to make sure it’s reputable and doesn’t mishandle your data.
The real alternative: send texts from your Android phone with Google Messages
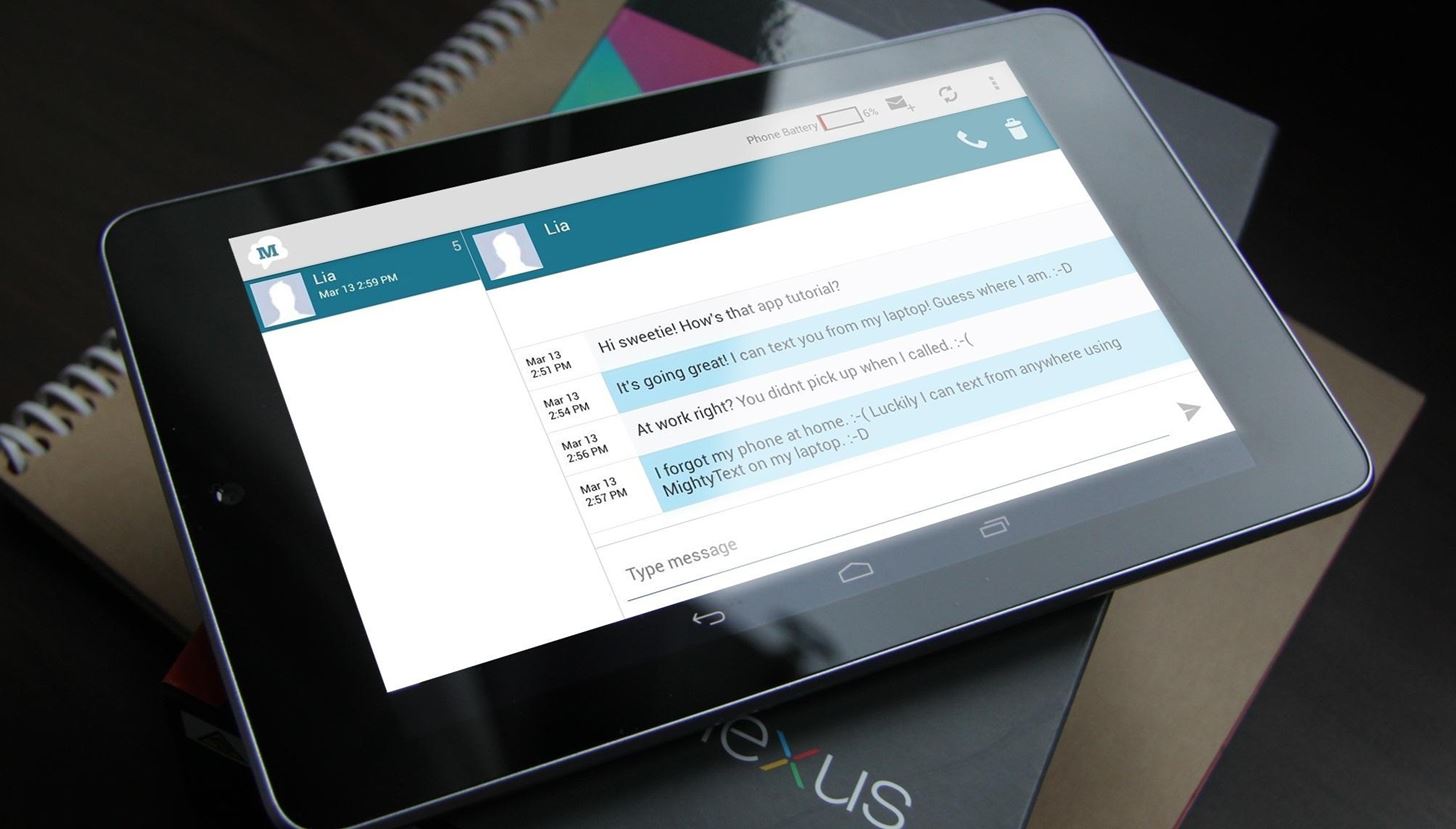
If you don’t own a Mac, the realistic path is to connect your Android phone to your Chromebook using Google Messages. This won’t give you iMessage, but it will let you send and receive SMS and RCS texts from your Chromebook, which is what most people actually want when they search for how to use iMessage on a Chromebook. It’s free, built into ChromeOS, and doesn’t require any extra hardware beyond an Android phone running Android 5.1 or later and a Chromebook running ChromeOS 71 or later. You’ll also need a Google Account signed in on both devices.
- On your Chromebook, click the time in the bottom-right corner to open the system menu.
- Select the gear icon to open Settings.
- Under “Connected devices,” next to “Android phone,” select “Set up.”
- Enter your password and follow the on-screen steps to link your phone.
- On your Chromebook, under “Enabled,” turn on the features you want, including Messages.
- Open the Messages app on your Android phone.
- On your phone, tap “More” (three dots) and then “Messages for web.”
- On your Chromebook, open the Messages app from the Launcher (up arrow icon).
- If you want to sign in automatically next time, check the box “Remember this computer.”
- On your phone, tap “QR code scanner” and hold your phone up to the QR code displayed on your Chromebook.
Once scanned, your Chromebook mirrors your phone’s SMS/RCS conversations, and you can reply from the keyboard. This method syncs chat notifications and lets you send and receive text messages without ever touching your phone. It’s not iMessage, but it’s the best option for Chromebook users who don’t have a Mac sitting around. If you do have a Mac, the remote desktop or relay methods above will get you the blue bubbles; if you don’t, Google Messages is the practical way to stay connected from your Chromebook.
\nRelated reading: How To Create And Name A Group Text On Android and How Can I Send Text Messages From My Android Tablet.