Introduction
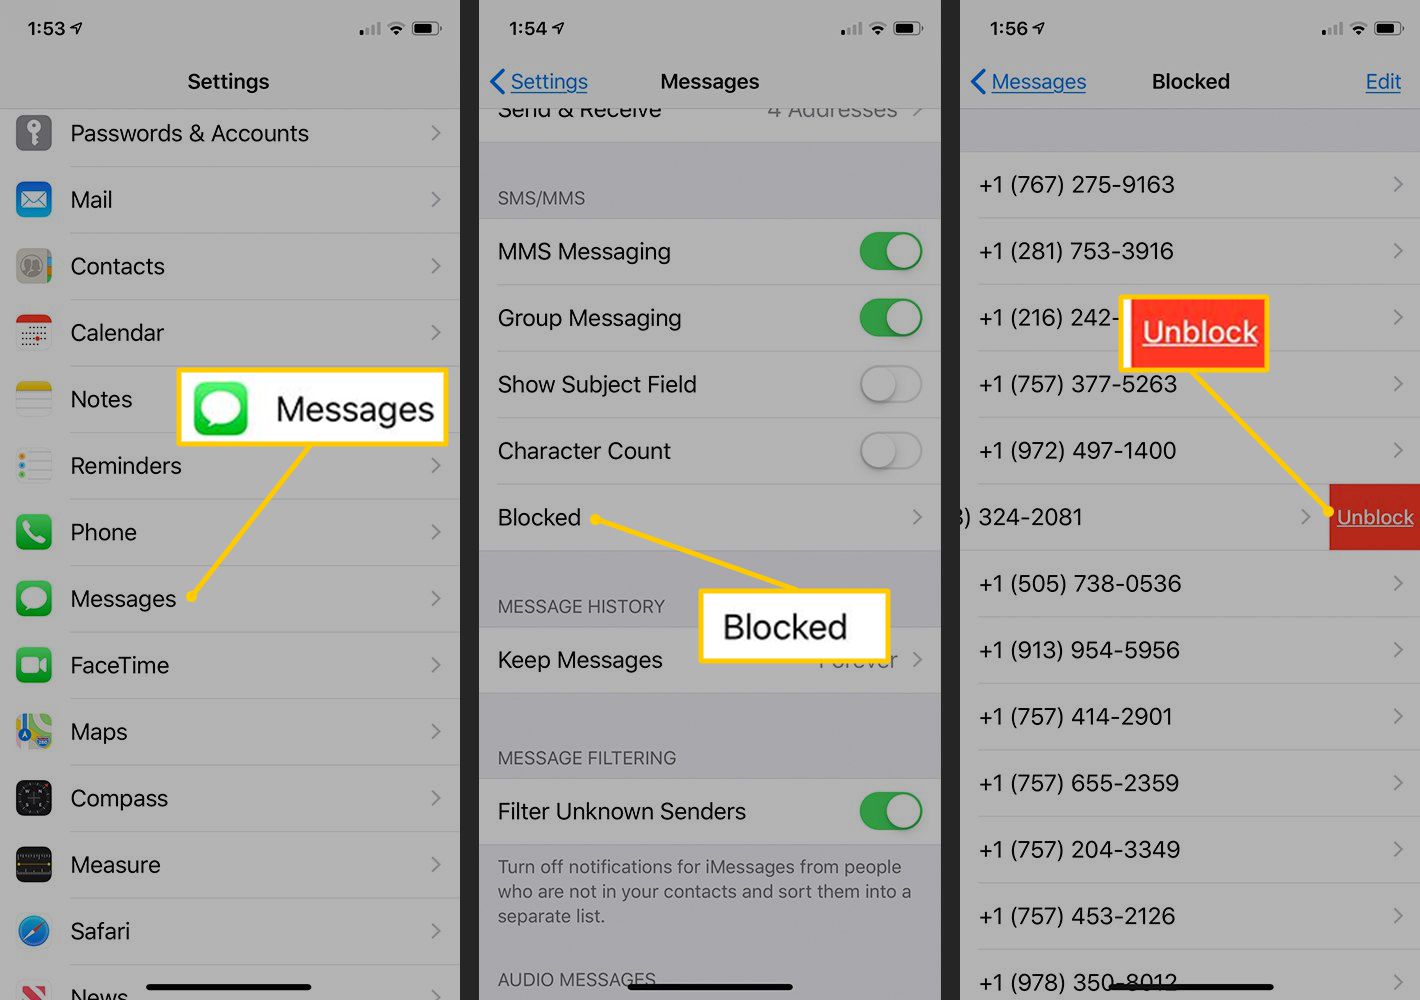
Welcome to our guide on how to unblock someone on iMessage! If you’ve accidentally blocked a contact or are looking to restore communication with someone you previously blocked, you’ve come to the right place. Whether it was a simple mistake or a temporary measure, unblocking someone on iMessage is a straightforward process that will have you reconnected in no time.
Blocking a contact may have seemed like a good idea at the time, but circumstances change, and you realize that you want to give them a second chance. Fortunately, iMessage offers a convenient way to unblock someone and resume normal communication without any hassle. In this guide, we will walk you through the step-by-step process to help you unblock a contact on iMessage effortlessly.
Before we dive into the details, it’s important to note that unblocking someone on iMessage will not automatically add them back to your contacts list. It simply allows their messages and calls to come through once again. If it’s an unknown or new contact, you’ll need to manually save their information in your contacts if you want to keep it for future reference.
Now, without further ado, let’s jump right in and learn how to unblock someone on iMessage. Follow our instructions closely, and you’ll be back in communication with your previously blocked contact in just a few simple steps. So, let’s get started!
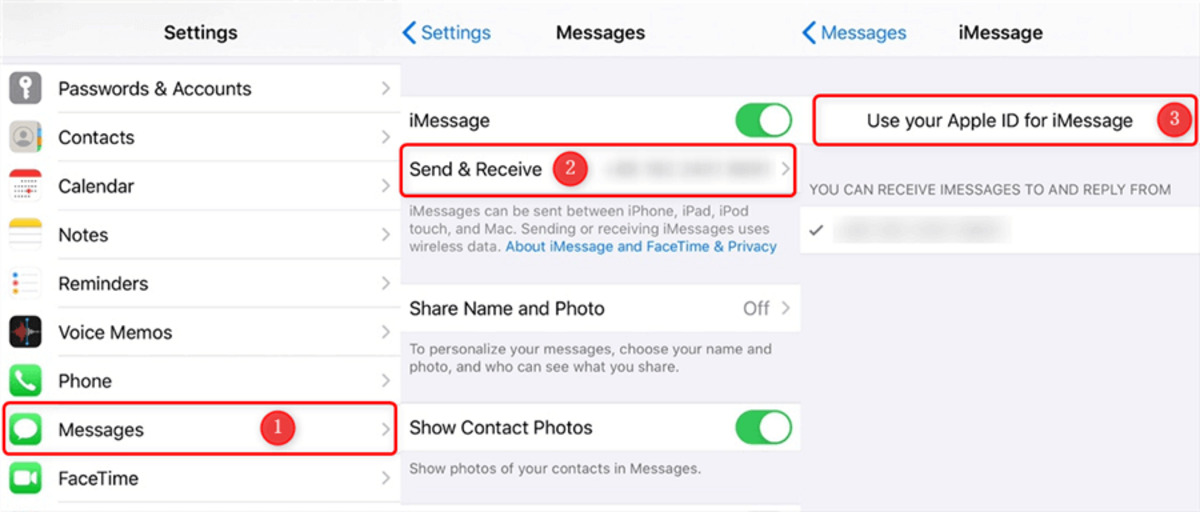
Step 1: Open the iMessage app on your iPhone/iPad
To begin the process of unblocking someone on iMessage, you’ll first need to open the iMessage app on your iPhone or iPad. Look for the familiar green speech bubble icon with a white chat bubble inside, and tap on it to launch the app. If you have a shortcut to iMessage on your home screen, you can simply tap on that to open the app directly.
iMessage is Apple’s messaging platform that allows you to send text messages, photos, videos, and more to other iPhone, iPad, Mac, and Apple Watch users. It’s an integral part of the iOS operating system and offers a seamless and secure way to communicate with your contacts.
Once you open the iMessage app, you’ll be greeted with your message threads. Here, you’ll see a list of your conversations with contacts, both individual and group chats, sorted by most recent activity. Take a moment to familiarize yourself with the layout, and then proceed to the next step to find the conversation with the contact you want to unblock.
If you can’t find the iMessage app on your home screen, don’t worry – it’s a default app on all iOS devices and cannot be uninstalled. You can simply swipe down on your home screen to access the universal search bar, type “iMessage,” and tap on the app icon that appears in the search results.
Now that you have successfully opened the iMessage app on your iPhone or iPad, you’re ready to move on to the next step in unblocking someone. Keep reading to learn how to locate the conversation with the blocked contact within the iMessage app.
Step 2: Go to the conversation with the blocked contact
Once you have the iMessage app open on your iPhone or iPad, it’s time to locate the conversation with the contact you want to unblock. Scroll through your message threads or use the search bar at the top of the screen to find the specific conversation. Look for the contact’s name or phone number to quickly identify the right conversation.
If you have a lot of conversations or if it has been a while since you last interacted with the blocked contact, it may take a bit of scrolling or searching to find the right conversation. However, with a little patience and persistence, you’ll be able to locate it.
If you remember any recent messages exchanged with the blocked contact, you can also use the “Recent” section in the iMessage app to find the conversation more easily. Simply tap on the “Recent” tab at the bottom of the screen, and swipe left or right to navigate through your recent chat history. Look for the contact’s name or picture to identify the right conversation.
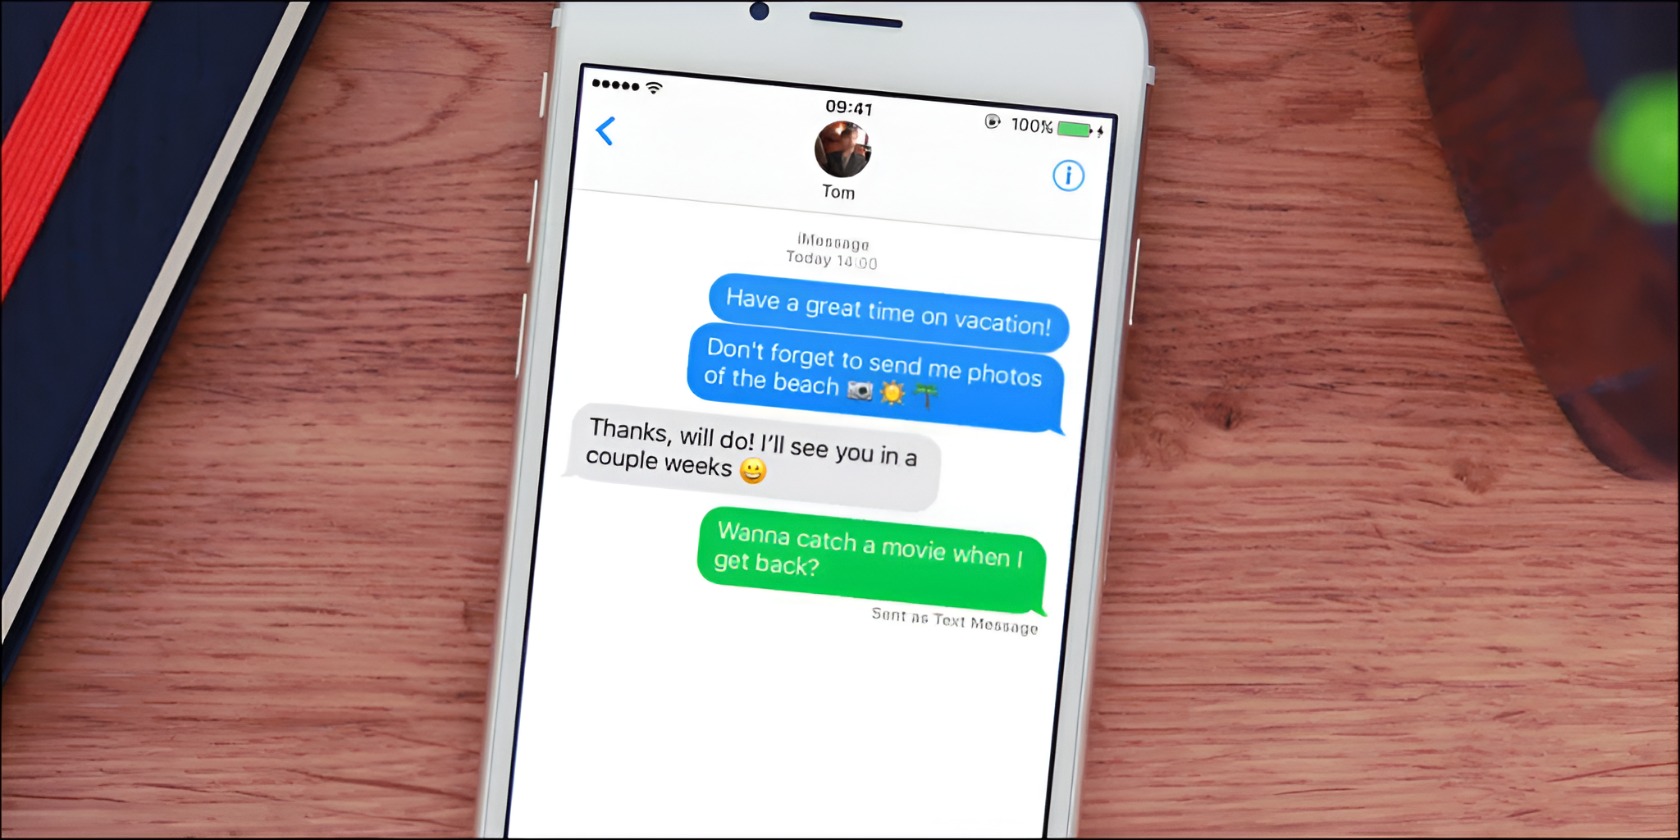
Once you have found the conversation with the blocked contact, tap on it to open the thread. You’ll now see the entire conversation history with that contact, including text messages, photos, videos, and any other media shared between you. Take a moment to review the conversation if needed, and get ready to proceed to the next step.
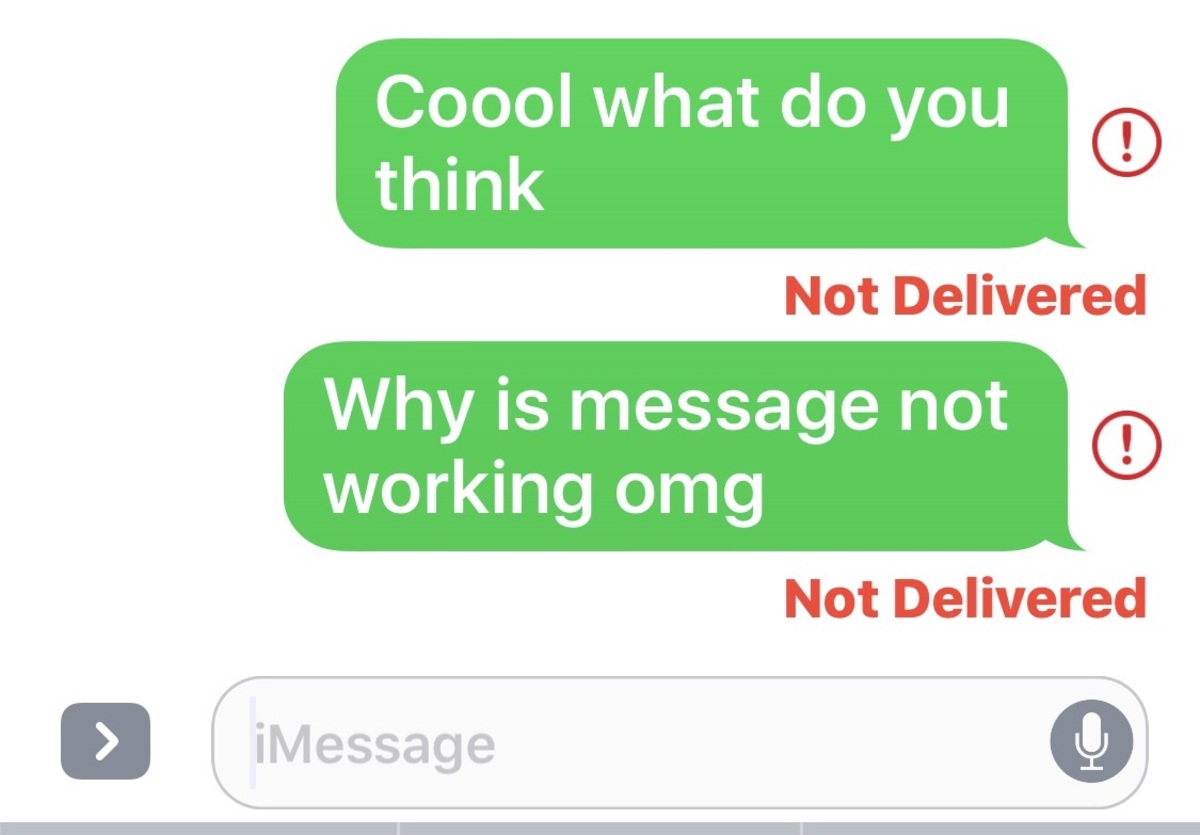
Keep in mind that the blocked contact’s messages and calls will not have been visible to you while they were blocked. Opening the conversation now will reveal any unseen messages or missed calls from the contact during the time they were blocked.
Now that you have successfully located the conversation with the blocked contact within the iMessage app, you’re one step closer to unblocking them. Continue reading to learn how to proceed with unblocking the contact in the next step.
Step 3: Tap on the contact’s name
Now that you have opened the conversation with the blocked contact in the iMessage app, it’s time to take the next step towards unblocking them. In this step, you will need to tap on the contact’s name to access their profile and settings.
At the top of the conversation screen, you’ll see the name or phone number of the contact you blocked. Tap on their name to bring up a menu with various options related to the contact and the conversation. This menu typically displays the contact’s name, phone number, and profile picture (if available).
Tapping on the contact’s name will not only give you access to their profile information but also provide you with additional options such as sharing the contact, adding them to your favorites, or muting the conversation. However, in this case, our focus is on unblocking the contact. So, let’s move on to the next step to find the unblock option.
If you’re unable to see the contact’s name at the top of the conversation screen, don’t worry – it might be hidden initially for a cleaner view. Simply tap anywhere on the screen to reveal the hidden menu bar at the top, and you’ll see the contact’s name or phone number displayed.
It’s essential to tap on the contact’s name accurately as tapping elsewhere on the screen might result in different actions or options unrelated to unblocking the contact. Take your time to ensure you tap on the correct location to bring up the contact’s profile and settings menu.
Great job! You have successfully tapped on the contact’s name and accessed their profile and settings menu. In the next step, we will explore how to proceed further and find the option to unblock the contact. Stay tuned!
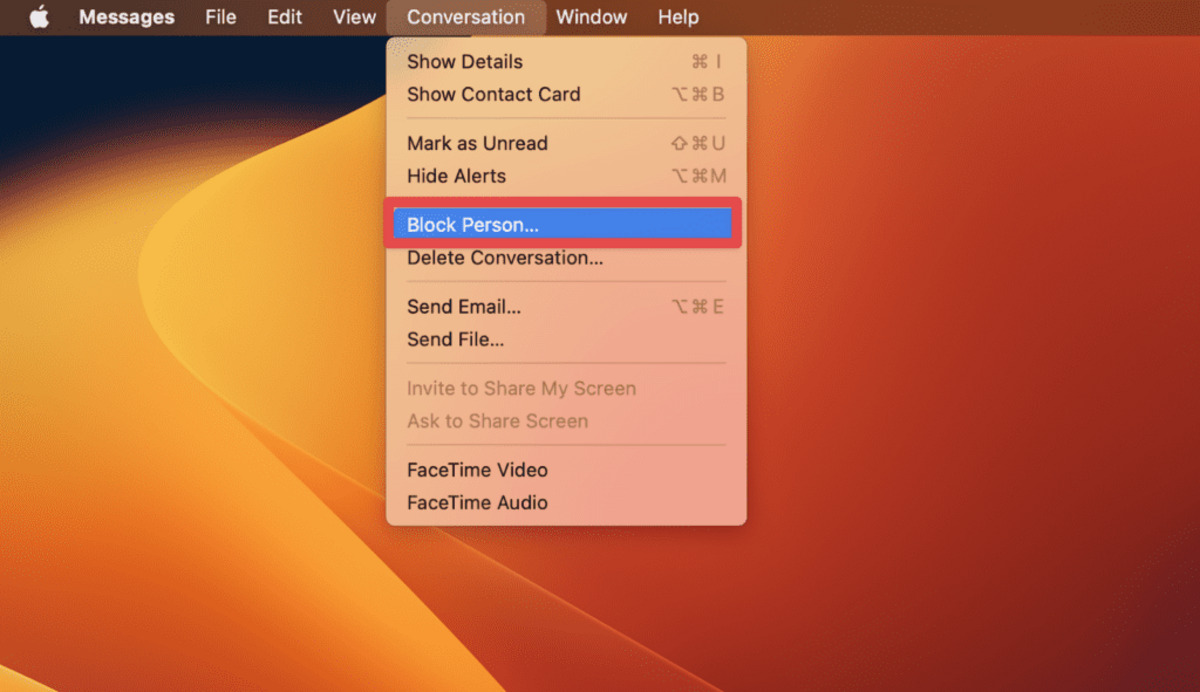
Step 4: Scroll down and tap “Unblock this Caller”
Now that you have accessed the contact’s profile and settings menu in the iMessage app, it’s time to take the crucial step of unblocking the contact. In this step, you will need to scroll down within the contact’s profile to find the option to unblock them.
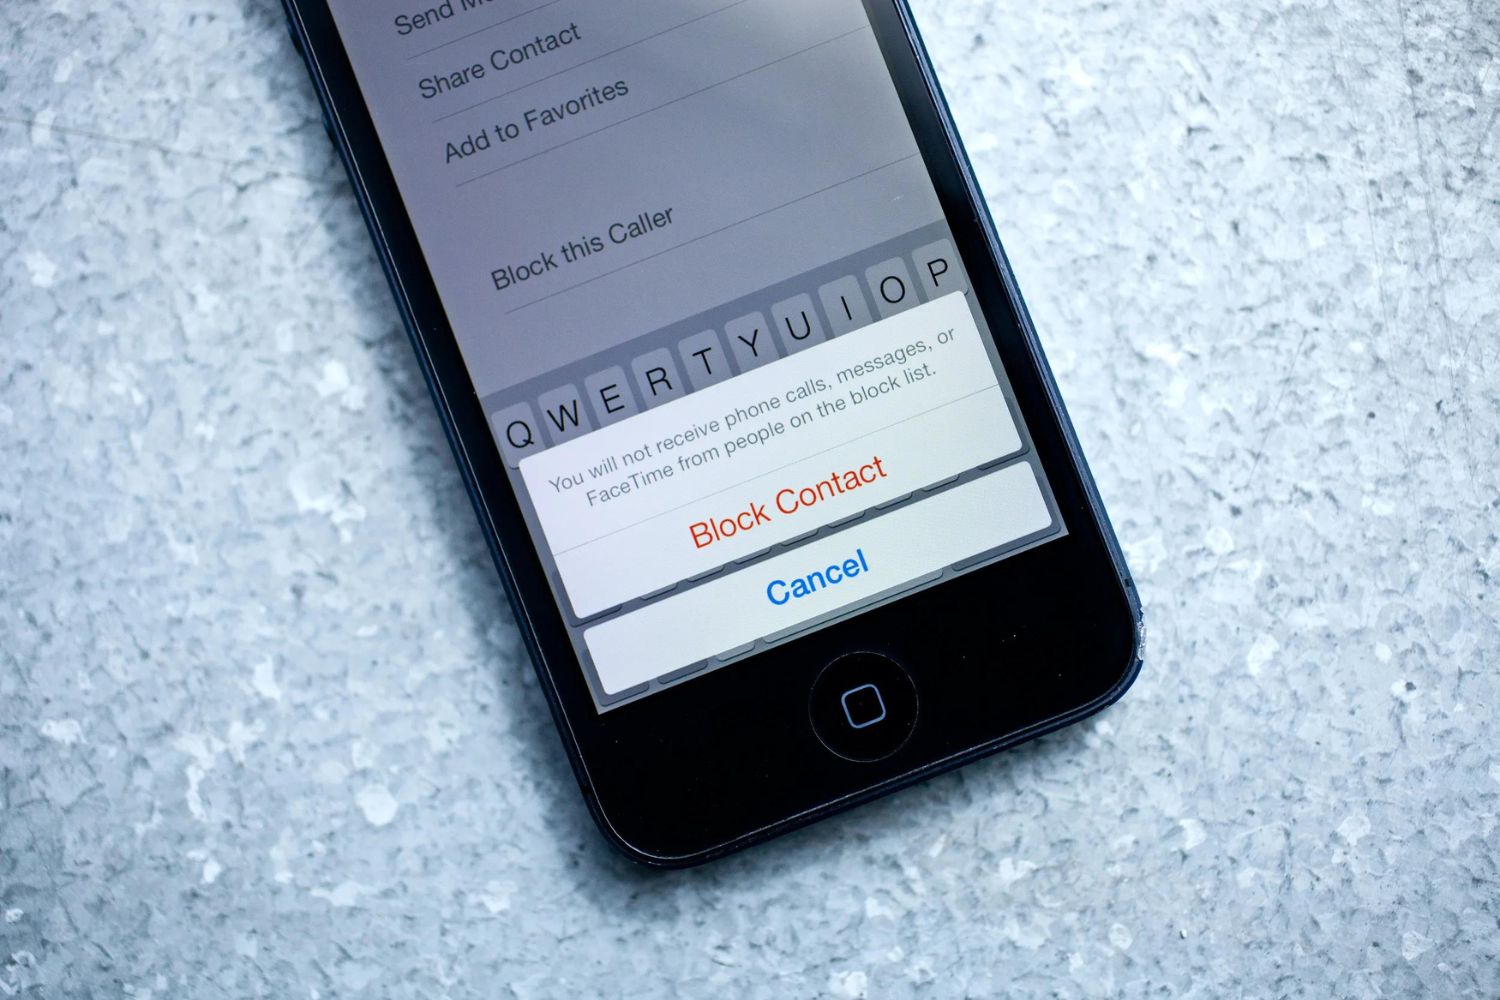
Scrolling down will reveal additional settings and actions related to the contact. Keep scrolling until you reach the bottom of the profile screen, where you’ll find the option labeled “Unblock this Caller.” This option might be displayed as “Unblock this Contact” or “Unblock this Number” depending on the information associated with the contact.
Once you locate the “Unblock this Caller” option, simply tap on it to proceed with unblocking the contact. The iMessage app will prompt you with a confirmation message to ensure that you want to unblock the contact. This step is crucial to prevent accidental unblocking, so make sure to tap with intention.
If you don’t see the “Unblock this Caller” option, it might mean that the contact is not currently blocked. In such cases, you can simply close the profile and settings menu and continue using iMessage without any further action required.
Please note that unblocking the contact does not automatically restore them to your contacts list. It only allows their messages and calls to come through once again. If you wish to add the contact back to your contacts list, you’ll need to do so manually by saving their information.
Congratulations! You have successfully scrolled down within the contact’s profile, located the “Unblock this Caller” option, and tapped on it to initiate the unblocking process. In the next step, we will confirm the unblock request. Keep reading to find out how!
Step 5: Confirm by tapping “Unblock Contact”
In the penultimate step of unblocking a contact on iMessage, you will confirm your decision to unblock the contact. After tapping on the “Unblock this Caller” option in the contact’s profile and settings menu, a confirmation prompt will appear on your screen. To proceed with unblocking the contact, you need to tap on the option labeled “Unblock Contact.”
The confirmation prompt serves as a final confirmation to ensure that you indeed want to unblock the contact. It’s an additional layer of protection against accidental unblocking, ensuring that you have consented to removing the block on the designated contact.
After tapping on “Unblock Contact,” you might notice a brief loading or processing stage while the iMessage app implements the unblocking action. This is normal and should only take a few moments. Once the process is complete, you’ll receive a confirmation message or notification indicating that the contact has been successfully unblocked.
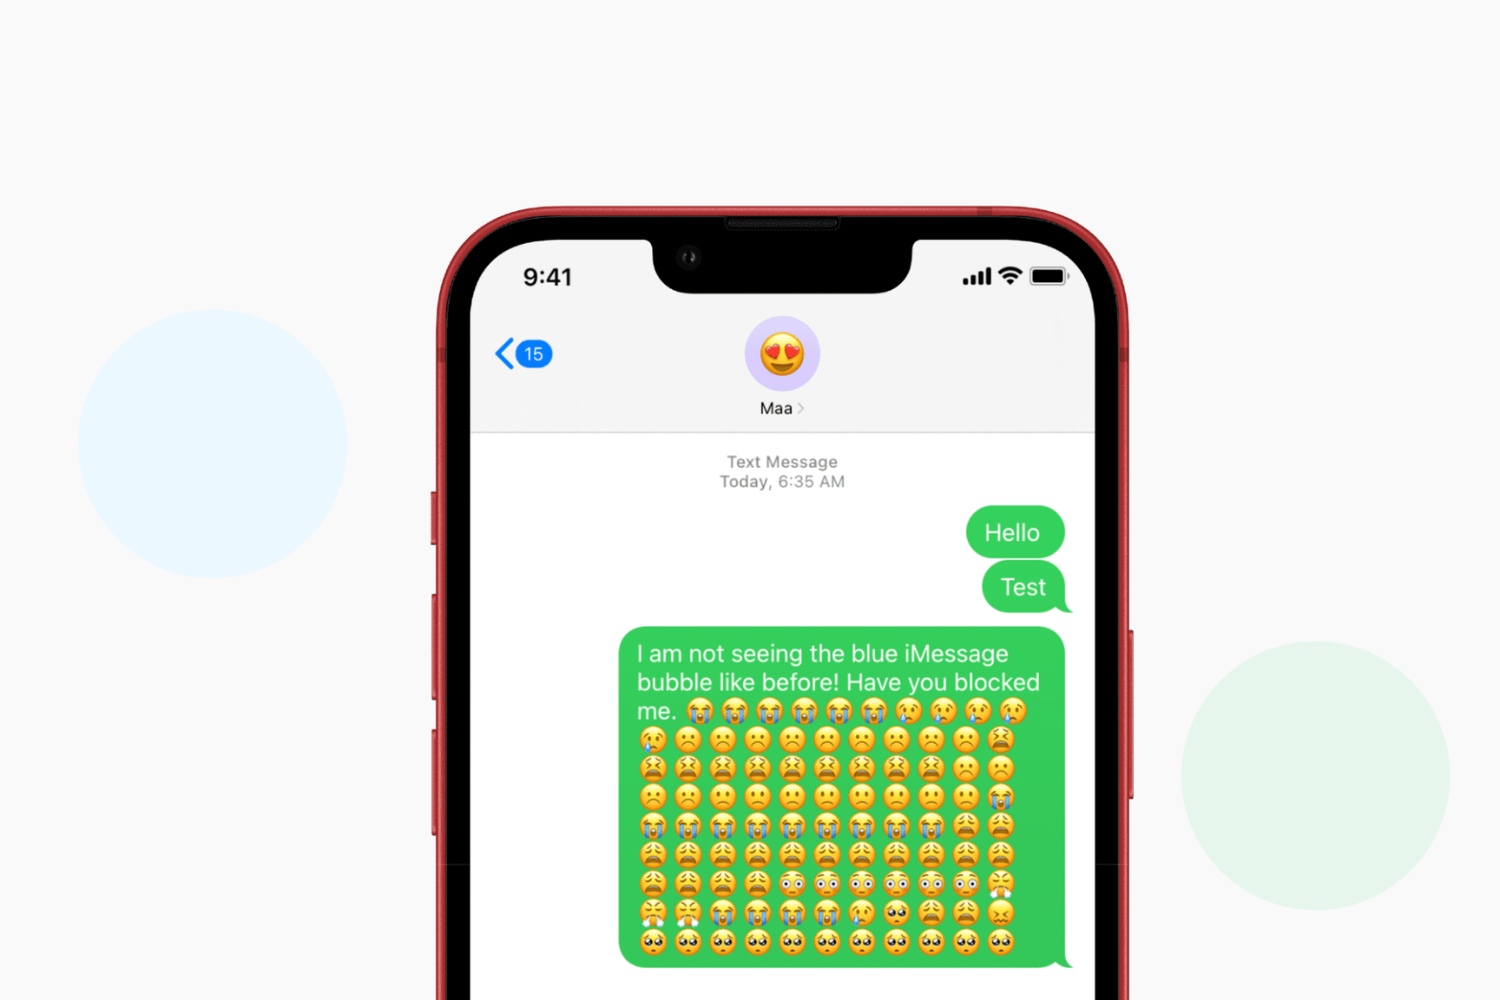
It’s worth noting that unblocking a contact on iMessage doesn’t notify the contact about the unblock. Their messages and calls will start coming through again, but they won’t receive any specific notification or indication that they have been unblocked. This allows for a seamless transition back to normal communication without any unnecessary explanations or awkwardness.
Congratulations! You have successfully confirmed the unblocking of the contact by tapping on “Unblock Contact.” The contact is now officially unblocked in iMessage, and you can resume regular communication without any restrictions. Take a moment to ensure that the contact’s messages and calls are coming through as expected.
Now that you have completed all the necessary steps to unblock a contact on iMessage, you can enjoy the freedom of uninterrupted communication. Whether it was a temporary measure or a simple mistake, unblocking someone allows you to reconnect and maintain healthy relationships through iMessage.
Thank you for following our guide on how to unblock someone on iMessage. We hope this information has been helpful, and wish you happy messaging!
Conclusion
Unblocking someone on iMessage is a simple yet essential process that allows you to restore communication with a previously blocked contact. By following the steps outlined in this guide, you can easily unblock a contact and resume normal conversation without any hassle.
Remember, unblocking a contact on iMessage does not automatically add them back to your contacts list. It simply allows their messages and calls to come through once again. If you want to keep their information for future reference, make sure to manually save their contact details in your contacts list.
We hope this guide has been helpful in navigating the process of unblocking someone on iMessage. It’s important to maintain healthy and open communication with your contacts, and unblocking someone can be an important step in building and maintaining relationships.
If you have any other questions or need further assistance with iMessage or any other topic, feel free to reach out to Apple support or consult their official documentation. They have a wealth of resources available to help you make the most of your Apple devices and applications.
Thank you for taking the time to read this guide. We hope it has provided clarity and guidance on unblocking contacts on iMessage. Stay connected, and happy messaging!