Introduction
Group texts have become an integral part of communication in the digital era. Whether you need to coordinate plans with friends, discuss a project with colleagues, or share updates with family members, creating a group text can simplify and streamline your conversations. If you own an Android device, you’ll be pleased to know that creating and naming a group text is a quick and straightforward process. In this article, we will guide you through the steps to create and name a group text on your Android phone.
Group texts allow you to engage with multiple contacts simultaneously, making it easier to convey important information or have group discussions. Instead of sending multiple individual messages, you can share messages, photos, videos, and more with everyone in the group at once. By creating a group text, you can save time, stay organized, and ensure that everyone involved is on the same page.
Whether you’re planning an event, organizing a team project, or simply want to stay connected with a group of friends, creating a group text can be a game-changer. With just a few taps on your Android device, you can bring everyone together in one conversation.
In the following sections, we will walk you through the step-by-step process of creating and naming a group text on your Android phone. We’ll also explore how you can customize the group settings to meet your preferences. But first, let’s get started by opening the messaging app on your device.
Step 1: Open the Messaging App
To create and name a group text on your Android device, the first step is to open the messaging app. This app may have a different name depending on the make and model of your device, but it is typically labeled as “Messages” or “Messaging”. Look for the icon that resembles a speech bubble with a quotation mark inside.
Locate the messaging app on your device’s home screen or by swiping up from the bottom of the screen and searching for it in the app drawer. Once you find the messaging app, tap on it to open.
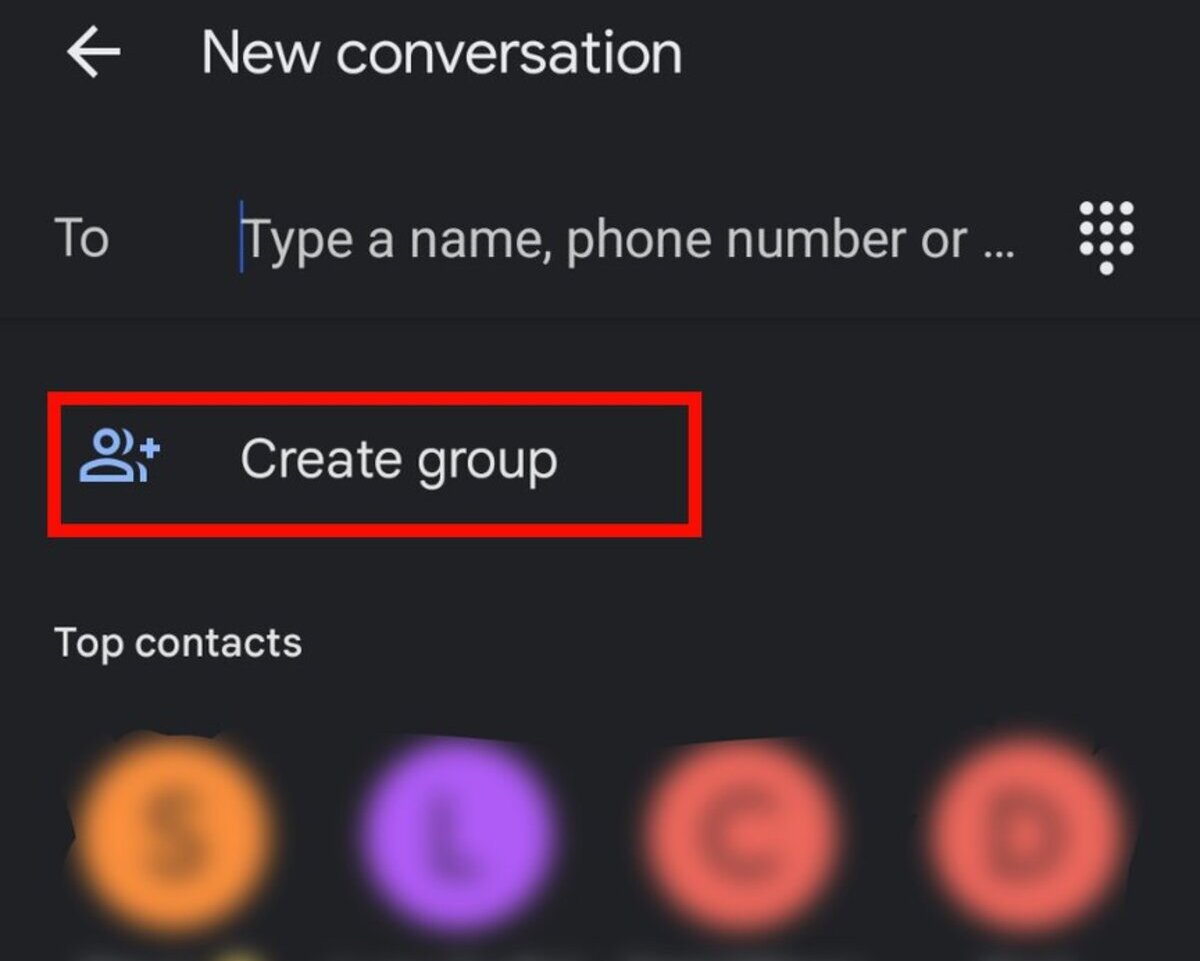
Upon opening the messaging app, you will see your existing conversations listed. These are the individual text conversations you have had with different contacts. To create a new group text, we will need to tap on the compose new message button, which is typically represented by a “+” symbol or an icon that resembles a pencil and paper.
With the messaging app open, you are now ready to move on to the next step of creating your group text. You’ll be just a few taps away from creating a seamless communication channel for your group. Let’s proceed to step two: tapping on the compose new message button.
Step 2: Tap on the Compose New Message Button
Once you have opened the messaging app on your Android device, the next step is to tap on the compose new message button. This button allows you to initiate a new conversation and start composing your group text.
The compose new message button is usually located at the bottom right corner of the screen, represented by a “+” symbol or an icon that resembles a pencil and paper. Look for this button and tap on it to proceed.
Upon tapping the compose new message button, a new message window will appear on your screen. This window provides you with a blank text field where you can enter the recipients of your group text.
Before you can start typing the names or contacts you want to include in the group text, make sure you have their contact information saved in your phone’s contact list. This will make it easier for you to select the recipients. You can also manually enter the phone numbers if needed.
To select multiple recipients for your group text, you can either type their names or phone numbers in the recipient field or tap on the contact icon/button to access your contact list and choose from there. You can add as many recipients as you want.
Once you have selected the recipients for your group text, you are ready to move on to the next step: creating a group name. This step allows you to personalize your group text and make it easily identifiable.
Now that you have tapped on the compose new message button and added the desired recipients, let’s proceed to step three and learn how to enter multiple recipients for your group text.
Step 3: Enter Multiple Recipients
After tapping on the compose new message button and opening the new message window, the next step is to enter the multiple recipients for your group text. This is where you add the contacts or phone numbers of the individuals you want to include in the group.
In the recipient field of the message window, you can start typing the names or phone numbers of the contacts you wish to add. As you type, Android’s predictive text feature will suggest matching contacts from your phone’s contact list. This makes it even easier to add recipients quickly and accurately.
If you prefer not to type the names or numbers manually, you can tap on the contact icon/button located next to the recipient field. This will open your phone’s contact list, where you can select the desired contacts for your group text. Simply scroll through your contacts, tap on each name you want to add, and it will be automatically included in the recipient field.
You can add as many recipients as you need for your group text. Android allows you to include both contacts from your phone’s contact list and phone numbers that you manually enter. This flexibility ensures that you can create a group text with any combination of people.
Once you have entered all the desired recipients for your group text, proceed to the next step: creating a group name. This is an important step as it helps personalize your group text and make it easily identifiable among your other conversations.
Now that you have successfully entered multiple recipients for your group text, let’s move on to step four and learn how to create a group name.
Step 4: Create a Group Name
After entering the multiple recipients for your group text, the next step is to create a group name. A unique and identifiable name for your group text can help differentiate it from other conversations and make it easier to find in your messaging app.
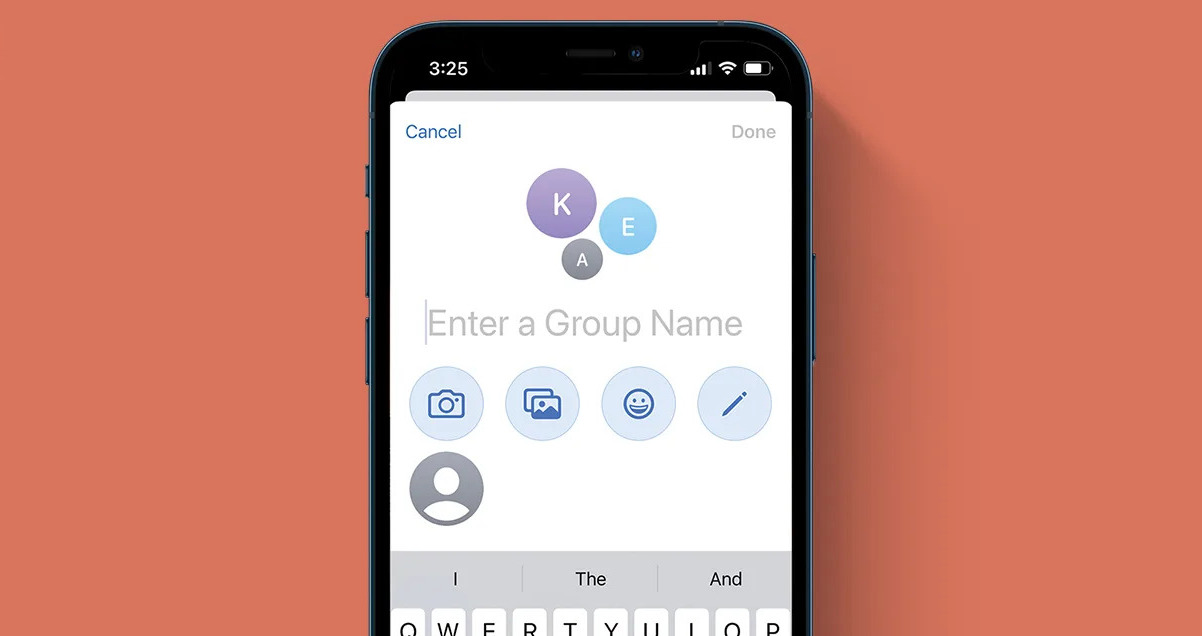
To create a group name, tap on the text field where you would typically type your message. Instead of typing a message, type the desired name for your group text. You can choose any name that best represents the purpose or nature of the group.
For example, if you are creating a group text for planning a birthday party, you could name it “Birthday Bash Squad” or “Party Planning Crew.” If it’s a group text for a work-related project, you might go with something like “Project Dream Team” or “Work Warriors.”
Having a unique group name not only adds a personal touch but also helps participants quickly identify the conversation in their messaging app. It also makes it easier to search for the group text later on if you need to refer back to it.
Once you have entered the group name, you can customize it further by adding emojis or special characters if desired. Android devices allow you to easily access a wide selection of emojis to add fun and visual elements to your group name.
With a catchy and descriptive group name created, you are ready to proceed to the next step: customizing the group settings. This step allows you to control certain aspects of the group text, enhancing your overall experience and conversations.
Now that you have successfully created a group name, let’s move on to step five and explore how to customize the group settings.
Step 5: Customize Group Settings
After creating a group name for your group text, the next step is to customize the group settings. Android provides various options and settings that allow you to personalize your group text and make it tailored to your preferences.
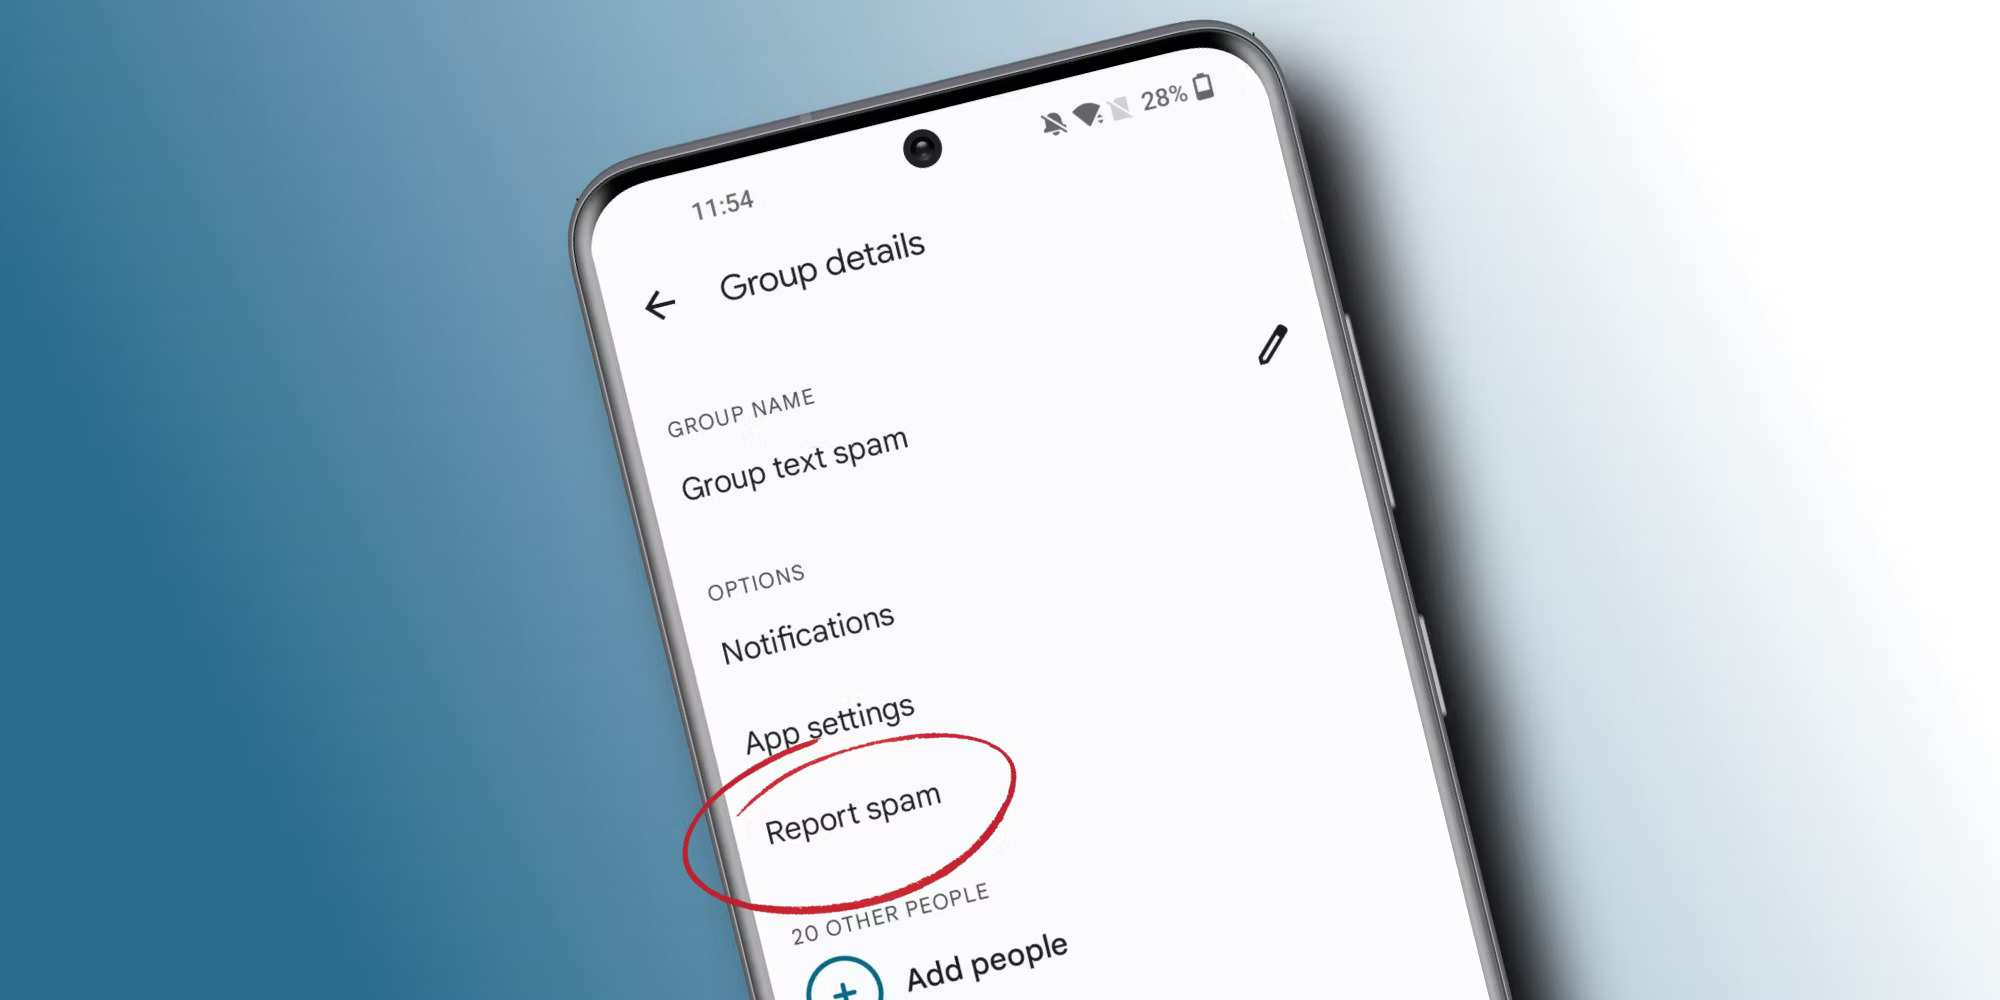
To access the group settings, tap on the three-dot menu icon usually located at the top right corner of the message window. This will open a drop-down menu with various options. Look for the option that says “Group Details” or “Group Settings” and tap on it.
Within the group settings, you will find a range of customization options. These options may vary slightly depending on the messaging app you are using, but some common settings include:
- Group Icon: Here, you can choose a custom icon or image to represent your group. You can select an image from your device’s gallery or use an icon provided by the messaging app.
- Notification Settings: Android allows you to customize the notification settings for the group text. You can choose to receive notifications for every message, only mentions and replies, or turn off notifications altogether.
- Mute Notifications: If you want to temporarily silence the group text, you can enable the “Mute Notifications” option. This will prevent your phone from alerting you with sound or vibration when new messages are received.
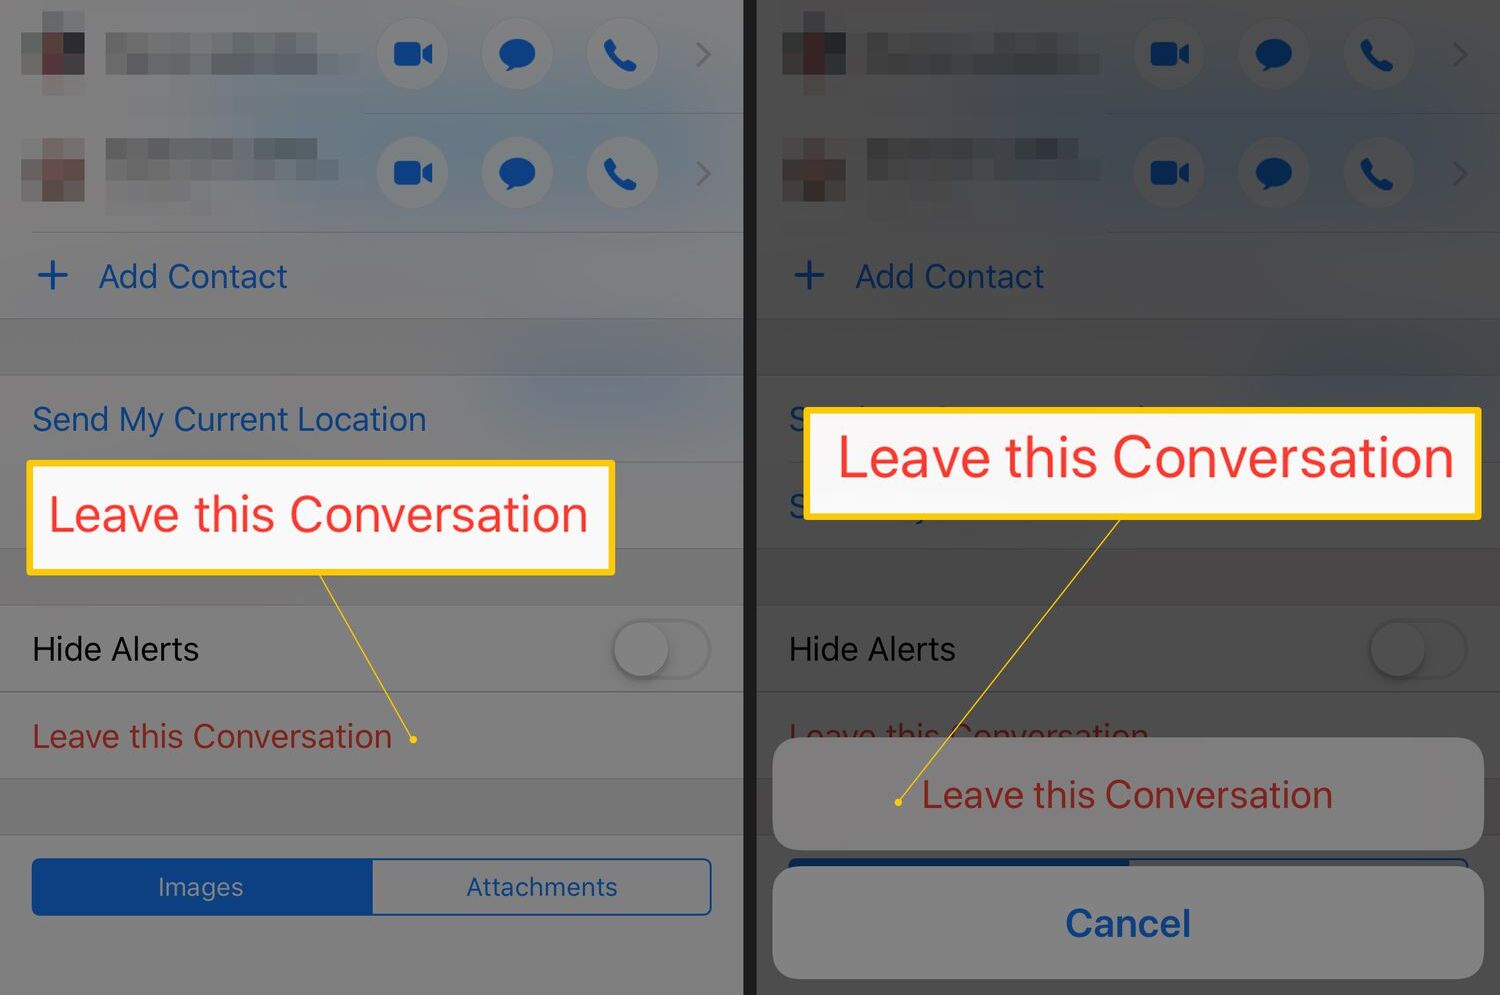
- Leave Group: In case you decide to leave the group text, you can find the “Leave Group” option within the settings. Tapping on this option will remove you from the group, and you will no longer receive messages from it.
Take some time to explore the available settings and adjust them according to your preferences. Each Android messaging app may have its own set of customization options, so feel free to explore and experiment with different settings to create the perfect group text environment for your needs.
Once you have customized the group settings to your satisfaction, you are ready for the final step: starting messaging the group. This is where the real conversations and interactions within the group text begin.
Now that you have successfully customized the group settings, let’s move on to step six and learn how to start messaging the group.
Step 6: Start Messaging the Group
After creating a group and customizing its settings, you are now ready to start messaging the group. This is where the real communication and collaboration take place among the group members.
To send a message to the entire group, simply tap on the text field at the bottom of the message window. Type your message and then tap the send button, usually represented by an arrow or paper airplane icon. Your message will be instantly sent to every member of the group.
In addition to text messages, you can enhance your group conversations by sharing photos, videos, links, voice messages, and more. Most messaging apps have icons or buttons that allow you to easily access these additional features.
You can also mention specific group members by using the “@” symbol followed by their name. This will notify the mentioned member and draw their attention to the message they are tagged in, ensuring that important information doesn’t go unnoticed.
As messages and conversations accumulate within the group text, you have the ability to scroll through the chat history, reply to specific messages, and even search for specific keywords or phrases. These features make it easy to navigate through the group text and find important information or references when needed.
Remember to be respectful and considerate when messaging the group. Keep the conversations relevant to the group’s purpose and avoid spamming or flooding the chat with unnecessary messages.
If you ever need to make changes to the group, such as adding or removing members, changing the group name, or adjusting the settings, you can access the group settings as mentioned in Step 5 and make the necessary modifications.
Congratulations! You have successfully learned how to create and name a group text on your Android device, enter multiple recipients, customize group settings, and start messaging the group. Enjoy the convenience of group conversations and stay connected with your friends, colleagues, or family members in a more efficient and collaborative manner.
Conclusion
Creating and naming a group text on your Android device is a simple and effective way to stay connected and streamline your conversations with multiple individuals. By following the step-by-step guide outlined in this article, you can easily create a group text, enter multiple recipients, customize group settings, and start messaging the group.
Group texts provide a convenient platform for coordinating plans, sharing updates, and engaging in group discussions. Whether you’re planning a social gathering, collaborating on a work project, or simply keeping in touch with a group of friends, group texts make communication efficient and effective.
Remember to personalize your group text by creating a unique and recognizable group name. This will make it easier to identify the conversation among your other chats and add a personal touch to your group communication.
Customizing the group settings allows you to tailor the experience to your preferences. Take advantage of options such as selecting a group icon, customizing notification settings, and muting notifications when desired. These settings can enhance your overall group text experience and ensure that it aligns with your needs and preferences.
Once the group text is set up, you can start messaging the group and engage in lively conversations. Share text messages, multimedia content, and mention specific group members to ensure important information doesn’t go unnoticed. Remember to maintain respect and consideration for all group members, keeping the conversations relevant and avoiding spamming or flooding the chat.
Creating and managing group texts on your Android device unlocks a world of efficient and collaborative communication. Stay connected, organized, and informed with the power of group texts, and enjoy seamless interactions with your contacts.
Now that you have all the necessary information and steps at your fingertips, go ahead and start creating your own group texts on your Android phone. Experience the convenience of group communication and enjoy the benefits of streamlined conversations with multiple recipients.