Introduction
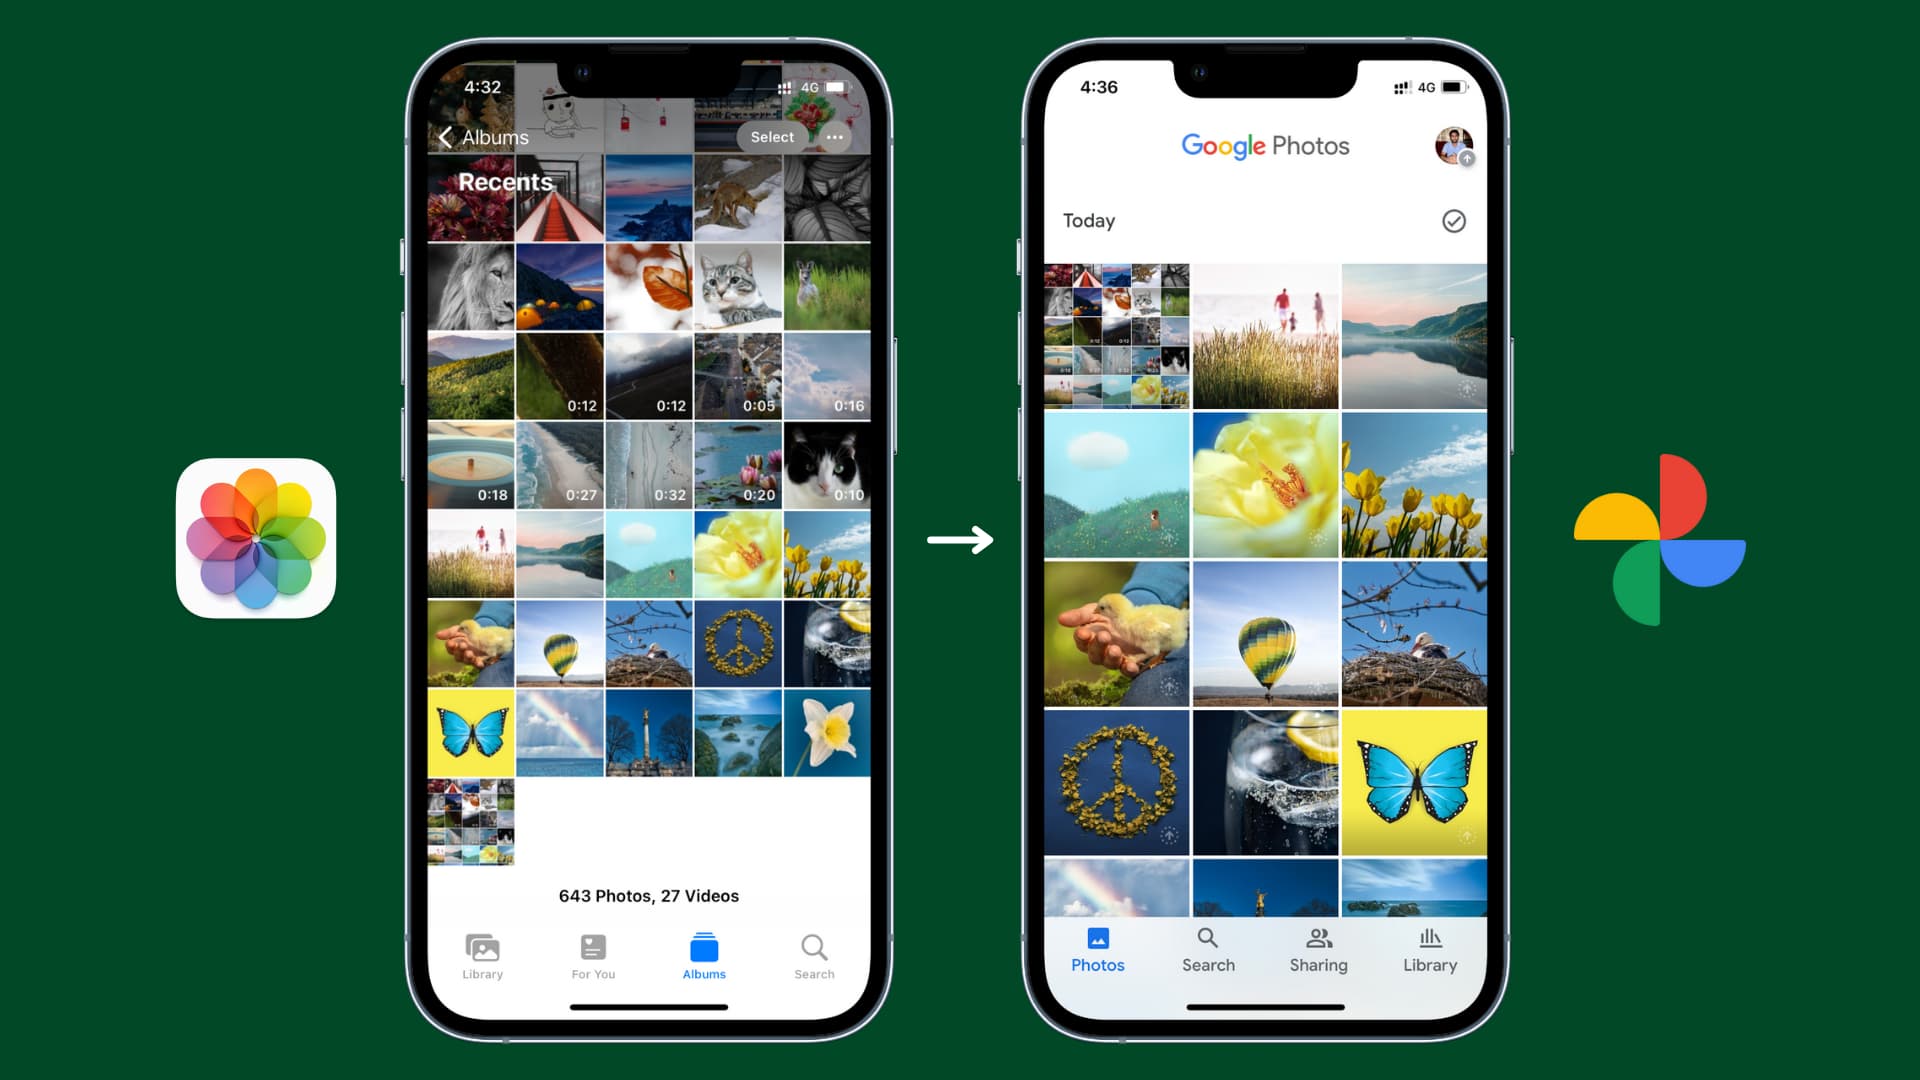
Welcome to the world of Google Photos! With its user-friendly interface and powerful features, Google Photos has become a go-to platform for storing, organizing, and sharing our precious memories captured on our smartphones. However, did you know that you can also create folders in Google Photos to further streamline your photo collection?
In this article, we will guide you through the process of creating folders in Google Photos, allowing you to keep your photos well-organized and easily accessible. Whether you want to group photos from a specific event, create a collection of your favorite shots, or simply organize your photo library, creating folders in Google Photos can significantly enhance your overall photo management experience.
By utilizing folders, you can quickly locate and share specific sets of photos without having to scroll through your entire library. This feature is especially useful when you have a large number of photos and want to keep them neatly arranged according to different categories or themes.
In the following sections, we will take you through the step-by-step process of creating folders in Google Photos, illustrating how simple and intuitive it is to manage your photos with this versatile platform. You will learn how to create a folder, name it, add photos, organize and edit the folder, and even collaborate on it with others. So, let’s dive in and unlock the full potential of Google Photos by creating folders!
Step 1: Open Google Photos
The first step to creating folders in Google Photos is to open the app or go to the website on your desktop. If you haven’t already done so, download the Google Photos app from the App Store (for iOS devices) or Google Play Store (for Android devices) and sign in with your Google account. Alternatively, you can access Google Photos directly through your web browser by going to https://photos.google.com and signing in.
Once you have opened Google Photos, you will see your entire photo library displayed in the app’s main interface. This includes all the photos and videos you have backed up from your smartphone, tablet, or computer. The library is organized in reverse chronological order, with the most recent photos appearing first.
If you have a specific photo in mind that you want to add to a folder, you can use the search bar at the top of the screen to locate it quickly. Simply type in relevant keywords, such as the date, location, or content of the photo, and Google Photos will show you the matching results. This is particularly helpful when you have a vast collection of photos and need to narrow down your search.
Now that you have opened Google Photos and familiarized yourself with the app’s interface, you are ready to move on to the next step: creating a folder to group your selected photos. Let’s proceed to Step 2 and explore how to do that!
Step 2: Click on the “+” Button
Once you have opened Google Photos and are ready to create a folder, the next step is to click on the “+” button located in the app’s interface. The “+” button is typically found in the bottom center of the screen, or in the top left corner, depending on the version of the app you are using.
By clicking on the “+” button, you will open a menu that allows you to perform various actions within Google Photos. This menu includes options such as creating albums, animations, collages, movies, and more. To create a folder, select the “Folder” option from the menu.
If you are using the web version of Google Photos, the “+” button will be located in the top left corner of the screen. Clicking on it will reveal a dropdown menu where you can choose the “Folder” option.
Once you have clicked on the “+” button and selected the “Folder” option, you will be prompted to enter a name for your folder. Think of a descriptive and memorable name that will help you easily identify the content of the folder. For example, if you are creating a folder for your recent vacation, you could name it “Summer Vacation 2022” or “Dream Trip to Bali”.
After entering the folder name, click on the “Create” or “Ok” button to officially create the folder. Congratulations! You have successfully created a folder in Google Photos. Now, it’s time to populate it with your desired photos and start organizing your visual memories.
In the next step, we will discuss how to add photos to your newly created folder. Stay tuned!
Step 3: Select “Folder”
After clicking on the “+” button in Google Photos, you will be presented with a menu of options. To create a folder, select the “Folder” option from the menu by tapping on it.
By selecting the “Folder” option, you are indicating to Google Photos that you want to create a new folder to organize your photos. This action will open a new window or screen where you can proceed with naming your folder and adding photos to it.
If you are using the web version of Google Photos, selecting the “Folder” option will create a new folder in the left sidebar of the interface. You can then click on the folder to view its contents, add or remove photos, and perform other actions.
On the mobile app, selecting the “Folder” option will display a screen where you can enter a name for your folder. This screen may also provide additional options such as choosing a cover photo or setting privacy settings for the folder.
Take a moment to think about the purpose and content of the folder you are creating. Are you creating a folder for a specific event, a particular theme, or a collection of your favorite photos? This will help you come up with a suitable name for the folder.
Once you have selected the “Folder” option and have named your folder, click the “Create” or “Ok” button to confirm your choice. You have now successfully created a folder in Google Photos! Your new folder will be available for you to add photos, organize, and customize according to your preferences.
In the next step, we will explore how to add photos to the folder you have just created. Let’s continue with the process of organizing your photos in Google Photos.
Step 4: Name Your Folder
Now that you have selected the “Folder” option in Google Photos, it’s time to give your folder a name. Naming your folder is an essential step in organizing your photos and making them easily identifiable.
When you create a new folder, Google Photos will provide you with a text field or box where you can enter the desired name for your folder. This text field is typically labeled “Folder Name” or “Title,” and you can click or tap on it to enter the name.
When choosing a name for your folder, it’s helpful to consider the content or purpose of the photos you plan to add. Are they photos from a specific event, such as a wedding or a vacation? Do they revolve around a particular theme, like nature or food? Thinking about these aspects will guide you in choosing a relevant and descriptive name.
Avoid using generic names like “Folder 1” or “New Folder.” Instead, opt for names that accurately reflect the contents or significance of the photos within the folder. For example, if you are creating a folder for your wedding photos, you could name it “Our Wedding Day” or “Happily Ever After.”
Furthermore, you can get creative with your folder names to make them more memorable. Adding dates, locations, or even personal touches can make your folders stand out and help you quickly locate the desired set of photos in the future.
Once you have settled on a name for your folder, click or tap the “Create” or “Ok” button to save the name. Congratulations! You have successfully named your folder in Google Photos.
In the next step, we will delve into how to add photos to the folder you have just named. Let’s continue organizing and enhancing your photo collection!
Step 5: Add Photos to Your Folder
With your folder created and named in Google Photos, it’s time to add photos to it. Adding photos to a folder allows you to group similar or related images together, making it easier to find and organize your visual memories.
To add photos to your folder, follow these simple steps:
- Open the folder you want to add photos to. This can be done by clicking or tapping on the folder’s name in the Google Photos interface.
- Once you are inside the folder, you will see the option to add photos. This can be in the form of a “+” button, an icon, or a specific command, depending on the version of Google Photos you are using. Click or tap on this option to proceed.
- A new window or screen will appear, showing your entire photo library. Browse through your collection and select the photos you want to add to the folder. You can select multiple photos at once by holding down the Ctrl key (Windows) or the Command key (Mac) while clicking or tapping on the photos.
- After selecting the desired photos, click or tap the “Add” or “Done” button to add them to your folder. You will then be redirected back to the folder, where you will see the newly added photos displayed.
Remember, you can add photos to your folder at any time. Whether you have just taken new photos or want to organize existing ones, Google Photos provides a seamless way to add and arrange your visual content.
Adding photos to a folder not only helps you stay organized but also streamlines the process of sharing them with others. Instead of sharing individual photos, you can now share the entire folder and grant access to all the contained images with just a few clicks or taps.
In the next step, we will explore how to further organize and edit your folder in Google Photos. Let’s continue customizing and optimizing your photo collection.
Step 6: Organize and Edit Your Folder
After adding photos to your folder in Google Photos, the next step is to organize and edit the content within the folder. This allows you to further enhance the visual appeal, manage the order of photos, and make any necessary adjustments.
Here are some ways you can organize and edit your folder:
- Reorder Photos: By default, Google Photos arranges the photos in your folder based on the date they were taken. However, if you want to change the order, you can do so easily. Simply click and drag the photos within the folder to rearrange them according to your preference. This feature is particularly useful when you want to create a specific visual narrative or showcase your photos in a specific sequence.
- Remove Photos: If you want to remove a photo from your folder, you can do so without deleting it from your entire photo library. Simply click or tap on the photo and look for the option to remove or delete it. This action will only remove the photo from the folder, while still keeping it accessible in your main photo library.
- Edit Photos: Google Photos provides various editing tools to enhance the appearance of your photos. Within the folder, select a photo and look for the editing options, which may include cropping, adjusting brightness and contrast, applying filters, and more. Experiment with these tools to bring out the best in your photos and create a cohesive visual style within the folder.
- Add Captions or descriptions: To provide context or additional information for your photos, consider adding captions or descriptions. This can help you remember the details of the moment captured and make it easier for others to understand the story behind the photo.
By organizing and editing your folder, you can create a visually pleasing and meaningful collection of photos. These customization options allow you to showcase your creativity and personalize your visual storytelling.
In the next step, we will explore how to share and collaborate on your folder with others. Let’s continue making the most out of Google Photos and its collaborative features.
Step 7: Share and Collaborate on Your Folder
Now that you have organized and edited your folder in Google Photos, it’s time to share and collaborate on it with others. Sharing your folder allows you to easily share a collection of photos with friends, family, or colleagues, and collaborate on it for a collective experience.
Follow these steps to share and collaborate on your folder:
- Open the folder you want to share and collaborate on by clicking or tapping on its name in the Google Photos interface.
- Look for the sharing options, which are usually indicated by an icon or a command labeled “Share.” Click or tap on this option to initiate the sharing process.
- Select the method through which you want to share your folder. This can include options like sharing via email, social media, messaging apps, or generating a link that can be sent to others.
- Customize the sharing settings as per your preference. You can choose whether to allow others to add photos or make changes to the folder, or simply give them view-only access.
- Once you have customized the sharing settings, click or tap the “Share” or “Send” button to send the folder to the intended recipients. They will receive a notification or a link to access the shared folder.
By sharing your folder, you can collaborate on it with others, allowing them to add their own photos, make comments, or contribute to a collective album. This feature is especially handy for events like weddings, vacations, or group projects where multiple people capture moments and want to combine their visual experiences into one cohesive collection.
In addition to collaborating, sharing your folder also allows you to easily showcase your photos with friends and family. They can view the folder online, leave comments, and even download the photos if you grant them the necessary permissions.
Remember to review the sharing settings periodically and update them as needed to ensure the privacy and security of your shared folder.
Congratulations! You have successfully shared and collaborated on your folder in Google Photos. Now you can enjoy the collective experience of exploring and reliving your visual memories together.
To wrap up, Google Photos provides a comprehensive platform for creating folders, organizing photos, editing images, and collaborating with others. By following these steps, you can maximize the potential of Google Photos and create a personalized, well-organized photo collection that truly captures the essence of your memories.
Conclusion
Creating folders in Google Photos is a simple yet powerful way to organize and manage your photo collection. By following the step-by-step process outlined in this article, you can easily create folders, add and organize photos, and share your visual memories with others. Whether you want to group photos from a specific event, create themed collections, or simply keep your photo library organized, folders in Google Photos provide a convenient solution.
With folders, you can quickly locate and access specific sets of photos without having to scroll through your entire library. They enable you to keep your photos well-organized and easily manageable, enhancing your overall photo management experience.
Furthermore, Google Photos offers a range of editing tools and customization options that allow you to enhance the appearance of your photos and create a visually cohesive collection within your folders. From reordering photos to adding captions and descriptions, you have the flexibility to personalize your folders and make them truly reflective of your style and storytelling.
Sharing and collaborating on your folders is another valuable feature of Google Photos. You can easily share your folders with others and allow them to contribute their own photos, comments, or experiences. This collaborative aspect is particularly useful for events or projects involving multiple participants, as it enables everyone to contribute to and enjoy a shared collection of visual memories.
As you continue to use Google Photos and create folders, remember to periodically review and update your organization to ensure that your photo collection remains tidy and easy to navigate. Regularly backing up your photos to the cloud and maintaining a backup on an external device will also provide added security and peace of mind.
In conclusion, Google Photos and its folder feature provide a user-friendly and efficient platform for managing, organizing, and sharing your photos. By utilizing folders, you can keep your photo library well-organized, easily accessible, and tailor-made to suit your preferences. So, get started with creating your folders in Google Photos and transform your photo management experience today!