Introduction
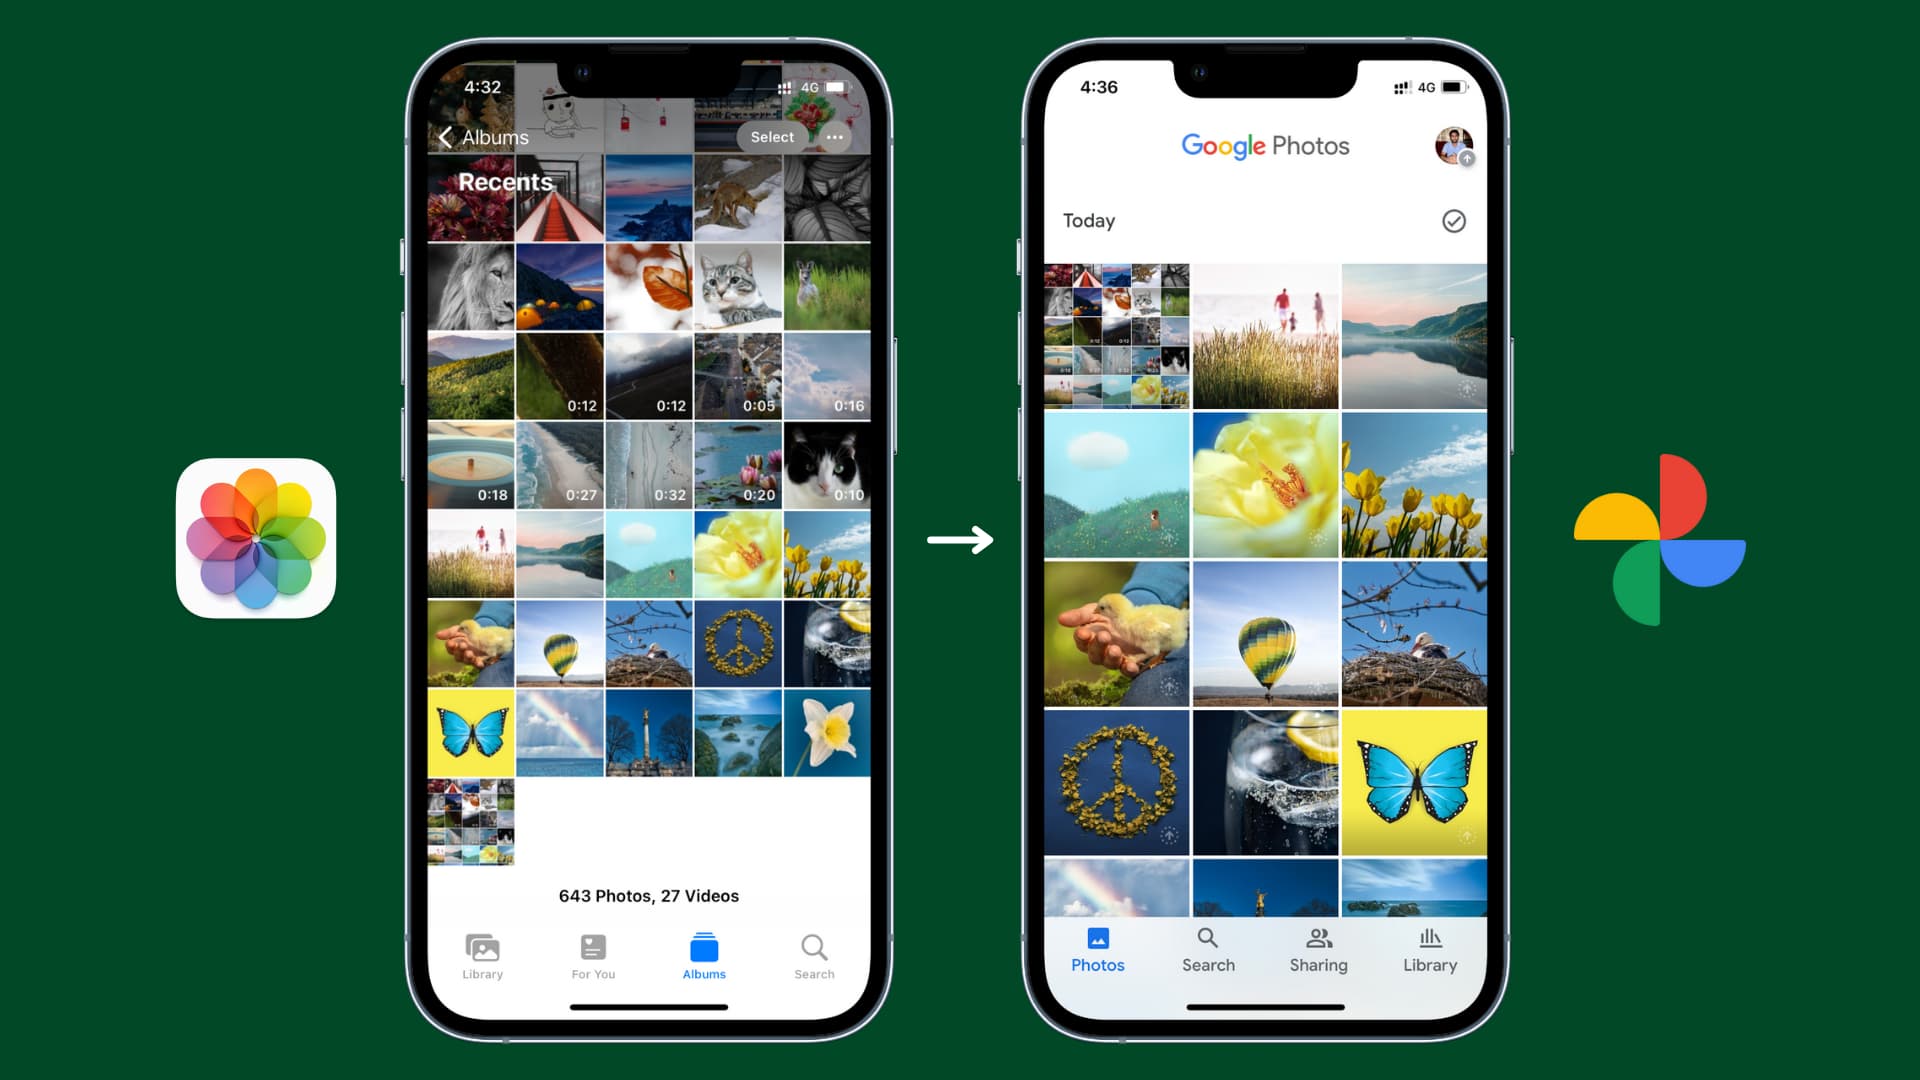
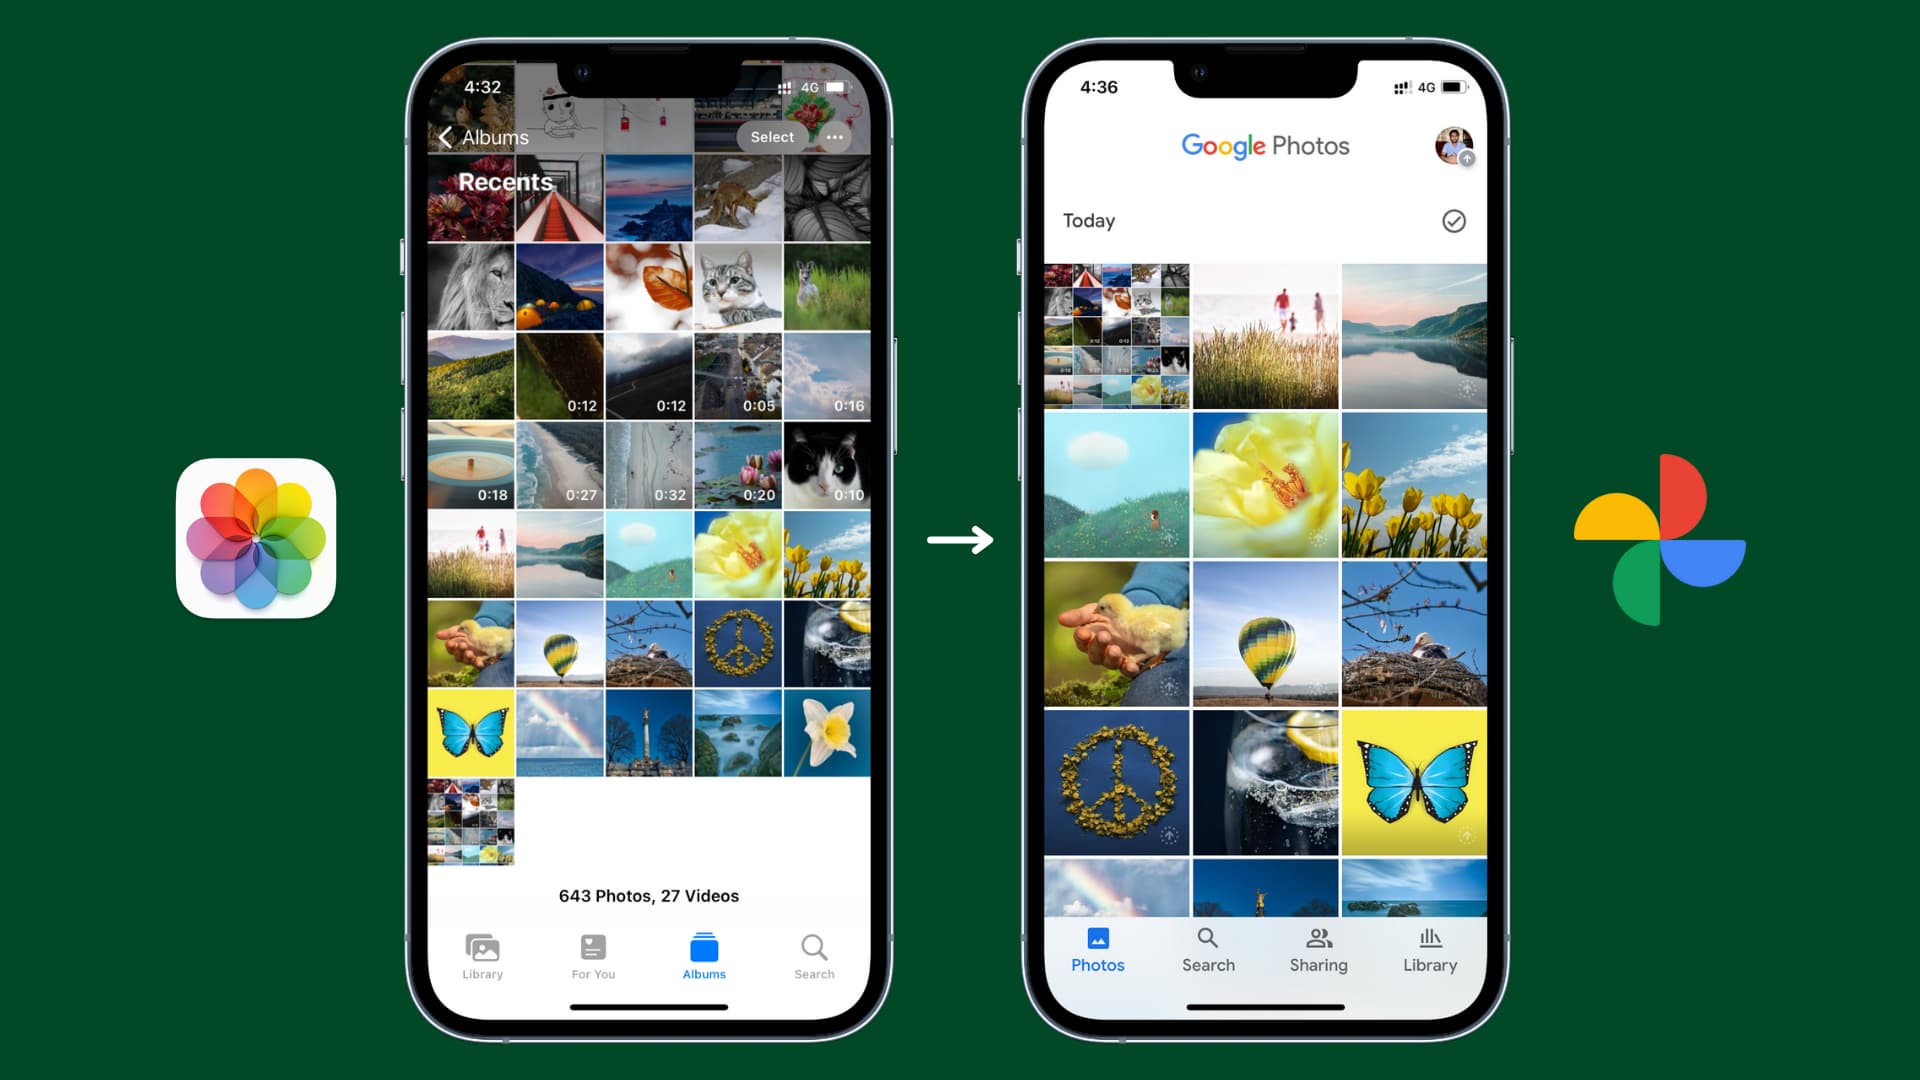
Welcome to this guide on how to upload photos to Google Photos on iPhone. Google Photos provides a convenient way to store and backup your precious memories in the cloud, ensuring that they are safe and accessible from any device. Whether you want to free up space on your iPhone or simply want to have an additional backup, uploading photos to Google Photos is a great option.
Google Photos offers multiple methods for uploading photos from an iPhone, including using the Google Photos app, the Google Drive app, or the Google Photos website. In this article, we will explore each method in detail, providing step-by-step instructions to help you easily upload your photos to Google Photos.
Regardless of the method you choose, it’s important to ensure that you have a stable internet connection while uploading your photos. Uploading large photo files may take some time, so having a reliable and fast internet connection will help streamline the process.
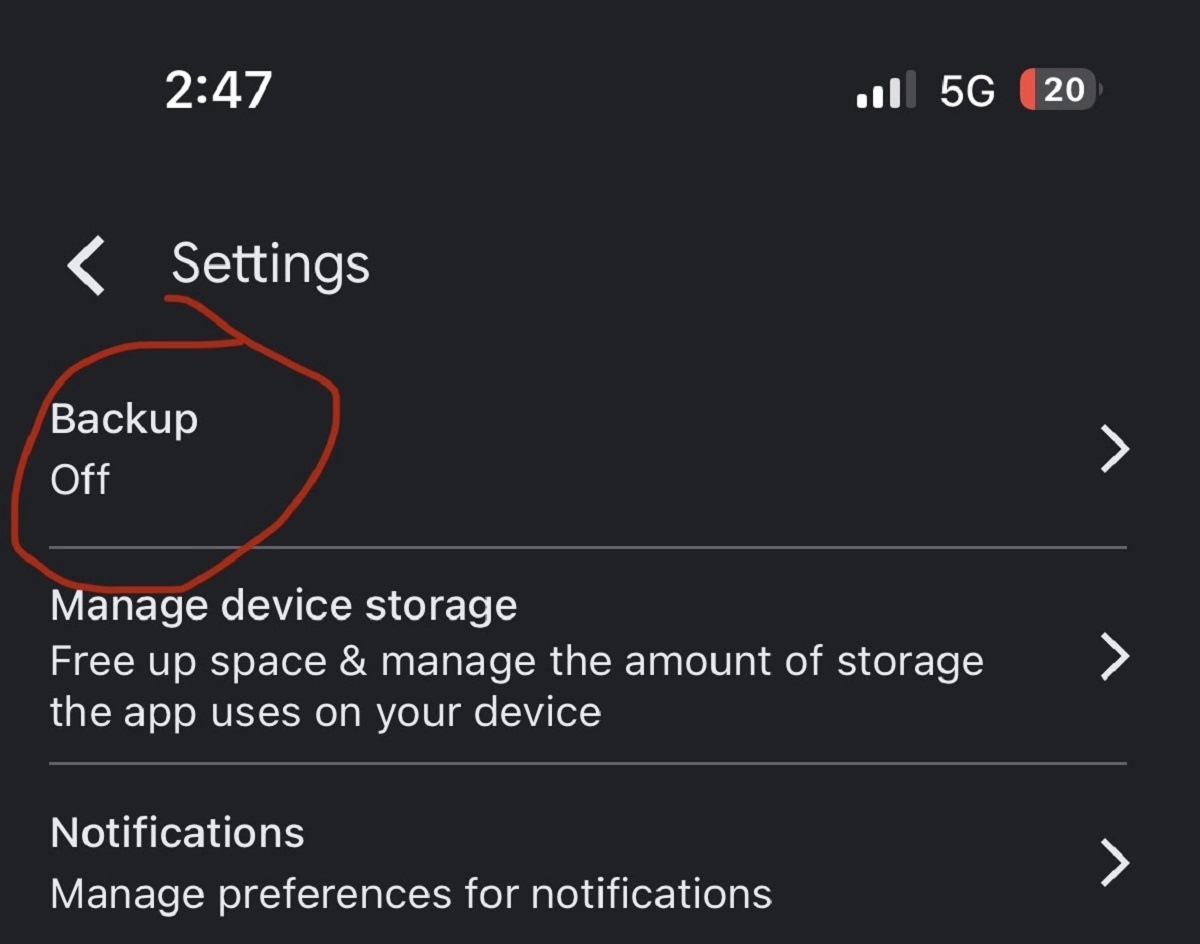
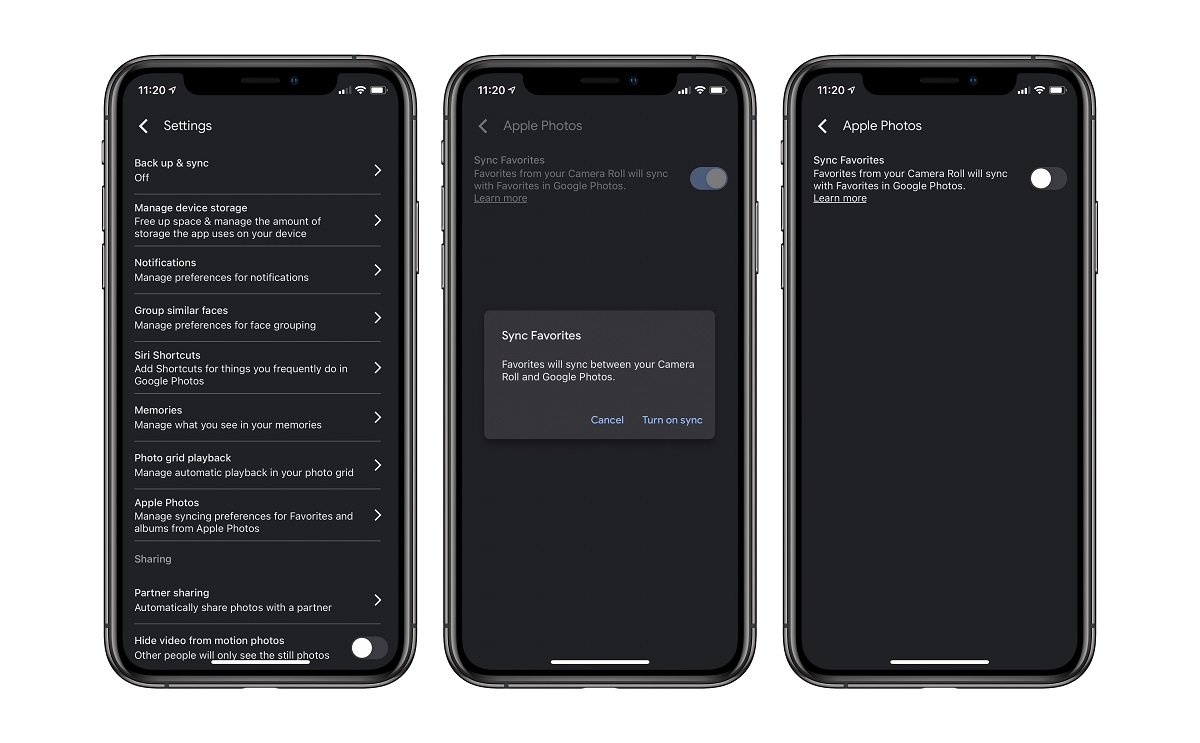
Before we dive into the different uploading methods, there are a few things you need to do to prepare. First, make sure you have the Google Photos app installed on your iPhone, or download it from the App Store if you haven’t already. Additionally, sign in to your Google account or create a new one if you don’t have an existing account. With these preparations out of the way, you’re ready to start uploading your photos to Google Photos!
Method 1: Using the Google Photos App
If you prefer using the Google Photos app to upload your photos, follow these steps:
- Launch the Google Photos app on your iPhone. If you haven’t signed in to your Google account, you will be prompted to do so.
- Once you’re signed in, tap on the “Library” tab at the bottom of the screen to access your photo library.
- Select the photos you want to upload. You can either tap on individual photos or swipe your finger to select multiple photos at once.
- After selecting the desired photos, tap on the “Share” icon located at the bottom left corner of the screen.
- From the sharing options, tap on “Google Photos” to upload the selected photos to your Google account.
- If prompted, choose the desired quality for your uploaded photos. You can select “High quality” if you want to optimize storage space, or “Original” if you want to preserve the original resolution of your photos. Keep in mind that photos uploaded in “High quality” may be compressed and might not count towards your Google account storage limit.
- Wait for the upload process to complete. The time it takes will depend on the number and size of the photos you’ve selected, as well as your internet connection speed.
- Once the upload is finished, you can access your uploaded photos by opening the Google Photos app on any device linked to your Google account.
Using the Google Photos app offers a seamless and straightforward way to upload your photos to Google Photos. It provides the flexibility to choose the quality of your uploaded photos and ensures easy access to your photos from any device with the Google Photos app installed.
Method 2: Using the Google Drive App
If you prefer using the Google Drive app to upload your photos to Google Photos, follow the steps below:
- Launch the Google Drive app on your iPhone. If you haven’t signed in to your Google account, you will be prompted to do so.
- Once you’re signed in, tap on the “+” button at the bottom right corner of the screen to create a new folder.
- Give the folder a name to easily identify it later, such as “Google Photos Upload” or any other name of your choice.
- Open the newly created folder and tap on the “+” button again to add photos to the folder.
- Select the photos you want to upload from your iPhone’s photo library.
- After selecting the desired photos, tap on the “Upload” button to begin the upload process.
- Wait for the photos to upload to the Google Drive folder. The time taken will depend on the size of the photos and the speed of your internet connection.
- Once the upload is complete, launch the Google Photos app on your iPhone.
- Tap on the “Library” tab and select the newly created folder from the albums list.
- Inside the folder, tap on the three-dot menu icon at the top right corner of the screen and select “Upload to Google Photos.”
- Choose the desired quality for your uploaded photos, either “High quality” or “Original,” keeping in mind the storage limits and potential compression of the high-quality option.
- Wait for the photos to finish uploading to Google Photos.
By using the Google Drive app as an intermediary, you can effectively upload your photos to Google Photos. This method allows you to organize your photos within a dedicated folder in Google Drive before transferring them to Google Photos, giving you more control over their organization.
Method 3: Using the Google Photos Website
If you prefer using the Google Photos website on your iPhone to upload photos, follow these steps:
- Open a web browser on your iPhone and navigate to the Google Photos website (photos.google.com).
- Sign in to your Google account if you haven’t done so already.
- Tap on the “Upload” icon, which is represented by a cloud with an up arrow, usually located at the top-right or bottom-right corner of the screen.
- Select “Photos and Videos” from the options presented.
- Browse your iPhone’s photo library and select the photos you want to upload. You can tap on individual photos or use the “Select” option to choose multiple photos at once.
- Once you’ve selected the photos, tap on the “Upload” button to start the uploading process.
- Wait for the photos to finish uploading to Google Photos. The upload time will depend on the size of the photos and the speed of your internet connection.
- Once the upload is complete, you’ll be able to access your uploaded photos by visiting the Google Photos website on any device linked to your Google account.
Using the Google Photos website provides a convenient option for uploading your photos directly from your iPhone. It allows you to easily select and upload multiple photos at once, giving you more flexibility and control over the uploading process.
Conclusion
Uploading photos to Google Photos on your iPhone is a simple and effective way to back up your memories and free up storage space. Whether you choose to use the Google Photos app, the Google Drive app, or the Google Photos website, you have multiple options to choose from based on your personal preferences.
The Google Photos app provides a user-friendly interface, allowing you to easily select and upload photos directly from your iPhone. You can choose the quality of the uploaded photos to optimize storage space or preserve their original resolution.
The Google Drive app offers an alternative method to upload photos to Google Photos. By creating a dedicated folder and uploading the photos to Google Drive first, you can then transfer them to Google Photos. This method provides more organization options and control over the uploading process.
If you prefer using the Google Photos website, you can upload photos directly from your iPhone’s browser. This method is convenient for selecting and uploading multiple photos at once and is accessible from any device with an internet connection.
Regardless of the method you choose, remember to ensure a stable internet connection and be patient during the uploading process, especially if you have numerous or large files. It’s always a good idea to periodically check and confirm that your photos have been successfully uploaded to Google Photos to ensure their safety and accessibility.
With these methods at your disposal, you can easily upload your photos to Google Photos and enjoy the peace of mind that comes with having your memories securely stored in the cloud. So, go ahead and start preserving your cherished moments on Google Photos today!


