Introduction
With the ever-increasing quality and capabilities of smartphone cameras, capturing precious moments has become easier than ever. As iPhone users, we often find ourselves overwhelmed with a multitude of photos stored on our devices. To alleviate this burden and ensure that our memories are safely backed up, many of us turn to cloud storage options like Google Photos. This popular app provides a seamless way to store, organize, and access our photos from any device with an internet connection.
If you’re one of the many iPhone users looking to move your photos to Google Photos, you’ve come to the right place. In this guide, we’ll walk you through the step-by-step process of transferring your iPhone photos to Google Photos. Whether you want to save space on your iPhone or simply have a backup of your cherished memories, Google Photos is an excellent solution.
By following this guide, you’ll learn how to install the Google Photos app on your iPhone, sign in to your Google account, and enable the necessary settings to start the backup process. We’ll also provide tips for monitoring and managing your photo backup and troubleshooting common issues that may arise. So, grab your iPhone and let’s get started on transferring those precious moments to Google Photos!
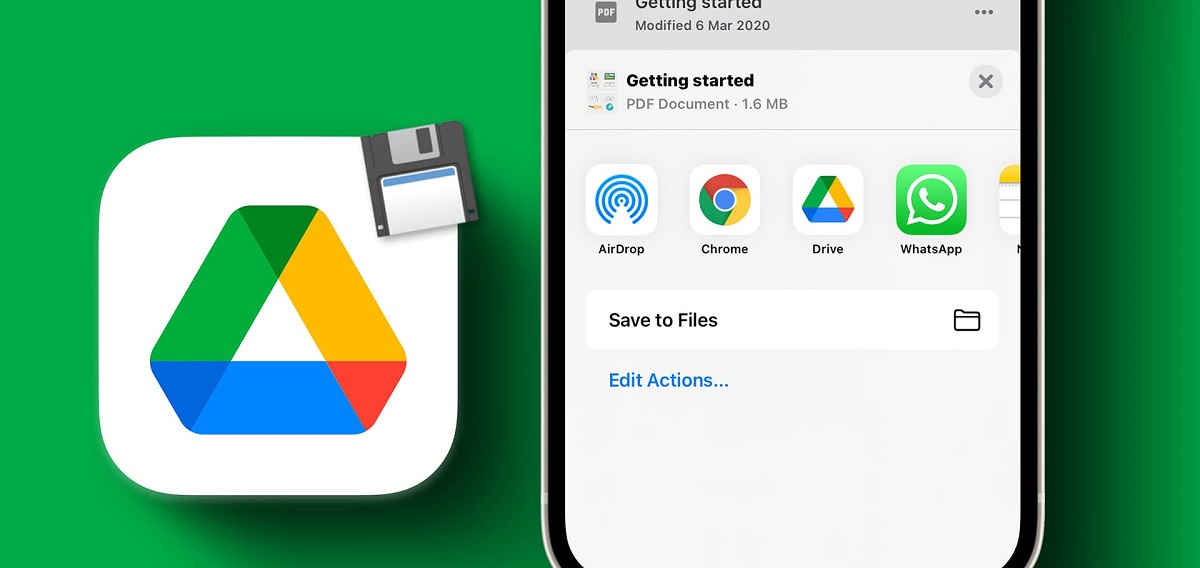
Step 1: Install the Google Photos app
The first step in moving your iPhone photos to Google Photos is to install the Google Photos app on your device. Here’s how you can do it:
- Open the App Store on your iPhone.
- Tap on the search icon at the bottom of the screen.
- Type “Google Photos” in the search bar and tap “Search.”
- Look for the official Google Photos app and tap on it.
- Tap the “Get” or “Download” button to start the installation process.
- Enter your Apple ID password or use Touch ID/Face ID to authenticate the download.
- Wait for the app to download and install on your iPhone.
- Once the installation is complete, tap “Open” to launch the Google Photos app.
Congratulations! You now have the Google Photos app installed on your iPhone. This app will serve as your gateway to storing and managing your photos in the Google Photos cloud.
Please note that the Google Photos app is available for free on the App Store. Ensure that you have a stable internet connection while downloading and installing the app. It’s also recommended to connect to a Wi-Fi network to avoid potential data charges, especially if you have a large photo library to upload.
In the next step, we’ll guide you through the process of signing in to your Google account within the Google Photos app.
Step 2: Sign in to your Google account
To access the full functionality of Google Photos and sync your iPhone photos to the cloud, you need to sign in to your Google account within the app. Follow the steps below to sign in:
- Open the Google Photos app on your iPhone.
- If you already have a Google account, tap “Sign in”. Otherwise, tap “Create account” to set up a new Google account.
- Enter your Google account credentials, including your email address and password.
- If you have multiple Google accounts, select the one you want to use with Google Photos.
- Tap “Next” and review the terms of service and privacy policy.
- Once you’ve read and agreed to the terms, tap “Accept” to continue.
- You will then be taken to the main Google Photos screen, and you’re now signed in to your Google account.
Now that you’re logged in to your Google account within the Google Photos app, your photos will be associated with this account, making it easier to access and manage them across devices. If you don’t have a Google account, you can easily create one within the app by following the instructions provided.
It’s crucial to ensure that you remember your Google account login details as they will be required if you need to access your photos from a different device or through the web interface.
In the next step, we’ll guide you on allowing access to your photos for Google Photos to begin backing them up.
Step 3: Allow access to your photos
In order for Google Photos to back up your iPhone photos, you’ll need to grant the app access to your device’s photo library. Follow these steps to allow access:
- Open the Settings app on your iPhone.
- Scroll down and tap on “Privacy”.
- Tap on “Photos”.
- You should now see a list of apps that have requested access to your photos. Locate and tap on “Google Photos”.
- Select the option that allows Google Photos to access your photos. This may be labeled as “Read and Write”, “Read and Write Access”, or a similar option.
- Exit the Settings app and open Google Photos again.
By granting Google Photos permission to access your photos, you’re giving the app the ability to scan and upload your iPhone photos to your Google account. Don’t worry, this access is limited to just the photos on your device and does not grant access to your other personal information.
Note that if you don’t allow access, Google Photos won’t be able to back up your photos automatically. You may also see a notification or prompt within the Google Photos app reminding you to grant access.
In the next step, we’ll walk you through enabling the “Backup & Sync” feature to start backing up your iPhone photos to Google Photos automatically.
Step 4: Enable the “Backup & Sync” feature
To ensure that your iPhone photos are automatically backed up to Google Photos, you’ll need to enable the “Backup & Sync” feature within the app. Follow the steps below to enable this feature:
- Open the Google Photos app on your iPhone.
- If you’re not already on the main screen, tap the “Library” tab at the bottom of the screen.
- At the bottom of the screen, tap on “Photos” or “Assistant” depending on the version of the app you have.
- Tap the icon with three horizontal lines in the top-left corner of the screen to open the navigation menu.
- Scroll down and tap on “Settings”.
- Under the “Backup & Sync” section, you’ll find various options. Ensure that the toggle switch next to “Backup & Sync” is turned on.
- By default, Google Photos will only back up photos while your iPhone is connected to Wi-Fi to avoid using your cellular data. If you want to enable backups on both Wi-Fi and cellular networks, enable the “Use cellular data to back up photos” option. Keep in mind that using cellular data may incur data charges from your mobile service provider.
- You can also choose whether to include videos in the backup by enabling the “Back up videos” option.
- Once you’ve customized the settings to your preference, exit the settings menu and Google Photos will start backing up your iPhone photos.
Enabling the “Backup & Sync” feature ensures that any new photos you capture with your iPhone will be automatically uploaded to your Google account. Google Photos will continuously sync your photo library, making it easy to access and manage your photos from any device with an internet connection.
In the next step, we’ll guide you through monitoring and managing your photo backup to ensure everything is running smoothly.
Step 5: Start the backup process
Once you’ve enabled the “Backup & Sync” feature in Google Photos, you can start the backup process to transfer your iPhone photos to the cloud. The app will automatically upload your photos to your Google account. Here’s how to get started:
- Open the Google Photos app on your iPhone.
- Ensure you have a stable internet connection, preferably Wi-Fi, to avoid using mobile data.
- The app will automatically detect any new photos on your iPhone and start backing them up. However, you can manually initiate the backup process by tapping the “Library” tab at the bottom of the screen.
- You’ll see a progress bar indicating that your photos are being backed up. Depending on the size of your photo library and the speed of your internet connection, this process may take some time to complete.
- Make sure to keep the Google Photos app open and your iPhone connected to the internet until the backup is finished.
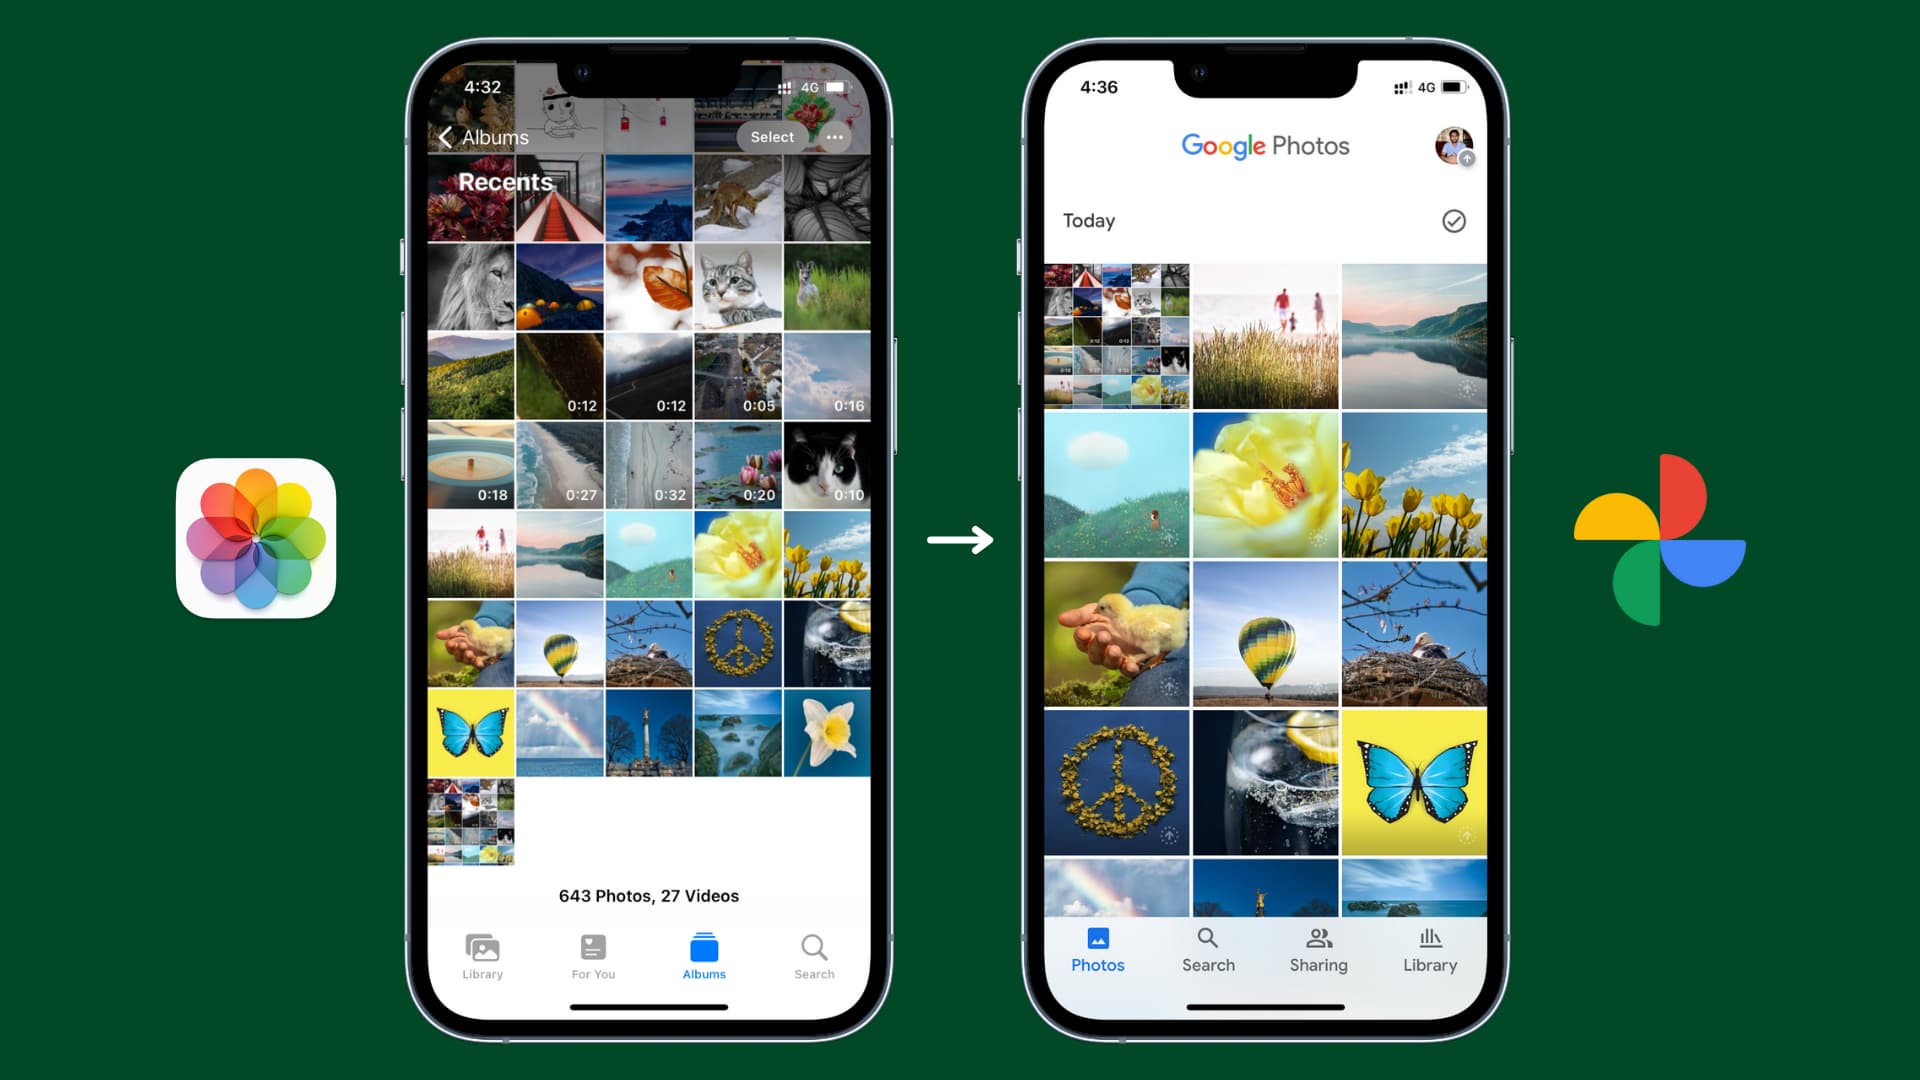
- Google Photos will organize your uploaded photos into chronological order, making it easier to locate specific moments in time.
During the backup process, you can continue using your iPhone as usual without any interruption. The upload will happen in the background, allowing you to access and use other apps or take additional photos without any issues.
Keep in mind that Google Photos provides unlimited storage for photos up to a certain resolution. If you choose to back up your photos in their original quality, they will count towards your Google account’s storage limit. However, you can opt for “High quality” backups, which compress photos slightly but still maintain excellent quality, and these backups won’t affect your storage quota.
In the next step, we’ll discuss how you can monitor and manage your photo backup in Google Photos.
Step 6: Monitor and manage your photo backup
Once you’ve initiated the backup process in Google Photos, it’s important to monitor and manage your photo backup to ensure everything is running smoothly. Here are some tips on how to do so:
- Open the Google Photos app on your iPhone.
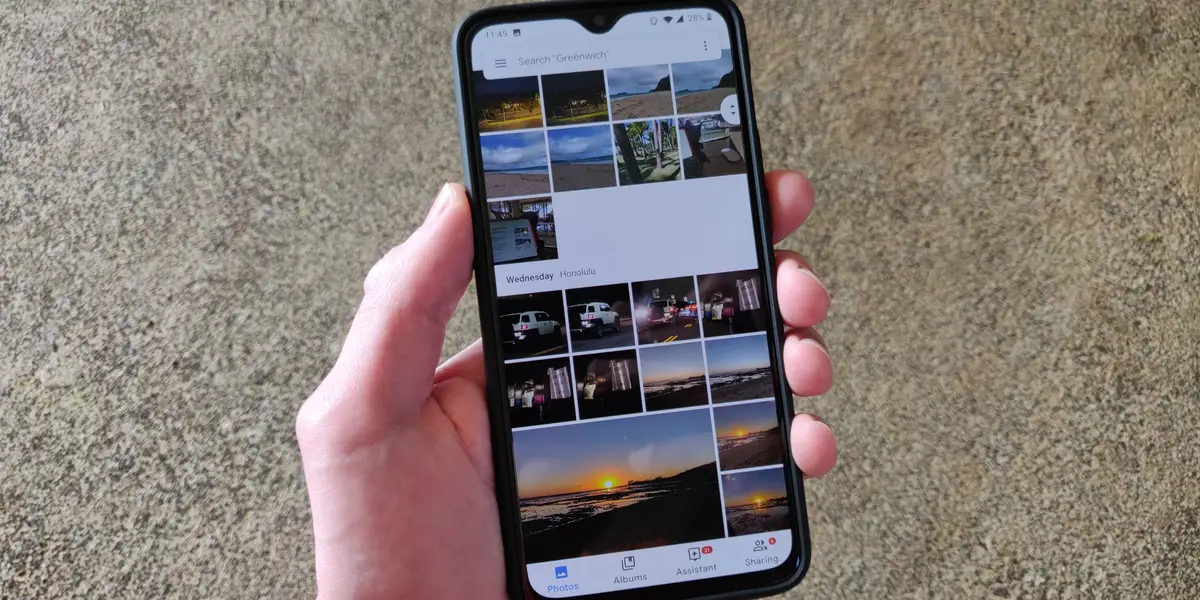
- Tap on the “Library” tab at the bottom to view your backed up photos.
- You’ll see a “Cloud” icon on each photo that has been successfully backed up to your Google account.
- To check the status of ongoing backups or view any potential errors, tap on the “Assistant” tab. Google Photos will display any relevant notifications or suggestions here.
- If you notice any photos that haven’t been backed up, ensure that your iPhone is connected to the internet and check if the “Backup & Sync” feature is turned on in the settings of Google Photos.
- If you want to manually back up specific photos or albums, you can do so by selecting them and tapping the “Upload” or “Backup” icon.
- You can also manage your photo backups by organizing them into albums or adding labels and descriptions to them. This can help you locate specific photos easily in the future.
- Google Photos also offers advanced search capabilities, allowing you to find photos based on specific criteria like location, time, people, and even objects present in the photos. Take advantage of these features to simplify your photo management.
By actively monitoring and managing your photo backup in Google Photos, you can ensure that your entire photo library is securely stored and easily accessible. Regularly check for any errors or notifications, and take appropriate actions to resolve them if necessary.
In case you encounter any challenges during the backup or have specific requirements, such as saving storage space on your iPhone, Google Photos offers various settings and options that you can customize to suit your needs. Explore the app’s settings menu to discover additional features and preferences.
In the next step, we’ll explore some common issues users face during the backup process and provide troubleshooting tips to resolve them.
Step 7: Troubleshooting common issues
During the process of transferring your iPhone photos to Google Photos, you may encounter some common issues. Here are a few troubleshooting tips to help you resolve them:
- Slow or stalled backup: If the backup process is taking longer than expected or appears to be stalled, ensure that your iPhone has a stable internet connection. Slow upload speeds or network interruptions can cause delays. You can try restarting your iPhone or resetting your internet connection to resolve the issue.
- Photos not appearing in Google Photos: If you don’t see all your photos in the Google Photos app, make sure you granted the app permission to access your photos in the iPhone settings (Step 3). Additionally, ensure that you’re signed in to the correct Google account. Sometimes, it may take a while for all photos to appear if you have a large library.
- Error messages during backup: If you encounter error messages while backing up your photos, check the error details and follow any instructions provided. Common issues include insufficient storage space on your Google account or problems with your internet connection. Resolve these issues accordingly and try again.
- Issues with video backups: If you’re experiencing problems with backing up videos, ensure that you’ve enabled the “Back up videos” option in the “Backup & Sync” settings of Google Photos. Also, check if the videos meet the supported file formats and size limits of Google Photos.
- Incorrect date or time: If you notice that the date or time of your photos is incorrect in Google Photos, it might be due to a discrepancy in the time settings on your iPhone and Google account. Ensure that both are set correctly to avoid any timestamp issues.
These are just a few common troubleshooting tips for issues you may encounter during the photo transfer process. If you continue to experience problems, you can visit the Google Photos Help Center or seek assistance from their support team for further assistance.
By addressing and resolving any issues that arise, you can ensure a smooth and successful transfer of your iPhone photos to Google Photos, giving you peace of mind knowing that your memories are securely backed up in the cloud.
Congratulations! You’ve completed all the steps to move your iPhone photos to Google Photos. Now you can enjoy the convenience and peace of mind that comes with having your photos safely stored and easily accessible from any device with an internet connection.
Conclusion
Transferring your iPhone photos to Google Photos provides a convenient and secure way to back up your memories and access them from any device. By following the steps outlined in this guide, you can seamlessly move your photos to the cloud and ensure their preservation for years to come.
Starting with the installation of the Google Photos app and signing in to your Google account, you’ve learned how to allow access to your photos and enable the “Backup & Sync” feature for automatic uploads. By monitoring and managing your photo backup, you can stay on top of any issues or errors that may arise.
During the process, we provided troubleshooting tips to overcome common obstacles such as slow backups or missing photos. By following these suggestions, you can address any issues effectively.
Remember to keep an eye on your photo library in Google Photos, organizing and labeling them to make searching easier in the future. The app’s advanced search capabilities allow you to find specific photos based on criteria like location, time, and even objects present in the images.
Moving your iPhone photos to Google Photos not only provides a reliable backup solution but also frees up valuable storage space on your device. With your memories safely stored in the cloud, you can make more room for new photos and videos without worrying about running out of storage.
So don’t delay, follow the steps outlined in this guide and start transferring your iPhone photos to Google Photos today. Preserve your memories, simplify your photo management, and enjoy the convenience of having your entire photo library accessible wherever you go.