Introduction
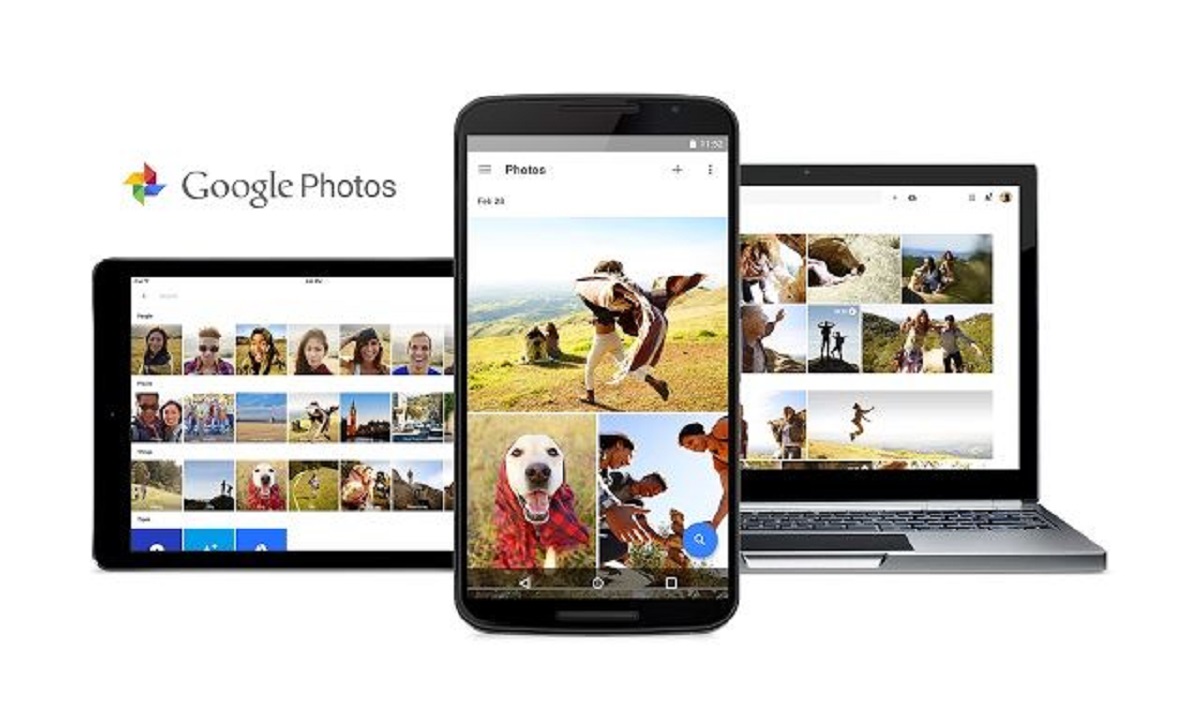
Welcome to the world of Google Photos! Whether you are an amateur photographer, a professional shutterbug, or just someone who loves capturing precious moments, Google Photos is the perfect platform to store, organize, and share your photos. With its seamless integration across devices and powerful features, it has become a go-to app for photo enthusiasts around the globe.
In this article, we will guide you through the process of adding photos to Google Photos albums, one step at a time. Whether you want to create a new album from scratch, add photos to an existing album, or organize and share your albums with friends and family, we’ve got you covered.
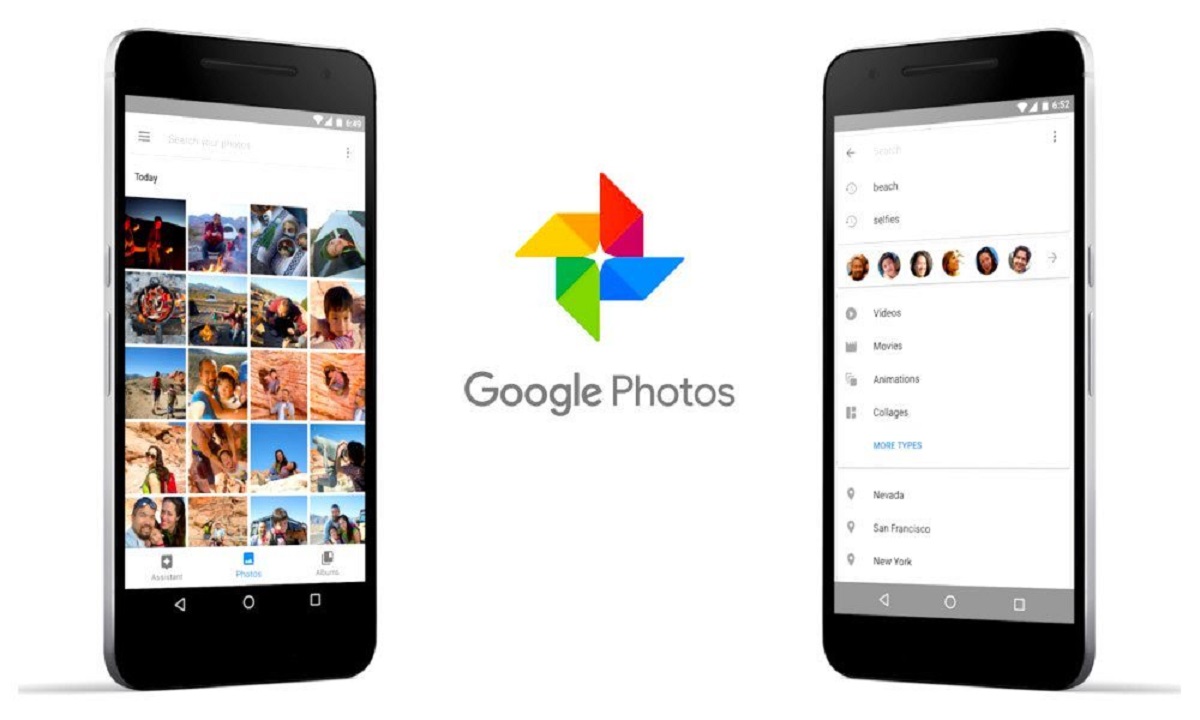
Google Photos offers a user-friendly interface and advanced capabilities, making it a versatile tool for managing your photo library. From uploading and arranging photos to collaborating with others, you will learn how to make the most out of this incredible platform. No matter if you are using a computer or a mobile device, you will find our instructions applicable to both scenarios.
So, grab your camera and let’s dive into the world of Google Photos! Whether you want to preserve your cherished memories, organize your travel adventures, or showcase your photography skills, this guide will help you unleash the full potential of Google Photos albums.
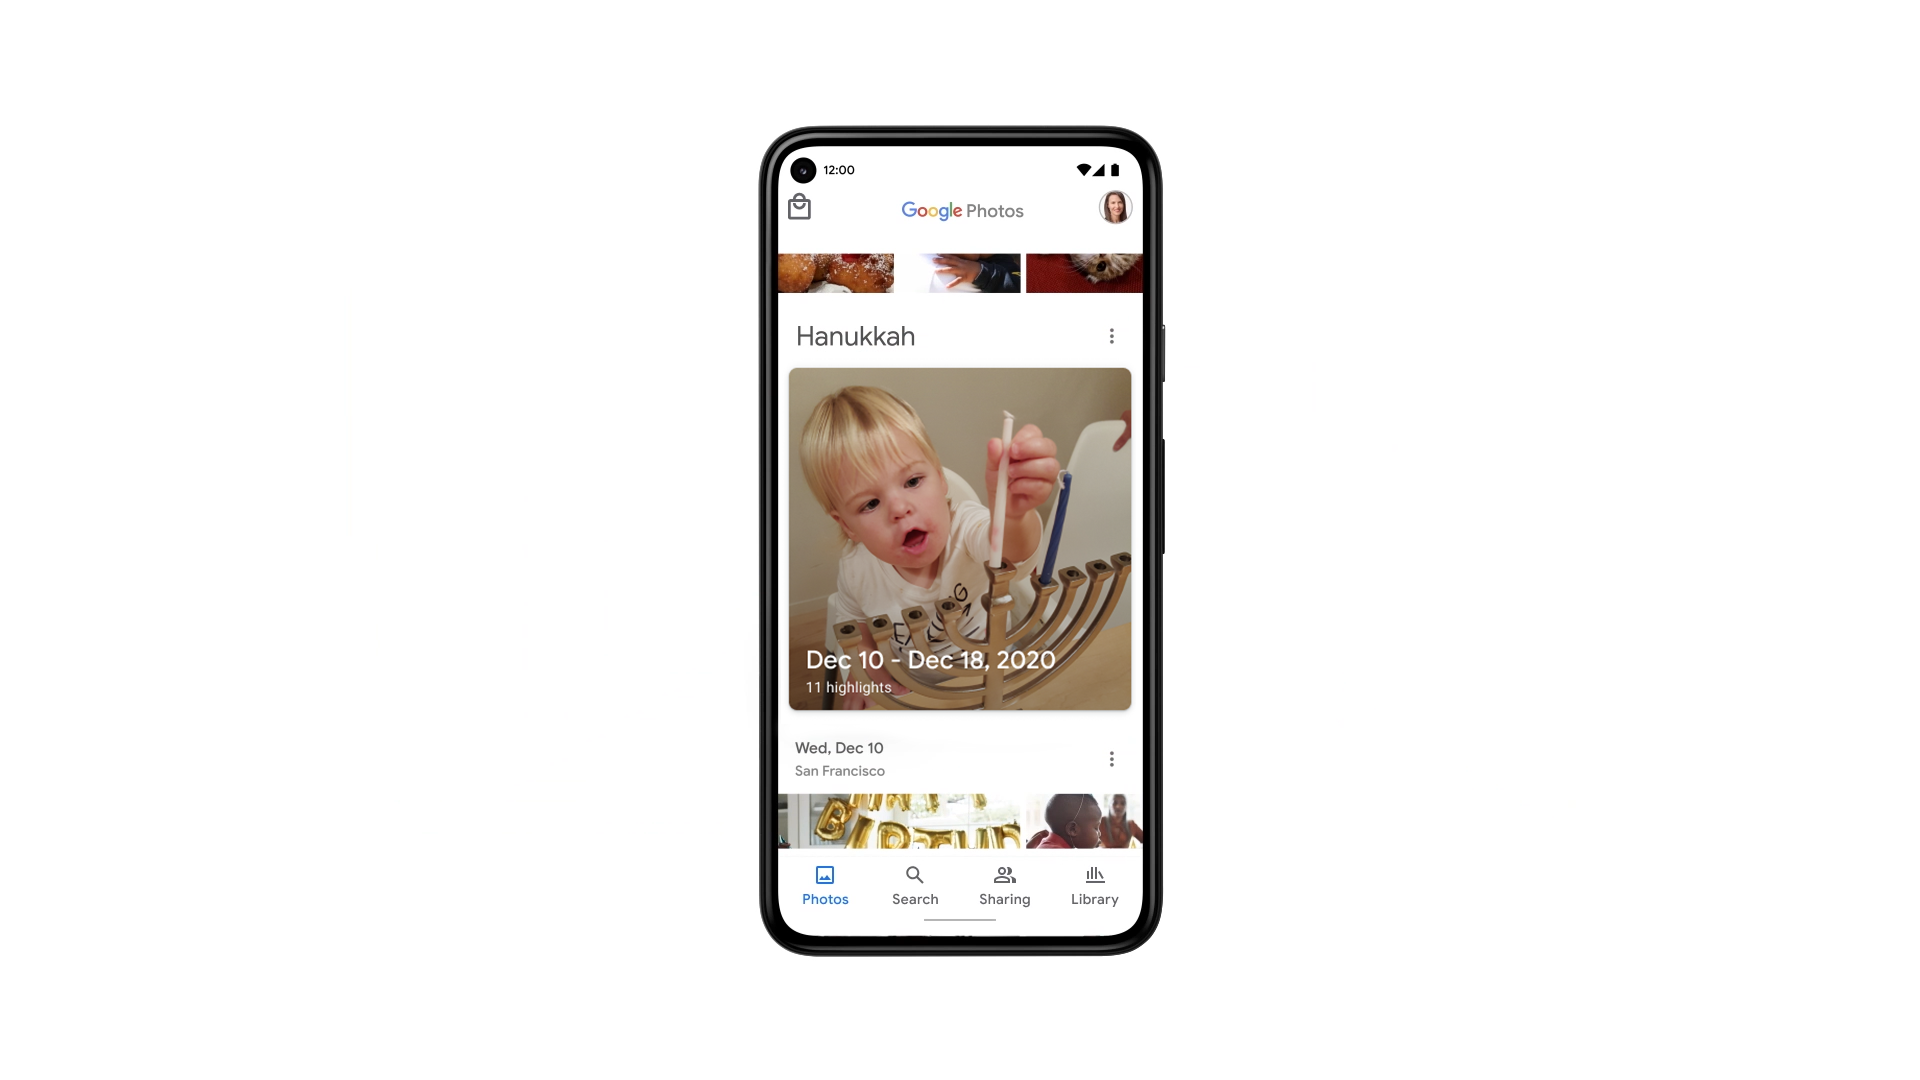
Creating a New Google Photos Album
Creating a new Google Photos album is a breeze. Follow these simple steps to organize your photos into a new album:
- Open Google Photos: Launch the Google Photos app on your mobile device or access it through your web browser on your computer.
- Select Photos: Choose the photos you want to add to your new album. You can select multiple photos by holding down the CTRL (or Command) key while clicking on each photo.
- Click on the “Create” button: Look for the “Create” button, usually represented by a plus (+) sign or a colorful icon, and click on it.
- Choose “Album” from the options: A drop-down menu will appear with different options. Select “Album” to create a new album.
- Give your album a name: Enter a descriptive name for your new album. Choose a name that reflects the content or theme of the photos you are adding.
- Click on “Create Album”: Once you have entered the name for your new album, click on the “Create Album” button to finalize the creation of your album.
That’s it! You have successfully created a new Google Photos album. You can now access this album anytime and add more photos to it by following the instructions in the next section.
Creating separate albums for different events, subjects, or categories will help you stay organized and easily locate specific photos when needed. Whether it’s a collection of family vacation pictures or a portfolio of your favorite landscapes, Google Photos albums provide a streamlined way to keep your memories in order.
Uploading Photos to Google Photos
Uploading your photos to Google Photos is a straightforward process. Follow these steps to start adding your cherished memories to your Google Photos library:
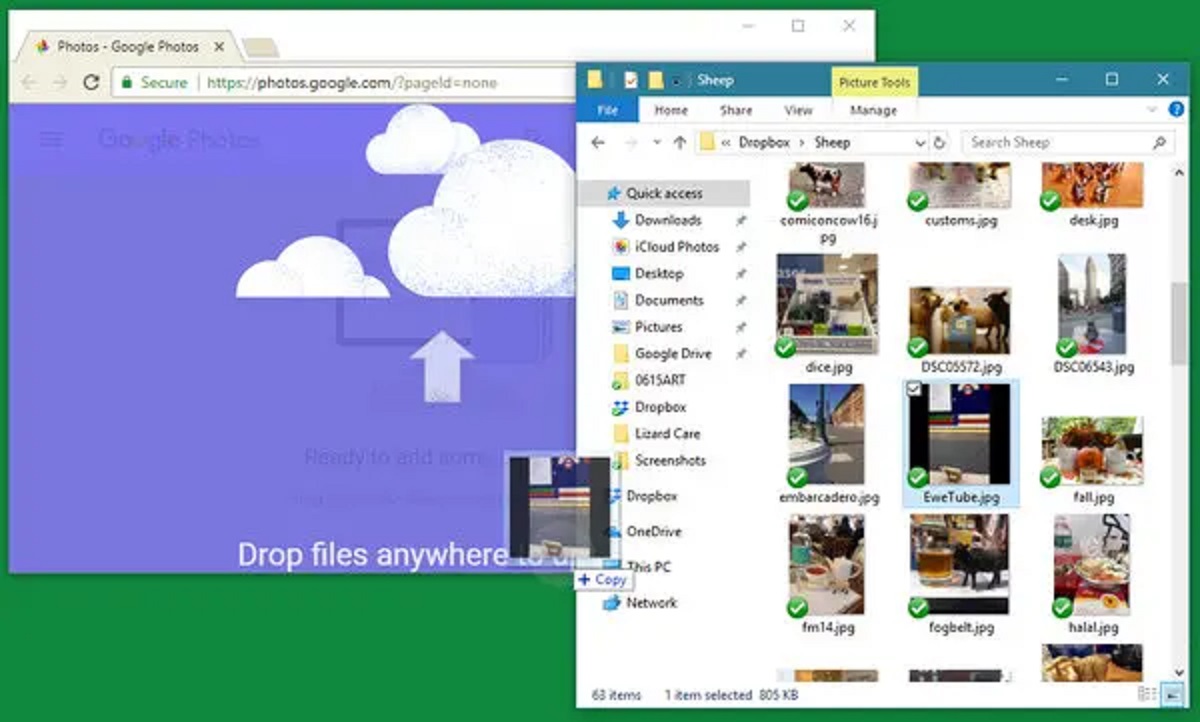
- Open Google Photos: Launch the Google Photos app on your mobile device or access it through your web browser on your computer.
- Click on the “Upload” button: Look for the “Upload” button, represented by a cloud icon with an upward arrow. Click on it to begin the upload process.
- Select photos to upload: A file explorer or photo picker will appear. Navigate to the location where your photos are stored and select the photos you want to upload. You can select multiple photos at once.
- Confirm the upload: Once you have chosen the photos, click on the “Open” button or the equivalent option to confirm the selection and start the upload process.
- Monitor the upload progress: Google Photos will show the progress of the upload, indicating how many photos are being uploaded and their upload status. This may take some time depending on the size and quantity of the selected photos.
- Review the uploaded photos: After the upload is complete, you can view the uploaded photos in your Google Photos library. They will also be automatically organized by date and accessible through the “Photos” tab.
By uploading your photos to Google Photos, you ensure that your precious memories are safely stored and easily accessible whenever you need them. The platform offers unlimited free storage for high-quality photos, giving you peace of mind knowing that your photos are secure and won’t take up valuable space on your device.
Additionally, the uploaded photos can be searched, edited, and shared with ease, making Google Photos a versatile platform for managing your photo collection. So start uploading your favorite photos to Google Photos and unlock the benefits of this powerful photo management tool.
Adding Photos to an Existing Google Photos Album
If you have already created a Google Photos album and would like to add more photos to it, follow these simple steps:
- Open Google Photos: Launch the Google Photos app on your mobile device or access it through your web browser on your computer.
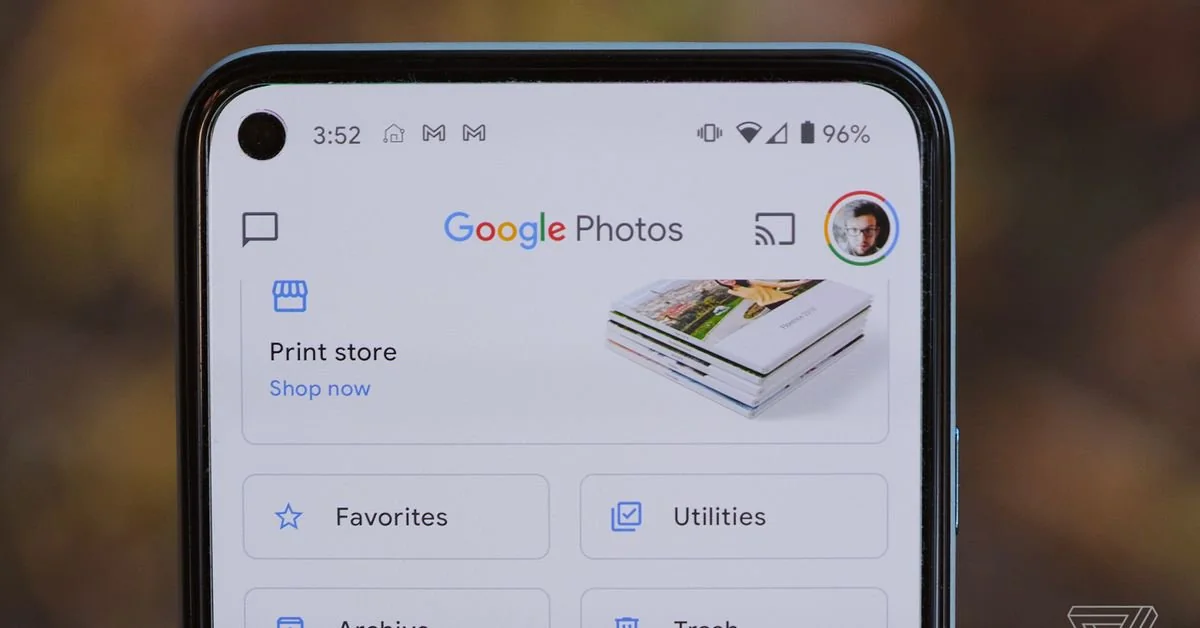
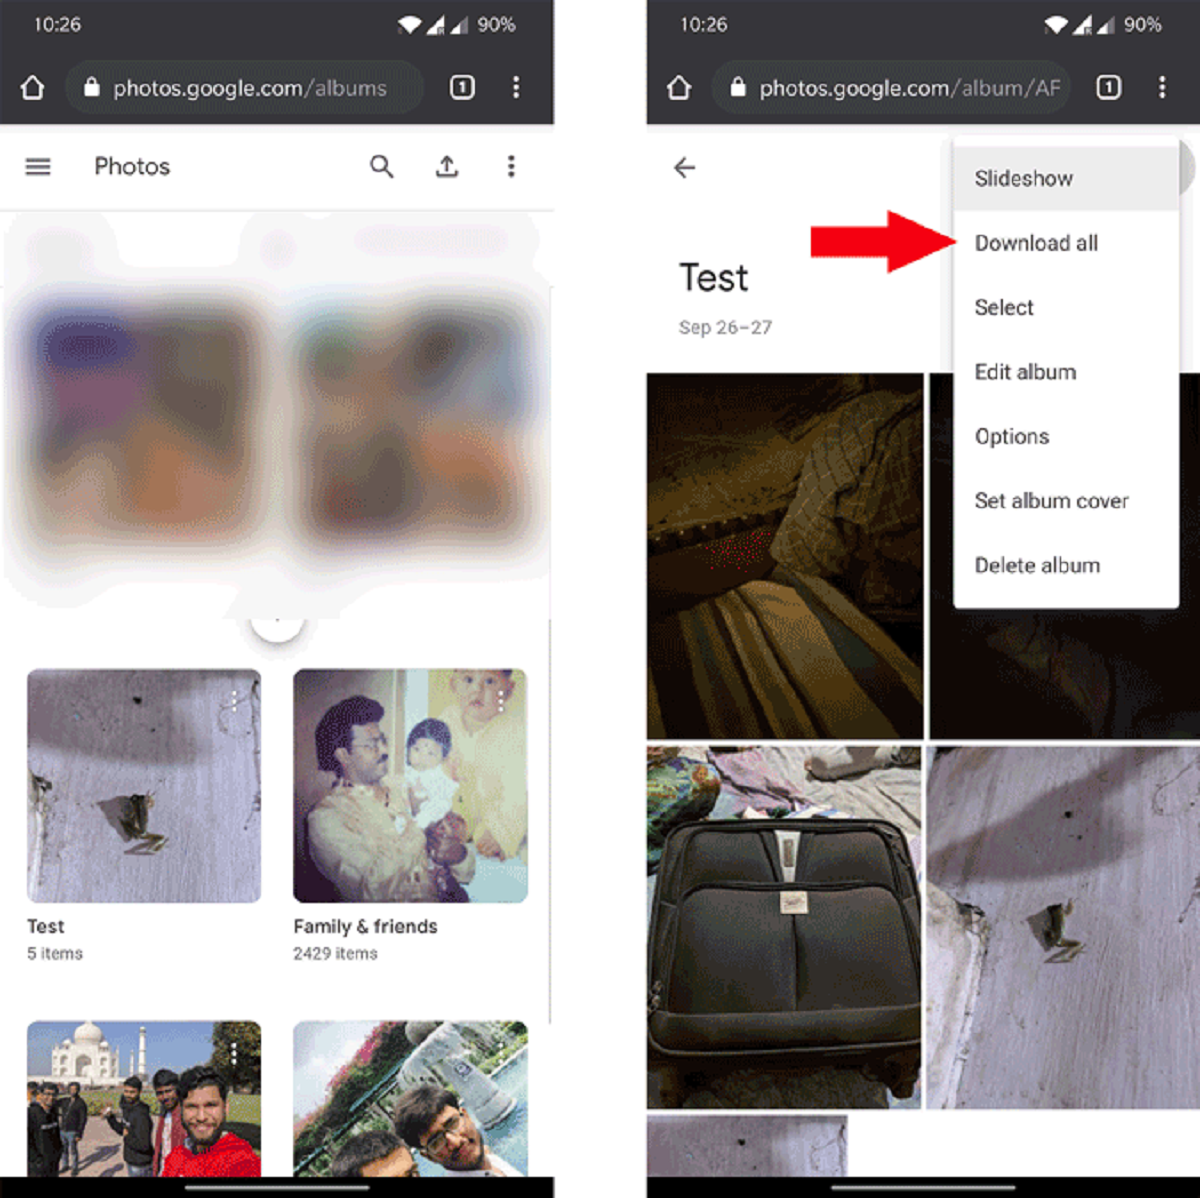
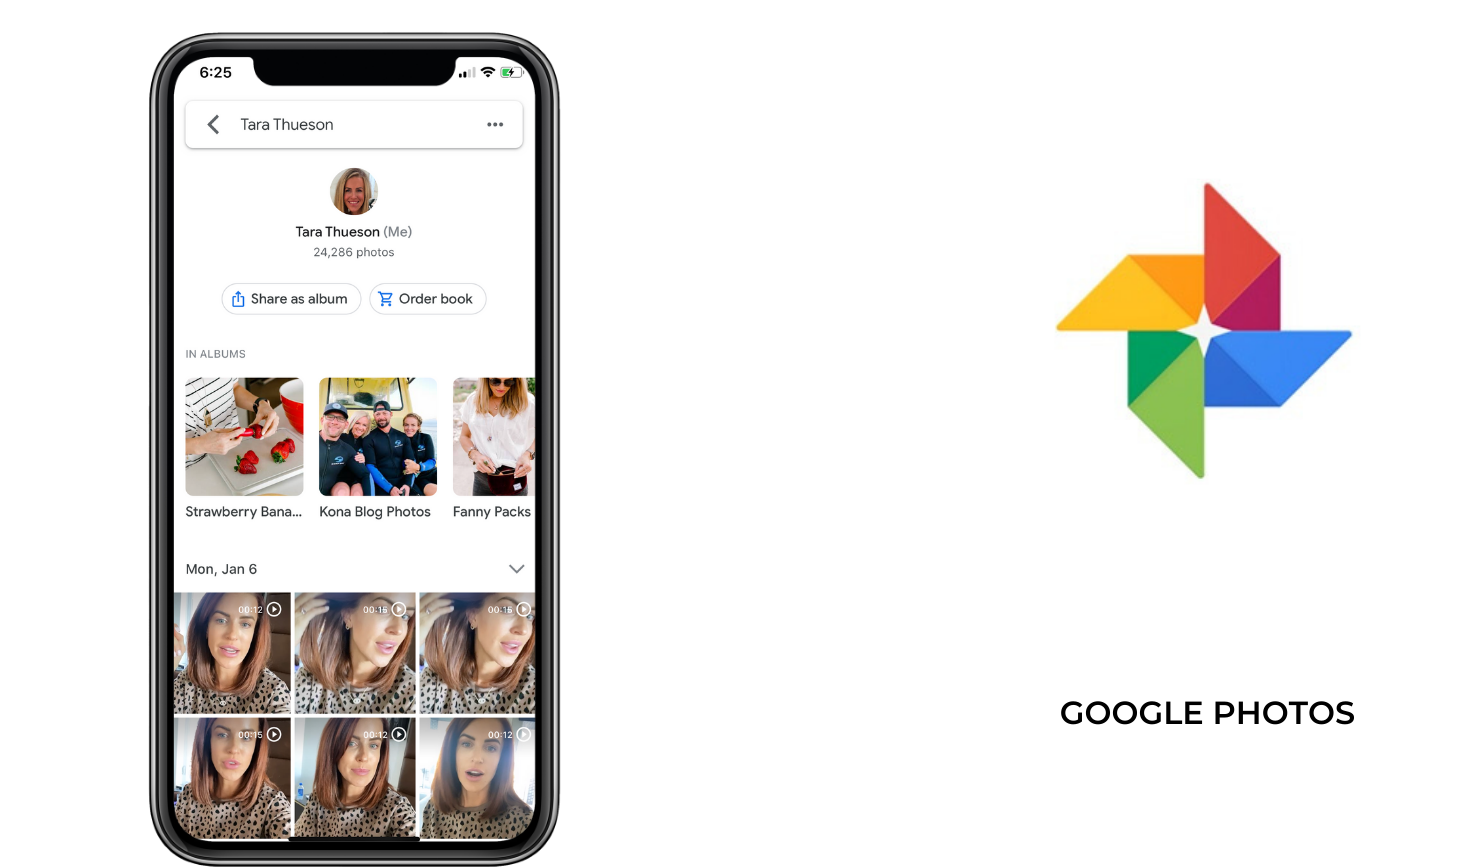
- Go to the “Albums” tab: Locate and click on the “Albums” tab in the navigation bar, usually located at the bottom of the screen on mobile devices or in the sidebar on computers.
- Select the desired album: Scroll through your list of albums and click on the specific album to which you want to add more photos.
- Click on the “Add Photos” button: Look for the “Add Photos” button, which is usually represented by a plus (+) sign, and click on it.
- Select photos to add: A file explorer or photo picker will appear. Navigate to the location where your desired photos are stored and select the photos you want to add. You can select multiple photos at once.
- Confirm the addition: Once you have chosen the photos, click on the “Open” button or the equivalent option to confirm the selection and add the photos to the album.
- View the added photos: The photos you selected will be added to the existing album, and you can now see them within the album’s collection.
Adding photos to an existing Google Photos album allows you to consolidate related photos in one place. Whether it’s a vacation album, a special event album, or a theme-based collection, adding more photos to a specific album helps you keep your memories well-organized and easily accessible.
Remember, you can add photos to multiple albums if desired, allowing you to categorize your photos in different ways. This flexibility makes Google Photos a versatile tool for managing and curating your photo collection according to your personal preferences and needs.
Organizing Photos within an Album
Google Photos offers easy-to-use tools for organizing and arranging your photos within an album. By following these steps, you can ensure that your album showcases your photos in the best possible way:
- Open Google Photos: Launch the Google Photos app on your mobile device or access it through your web browser on your computer.
- Go to the “Albums” tab: Navigate to the “Albums” tab by clicking on it in the navigation bar at the bottom of your screen on mobile devices or in the sidebar on your computer.
- Select the desired album: Scroll through your list of albums and click on the specific album you wish to organize.
- Click on the “Organize” button: Look for the “Organize” button, usually represented by an icon with three vertical dots, and click on it.
- Drag and drop photos: Within the organizing mode, you can simply drag and drop photos to rearrange their order within the album. This allows you to create a sequence that tells a story or showcases your photos in a specific way.
- Add captions to photos (optional): To provide more context or descriptions for your photos, you can add captions. Click on a photo and look for the “Add caption” option to include a brief description.
- Save changes: Once you have rearranged photos or added captions, make sure to click on the “Save” or “Done” button to apply the changes and finalize the organization of your album.
Organizing your photos within an album allows you to create a visually appealing and engaging experience for viewers. You can arrange your photos in a chronological order, group them by themes, or tell a story by carefully selecting and arranging the images. Adding captions provides additional context and enhances the storytelling aspect of your album.
By taking advantage of these organizational features, you can create albums that not only showcase your photos but also evoke emotions and memories. So, take some time to curate and arrange your photos within your Google Photos albums to create a personalized and impactful visual narrative.
Sharing Google Photos Albums
Sharing your Google Photos albums with friends, family, or colleagues is a wonderful way to let them experience and enjoy your photos. Google Photos provides several options for sharing albums, making it easy for you to distribute your albums to others. Here’s how you can share your Google Photos albums:
- Open Google Photos: Launch the Google Photos app on your mobile device or access it through your web browser on your computer.
- Go to the “Albums” tab: Navigate to the “Albums” tab by clicking on it in the navigation bar at the bottom of your screen on mobile devices or in the sidebar on your computer.
- Select the album you want to share: Scroll through your list of albums and click on the album you wish to share.
- Click on the “Share” button: Look for the “Share” button, usually represented by an icon with an arrow pointing outwards, and click on it.
- Choose your sharing method: Google Photos offers several sharing options, such as sharing a link, sending an invitation via email, or sharing directly to social media platforms. Select the method that suits your needs.
- Customize sharing settings (optional): Depending on your sharing method, Google Photos may provide additional settings to customize who can view, edit, or add photos to the shared album. Adjust these settings according to your preferences.
- Send or publish the shared album: Once you have selected your sharing method and customized any necessary settings, click on the “Send” or “Publish” button to share your album. This will distribute the album to the desired recipients or make it publicly accessible, depending on your chosen sharing method.
Sharing your Google Photos albums enables others to view and engage with your photos. Whether you are sending a link to specific individuals, sharing via email, or posting on social media, your audience can experience your photos and leave comments or reactions. This fosters a sense of connection and allows you to share your memories with others, regardless of their location.
Remember to consider privacy settings and choose the appropriate level of access when sharing your albums. You can limit access to certain individuals or make the album public for broader viewing. Additionally, you can revoke access to a shared album at any time if you no longer wish for others to view or interact with your photos.
So, go ahead and share your Google Photos albums with the world, spreading joy and creating meaningful connections through your cherished memories.
Collaborating on Google Photos Albums
Google Photos not only allows you to share albums with others but also offers collaborative features that enable multiple people to contribute to and interact with an album. This collaborative approach fosters a sense of teamwork and allows for a richer and more dynamic album experience. Here’s how you can collaborate on Google Photos albums:
- Open Google Photos: Launch the Google Photos app on your mobile device or access it through your web browser on your computer.
- Navigate to the “Albums” tab: Click on the “Albums” tab in the navigation bar at the bottom of your screen on mobile devices or in the sidebar on your computer.
- Select the album for collaboration: Scroll through your list of albums and choose the album you want to collaborate on.
- Click on the “Share” button: Look for the “Share” button, usually represented by an icon with an arrow pointing outwards, and click on it.
- Invite collaborators: Choose the method through which you want to invite others to collaborate on the album. You can send invitations via email or create a shareable link that can be shared through various communication channels.
- Grant editing access: When sending invitations or generating a shareable link, ensure that you grant editing access to the collaborators. This enables them to not only view but also add and edit photos within the album.
- Manage permissions: As the album owner, you have control over the collaborators’ permissions. You can remove or restrict access at any time, ensuring that you have full control over the album’s content.
- Interact and collaborate: Collaborators can now access the shared album, view the photos, and contribute their own. They can add new photos, edit existing ones, or leave comments and reactions to engage with the album and other collaborators.
Collaborating with others on Google Photos albums opens up new possibilities for creativity and community engagement. Whether it’s a shared album for a special event, a collaborative project, or a collection of memories created by a group of friends or family members, everyone can contribute their unique perspective and create a truly collective album.
By allowing others to contribute to your album, you create a collaborative space where ideas, memories, and experiences intersect. This fosters a sense of togetherness and creates a dynamic album that evolves as each collaborator adds their own special touch.
So, gather your friends, family, or colleagues, and start collaborating on Google Photos albums. Let everyone’s creativity shine as you create a shared collection of memories to be cherished for years to come.
Editing and Deleting Photos in Google Photos Albums
Google Photos offers robust editing capabilities that allow you to enhance your photos and make them truly shine. Additionally, you can easily delete photos from your albums if you no longer wish to include them. Here’s how you can edit and delete photos within Google Photos albums:
- Open Google Photos: Launch the Google Photos app on your mobile device or access it through your web browser on your computer.
- Go to the “Albums” tab: Navigate to the “Albums” tab by clicking on it in the navigation bar at the bottom of your screen on mobile devices or in the sidebar on your computer.
- Select the album containing the photo: Scroll through your list of albums and choose the album that includes the photo you want to edit or delete.
- Locate the desired photo: Browse through the photos within the album and find the specific photo you wish to edit or delete.
- Edit the photo: Click on the photo to open it in full view, then look for the editing options such as cropping, rotating, applying filters, adjusting brightness, or making other enhancements. Explore the editing tools provided by Google Photos to customize the appearance of the photo according to your preferences.
- Save your changes: Once you are satisfied with the edits, click on the “Save” or “Done” button to apply the changes and save the edited photo.
- Delete the photo (optional): If you no longer wish to include a particular photo in the album, locate the photo and click on the delete icon, usually represented by a trash can that allows you to remove the photo from the album.
- Confirm the deletion: A pop-up window will appear asking for confirmation. Confirm the deletion by clicking “OK” or the equivalent option to remove the photo permanently from the album.
Editing your photos within Google Photos albums allows you to enhance their visual appeal and bring out the best in each image. From basic adjustments to more advanced editing techniques, you can transform your photos to reflect your creative vision.
Deleting photos from your albums provides you with the ability to curate and refine your album’s content. If a photo no longer aligns with the theme or story of your album, you can easily remove it without affecting any other photos in your library.
By using the editing and deletion capabilities of Google Photos albums, you can ensure that your albums are a collection of your best and most meaningful photos, capturing and preserving the moments that are most important to you.
Moving Photos between Albums
Google Photos allows you to easily move photos between albums, giving you the flexibility to organize your photos in the way that best suits your needs. Whether you want to consolidate similar photos into a single album or rearrange photos for a better flow, here’s how you can move photos between albums:
- Open Google Photos: Launch the Google Photos app on your mobile device or access it through your web browser on your computer.
- Go to the “Albums” tab: Navigate to the “Albums” tab by clicking on it in the navigation bar at the bottom of your screen on mobile devices or in the sidebar on your computer.
- Select the album containing the photo: Scroll through your list of albums and choose the album that currently holds the photo you want to move.
- Locate the desired photo: Browse through the photos within the album and find the specific photo you wish to move.
- Click on the “Options” menu: Look for the “Options” menu, usually represented by three vertical dots or an ellipsis icon, next to the photo you want to move.
- Select “Move to another album”: From the options menu, choose the “Move to another album” or similar option to initiate the moving process.
- Select the target album: A list of your other albums will be displayed. Choose the album where you want to move the selected photo.
- Confirm the move: Once you have chosen the destination album, click on “Move” or the equivalent option to confirm and complete the process of moving the photo.
Moving photos between albums provides you with the flexibility to reorganize your photo collection and create a cohesive structure. Whether you are merging albums, creating subcategories, or simply adjusting the order of your photos, this feature allows you to customize your albums to your liking.
With the ability to move photos between albums, you can ensure that your albums accurately reflect the stories and themes you want to convey. This helps you streamline your photo management process and create a more organized and enjoyable viewing experience for yourself and others.
So, take advantage of the photo-moving capabilities in Google Photos and let your albums evolve as you refine and curate your collection. Move photos around to achieve the desired arrangement and showcase your photos in the most meaningful way.
Conclusion
In this article, we have explored the various aspects of working with Google Photos albums. From creating new albums to uploading and organizing photos, sharing with others, collaborating, and making edits and deletions, Google Photos offers a comprehensive set of tools for managing your photo collection.
Creating a new album allows you to group related photos together, while uploading photos to Google Photos ensures their safety and accessibility across devices. Adding photos to existing albums helps you expand and curate your collections, and organizing within albums allows you to personalize the viewing experience for yourself and others.
Sharing Google Photos albums with friends, family, or colleagues brings your photos to life and allows for meaningful connections. Collaboration on albums fosters teamwork and creative exploration, as multiple individuals contribute their own perspectives to create a collective album.
Furthermore, leveraging the editing and deletion capabilities of Google Photos albums empowers you to enhance your photos and refine the album content, resulting in a more visually appealing and curated collection.
Lastly, the ability to move photos between albums gives you the flexibility to reorganize and customize your albums to reflect your vision and narrative.
By utilizing the features provided by Google Photos albums, you can manage your photo collection with ease and showcase your memories in a captivating way. So, embrace the power of Google Photos and start creating and curating your albums today!