Introduction
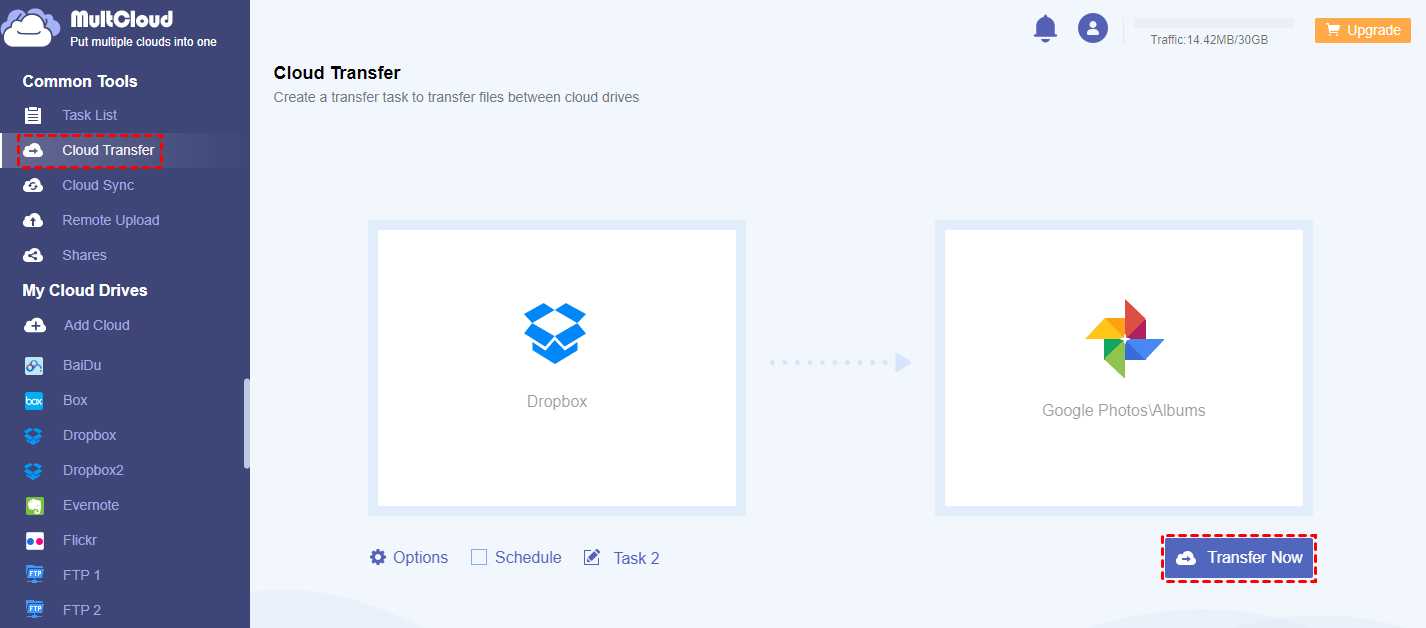
Welcome to our guide on how to transfer photos from Dropbox to Google Photos. As technology evolves, it’s common for users to migrate their files and data to different platforms for various reasons. If you have been using Dropbox to store and manage your photos, but now want to switch to Google Photos, you’ll need to transfer your photo collection to the new platform.
Google Photos offers a user-friendly interface, unlimited storage for high-quality photos, and advanced search and organization features. By moving your photos from Dropbox to Google Photos, you can take advantage of these benefits and ensure that your precious memories are stored in a secure and accessible location.
In this guide, we will walk you through the process step-by-step, making it easy for you to transfer your photos seamlessly. We will cover how to download photos from Dropbox, create a new album in Google Photos, upload the photos to Google Photos, and manage and organize your photos efficiently in the new platform.
Whether you’re a beginner or experienced user, this guide is designed to help you through each stage of the transfer process. So, let’s get started on your journey to seamlessly transfer your photos from Dropbox to Google Photos!
Step 1: Downloading Photos from Dropbox
The first step in transferring your photos from Dropbox to Google Photos is to download them from your Dropbox account. Follow the steps below to complete this process:
- Login to your Dropbox account using your credentials.
- Navigate to the folder where your photos are stored.
- Select the photos you wish to download. You can choose individual photos or use the Ctrl/Command key to select multiple photos.
- Right-click on the selected photos and choose the “Download” option from the context menu.
- Choose a location on your computer to save the downloaded photos.
- Click the “Save” or “OK” button to start the download process.
- Wait for the download to complete. The time it takes will depend on the size of your photos and your internet connection speed.
Once the download is finished, you will have a local copy of your photos from Dropbox on your computer. Now, you’re ready to proceed to the next step of the transfer process: creating a new album in Google Photos.
Step 2: Creating a New Album in Google Photos
Now that you have downloaded your photos from Dropbox, the next step is to create a new album in Google Photos to organize and store your transferred photos. Follow the steps below to create a new album:
- Open your browser and go to the Google Photos website.
- Sign in to your Google account if you haven’t already.
- Click on the “Albums” tab located on the left side of the screen.
- Click on the “+ Create Album” button.
- Enter a name for your new album. Choose a descriptive name that will help you easily identify the content of the album.
- You can also add a description to provide more details about the album if desired, although this step is optional.
- Click on the “Create” button to create the new album.
After completing these steps, you will have a new album created in your Google Photos account. This album will serve as the container for your transferred photos. Now it’s time to move on to the next step: uploading the photos to Google Photos.
Step 3: Uploading Photos to Google Photos
With your new album created in Google Photos, it’s time to upload the photos that you downloaded from Dropbox. Follow the steps below to complete the upload process:
- Open the Google Photos website or app.
- Sign in to your Google account if you haven’t already.
- Click on the “Albums” tab to view your album list.
- Open the album you created in the previous step.
- Click on the “+ Add Photos” button, which is typically located at the top right corner of the screen.
- A file browser window will open. Navigate to the folder on your computer where you saved the downloaded photos from Dropbox.
- Select the photos you want to upload, or you can drag and drop them directly into the browser window.
- Click on the “Open” or equivalent button to start the upload process.
- Depending on the size and number of photos being uploaded, the process may take some time. You will see a progress indicator as the photos are being uploaded.
- Once the upload is complete, you will see the newly added photos in your Google Photos album.
By following these steps, you have successfully uploaded your photos from Dropbox to Google Photos. Now, you can move on to the next step to learn how to manage and organize your photos effectively in Google Photos.
Step 4: Organizing and Managing Photos in Google Photos
Now that your photos have been transferred to Google Photos, it’s essential to organize and manage them efficiently. Google Photos offers various features to help you categorize, search, and make the most of your photo collection. Follow the steps below to organize and manage your photos:
- Open the Google Photos website or app on your device.
- Navigate to the album where your transferred photos are located.
- To add a photo to an existing album, simply select the photo you want to add and click on the “+” icon.
- If you want to create a new album, you can select multiple photos, click on the “+” icon, and choose the “Create Album” option.
- Add descriptive titles, captions, or locations to your photos to make them easier to find in the future.
- Use the search bar at the top of the page to search for specific photos by keyword, location, or people’s names.
- Google Photos automatically organizes your photos by date. You can click on the “Sort By” button to change the sorting order.
- If you want to delete any unwanted photos, select them and click on the trash bin icon.
- Take advantage of the Google Photos Assistant feature, which suggests helpful actions like creating albums, animations, collages, and more.
- Explore the various editing tools available in Google Photos to enhance the appearance of your photos. You can adjust brightness, crop, apply filters, and more.
By following these steps, you can effectively organize and manage your photos in Google Photos. Whether you want to create personalized albums, search for specific photos, or enhance the visual appeal of your images, Google Photos offers a range of features to help you get the most out of your photo collection.
Conclusion
Congratulations! You have successfully transferred your photos from Dropbox to Google Photos. By following the steps outlined in this guide, you were able to download your photos from Dropbox, create a new album in Google Photos, upload the photos, and organize and manage them effectively.
Google Photos provides a user-friendly platform with advanced features, including unlimited storage for high-quality photos, intelligent search capabilities, and intuitive organization tools. By migrating your photos to Google Photos, you can take advantage of these benefits and ensure that your precious memories are stored securely and accessible from anywhere.
Remember to keep your photos organized by using descriptive titles, captions, and locations. Take advantage of Google Photos’ search feature to quickly locate specific photos based on keywords, locations, or people’s names.
Additionally, don’t forget to explore the editing tools available in Google Photos to enhance the appearance of your photos. Adjust brightness, crop, apply filters, and more to make your photos truly stand out.
Transferring your photos from Dropbox to Google Photos is a seamless process that opens up new possibilities for managing, organizing, and enjoying your photo collection. We hope that this guide has been helpful to you in making the transition. If you have any further questions or need assistance, don’t hesitate to reach out for support.
Enjoy your new photo management experience with Google Photos and continue capturing and cherishing memories for years to come!


