“
Introduction
Welcome to the world of Google Photos! With its user-friendly interface and powerful editing features, Google Photos has become a go-to platform for photo enthusiasts and casual users alike. Whether you want to enhance your vacation snapshots, create stunning social media posts, or simply preserve special moments, Google Photos has got you covered.
In this article, we will walk you through the process of editing your photos in Google Photos. From basic adjustments to advanced effects, we will explore the various tools and techniques that will enable you to transform your ordinary photos into extraordinary ones.
But first, let’s address a few key points. Google Photos is a cloud-based service that allows you to back up, organize, and edit your photos. It’s available on multiple platforms, including web, Android, and iOS, making it easily accessible regardless of your device preferences.
Whether you’ve recently uploaded photos to your Google Photos account or are starting from scratch, we will cover the entire editing process, step by step. If you’re new to Google Photos, don’t worry – we’ll guide you through getting your photos uploaded and accessing the editing features.
So, grab your favorite photos and get ready to unleash your creativity as we delve into the world of editing in Google Photos.
“
“
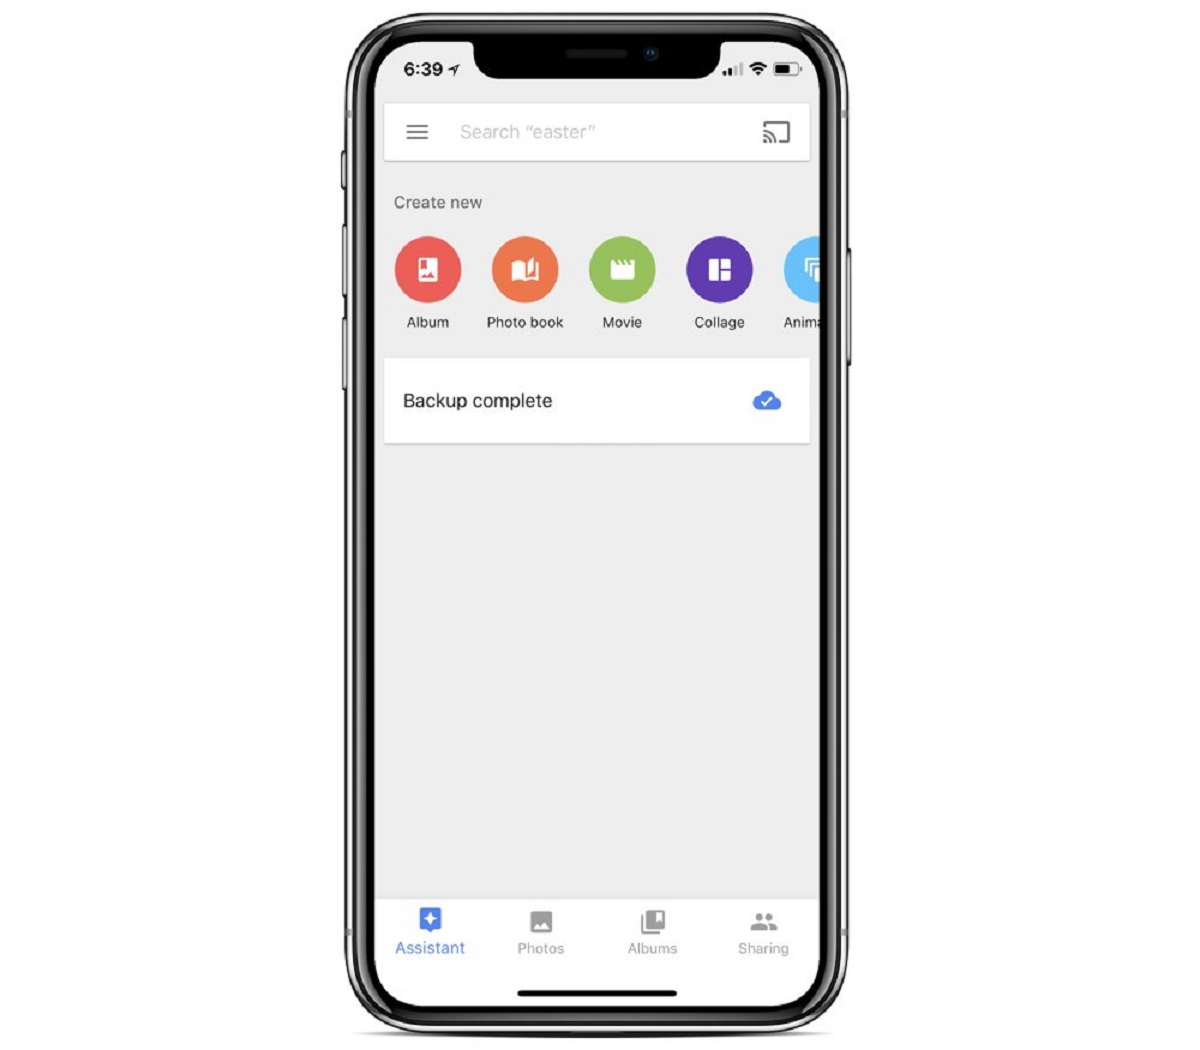
Step 1: Uploading Photos to Google Photos
Before we can start editing our photos in Google Photos, we need to make sure they are uploaded to our account. If you haven’t done so already, follow these simple steps to upload your photos:
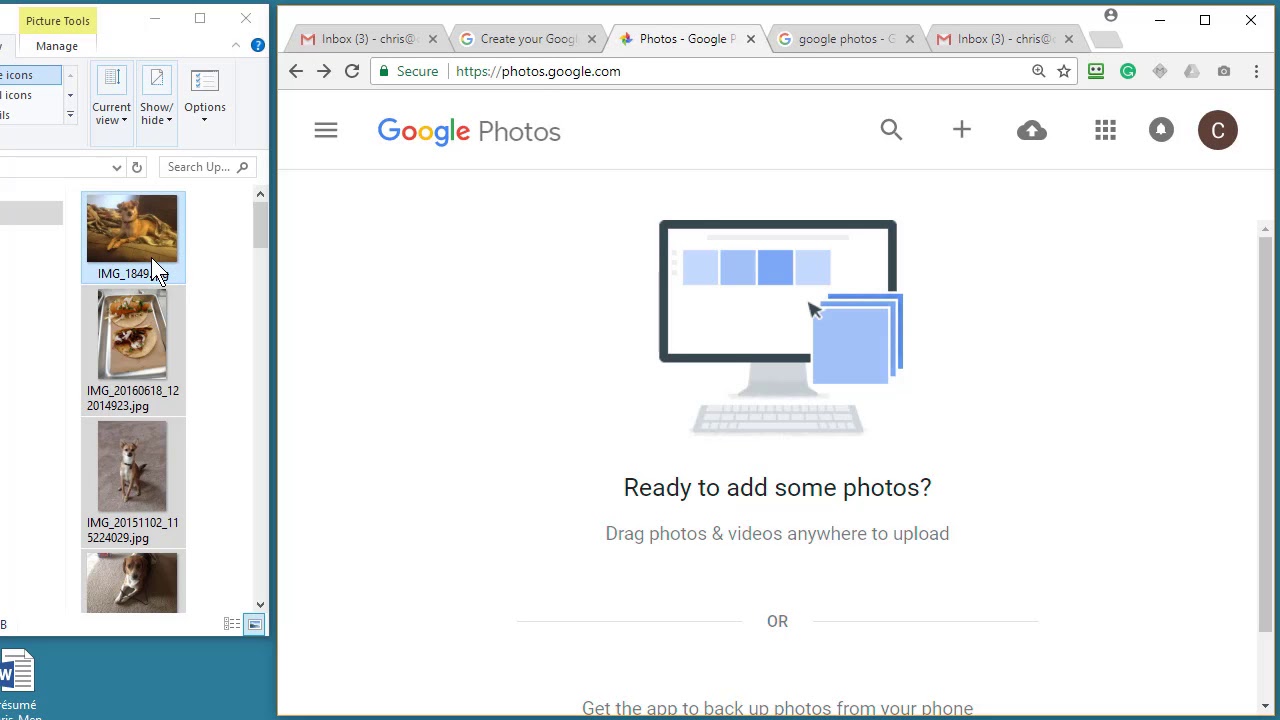
1. Sign in to your Google Account: Open your preferred web browser and go to photos.google.com. Sign in with your Google Account credentials. If you don’t have an account, you can easily create one by clicking on the ‘Create account’ option.
2. Access the upload feature: In the top-right corner of the Google Photos homepage, you will find the upload icon (usually a cloud with an upward arrow). Click on it to access the upload options.
3. Select your preferred method of uploading: Google Photos offers multiple ways to upload your photos. You can either drag and drop them from your computer’s file explorer, click on the ‘Upload’ button and browse for the photos on your computer, or choose to upload them from a connected device such as a smartphone or camera.
4. Wait for the uploading process to complete: Once you have selected the photos you wish to upload, sit back and allow Google Photos to work its magic. The duration of the upload process will depend on factors such as the number of photos and your internet connection speed.
5. Verify the uploaded photos: After the upload is completed, you will be able to see the uploaded photos in the ‘Photos’ section of your Google Photos account. You can also create albums, add location tags, or organize your photos further at this point.
Now that your photos are safely uploaded to your Google Photos account, we can move on to the next step: accessing the editing features. Keep in mind that Google Photos offers unlimited storage for high-quality photos. However, photos uploaded in the original quality may count towards your storage quota. Always check your preferred storage settings and make adjustments if needed.
”
Step 2: Accessing the Editing Features
Once your photos are uploaded to Google Photos, it’s time to delve into the editing features. Follow these steps to access the editing tools:
1. Open Google Photos: Launch the Google Photos app on your smartphone or visit photos.google.com on your web browser. Sign in to your Google account if you haven’t already.
2. Select the photo you want to edit: Navigate to the ‘Photos’ section and browse through your uploaded images. Click on the photo you wish to edit to open it in full view.
3. Enter the editing mode: In the top-right corner of the photo, you will find a pencil icon or the word ‘Edit’. Click on it to enter the editing mode. For mobile users, the editing tools are accessible through the ‘Edit’ button located at the bottom of the screen.
4. Familiarize yourself with the editing interface: The editing interface in Google Photos may vary slightly depending on the version you’re using, but it generally consists of a series of icons or sliders that control various aspects of your photo’s appearance.
5. Explore the editing tools: Take your time to explore each editing tool and understand its function. The tools allow you to adjust elements such as brightness, contrast, saturation, and sharpness. You can also apply filters, crop or rotate the image, and remove blemishes or unwanted objects.
6. Make adjustments to your photo: Once you’ve familiarized yourself with the editing tools, start making adjustments to enhance your photo. Drag the sliders or use the icons to increase or decrease the desired effect. Experiment with different settings until you achieve the desired result.
7. Preview and compare: To compare the edited version with the original, simply tap or click on the photo to switch between the two versions. This allows you to see the impact of your edits and make further adjustments if necessary.
8. Save your edits: After you’re satisfied with the edits, click on the ‘Save’ or ‘Done’ button to save your changes. Your edited photo will replace the original version while preserving the original file in case you want to revert back to it later.
Now that you know how to access the editing features in Google Photos, let’s move on to the next step: learning the basics of photo editing.
Step 3: Editing Basics
Now that you have accessed the editing features in Google Photos, let’s explore the basics of photo editing. These fundamental adjustments will help you enhance the overall look and feel of your photos. Follow these steps to make basic edits:
1. Adjust brightness and contrast: Use the brightness and contrast sliders to control the overall exposure of your photo. Increase brightness to make it lighter or decrease it for a darker effect. Play with the contrast slider to add more depth and definition to your image.
2. Enhance colors: The saturation slider allows you to intensify or desaturate the colors in your photo. Increase saturation for vibrant and bold colors or decrease it for a more subtle and muted look.
3. Sharpen image: If your photo appears slightly blurry or lacks crispness, use the sharpening tool to enhance the details. Drag the sharpening slider to increase the level of sharpness, but be cautious not to over-sharpen, as it can lead to an artificial look.
4. Adjust white balance: The white balance tool helps you adjust the temperature of your photo, correcting any color casts. Move the slider towards the warm end to add a yellowish or reddish tone, or towards the cool end for a bluer tone.
5. Reduce noise: If your photo has unwanted grain or noise, especially in low-light situations, use the noise reduction tool. Increase the slider to smoothen out the noise and improve the overall quality of the image.
6. Restore details: If your photo has lost some details due to underexposure or low resolution, try using the shadows and highlights sliders. Increase the shadows to bring out more detail in the darker areas, or decrease the highlights to recover details from overexposed areas.
7. Undo or redo edits: If you’re not happy with a particular adjustment, you can simply click on the undo button or use the keyboard shortcut (Ctrl+Z on a computer or swipe left with three fingers on mobile) to revert back to the previous edit. Likewise, the redo button allows you to reapply any edits that you have undone.
8. Reset edits: At any point during the editing process, you can click on the reset button to revert all changes and start fresh with the original photo.
By mastering these basic editing techniques in Google Photos, you can significantly enhance the quality and visual appeal of your photos. Now that you’re familiar with the editing basics, let’s move on to the next step: adjusting lighting and color.
Step 4: Adjusting Lighting and Color
One of the key aspects of photo editing is adjusting the lighting and color to achieve the desired mood and tone. Whether you want to brighten up a dark photo or add a warm filter to create a cozy ambiance, Google Photos offers a range of tools to help you fine-tune the lighting and color. Follow these steps to adjust the lighting and color:
1. Exposure: Use the exposure slider to control the overall brightness of your photo. Increase the exposure to make the image brighter or decrease it to darken the scene.
2. Shadows and Highlights: Adjust the sliders for shadows and highlights to bring out details in darker or brighter areas of your photo. Increase the shadows to reveal more hidden details in the shadows, or decrease the highlights to recover details in overexposed areas.
3. Contrast: The contrast slider helps you adjust the difference between light and dark areas of the photo. Increase contrast for a more dramatic and dynamic look or decrease it for a softer and more muted appearance.
4. Warmth: The warmth slider allows you to adjust the color temperature of your photo. Increase the warmth for a golden or yellowish tone, or decrease it for a cooler or bluish tone.
5. Saturation: Adjusting the saturation slider enables you to control the intensity of colors in your photo. Increase saturation for vibrant and bold colors or decrease it for a more muted and desaturated look.
6. Vibrance: The vibrance slider is similar to saturation but works more subtly, focusing on enhancing the less saturated colors while leaving the already vibrant colors untouched. Increase the vibrance to add depth and richness to the image.
7. Tint: Use the tint slider to adjust the color balance of your photo. Move it towards green to add a cool tone, or towards magenta to introduce a warmer tone.
8. Filter presets: Google Photos offers a variety of built-in filter presets that instantly transform the look and feel of your photo. Explore the different filter options and preview their effects before selecting the one that best suits your desired style.
9. Intensity: Most of the editing tools in Google Photos, such as exposure, shadows, and color adjustments, have an intensity slider. Use this slider to control the strength or subtlety of the particular adjustment you have made.
By mastering the art of adjusting lighting and color in Google Photos, you can bring out the best in your photos, creating captivating and visually stunning images. Now that you’ve learned how to handle lighting and color, let’s move on to the next step: enhancing your photos with filters.
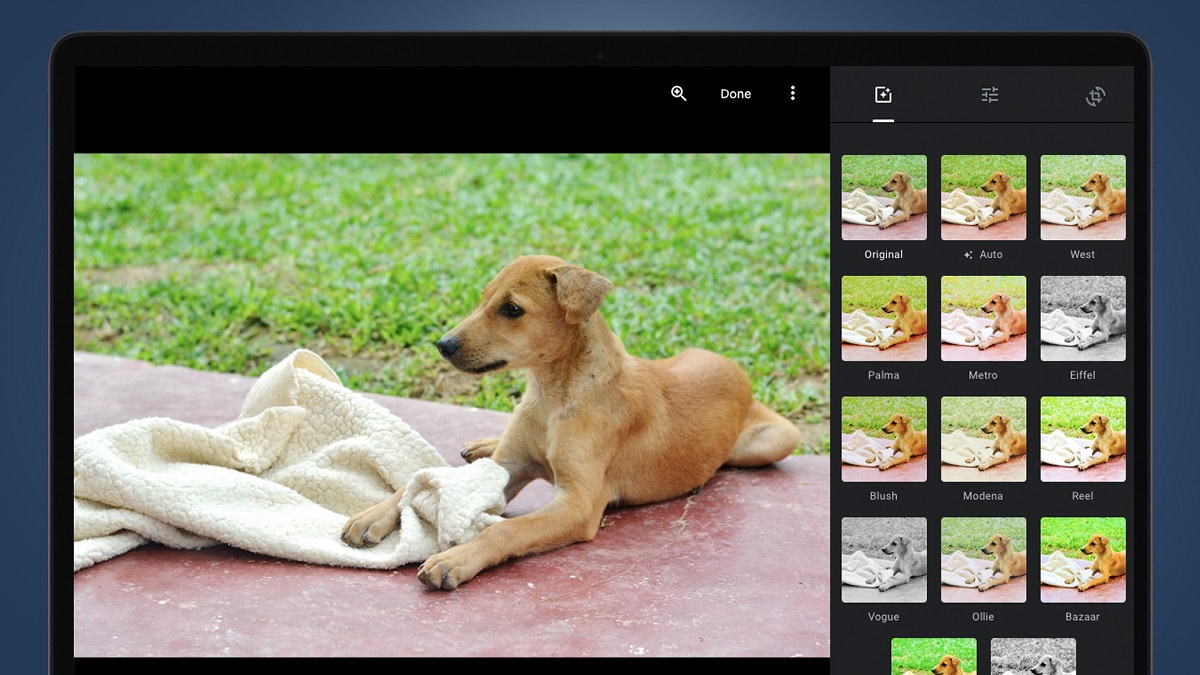
Step 5: Enhancing Your Photos with Filters
Want to give your photos an instant boost of style and creativity? Look no further than the collection of filters available in Google Photos. Filters are pre-set effects that can quickly transform the mood and overall look of your images. Follow these steps to enhance your photos with filters:
1. Select a photo to edit: Choose the photo you want to enhance with a filter from your Google Photos library. Open the photo in the editing mode by clicking on the pencil icon or the word ‘Edit’.
2. Access the filter options: Look for the ‘Filters’ icon, usually represented by three overlapping circles or a magic wand symbol. Click on this icon to access the different filter options available.
3. Explore the filter presets: Google Photos offers a variety of filter presets to suit different styles and preferences. Scroll through the available filters and click on each one to see a preview of how it will alter your photo.
4. Compare filter effects: To compare the original photo with the applied filter, simply tap or click on the photo to switch between the two versions. This allows you to see the impact of the filter and make adjustments if needed.
5. Adjust the intensity: Once you have selected a filter, you can fine-tune its effect by adjusting the intensity slider. This enables you to control the strength of the filter, allowing for a more subtle or dramatic enhancement.
6. Combine filters: You can apply multiple filters to a single photo to create a unique and customized look. Experiment with different combinations by applying one filter and then adding another on top of it.
7. Save your edited photo: After you’ve applied the desired filter(s) and adjusted their intensity, click on the ‘Save’ or ‘Done’ button to save your edited photo. The filtered version of the photo will replace the original, but you can always revert back to the original if needed.
Enhancing your photos with filters is a quick and easy way to add a touch of creativity and style to your images. Whether you prefer a vintage-inspired look, vibrant colors, or a subtle matte finish, Google Photos has a range of filters to suit your preferences. Now that you’ve learned how to enhance your photos with filters, let’s move on to the next step: cropping and rotating images.
Step 6: Cropping and Rotating Images
Cropping and rotating are essential editing techniques that help you fine-tune the composition and orientation of your photos. Whether you need to remove unwanted elements or adjust the horizon, Google Photos provides intuitive tools to make these adjustments. Follow these steps to crop and rotate your images:
1. Open the photo for editing: Choose the photo you want to crop or rotate and open it in the editing mode by clicking on the pencil icon or the word ‘Edit’.
2. Access the crop and rotate tools: Look for the ‘Crop & Rotate’ icon, usually represented by a square or two arrows forming a circular motion. Click on this icon to access the cropping and rotation options.
3. Crop your photo: Use the handles or sliders around the edges of the photo to adjust the cropping boundaries. Drag them to select the desired portion of the image you want to keep. You can also choose from predefined aspect ratios, such as square or 4:3, for specific cropping needs.
4. Straighten your photo: To correct tilted or uneven horizons, use the straighten tool. Click on the leveling icon (usually represented by a grid) and then move the slider or rotate the photo manually until the horizon or any vertical lines are aligned correctly.
5. Rotate your photo: If your photo needs a simple rotation, click on the rotation icon (usually represented by a curved arrow). Each click will rotate the photo 90 degrees clockwise. Alternatively, you can manually adjust the rotation by using the degree slider.
6. Flip your photo: To flip the orientation of your photo, click on the flip icon (usually represented by two arrows pointing in opposite directions). This feature is especially useful for correcting mirror image reflections or creating unique visual effects.
7. Preview and compare: After making the necessary adjustments, you can preview the changes by tapping or clicking on the photo to switch between the edited and original versions. This allows you to ensure that the cropped and rotated image meets your desired composition and orientation.
8. Save your edited photo: Once you are satisfied with the cropping and rotation adjustments, click on the ‘Save’ or ‘Done’ button to save your changes. The edited version of the photo will replace the original, but you can always revert back to the original if needed.
Mastering the art of cropping and rotating images in Google Photos allows you to refine the composition and ensure that your photos convey the desired visual impact. Now that you’ve learned how to crop and rotate images, let’s move on to the next step: applying special effects.
Step 7: Applying Special Effects
Ready to take your photo editing to the next level? Google Photos provides a range of special effects that can add a unique and artistic touch to your images. From vintage-inspired looks to dramatic black and white conversions, these effects can transform your photos into stunning visual masterpieces. Follow these steps to apply special effects:
1. Open the photo for editing: Choose the photo you want to apply special effects to and open it in the editing mode by clicking on the pencil icon or the word ‘Edit’.
2. Access the effects options: Look for the ‘Effects’ icon, usually represented by a star or sparkle symbol. Click on this icon to access the collection of special effects.
3. Explore the effects presets: Google Photos offers a variety of special effects, each with its own unique style and mood. Scroll through the available effects and click on each one to see a preview of how it will alter your photo.
4. Adjust the intensity: After selecting an effect, you can fine-tune its intensity or strength using the effect’s slider. This allows you to control the level of the effect applied to your photo, from subtle enhancements to more pronounced transformations.
5. Combine multiple effects: For further artistic experimentation, you can apply multiple effects to a single photo. Simply choose an effect and adjust its intensity, then select another effect and adjust accordingly. This way, you can create your own unique combinations and aesthetic.
6. Preview and compare: To compare the edited version with the original, simply tap or click on the photo to switch between the two versions. This allows you to see the impact of the applied effects and make adjustments if needed.
7. Save your edited photo: Once you are satisfied with the applied special effects, click on the ‘Save’ or ‘Done’ button to save your changes. The edited version of the photo will replace the original, but you can always revert back to the original if needed.
By applying special effects in Google Photos, you can add an extra layer of creativity and artistry to your photos. Whether you want to evoke nostalgia, create a vintage look, or play with vibrant colors, the range of special effects available can help you achieve your desired visual style. Now that you’ve learned how to apply special effects, let’s move on to the next step: removing unwanted objects.
Step 8: Removing Unwanted Objects
Have a perfect photo ruined by an unwanted object or distracting element? No worries! Google Photos provides a powerful tool that allows you to remove unwanted objects effortlessly. With just a few clicks, you can erase distractions and enhance the focus on the main subject of your photo. Follow these steps to remove unwanted objects from your images:
1. Open the photo for editing: Select the photo you want to remove unwanted objects from and open it in the editing mode by clicking on the pencil icon or the word ‘Edit’.
2. Access the retouching tool: Look for the ‘Retouch’ or ‘Healing’ icon, usually represented by a bandage or brush symbol. Click on this icon to access the retouching tool.
3. Zoom in on the target object: Zoom in on the area containing the unwanted object by using the pinch-to-zoom gesture or the zoom slider. This allows you to have better control and precision while removing the object.
4. Select the retouching brush size: Adjust the size of your retouching brush to match the scale of the unwanted object. Use a smaller brush size for smaller objects or details, and a larger brush size for bigger or broader areas.
5. Erase the unwanted object: Using the retouching brush, simply swipe or paint over the unwanted object. Google Photos will automatically analyze the surrounding area and intelligently fill in the erased portion with similar textures and patterns. Repeat the process until the unwanted object is completely removed.
6. Fine-tune the result: After removing the unwanted object, zoom out and assess the overall appearance of the photo. If any remnants or anomalies remain, you can use the undo and redo buttons or the history panel to reverse or refine the retouching process.
7. Save your edited photo: Once you are satisfied with the removal of the unwanted object, click on the ‘Save’ or ‘Done’ button to save your changes. The edited version of the photo will replace the original, but you can always revert back to the original if needed.
The ability to remove unwanted objects in Google Photos allows you to improve the composition and aesthetics of your photos. Whether it’s a distracting street sign, a photobomber, or an imperfection, this powerful tool gives you the freedom to perfect your images. Now that you’ve learned how to remove unwanted objects, let’s move on to the next step: editing live photos and videos.
Step 9: Editing Live Photos and Videos
Google Photos not only allows you to edit static images but also provides editing capabilities for live photos and videos. Whether you want to enhance the visual quality of a memorable video or add effects to a live photo, Google Photos offers several tools to help you achieve the desired results. Follow these steps to edit your live photos and videos:
1. Open the live photo or video for editing: Select the live photo or video you want to edit and open it in the editing mode by clicking on the pencil icon or the word ‘Edit’.
2. Access the editing tools: Look for the ‘Edit’ icon or the sliders icon, usually located at the bottom of the screen. Click on this icon to access the editing tools and options.
3. Enhance video quality: If you are editing a video, you can utilize the available video adjustments to enhance its overall quality. These adjustments may include options to tweak the brightness, contrast, saturation, and sharpness of the video.
4. Trim videos: For videos that have unnecessary or unwanted sections, you can trim them to focus on the important parts. Use the trim tool to adjust the start and end points of your video, and crop out any unwanted footage.
5. Apply filters: Just like with static images, you can apply filters to live photos and videos to change their visual style or mood. Explore the range of available filters and preview their effects on your media.
6. Add music or audio: To enhance your videos, you can also add background music or audio. Google Photos provides options to add music from your own library or select from a range of built-in soundtracks. Adjust the volume levels to achieve the desired blend of audio and video.
7. Apply special effects: In addition to filters, you can experiment with special effects specifically designed for live photos and videos. These effects can add a creative touch or evoke a specific atmosphere in your visual media.
8. Preview and compare: Before finalizing the edits, preview the live photo or video to see the changes in action. You can compare the edited version with the original by tapping or clicking on the media to switch between the two versions.
9. Save your edited live photo or video: Once you are satisfied with the edits, click on the ‘Save’ or ‘Done’ button to save your changes. The edited version will replace the original, while the original is still preserved in your library.
Editing live photos and videos in Google Photos allows you to breathe new life into your dynamic visual media. Whether it’s enhancing the quality, adding effects, or trimming unwanted parts, these editing tools empower you to create engaging and captivating live photos and videos. Now that you’ve learned how to edit live photos and videos, let’s move on to the final step: saving and sharing your edited photos.
Step 10: Saving and Sharing Your Edited Photos
After putting all the effort into editing your photos in Google Photos, it’s time to save and share your masterpieces with the world. Google Photos provides various options for saving and sharing your edited photos, ensuring that you can easily showcase your creativity and preserve your memories. Follow these steps to save and share your edited photos:
1. Open the edited photo: Select the photo you want to save and share from your Google Photos library. Open the photo in full view by clicking on it.
2. Save the edited photo: To save the edited photo to your device or computer, click on the ‘Download’ or ‘Save’ button usually located near the photo’s options. Choose the desired file format and quality, and wait for the download process to complete.
3. Share the edited photo: Google Photos offers several options for sharing your edited photo. Click on the ‘Share’ button, which is usually represented by an arrow pointing out of a box, to access the sharing options. From here, you can select various platforms or apps to share your photo, such as social media platforms, messaging apps, or email.
4. Create an album: If you want to keep your edited photos organized, you can create an album. Albums allow you to group and categorize your photos, making them easier to find and share. Click on the ‘Add to Album’ or ‘Create Album’ option to create a new album or add the photo to an existing one.
5. Adjust the sharing settings: When sharing your edited photo, you can customize the privacy and sharing settings to control who can view and access the photo. Google Photos provides options to share privately with specific individuals or share publicly with a wider audience.
6. Share links or create collages: Google Photos also offers additional sharing options, such as generating shareable links or creating collages or animations. These features allow you to share your edited photos in a more engaging and interactive format.
7. Print or order photo products: If you want to bring your edited photos to life in physical form, Google Photos provides options to print or create photo products. You can order prints, create photo books, or even design personalized gifts featuring your edited photos.
8. Backup your edited photos: To ensure that your edited photos are safely stored and preserved, make sure to enable the backup feature in Google Photos. This way, even if you lose your device or accidentally delete a photo, you can easily retrieve your edited photos from the cloud backup.
With Google Photos, saving and sharing your edited photos is convenient, allowing you to showcase your creativity and share your cherished moments with family, friends, and the world. Now that you know how to save and share your edited photos, you have completed all the steps of editing in Google Photos. Congratulations on unleashing your creativity and transforming your photos into stunning visual creations!
Conclusion
Congratulations on completing all the steps to edit your photos in Google Photos! You have unlocked the power to transform your ordinary photos into extraordinary visuals. Throughout this guide, we explored uploading photos, accessing the editing features, and applying a range of adjustments, filters, and effects to enhance your images.
By mastering the various tools and techniques in Google Photos, you can now adjust the lighting and color, crop and rotate images, remove unwanted objects, and even edit live photos and videos. With the ability to save and share your edited photos, you can showcase your creativity and preserve your precious memories for years to come.
Remember, the key to successful photo editing is a balance between enhancing the visual appeal of your photos and maintaining their natural look and feel. Experiment with different edits, but always trust your creative instincts to achieve the desired outcome.
Now it’s time to take your newfound skills and unleash your creativity. Dive into the world of photo editing in Google Photos and discover the endless possibilities of creating stunning visuals. Whether you want to capture breathtaking landscapes, precious moments with loved ones, or artistic self-portraits, Google Photos provides the tools to bring your vision to life.
So, grab your camera, upload your photos, and let your creativity soar. With Google Photos as your editing companion, you are now equipped to transform your photos into mesmerizing works of art. Happy editing!