Introduction
Google Photos is a versatile and user-friendly platform that not only helps you organize and store your photos but also allows you to create stunning videos to share with friends and family. Whether you want to compile a memorable slideshow for a special occasion or simply want to showcase your photography skills, Google Photos has got you covered.
In this guide, we will walk you through the step-by-step process of making a video from your Google Photos. We will cover everything from importing your photos to selecting the perfect video duration and style, to adding music, text, and filters. By the end of this tutorial, you will be equipped with the knowledge and tools to create captivating videos in no time.
Creating a video in Google Photos is not only easy but also offers a wide range of customization options to suit your preferences. Whether you’re a tech-savvy individual or a beginner, you will find the process straightforward and enjoyable. So let’s dive in and explore the exciting world of video creation in Google Photos!
Step 1: Importing Photos to Google Photos
Before you can start creating your video in Google Photos, you need to ensure that your photos are imported into the platform. Here’s how you can import your photos:
- Open the Google Photos app on your mobile device or access it through the web browser on your computer.
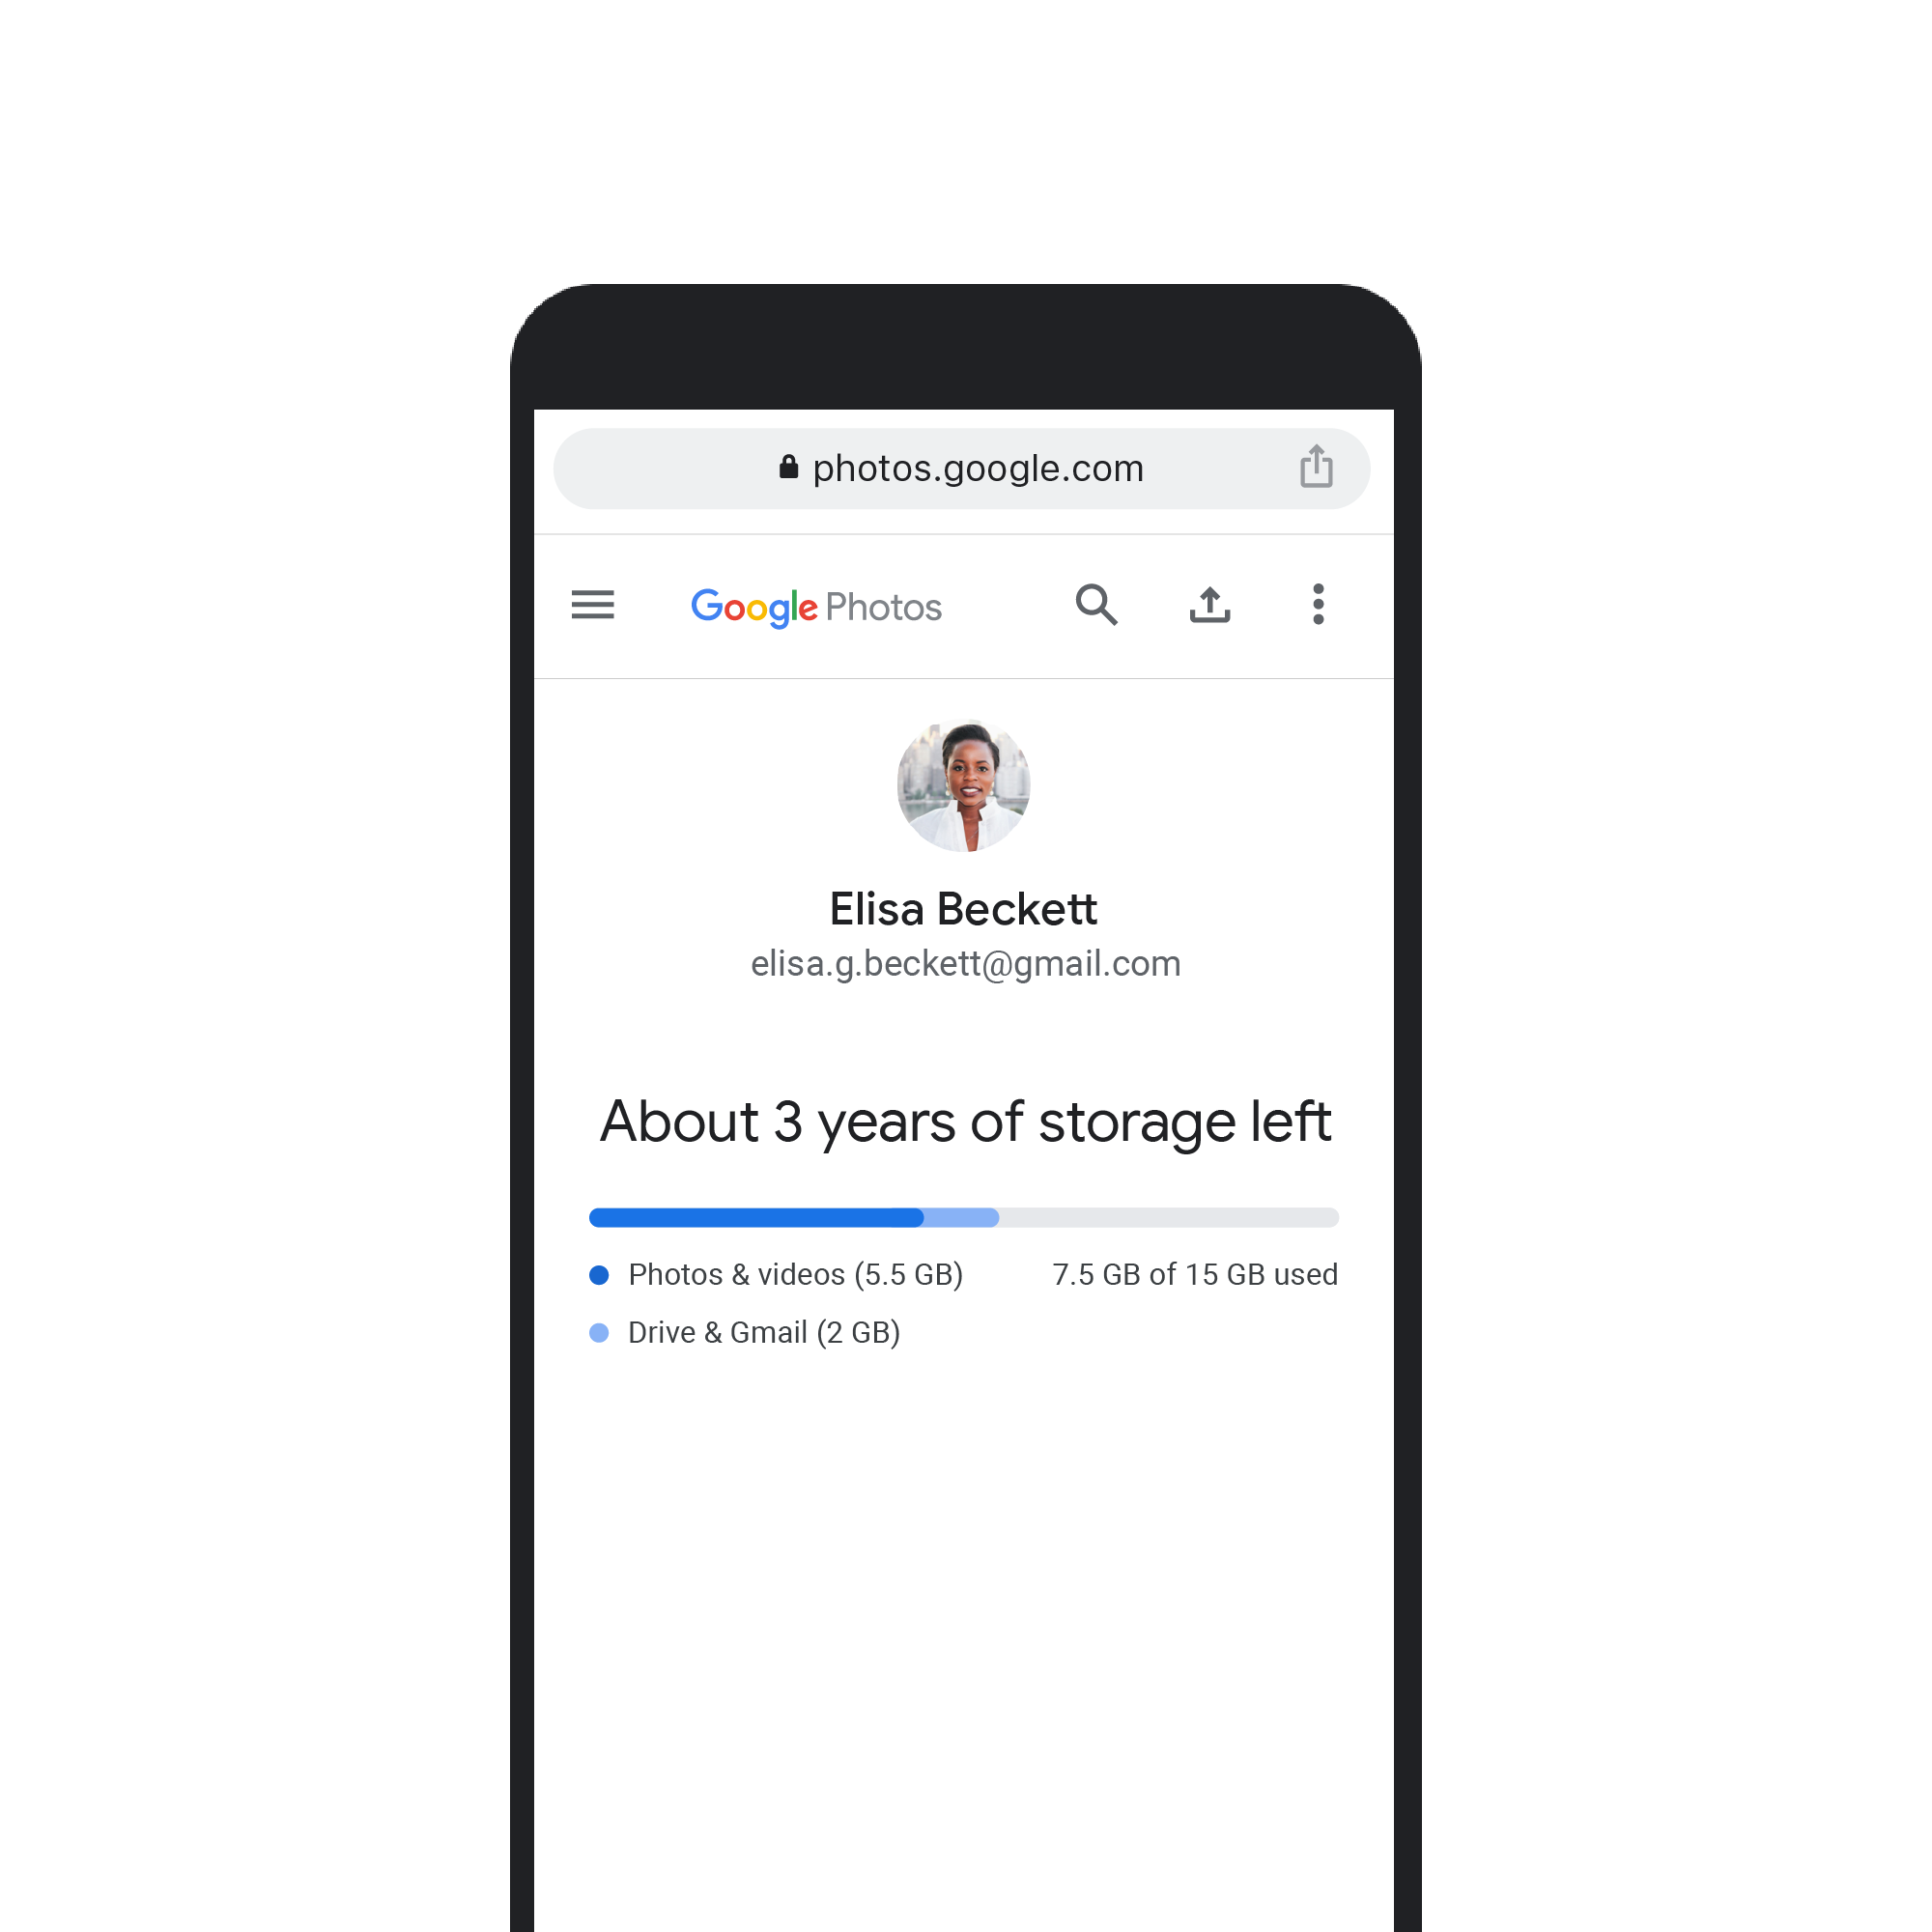
- Sign in to your Google account or create one if you don’t already have it. Google Photos syncs your photos and videos to your account, making it easy to access them from any device.
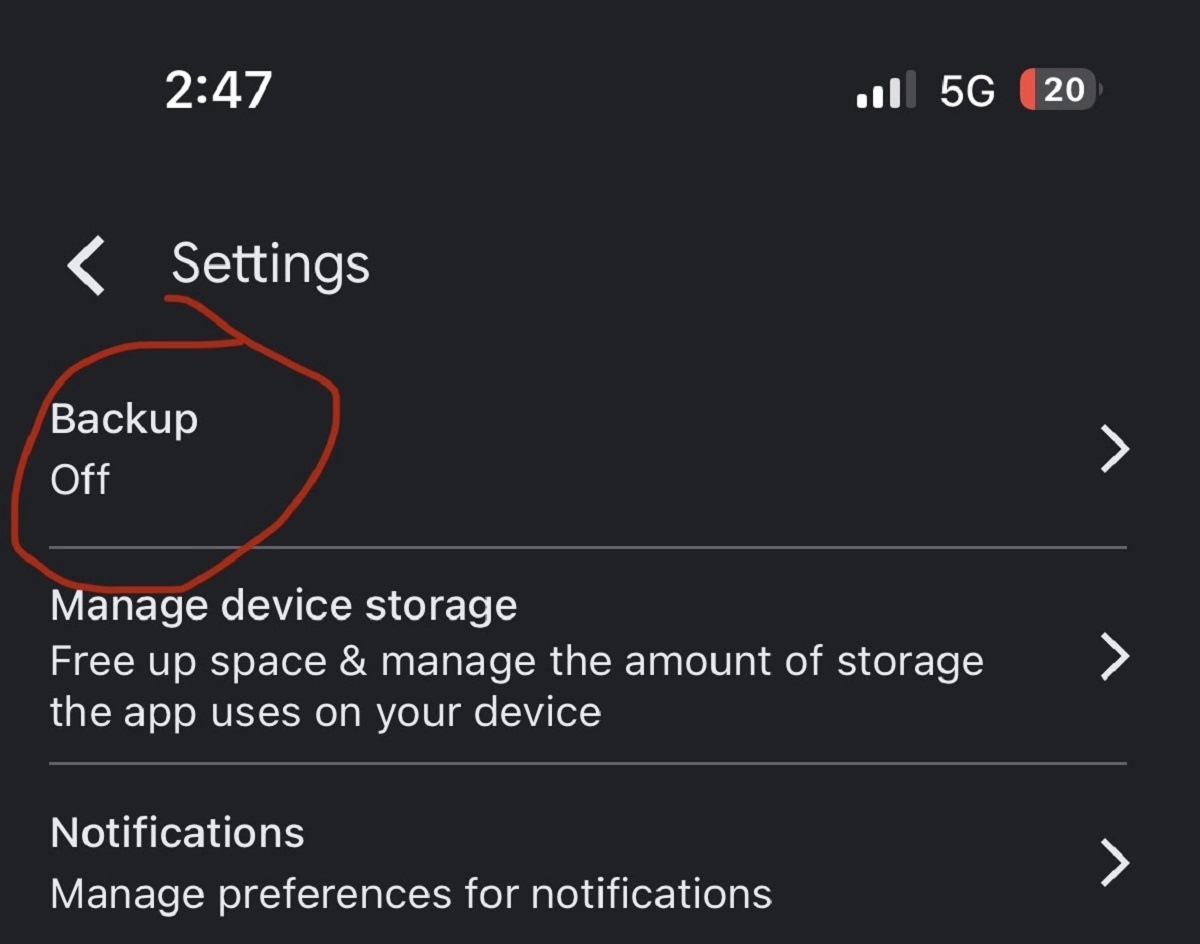
- Once you’re logged in, you can choose to automatically back up your photos from your mobile device by enabling the “Backup & Sync” feature in the app’s settings. This allows Google Photos to automatically upload and store your photos in the cloud.
- If you want to import photos from your computer to Google Photos, you can drag and drop them into the Google Photos web interface or use the “Upload” button to select the desired files from your device.
- After uploading your photos, Google Photos will categorize and organize them based on factors like date, location, and people featured in the images.
By importing your photos to Google Photos, you can not only create videos but also enjoy the benefits of easy access and backup of your cherished memories. Now that your photos are in Google Photos, you’re ready to move on to the next step of creating your video.
Step 2: Selecting the Photos for Your Video
Now that your photos are imported into Google Photos, it’s time to select the ones you want to include in your video. Follow these steps to choose the perfect photos:
- Open the Google Photos app on your mobile device or access it through the web browser on your computer.
- Navigate to the “Albums” tab, where you will find various pre-organized albums based on specific dates, locations, or people.
- If you want to use photos from a specific album, click or tap on the album to open it.
- To manually select photos, simply tap or click on each photo you want to include in your video. A checkmark will appear on the selected photos indicating that they have been chosen.
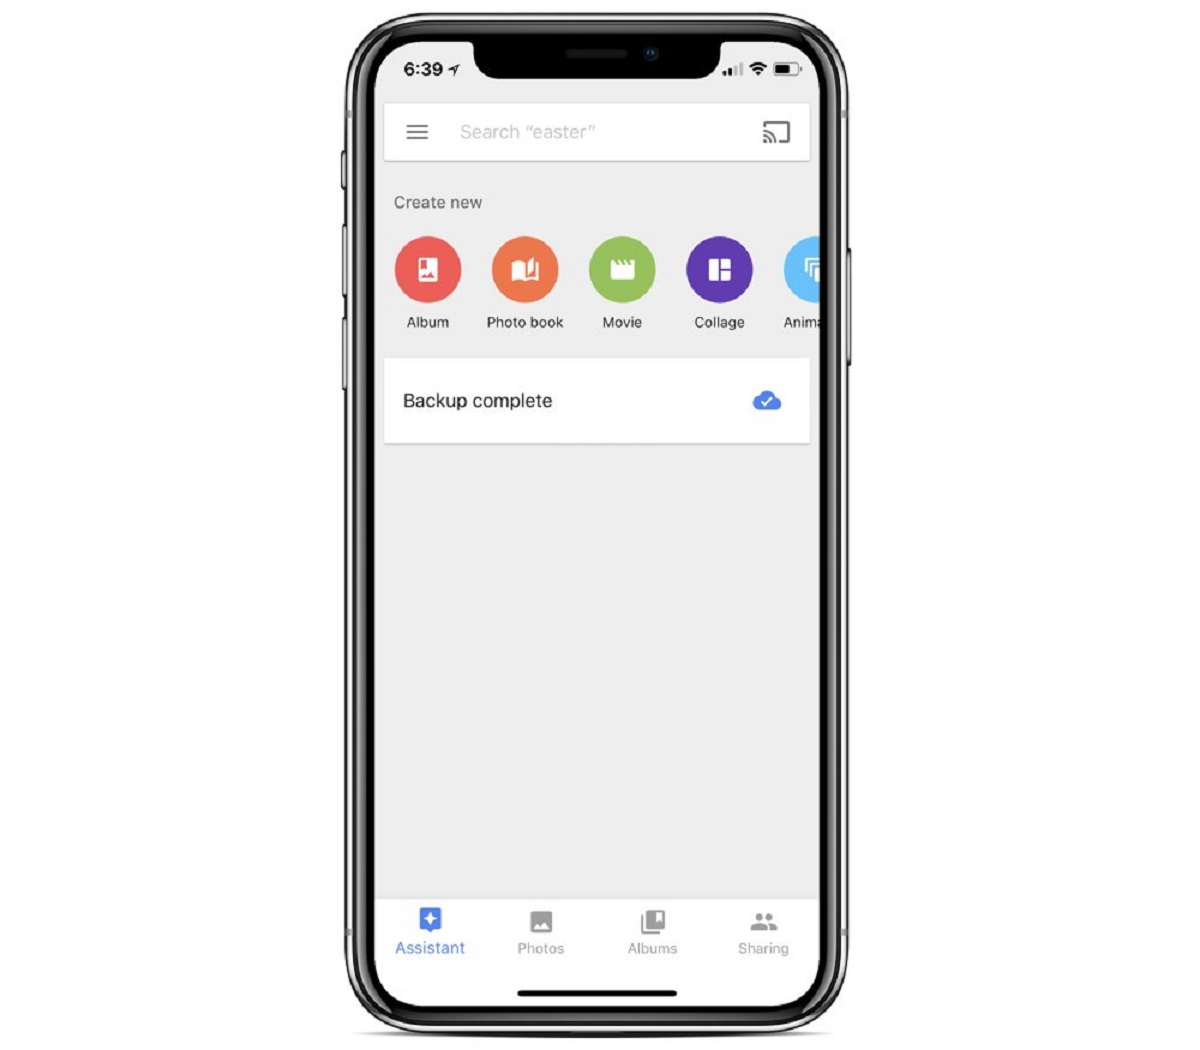
- If you prefer an automatic selection, Google Photos offers an “Assistant” feature that can create a video for you based on algorithms that analyze your photo collection. To access this feature, go to the “Assistant” tab and look for options like “Movie” or “Collage.” Select the option that suits your preferences.
- Once you have selected all the desired photos, you’re ready to move on to the next step of creating your video.
Remember, the number of photos you choose will impact the duration and overall flow of your video. Make sure to select images that tell a story or evoke a specific emotion. Consider the theme or purpose of your video, and choose photos accordingly.
Now that you have chosen the photos, let’s move on to the next step and start creating your video in Google Photos.
Step 3: Creating a Movie in Google Photos
With your selected photos in place, it’s time to transform them into a captivating video using the movie creation feature in Google Photos. Follow these steps to create your movie:
- Open the Google Photos app on your mobile device or access it through the web browser on your computer.
- Go to the “Assistant” tab, where you can find various options for creating movies, collages, and animations.
- Look for the “Movie” option and click or tap on it to start the movie creation process.
- Google Photos will automatically compile your selected photos into a preliminary video. This initial version will have a default layout and transition effects.
- If you’re not satisfied with the initial version, you can customize your movie by clicking or tapping on the “Edit” button. This will allow you to make adjustments to the layout of the photos, change the transition effects, and add music, text, and filters.
- Google Photos also provides a “Smart Slideshow” feature that automatically generates a movie with a pre-set layout and effects for a quick and hassle-free creation.
- Once you’re happy with the customization options or the Smart Slideshow, you can proceed to the next step of choosing the video duration and style.
Creating a movie in Google Photos is an exciting and creative process that allows you to personalize your video according to your preferences. Whether you prefer a simple and elegant style or a more dynamic and playful vibe, Google Photos offers a range of options to suit your taste. Let’s explore the next step and enhance your video by choosing the perfect duration and style.
Step 4: Choosing the Video Duration and Style
Now that you have created the structure of your movie, it’s time to decide on the duration and style that best complements your vision. Here’s how you can choose the perfect video duration and style:
- While editing your movie in Google Photos, look for the options that allow you to adjust the video duration. You can typically find this feature in the toolbar or settings of the video editing interface.
- Consider the purpose and content of your video when choosing the duration. A shorter video may be ideal for a social media post or a quick recap, while a longer video can capture more moments and tell a more detailed story.
- Experiment with different duration settings to find the one that best fits your collection of photos.
- Alongside the video duration, you can also select the style of your movie. Google Photos offers various styles, each with its own set of transition effects, filters, and music options.
- Explore the different styles available and preview how they affect your movie. Choose the style that enhances the overall look and feel, and aligns with the mood and theme of your photos.
- If you want to further customize your movie, Google Photos provides advanced editing tools that allow you to fine-tune the transitions, apply filters and color corrections, and adjust the audio settings.
Choosing the right video duration and style will significantly impact the final outcome of your movie. It’s important to strike a balance between engaging your viewers and keeping their attention throughout the duration. By experimenting with different options, you can create a visually appealing and cohesive movie experience.
Now that you have chosen the perfect duration and style for your video, let’s move on to the next step and add some finishing touches by editing the content and incorporating music.
Step 5: Editing the Video
Now that you have determined the duration and style of your video, it’s time to add some finishing touches by editing the individual photos and ensuring a seamless flow. Follow these steps to edit your video:
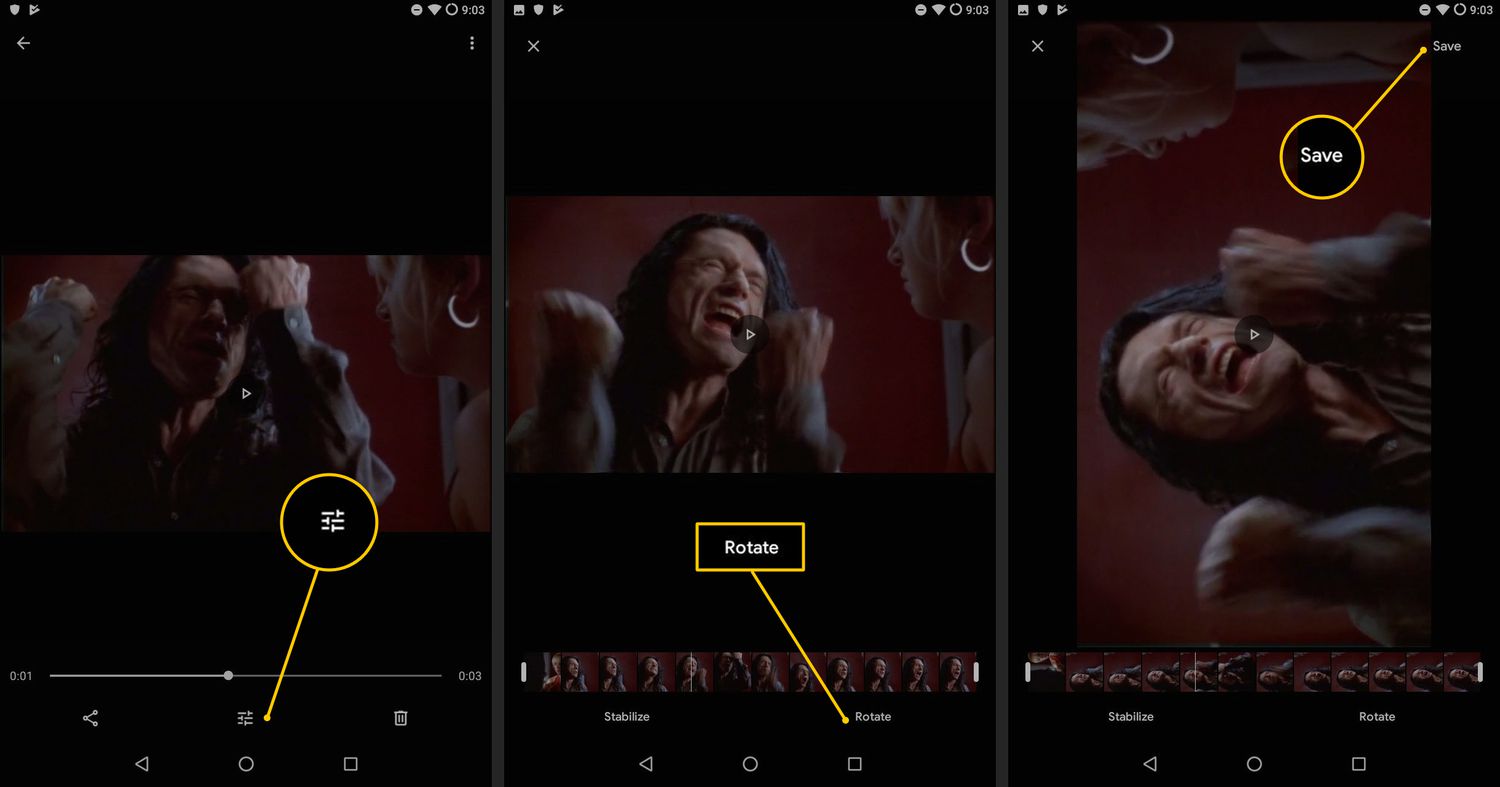
- While in the movie editing interface of Google Photos, click or tap on the individual photos to access the editing options.
- Google Photos offers various editing tools that allow you to crop, rotate, adjust brightness and contrast, apply filters, and make other enhancements to your photos.
- Experiment with these tools to enhance the appearance of each photo and ensure they blend well together.
- Pay attention to the order of the photos and the transitions between them. You can drag and rearrange the photos to create a more coherent story or visual flow.
- Preview your edits and make adjustments as needed to achieve the desired look and feel.
- If you’re using the Smart Slideshow feature, a majority of the editing will be done automatically. However, you still have the option to make manual adjustments to individual photos if desired.
- Remember to keep the edits subtle and cohesive, preserving the overall aesthetic and theme of your video.
Editing your video in Google Photos allows you to fine-tune the visual elements and ensure a polished final product. By optimizing each photo and refining the transitions, you can create a visually seamless and engaging movie experience for your viewers.
Now that you have edited your video, let’s move on to the next step and add some music to enhance the ambiance and emotional impact.
Step 6: Adding Music to Your Video
Adding music to your video can elevate the emotional impact and create a more immersive experience for your viewers. Follow these steps to choose and add music to your video in Google Photos:
- While editing your video in Google Photos, look for the option to add music. This is typically found in the toolbar or settings of the video editing interface.
- Google Photos provides a selection of royalty-free music tracks that you can use for your video. Browse through the available options to find a track that complements the mood and theme of your photos.
- Preview the tracks by listening to them and choose the one that resonates best with your video.
- Once you have selected the music track, adjust its volume to strike a balance with the audio from your video. You can typically find the volume control setting in the music selection interface.
- If you prefer to add your own music, Google Photos allows you to import audio files from your device or Google Drive. Simply click or tap on the option to add your own music and follow the prompts to select and upload the desired audio file.
- Make sure to choose music that is appropriate for your video and that you have the necessary rights or permissions to use it.
- Preview your video with the added music to ensure it enhances the overall ambiance and narrative.
By incorporating music into your video, you can create a more immersive and emotionally captivating experience for your viewers. The right music can enhance the mood, evoke specific emotions, and seamlessly tie together the visual elements of your video.
Now that you have added music to your video, let’s move on to the next step and explore the options for adding text and filters to enhance the visual appeal.
Step 7: Adding Text and Filters
Text and filters can add an extra layer of creativity and personalization to your video. Follow these steps to add text and apply filters in Google Photos:
- While editing your video in Google Photos, look for the option to add text or captions. This is typically found in the toolbar or settings of the video editing interface.
- Click or tap on the appropriate text option and enter the desired text. You can choose different fonts, sizes, and colors to customize the appearance of your text.
- Consider incorporating text that enhances the storytelling aspect of your video. You can add captions, titles, or even relevant quotes to provide context or evoke emotions.
- Experiment with the placement of the text and ensure that it doesn’t obstruct the visibility of your photos or videos.
- In addition to text, Google Photos also offers a variety of filters that you can apply to your video. These filters can enhance the mood, tone, or visual style of your footage.
- Preview different filters and choose the one that best suits the overall aesthetic and theme of your video.
- Remember to use text and filters sparingly and tastefully, ensuring they enhance the visual appeal and storytelling rather than overpowering the content.
By adding text and applying filters, you can further customize the look and feel of your video in Google Photos. Text can provide additional context or convey emotions, while filters can enhance the visual style and cohesiveness of your footage.
Now that you have added text and filters to your video, let’s move on to the final step and preview/save your creation.
Step 8: Previewing and Saving Your Video
Before finalizing and sharing your video, it’s crucial to preview and ensure that everything is as you desire. Follow these steps to preview and save your video in Google Photos:
- Once you have made all the desired edits to your video, click or tap on the preview button to see a playback of your video.
- Pay close attention to the overall flow, transitions, music, text, and filters to ensure that they work harmoniously together.
- If you notice any issues or areas that need adjustment, go back and make the necessary changes until you’re satisfied with the final result.
- Once you’re happy with your video, it’s time to save it. Look for the option to save or export your video, typically found in the toolbar or settings of the video editing interface.
- Choose the desired video format and quality to save your video.
- Consider naming your video appropriately to help you identify it in your Google Photos library or when sharing it with others.
- After saving your video, you can easily share it with friends, family, or on social media platforms directly from Google Photos.
Previewing and saving your video ensures that you have a polished and finalized product ready to be shared or enjoyed. Taking the time to review your video allows you to catch any last-minute mistakes or improvements that can enhance the overall viewing experience.
Congratulations! You have successfully created a beautiful video in Google Photos. Whether you’re preserving cherished memories or showcasing your photography skills, this step-by-step guide has equipped you with the knowledge to create compelling videos with ease.
Don’t hesitate to explore and experiment with different features and options in Google Photos to further enhance your video editing skills. Let your creativity flow and enjoy the process of creating unique and captivating videos.
Conclusion
Creating a video from your Google Photos is a fun and creative way to bring your memories to life. Google Photos offers a user-friendly platform with a range of features and customization options that allow you to personalize your videos with ease. Throughout this guide, we have covered the step-by-step process of importing your photos, selecting the perfect ones for your video, choosing the duration and style, editing the content, adding music, text, and filters, and finally, previewing and saving your creation.
By following these steps, you can transform a collection of photos into a captivating video that tells a story, evokes emotions, and preserves memories. The versatility of Google Photos allows you to customize your videos according to your preferences and the intended audience.
Remember to unleash your creativity and explore different options to make your videos truly unique. Experiment with different styles, music tracks, and editing techniques to find your own signature style. Don’t be afraid to think outside the box and add your personal touch to each video you create.
With Google Photos by your side, the process of creating videos becomes enjoyable and accessible to anyone, regardless of their level of expertise. So why wait? Start exploring the possibilities and unleash your creativity today!