Introduction
Google Photos is a versatile and intuitive platform that offers a range of features to enhance your photo and video viewing experience. One of its valuable features is the ability to rotate videos effortlessly. Whether you’ve captured a video in the wrong orientation or received a video that needs adjustment, Google Photos makes it simple to correct the orientation with just a few clicks. In this article, we will guide you through the steps to rotate a video in Google Photos.
With Google Photos, you can access your media content from anywhere using your Google account. It provides seamless integration on various devices, including smartphones, tablets, and desktop computers. This means that regardless of the device you are using, you’ll have the ability to manipulate and improve your videos with ease.
Whether you want to rotate a video to correct its orientation or to bring a better viewing experience to your audience, Google Photos ensures that the process is straightforward and accessible to all users. You don’t need any advanced technical knowledge to rotate your videos, as Google Photos’ user-friendly interface makes it simple for anyone to accomplish.
In the next sections, we will explore how to access Google Photos, upload a video, open the editor, and ultimately rotate your video to achieve the desired orientation. So, let’s get started and delve into the world of video rotation with Google Photos!
How to Access Google Photos
Accessing Google Photos is easy and convenient, no matter what device you are using. Here are the steps to access Google Photos:
- If you are using a desktop or laptop computer, open your preferred web browser and go to https://photos.google.com.
- If you are using a mobile device, you can either download the Google Photos app from the App Store (for iOS devices) or the Google Play Store (for Android devices), or you can visit https://photos.google.com directly from your mobile browser.
- Sign in to your Google account. If you don’t have one, you can easily create one by clicking on the “Create account” or “Sign up” option.
Once you are signed in, you will have access to all the features and capabilities Google Photos has to offer.
It’s important to note that Google Photos provides free storage for high-quality photos and videos. However, if you prefer to store your media content in original quality, it will count towards your Google account storage limit.
Now that you have successfully accessed Google Photos, you are ready to upload your videos and start utilizing its video editing capabilities. In the next section, we will discuss how to upload a video to Google Photos.
Uploading a Video to Google Photos
Uploading a video to Google Photos is a simple process that allows you to store and organize your videos in the cloud. Here’s how you can upload a video to Google Photos:
- Open Google Photos on your device by following the steps mentioned in the previous section.
- Click on the “Upload” button. It is usually located at the top-right corner of the screen. On a mobile device, you may find this button as a “+” or “Add” icon.
- A file picker will appear, allowing you to choose the video you want to upload. You can select a video from your device’s storage or navigate to the folder where the video is located.
- Select the desired video and click “Open” or “Choose” to initiate the upload process.
- The video will be uploaded to your Google Photos library. Depending on the size of the video and your internet connection, it may take some time to complete the upload.
Once the upload is complete, the video will appear in your Google Photos library, ready for you to view and edit. You can organize your videos into albums, add descriptions or tags, and even share them with others.
It’s worth noting that Google Photos offers unlimited free storage for videos up to 1080p resolution. Videos with higher resolutions may count towards your Google account storage limit if you select to store them in their original quality.
Now that you’ve successfully uploaded a video to Google Photos, let’s move on to how to open the editor and start rotating your video in the next section.
Opening the Editor in Google Photos
Once you have uploaded your video to Google Photos, you can easily access the editor to make adjustments and enhancements. The editor in Google Photos provides various tools and features to fine-tune your videos. To open the editor, follow the steps below:
- Open Google Photos on your device by visiting the website or launching the app, as mentioned in the previous sections.
- Navigate to the video you want to edit. You can find it by searching for its title or scrolling through your library.
- Select the video by clicking on it or tapping it, depending on the device you’re using.
- Once the video is opened, you’ll see several icons or options at the bottom of the screen. Look for the “Edit” or “Pencil” button and click or tap on it.
By clicking or tapping the “Edit” button, you’ll open the editor in Google Photos, where you can start making adjustments to your video, including rotating it to the desired orientation.
It’s important to mention that the availability and functionality of the editor may vary depending on the device you are using. The web version of Google Photos offers a comprehensive editor with advanced features, while the mobile app version provides a simplified yet efficient editing experience.
Now that you’ve accessed the editor in Google Photos, let’s move on to the next section to learn how to rotate your video in just a few simple steps.
Rotating a Video in Google Photos
Rotating a video in Google Photos is a straightforward process that allows you to correct the orientation of your video. To rotate your video, follow these steps:
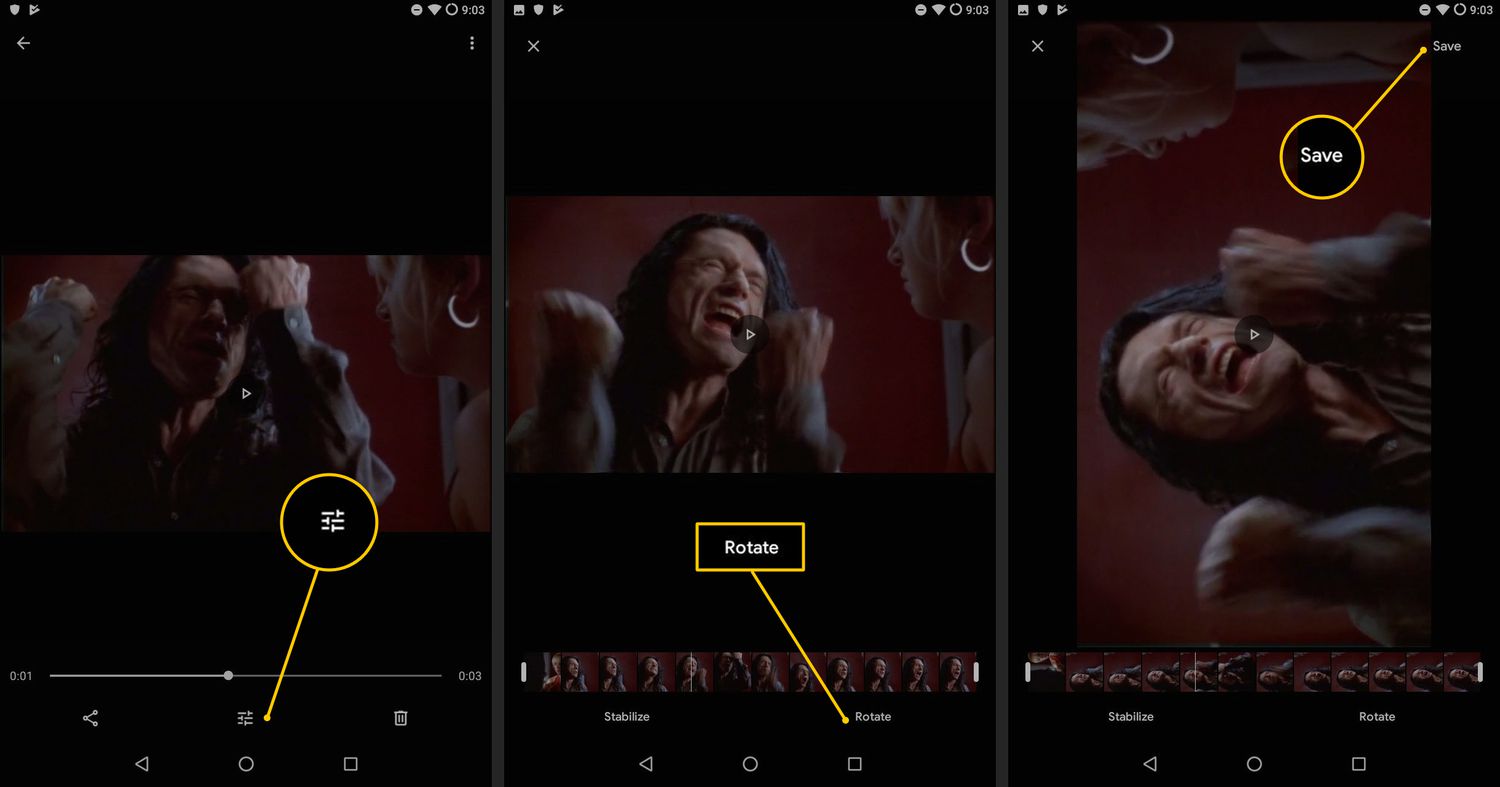
- Open the video in the editor in Google Photos as mentioned in the previous section.
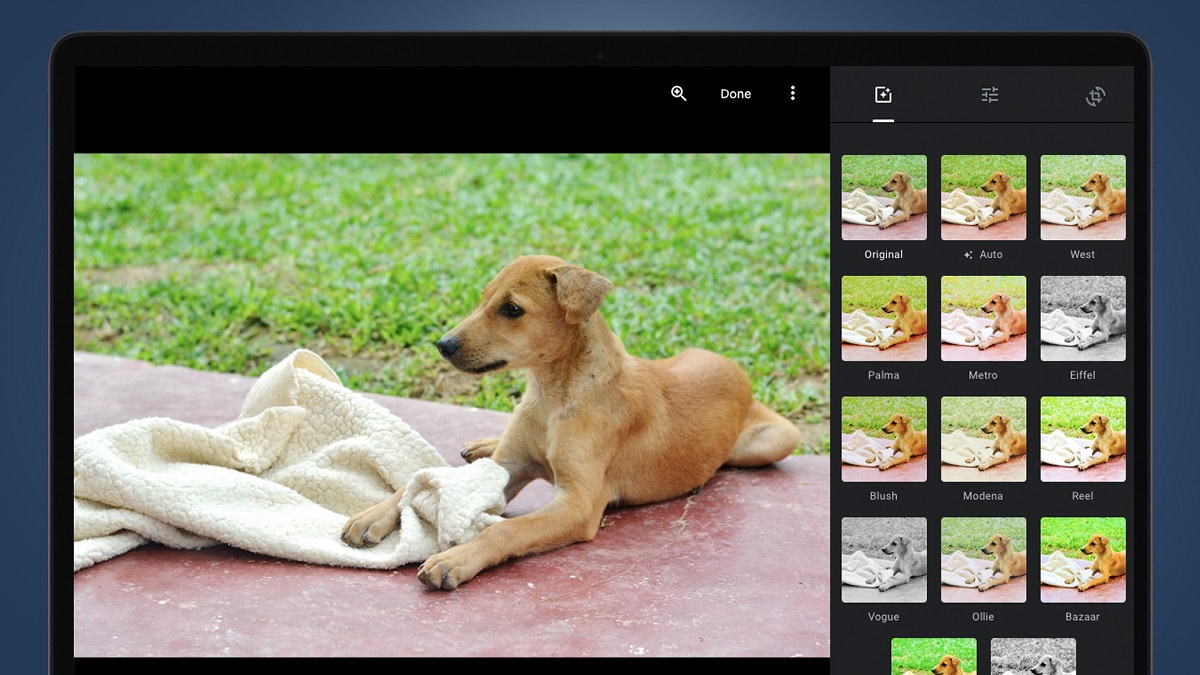
- Look for the rotation options. In the web version, you’ll find them in the toolbar at the right-hand side of the screen. In the mobile app version, you’ll find them as icons or options at the bottom of the screen.
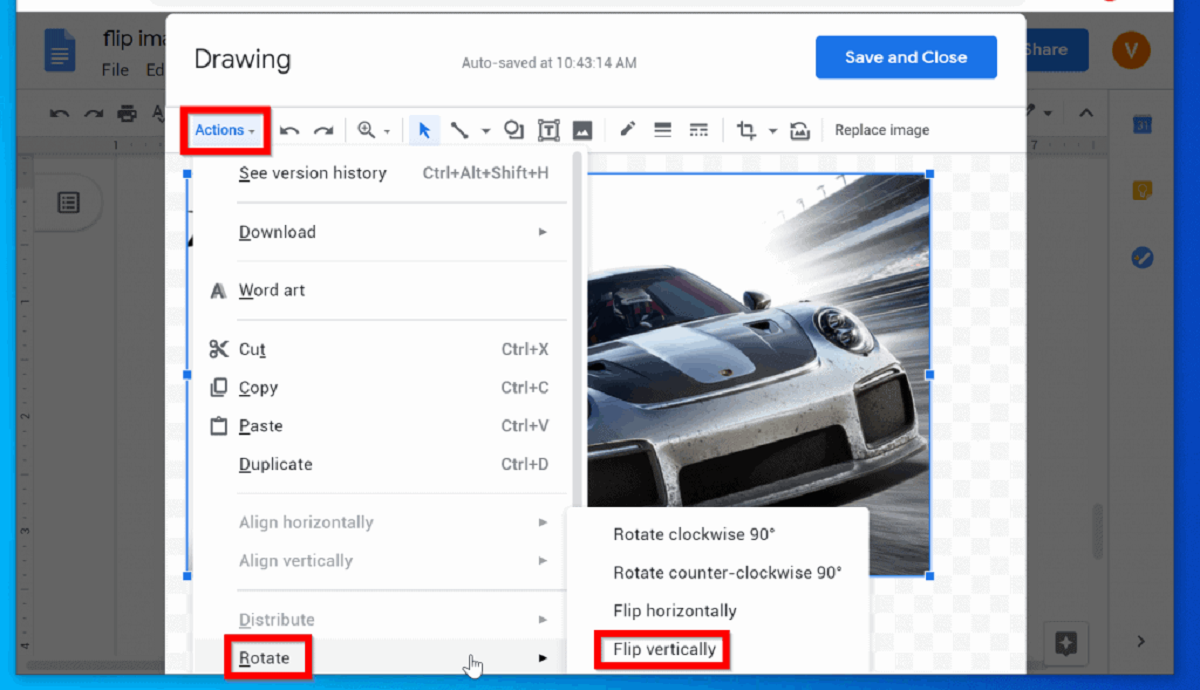
- Click or tap on the rotation option that represents the desired orientation for your video. Typically, there are options to rotate the video clockwise or counterclockwise by 90 degrees, or to flip it horizontally or vertically.
- Keep clicking or tapping on the rotation option until your video is rotated to the position you desire.
As you rotate the video, you can preview the changes in real-time to ensure that the orientation is correct. This allows you to make precise adjustments until you achieve the desired result.
It’s worth noting that when you rotate a video in Google Photos, the changes are non-destructive. This means that the original video remains intact, and the rotated version is saved as a separate copy. Therefore, you can revert back to the original orientation at any time.
Once you are satisfied with the rotation of your video, you can proceed to save the changes. In the next section, we will discuss how to save the rotated video in Google Photos.
Saving the Rotated Video
After you have successfully rotated your video in Google Photos, it’s important to save the changes to preserve the new orientation. Follow these steps to save the rotated video:
- Once you have finished rotating the video to the desired orientation, locate the “Save” or “Done” button. In the web version, it is typically found at the top-right corner of the screen. In the mobile app version, it may appear as an icon or option at the bottom of the screen.
- Click or tap on the “Save” or “Done” button to save the changes you made to the video.
- The rotated version of the video will now be saved in your Google Photos library, alongside the original version. You can access and view the rotated video anytime.
It’s important to note that saving the rotated video does not affect the original video. The original video remains untouched, and the rotated version is stored separately. This allows you to have both versions available, giving you the flexibility to revert back to the original orientation if needed.
Additionally, Google Photos automatically syncs and backs up your videos, ensuring that your rotated video is accessible across all your devices. This means that you can enjoy your rotated video on your mobile device, tablet, or desktop computer, depending on where you have Google Photos installed.
Now that you have successfully saved the rotated video in Google Photos, you can share it with others, download it to your device, or continue exploring other editing options available in the editor.
Conclusion
Google Photos provides a convenient and user-friendly platform for managing and editing your videos. Whether you need to correct the orientation of a video or make other adjustments, Google Photos offers a simple and intuitive editor to meet your needs. In this article, we have walked you through the process of accessing Google Photos, uploading a video, opening the editor, rotating the video, and saving the changes.
With just a few clicks or taps, you can easily rotate a video to the desired orientation in Google Photos. The non-destructive editing feature ensures that the original video remains intact while allowing you to create a new version with the corrected orientation. This flexibility gives you the freedom to experiment and make changes without worrying about losing the original video.
Additionally, Google Photos offers seamless integration across multiple devices, allowing you to access and manage your videos wherever you are. Whether you’re on a desktop computer, smartphone, or tablet, you can enjoy the benefits of Google Photos and make your videos look their best.
So, the next time you come across a video with the wrong orientation, don’t worry! Remember that Google Photos is your go-to solution for effortless video rotation. With its user-friendly interface and powerful editing capabilities, you can easily bring your videos to the correct orientation and enhance your viewing experience.
Start exploring the features of Google Photos today and unlock the full potential of your video library!