Introduction
Google Photos has revolutionized the way we store, organize, and share our precious memories. With its unlimited storage potential and advanced features, it has become the go-to platform for managing our vast collection of photos. However, there may be instances when you want to email these photos directly from your Google Photos account. Whether you want to send a few snapshots to family and friends or share a full album with colleagues, emailing Google Photos allows for seamless sharing with just a few simple steps.
In this guide, we will walk you through the process of emailing photos from your Google Photos account. From composing the email to optimizing photo size and adding a personalized message, we will cover all the necessary steps to ensure a smooth and efficient emailing experience. Whether you are a novice or an experienced user, this guide will provide valuable insights to help you become a pro at emailing Google Photos.
You may be wondering, why should I email my Google Photos when I can simply share them through other means like sharing links or using social media platforms? Well, there are several reasons why emailing photos from Google Photos can be a preferred option.
Firstly, email provides a more private and direct way of sharing photos. Unlike social media platforms where your photos may be visible to a wider audience, emailing ensures that only the recipients you choose can access the photos.
Secondly, emailing Google Photos allows you to maintain the original quality of the photos. When you share photos through social media platforms, they may get compressed, which can affect the overall quality and resolution. However, by emailing the photos directly, you can ensure that the recipients receive the photos in their original, high-quality format.
Lastly, emailing Google Photos gives you more control over the organization and presentation of the photos. You can customize the subject line, add a personal message, and even attach multiple albums or individual photos, making it a more personalized and meaningful way to share your memories.
Now that you understand the benefits of emailing Google Photos, let’s dive into the step-by-step process of how to do it.
Why Email Google Photos?
When it comes to sharing photos, there are countless options available in today’s digital age. So, why should you specifically choose to email your Google Photos? Let’s explore the reasons.
1. Privacy and Selectivity: Emailing Google Photos provides a more private and controlled way of sharing your cherished memories. Unlike social media platforms where the photos may be visible to a wide audience, emailing allows you to choose specific recipients and keep your photos protected.
2. Preserve Original Quality: One of the primary advantages of emailing Google Photos is that you can maintain the original quality of your images. When you share photos through other platforms, they often get compressed, resulting in a loss of detail and resolution. By emailing the photos directly, you ensure that the recipients receive them in their highest quality.
3. Customizable Presentation: When you email Google Photos, you have the flexibility to customize the presentation. You can add an eye-catching subject line, craft a personalized message, and even attach multiple albums or individual photos. This allows you to create a unique and meaningful experience for the recipients.
4. Easy Accessibility: Email is a universally accessible platform. Almost everyone has an email address, making it a convenient way to share photos with people of all ages and technical aptitudes. Whether your recipients are tech-savvy or not, they can easily access the shared photos directly from their inbox.
5. Offline Viewing: When you email Google Photos, the recipients can download the images and view them offline. This is particularly beneficial for situations where internet access may be limited, such as during travel or in areas with poor connectivity. The photos become readily available on their devices without requiring an active internet connection.
6. Long-term Storage: Google Photos offers unlimited storage for high-quality images. By emailing the photos, you can create an additional backup of your cherished memories, ensuring they are safely stored in multiple locations. In case of accidental data loss or device malfunctions, you can always retrieve the photos from your email archives.
Emailing Google Photos combines the convenience of email communication with the power of Google’s robust photo management platform. Whether you want to share a handful of images or an entire album, emailing offers a secure, customizable, and high-quality solution that ensures your photos are shared exactly as you intend them to be.
Step 1: Compose a New Email
The first step in emailing Google Photos is to compose a new email. Follow these simple instructions to get started:
- Open your preferred email client or webmail service. This could be Gmail, Outlook, Yahoo Mail, or any other email service you use.
- Click on the “Compose” button or the equivalent option to start a new email.
- A new compose window will appear, allowing you to enter the necessary details for your email.
- Enter the email address(es) of the recipient(s) in the “To” field. You can enter multiple email addresses by separating them with commas.
- If you want to add a subject line, enter a brief and descriptive title that summarizes the content of the email.
- Some email clients allow you to add a “Cc” (carbon copy) or “Bcc” (blind carbon copy) field. Use these fields to include additional recipients if needed.
- Now, you are ready to move on to the next step of attaching the Google Photos to your email.
It’s important to note that the steps above may vary slightly depending on the email client or service you are using. However, the overall process remains similar across platforms.
If you are using webmail services like Gmail, Yahoo Mail, or Outlook.com, the process is typically more intuitive and user-friendly. These services often provide a clean and straightforward interface for composing emails.
On the other hand, if you are using an email client like Microsoft Outlook or Mozilla Thunderbird, the interface may appear more complex with additional options and features. However, the basic steps of composing a new email will remain consistent.
Once you have your new email composed, it’s time to move on to the next step of attaching your Google Photos to the email.
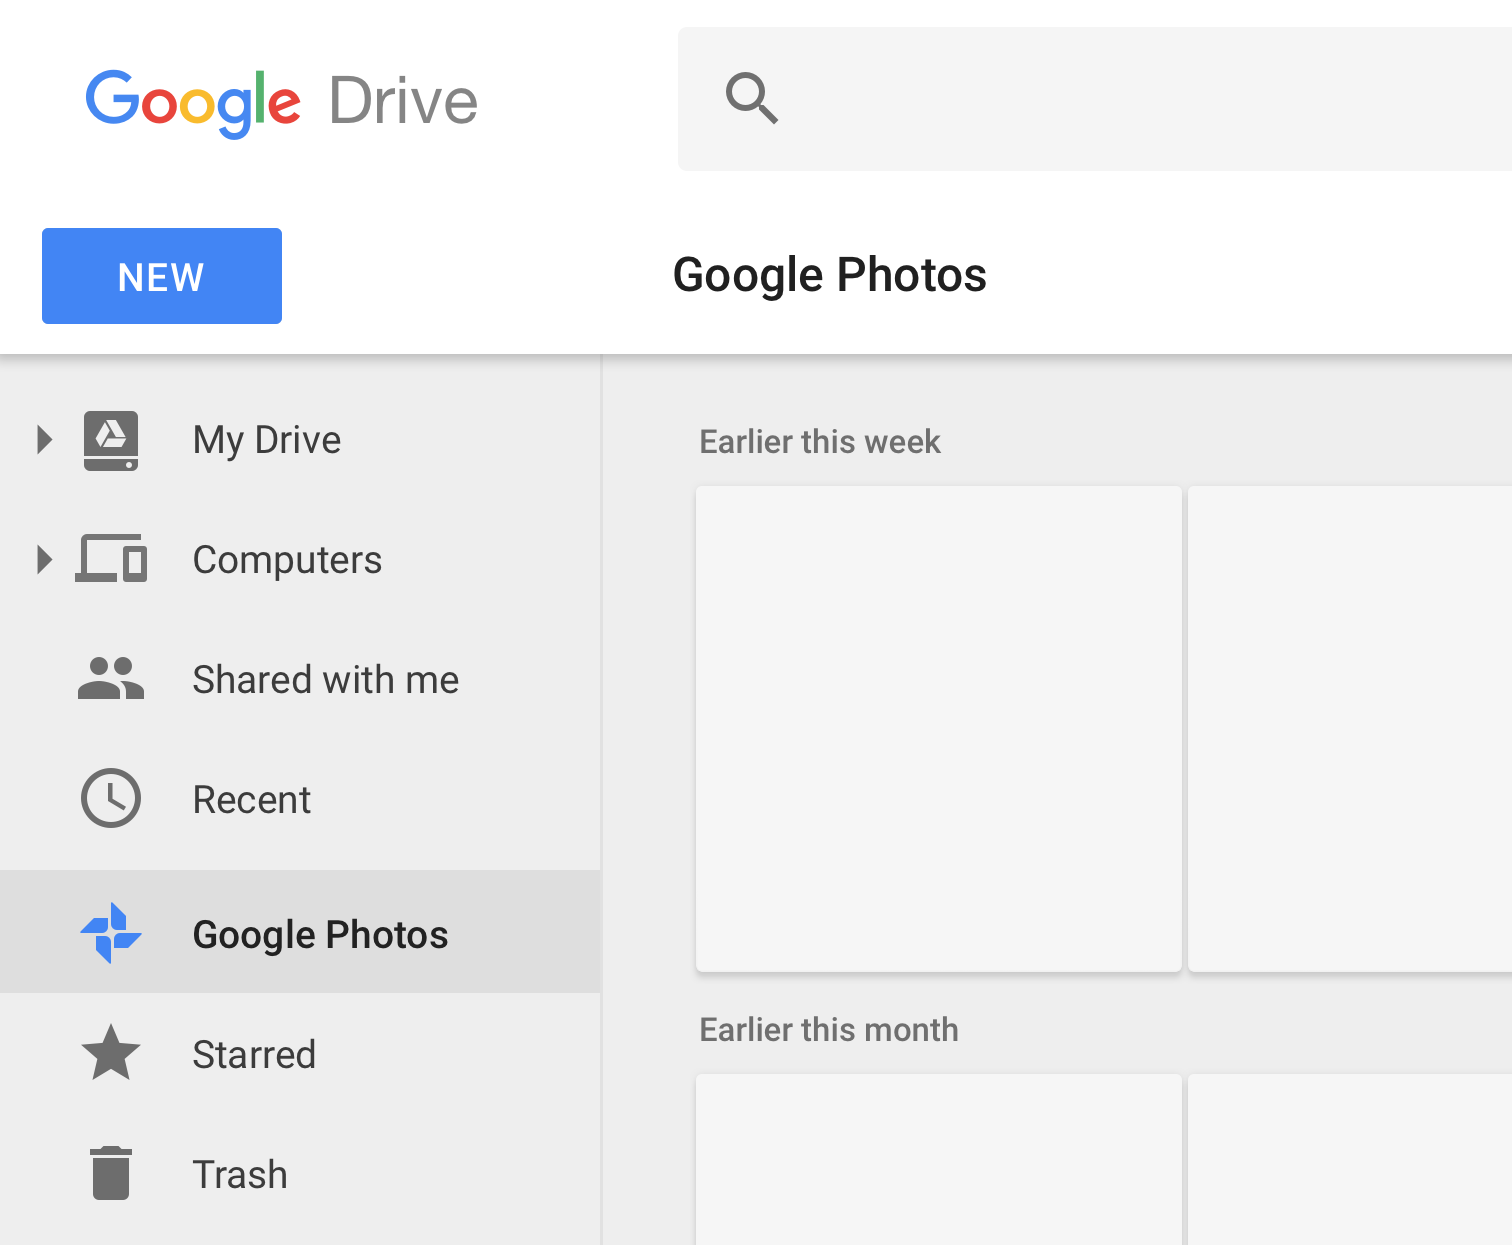
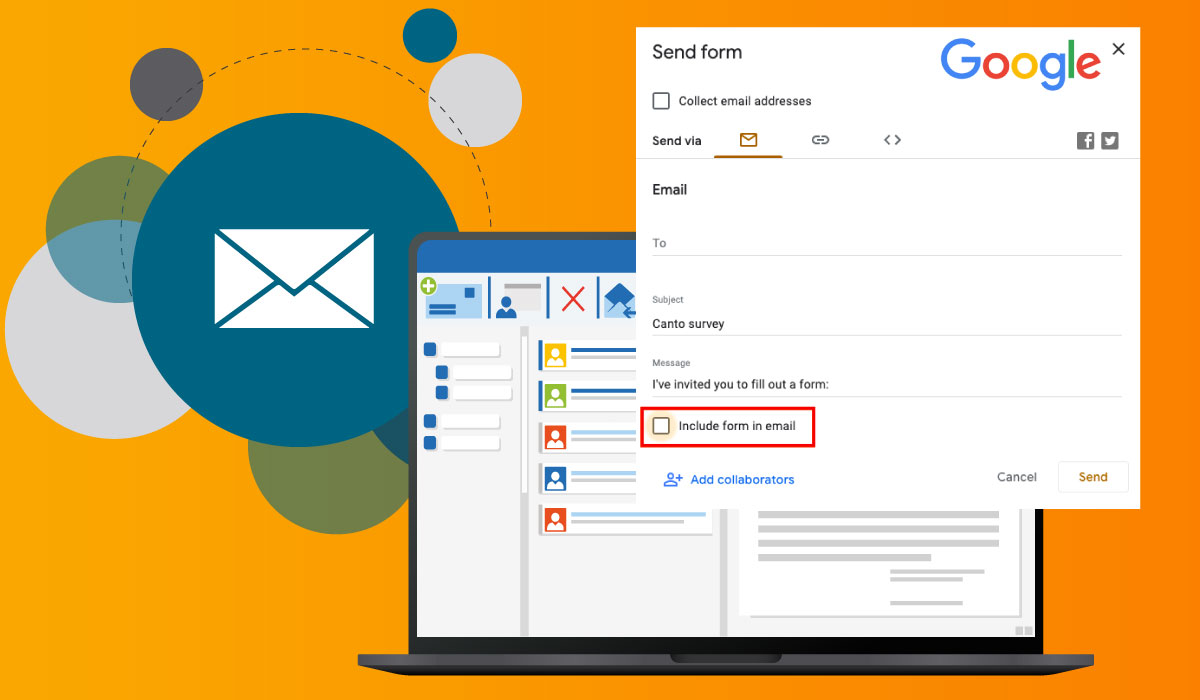
Step 2: Attach Photos
Now that you have composed a new email, the next step is to attach your Google Photos to the email. Follow these instructions to successfully attach your desired photos:
- Locate the “Attach” button or the paperclip icon in the email composition window. This button is usually represented by a paperclip or a camera icon.
- Click on the “Attach” button to open the file selection dialog box.
- In the file selection dialog box, navigate to the folder or album where your desired Google Photos are stored.
- Select one or more photos by clicking on them. To select multiple photos, hold down the Ctrl key (Windows) or Command key (Mac) while clicking on the photos.
- Once you have selected the desired photos, click on the “Open” button or the equivalent option in the file selection dialog box.
- The selected photos will now be attached to your email. Depending on the email client or service you are using, you may see thumbnail previews of the attached photos in the email composition window.
It’s worth noting that different email services and clients have different limitations on the size and number of attachments. Google Photos typically compresses and resizes photos to ensure faster and more efficient emailing. However, if you are sending large numbers of high-resolution images, it is advisable to consider the file sizes and the recipient’s mailbox limitations.
If you have a large collection of photos to share, you may want to consider creating an album within Google Photos and sharing the album link instead of attaching individual photos to the email. This minimizes the email size and simplifies the sharing process for both you and the recipients.
Remember to double-check your email before proceeding to the next step. Ensure that all desired photos are attached and that you have not accidentally attached any unrelated files. Once you are satisfied with the attached photos, you can move on to the next step of optimizing the photo size if necessary.
Step 3: Optimize Photo Size
After attaching the desired photos to your email, it is important to optimize their size to ensure smooth delivery and efficient use of storage. Follow these steps to optimize the photo size:
- If your email client or service offers options to resize or compress the attached photos, take advantage of those features. Look for options like “Resize” or “Make images smaller” in the attachments section or settings.
- Consider the recipient’s internet connection and mailbox limitations. If the recipient has a slow internet connection or limited mailbox storage, it is advisable to reduce the photo size to ensure a faster and hassle-free experience. Keep in mind that reducing the photo size may result in a slight decrease in quality, but it should still be acceptable for most viewing purposes.
- If your email client or service does not offer built-in resizing or compressing options, you can manually resize the photos using photo editing software or online tools. Several websites and software applications allow you to resize and compress images without compromising too much on quality.
- Another alternative is to use Google Photos’ built-in option to create a link to the photos instead of attaching them directly. This way, the recipients can view the photos in their original size and quality by clicking on the link.
By optimizing the photo size, you ensure a seamless emailing experience for both you and the recipients. It decreases the chances of the email being rejected due to size limitations and reduces the strain on the recipient’s mailbox and internet connection.
Before moving on to the next step, it’s important to preview the email and verify that the optimized photo size meets your expectations. Ensure that the photos are clear and visible without taking up excessive space in the email composition window.
Now that you have optimized the photo size, you can proceed to the next step of adding a subject and message to your email.
Step 4: Add Subject and Message
Now that you have attached and optimized the photos, it’s time to add a subject line and message to your email. Follow these steps to personalize your email:
- Locate the subject field in the email composition window. It is usually located near the top of the window and labeled as “Subject”, “Title”, or “Topic”.
- Enter a brief and descriptive subject line that summarizes the content of your email. This will give the recipients an idea of what the email is about.
- After adding the subject line, move to the body of your email. Click on the blank space below the subject line or use the cursor to start typing your message.
- Begin by addressing the recipients in a friendly and personable manner. Use their names if applicable to create a more personalized experience.
- Write a heartfelt message to accompany the photos. You can share the story behind the photos, express your emotions, or simply convey your greetings and well wishes.
- Consider adding any necessary instructions or information related to the photos. For example, if there are specific photos that require special attention or if you want the recipients to view the photos in a particular order, mention that in your message.
- Keep the message concise, engaging, and relevant. Avoid using excessive jargon or technical terms that might confuse the recipients.
- Proofread your message to correct any spelling or grammar errors. A well-written and error-free message will project a professional and thoughtful impression.
Adding a subject line and message personalizes the email and enhances the overall experience for the recipients. It shows that you’ve put thought and effort into sharing the photos and creates a connection between you and the recipients.
Once you are satisfied with the subject line and message, you can proceed to the final step of sending the email and sharing your Google Photos with the intended recipients.
Step 5: Send the Email
You’ve reached the final step of emailing your Google Photos – sending the email itself. Follow these simple instructions to successfully share your photos with the intended recipients:
- Take a moment to review your email. Double-check that you have attached the desired photos, optimized their size if necessary, and added a subject line and message.
- Ensure that the email addresses of the recipients are correctly entered in the “To” field.
- If you have added recipients in the “Cc” or “Bcc” fields, verify that they should indeed receive a copy of the email.
- If you wish to keep a copy of the email for your records, consider choosing the option to “Save a copy in Sent” or equivalent feature provided by your email client or service.
- Click on the “Send” button or equivalent option to send the email.
Once you click “Send,” your email with the attached Google Photos will be dispatched to the recipients. Depending on the size of the attachments and the speed of your internet connection, it may take a few moments for the email to be sent.
After the email has been sent, you may receive an acknowledgment or confirmation notification from your email client or service. This notification indicates that the email has been successfully delivered to the recipients’ mailboxes.
Keep in mind that some email services may impose restrictions on the number or size of attachments, which could result in delivery failure or rejection of the email. In such cases, you may need to consider alternative methods, such as using a cloud storage service or creating a shared album in Google Photos, to share your photos with the recipients.
Now that you have successfully sent the email, you can sit back and wait for the recipients to enjoy the moments captured in your Google Photos.
Additional Tips and Tricks
Now that you are familiar with the basic steps of emailing Google Photos, here are some additional tips and tricks to enhance your experience:
- Create Albums: Instead of attaching individual photos, consider creating albums within Google Photos and sharing the album links. This allows for easier organization and efficient sharing of multiple photos.
- Resize Photos: If the photos are too large to attach or if you want to save on storage space, consider resizing them before attaching. There are online tools and software that can help you easily resize photos without losing too much quality.
- Use File Compression Tools: If you have a large number of photos to email, consider using file compression tools to reduce the overall file size. This can make the emailing process quicker and more efficient.
- Check for Email Limits: Be aware of any size or attachment limits set by your email service or the recipient’s email service. If necessary, split large batches of photos into multiple emails or consider using a file hosting service to share the photos.
- Add Descriptive Filenames: Before attaching the photos, rename them with descriptive and meaningful filenames. This will make it easier for the recipients to identify and organize the photos.
- Consider Resizing the Displayed Photo: Some email clients or services may display attached photos as large inline images. If you want to control how the photo is displayed, resize it before attaching to match the desired dimensions.
- Include Instructions: If there are specific instructions for the recipients regarding the photos, such as a reminder to download the photos or a request to not forward them, include those instructions in your message.
By implementing these additional tips and tricks, you can further optimize your emailing experience and ensure that your recipients have a seamless and enjoyable time viewing the shared Google Photos.
Remember to always consider the preferences and limitations of the recipients when sharing your photos. If they have any specific requirements or may prefer another method of receiving the photos, be flexible and accommodating in your approach.
With these tips and tricks in mind, you are now well-equipped to master the art of emailing Google Photos and sharing your precious memories with ease.
Conclusion
Emailing Google Photos is a simple and efficient way to share your cherished memories with family, friends, or colleagues. By following the step-by-step guide outlined in this article, you can compose a new email, attach your desired photos, optimize their size, add a subject and message, and finally, send the email to the intended recipients.
There are several benefits to email sharing, including privacy, the preservation of original photo quality, customizable presentation, easy accessibility, offline viewing, and long-term storage. These advantages make email an excellent choice for sharing personal and meaningful moments.
Remember to always optimize the photo size to ensure smooth delivery and consider the limitations of both your email service and the recipient’s service. If necessary, you can resize photos, compress files, or create shared albums to facilitate easier sharing.
Additionally, it’s worth exploring some additional tips and tricks, such as creating albums, resizing photos, checking for email limits, using descriptive filenames, and adding instructions to enhance your emailing experience.
By incorporating these steps, tips, and tricks into your emailing routine, you can make the process efficient, convenient, and enjoyable for both you and the recipients.
So go ahead, start sharing your beautiful moments captured in Google Photos with those who matter most. Whether it’s a cherished family vacation, a special celebration, or a breathtaking landscape, email allows you to share your memories and spread joy with just a few clicks.
Happy emailing!