Introduction
Google Photos is a powerful platform for storing and sharing your precious memories. Whether it’s a collection of vacation photos or a portfolio of your work, having the ability to share albums with others can be incredibly useful. However, there may be times when you need to change the ownership of a Google Photos album. Maybe you no longer want to be responsible for managing the album, or perhaps you want to transfer it to someone else who will be better suited for the task. Whatever the reason, the process of changing ownership in Google Photos is straightforward and can be done in just a few simple steps.
In this guide, we will walk you through the process of changing the ownership of a Google Photos album, allowing you to pass the responsibility to someone else. We’ll cover everything from opening Google Photos to confirming the ownership transfer, ensuring that you have all the necessary information to make the transition seamless and hassle-free.
So, if you’re ready to learn how to change the ownership of a Google Photos album, let’s dive in and get started!
Step 1: Open Google Photos
The first step in changing the ownership of a Google Photos album is to open the Google Photos app or website. If you’re using a mobile device, you can download the Google Photos app from the App Store (for iOS users) or Google Play Store (for Android users). Once installed, launch the app by tapping on the icon.
If you prefer to use Google Photos on your computer, simply open your preferred web browser and visit the Google Photos website (photos.google.com). Sign in with your Google account if you aren’t already signed in.
Once you’re in the Google Photos app or website, you’ll see all your photos and albums organized neatly. Take a moment to familiarize yourself with the interface if you haven’t used Google Photos before.
Note that the steps mentioned in this guide are applicable to both the mobile app and website versions of Google Photos.
Now that you have successfully opened Google Photos, let’s move on to the next step.
Step 2: Select the Album
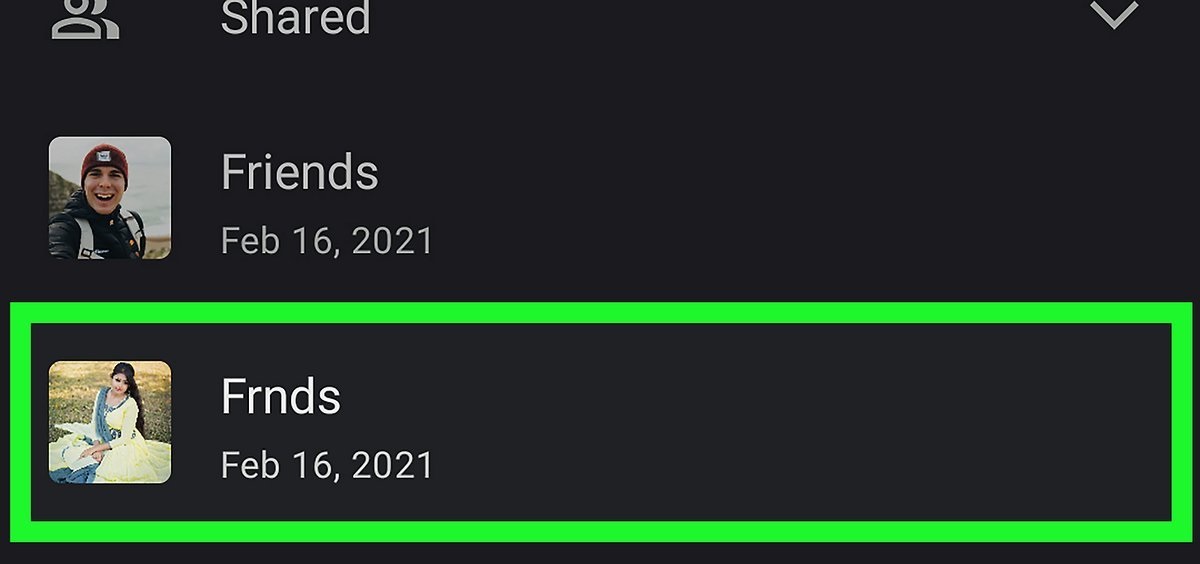
After opening Google Photos, the next step is to select the album that you want to change the ownership of. In the main interface of the app or website, you’ll see all your albums displayed. Take a moment to browse through your albums and locate the one you wish to transfer ownership of.
If you have a lot of albums and it’s difficult to find the specific one, you can use the search bar at the top of the screen. Simply type in the name or a keyword related to the album, and Google Photos will filter the results accordingly.
Once you have located the album, click on it to open it. This will take you to the album’s page, where you can view all the photos and videos it contains.
If you’re using the Google Photos app on a mobile device, you can also access the album by tapping on the album’s thumbnail. This will open the album and display its contents.
It’s important to ensure that you have selected the correct album before proceeding to the next step. Double-check the album’s name and the photos it contains to confirm.
Now that you have selected the album, let’s move on to the next step.
Step 3: Access the Album Settings
Once you have selected the desired album in Google Photos, the next step is to access the album settings. This will allow you to make changes to the album, including transferring ownership.
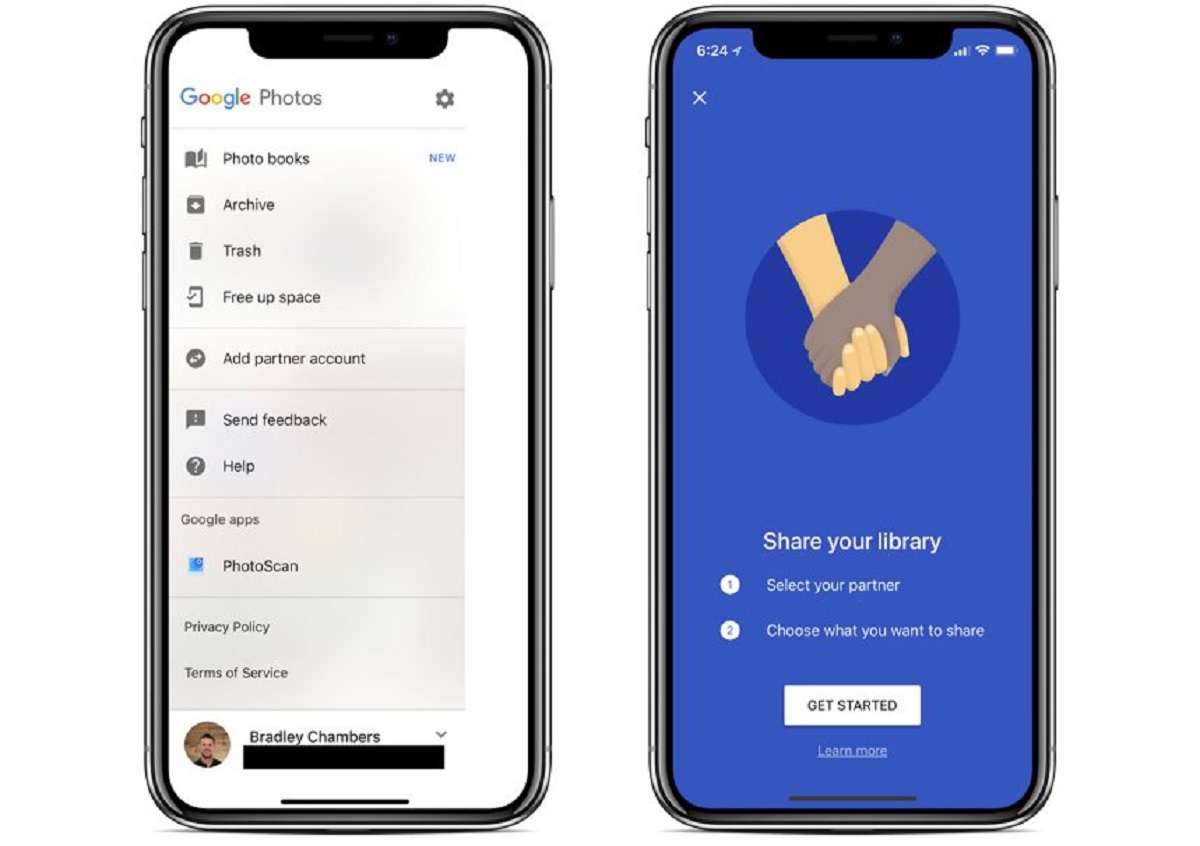
To access the album settings, look for the three-dot menu icon or the gear icon, usually located in the top-right corner of the album page. Click or tap on it to open the dropdown menu.
In the dropdown menu, you should see a list of options related to the album. Look for an option labeled “Album settings” or something similar. Click or tap on this option to access the album settings.
In the album settings, you will find various options and configurations that you can modify. These options may include options to add or remove contributors, change the album cover photo, or configure the sharing settings.
Now that you have accessed the album settings, you are one step closer to changing the ownership of the album. Let’s proceed to the next step and learn how to share the album.
Step 4: Share the Album
After accessing the album settings, the next step in changing the ownership of a Google Photos album is to share the album. By sharing the album, you can give others access to view and manage its content.
In the album settings, look for the option to share the album. This option may be labeled as “Share album” or something similar. Click or tap on this option to proceed.
When you click or tap on the “Share album” option, a sharing window will appear. This window allows you to share the album with specific people or generate a shareable link that can be sent to others.
If you want to share the album with specific individuals, enter their email addresses or Google account names in the provided field. As you type, Google Photos may suggest names from your contacts or connections.
If you prefer to generate a shareable link, click or tap on the “Create link” button. You can then copy the link and share it through your preferred communication platform, such as email or messaging apps.
This step is crucial because sharing the album is a prerequisite for transferring ownership. By sharing the album, you will give the new owner access to the album and its content.
Now that you have shared the album, it’s time to invite the new owner. Let’s move on to the next step.
Step 5: Invite New Owner
Once you have shared the Google Photos album, it’s time to invite the new owner to take over the ownership. Inviting the new owner will give them the ability to access, edit, and manage the album.
If you have shared the album with specific individuals, they will receive an email notification with an invitation to become the new owner. The email will contain a link that they can click on to accept the invitation.
If you have generated a shareable link, you need to send the link to the person you want to invite as the new owner. You can do this by copying the link and pasting it into an email, message, or any other communication channel you prefer.
When the new owner receives the invitation, they need to click on the link to accept it. They will be directed to the album, where they can confirm their ownership status or make any necessary adjustments if prompted.
It’s important to communicate with the new owner and make sure they understand their responsibilities and the implications of becoming the new owner of the album. This will help ensure a smooth transition and avoid any misunderstandings.
Once the new owner has accepted the invitation, they will become the new owner of the Google Photos album, and you will no longer have ownership rights or administrative control over the album.
Now that you have invited the new owner, let’s move on to the final step and confirm the ownership transfer.
Step 6: Confirm Ownership Transfer
The final step in changing the ownership of a Google Photos album is to confirm the ownership transfer. Once the new owner has accepted the invitation and assumed ownership of the album, you need to confirm the transfer to finalize the process.
To confirm the ownership transfer, revisit the album settings, which you accessed in Step 3. Look for any confirmation prompts or options related to ownership transfer or administrative rights.
In some cases, Google Photos may automatically recognize the change in ownership and update the album settings accordingly. If this is the case, you may not need to take any further action to confirm the transfer.
However, if there is a specific confirmation step, follow the instructions provided to verify the ownership transfer. This may involve entering a verification code, clicking on a confirmation button, or acknowledging a notification.
It’s important to carefully follow the instructions and complete the confirmation process to ensure that the ownership transfer is successfully executed. Once confirmed, you no longer have ownership rights or administrative control over the album.
After confirming the ownership transfer, take a moment to verify that the new owner has full access to the album and its content. You can do this by logging out of Google Photos and accessing the album using a different Google account or through incognito/private browsing mode.
Congratulations! You have successfully changed the ownership of a Google Photos album. The new owner now has complete control over the album, allowing them to manage and share the photos and videos within it.
Remember to communicate with the new owner and address any additional steps or considerations specific to your situation. This will help ensure a smooth transition and a positive experience for both parties involved.
That concludes the step-by-step guide on how to change ownership of a Google Photos album. We hope you found this guide helpful and that it has enabled you to transfer ownership seamlessly. Enjoy sharing your memories and managing your albums with ease!
Conclusion
Changing the ownership of a Google Photos album is a straightforward process that allows you to transfer the responsibility of managing an album to someone else. Whether you no longer want to be the owner or need to pass it on to someone better suited for the task, Google Photos provides an easy way to make the switch.
In this guide, we walked you through the step-by-step process of changing the ownership of a Google Photos album. From opening Google Photos to confirming the ownership transfer, each step was explained in detail to ensure a smooth and successful transition.
Remember to open Google Photos, select the album you want to transfer ownership of, access the album settings, share the album, invite the new owner, and confirm the ownership transfer. By following these steps, you can effectively change the ownership of your Google Photos album.
It’s important to communicate with the new owner throughout the process and ensure they understand their role and responsibilities. This will help maintain a positive relationship and ensure a smooth transition of ownership.
Now that you have the knowledge and understanding of how to change ownership within Google Photos, you can confidently manage and share your albums with others. Enjoy the convenience and flexibility that Google Photos provides, knowing that you have the ability to transfer ownership whenever the need arises.
Thank you for following along with this guide. We hope you found it helpful and that it has empowered you to make the necessary changes within Google Photos. Here’s to many more memorable moments captured in your albums!