Introduction
Welcome to a step-by-step guide on how to create a stunning slideshow using Google Photos. Slideshows are a fantastic way to showcase your favorite memories, whether it’s a collection of vacation photos, a birthday party celebration, or a visual journey through time. With Google Photos’ user-friendly interface and powerful features, you can effortlessly transform your photos into a captivating and personalized slideshow.
Google Photos is a free cloud-based platform that offers unlimited storage for your photos and videos. Not only does it provide an easy way to organize and manage your media files, but it also offers various editing tools and creative options to take your slideshows to the next level.
In this guide, we will walk you through the process of uploading your photos, selecting the images for your slideshow, creating a new album, customizing the slideshow settings, adding captions or text, rearranging the order of the photos, selecting a music track, and finally previewing and finalizing your masterpiece. Whether you are a beginner or a seasoned Google Photos user, this guide will equip you with the knowledge and skills necessary to create an impressive and memorable slideshow.
So, grab your favorite photos and let’s get started on this exciting journey of crafting a captivating slideshow with Google Photos!
Step 1: Upload your photos to Google Photos
The first step in creating a slideshow with Google Photos is to upload your photos to the platform. If you haven’t already, download the Google Photos app on your smartphone or access the web version on your computer.
To upload photos from your phone, open the app and tap on the “Library” tab at the bottom of the screen. Then, tap on the “+” icon to create a new album. Select the photos you want to include in your slideshow by tapping on each image. Once you’ve made your selection, tap on the “Upload” button to start the upload process. Keep in mind that uploading times may vary depending on the number and size of your photos.
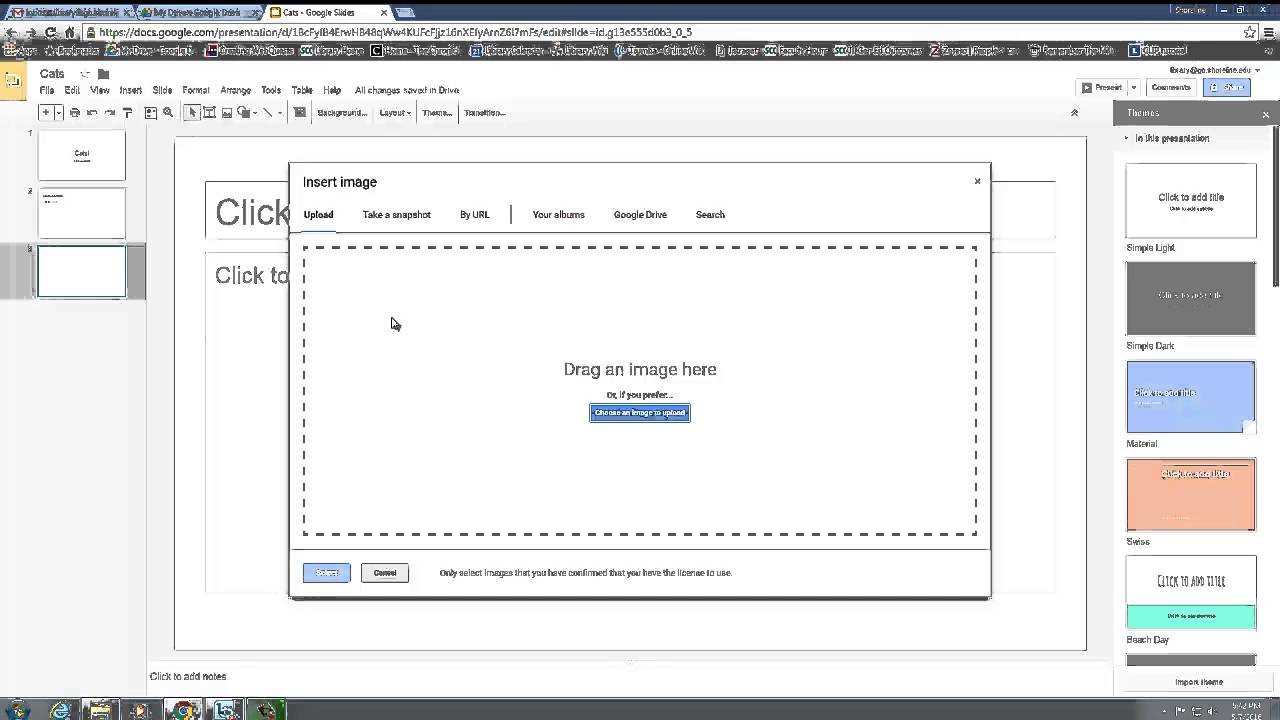
If you prefer to upload photos from your computer, go to the Google Photos website and sign in with your Google account. Click on the “Upload” button located in the top-right corner of the screen. Select the photos from your computer that you want to include in your slideshow and click “Open” to begin the upload process.
Google Photos will automatically sync your uploaded photos across all your devices, ensuring that they are accessible whenever you need them. Once the upload is complete, you can move on to the next step of creating your slideshow.
It’s worth mentioning that Google Photos offers unlimited free storage for photos up to 16 megapixels and videos up to 1080p resolution. If you need to store higher resolution photos or videos, you have the option to upgrade to a Google One subscription for additional storage space.
Now that your photos are uploaded and ready, let’s move on to the exciting part of selecting and organizing them for your slideshow.
Step 2: Select the photos for your slideshow
Once you have uploaded your photos to Google Photos, the next step is to select the images you want to include in your slideshow. By carefully choosing the photos, you can create a narrative and evoke emotions that resonate with your audience.
To begin, navigate to the Google Photos app or website and open the album containing the uploaded photos. Alternatively, you can create a new album specifically for your slideshow. Look through your collection and identify the photos that best represent the story you want to tell or the theme you want to convey.
When selecting photos, consider factors such as composition, clarity, and relevance. Aim for a variety of shots, including close-ups, landscape views, and group photos, to add visual interest. It’s also a good idea to mix up the subject matter, ensuring that your slideshow reflects a diverse range of experiences and moments.
Pro tip: If you find it difficult to narrow down your selection, prioritize photos that have strong emotional or visual impact. These will engage your audience and create a memorable experience.
To select a photo, simply tap on it or click on the checkmark icon. The selected photos will be highlighted or marked with a checkmark, making it easy to distinguish them from the rest. Feel free to select as few or as many photos as you’d like for your slideshow.
If you want to deselect a photo, tap on it again or click on the checkmark to remove the selection. This allows you to fine-tune your photo choices until you are satisfied.
Once you have chosen the photos for your slideshow, you’re one step closer to creating a visually captivating and cohesive presentation. In the next step, we’ll show you how to create a new album to organize and arrange your selected photos.
Step 3: Create a new album
With the selected photos in hand, it’s time to create a new album to house your slideshow. Creating an album in Google Photos allows you to organize and easily access your chosen photos in one central location.
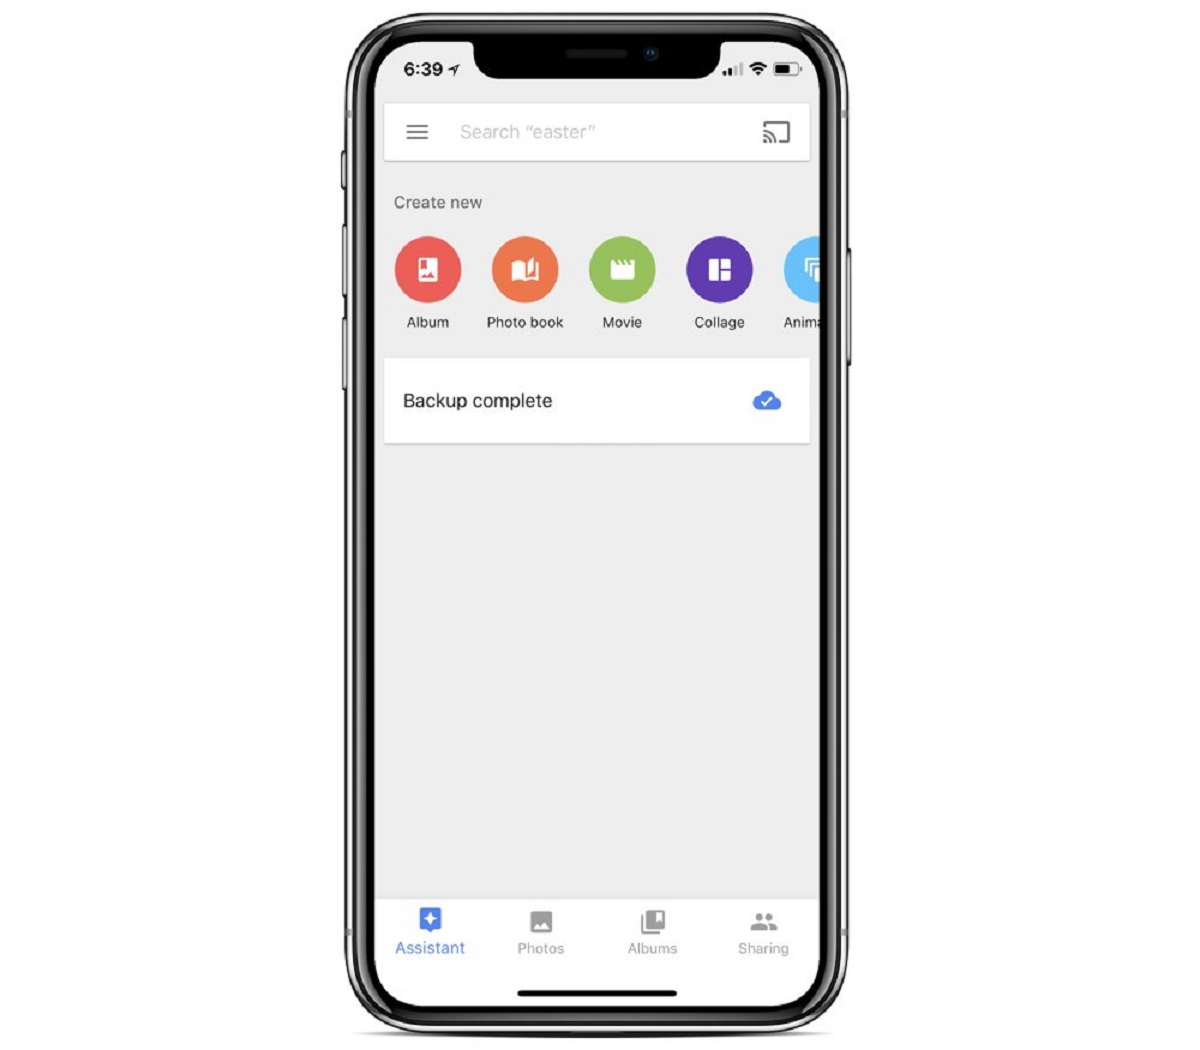
To create a new album, go to the Google Photos app or website and navigate to the album view. On the app, tap on the “Library” tab at the bottom of the screen, then select the “Albums” tab. On the website, click on the “Albums” option on the left-hand sidebar.
Next, look for the “Create album” or “New album” button and give your album a descriptive and memorable name. You can be creative with the title to reflect the theme or event of your slideshow.
Once you’ve entered the album name, start adding the selected photos to the album. On the app, tap on the “+” icon to add photos from your library. Select the photos you want to include in the album, then tap on the “Add” button to add them to the album.
If you’re using the website, click on the “Add photos” option within the album and select the desired photos from your library. After selecting the photos, click on the “Add” button to add them to the album.
You can also add more photos to the album at any time by navigating to the album and using the same process of selecting and adding photos.
Creating a dedicated album for your slideshow helps keep your photos organized and easily accessible. It also allows you to have multiple albums for different slideshows, making it convenient to manage and share your projects.
Now that you have created a new album and added your selected photos, it’s time to customize your slideshow settings to bring it to life. In the next step, we will guide you through the process of customizing your slideshow settings to create a unique visual experience.
Step 4: Customize your slideshow settings
Once you have created a new album and added your desired photos, it’s time to customize the settings of your slideshow. Google Photos offers several options to enhance the visual experience and tailor the slideshow to your preferences.
To begin customizing the slideshow settings, open the album containing your selected photos. Look for the three-dot menu icon (⋮) located at the top right corner of the screen and click on it. From the drop-down menu, select the “Slideshow” option.
Upon selecting the “Slideshow” option, you will be presented with a range of customization options. Here are some of the key settings you can adjust:
- Slide Duration: Specify how long each photo will be displayed before transitioning to the next. You can choose a preset duration or set a custom time interval.
- Slide Transition: Select the transition effect between each photo. Google Photos offers various transition options, such as fade, slide, zoom, and more. Preview the effects to choose the one that best suits your slideshow.
- Repeat: Decide whether you want the slideshow to loop and repeat automatically once it reaches the end.
- Include Videos: Choose whether you want to include videos from your album in the slideshow. This option can be helpful if you want to intersperse videos with your photos for added variety.
- Include Motion: Enable this option to add slight motion effects to your photos, giving them a dynamic feel during the slideshow.
- Playback Quality: Adjust the quality of the slideshow playback based on your preferences and available network bandwidth.
Take the time to experiment with different settings and preview the slideshow to see how the changes affect the visual presentation. This allows you to fine-tune the settings to create a seamless and captivating viewing experience.
Once you are satisfied with the customization of your slideshow settings, it’s time to add captions or text to your photos. In the next step, we will guide you through the process of enhancing your slideshow with informative captions or text overlays.
Step 5: Add captions or text to your photos
Adding captions or text to your photos can provide context, tell a story, or highlight important details in your slideshow. Google Photos offers a simple and intuitive way to add captions or text overlays to your selected photos.
To add captions or text, open the album containing your photos and click on a photo to open it in full-screen view. Look for the three-dot menu icon (⋮) located at the top right corner of the screen and click on it. From the menu, select the “Edit” option.
In the editing mode, look for the “Add text” or “Caption” option. Clicking on it will allow you to add text to the photo. Use the text entry field to type in your desired caption or text. You can adjust the font style, size, and color to match your preferences. To position the text, simply drag and drop it on the photo to the desired location.
If you want to add captions or text to multiple photos in the same album, you can navigate between photos using the left and right arrows and repeat the process of adding text to each photo.
Adding captions or text can be particularly useful when documenting events, providing explanations, or conveying emotions. You can write short descriptions, highlight key moments, or even include quotes to add a personal touch to your slideshow.
Remember to keep the text concise and easy to read. Too much text can distract from the visual impact of the photos. Use captions or text sparingly and strategically to enhance your slideshow experience.
Once you have added captions or text to your photos, you can proceed to the next step, which involves rearranging the order of your photos to create a cohesive and well-structured slideshow.
Step 6: Rearrange the order of your photos
Now that you have customized your slideshow settings and added captions or text to your photos, it’s time to arrange the order of your photos to create a smooth and cohesive narrative. Rearranging the photos allows you to control the flow of your slideshow and tell your story in a visually appealing way.
To rearrange the order of your photos, open the album in Google Photos and look for the album view. On the app, you can tap and hold a photo, then drag and drop it to a new position within the album. On the website, you can click and drag the photo to the desired location.
Take your time to experiment with different arrangements and consider the composition and theme of each photo. Think about how the photos interact with each other and create a seamless transition between them. You can create a chronological sequence, arrange them based on visual elements, or organize them to create a specific mood.
As you rearrange the photos, Google Photos will automatically update the slideshow preview to reflect the new order. This allows you to visualize how the photos will appear when the slideshow is played.
If you find it challenging to decide on the perfect order of your photos, you can always seek feedback from friends or family members. Sometimes, a fresh pair of eyes can provide valuable insights and help you make the best choices.
Remember, the goal is to create a visually engaging and cohesive story with your photos. By rearranging the order of your photos, you can craft a compelling narrative that will capture the attention of your audience.
Once you are satisfied with the arrangement of your photos, you are ready for the next step, which involves choosing a music track to further enhance your slideshow experience.
Step 7: Choose a music track for your slideshow
Adding the perfect music track to your slideshow can elevate the viewing experience and evoke emotions that enhance the storytelling. Google Photos allows you to choose from a selection of pre-loaded music tracks or use your own music to create a personalized soundtrack.
To choose a music track, open the album containing your photos and click on the three-dot menu icon (⋮) located at the top right corner of the screen. From the menu, select the “Select Music” or “Choose Music” option.
If you want to use one of the pre-loaded tracks, browse through the available options and listen to the previews to find the one that matches the mood and atmosphere of your slideshow. Google Photos offers a variety of genres and instrumental tracks to suit different themes and styles.
On the other hand, if you prefer to use your own music, select the “Choose From Device” or “Upload Music” option. This will allow you to select music files from your device or computer and add them to your slideshow. Keep in mind that there may be restrictions on copyrighted music, so make sure you have the necessary rights or permissions to use the music in your slideshow.
As you select or upload your music track, consider the pace, tempo, and mood of the music. Match the music with the visuals to create a seamless and immersive experience for your audience.
Once you have chosen the music track, play the slideshow preview to ensure that the timing and rhythm of the music align with the transitions of your photos. Adjust the slide duration if necessary to synchronize the changes with the music.
Music has a powerful impact on the overall atmosphere of your slideshow, enhancing the emotions and engagement for your viewers. Choose a track that complements your photos and adds an extra layer of immersion.
With the music track selected, you’re almost ready to unveil your masterpiece. In the next step, we will cover how to preview and finalize your slideshow before sharing it with others.
Step 8: Preview and finalize your slideshow
Now that you have customized your slideshow by choosing the photos, adding captions or text, arranging the order, and selecting a music track, it’s time to preview and finalize your creation before sharing it with others.
To preview your slideshow, open the album in Google Photos and look for the slideshow play button, usually represented by a play icon. Clicking on this button will start the slideshow and allow you to see how the photos transition, the timing of each slide, and the synchronization with the chosen music track.
While previewing the slideshow, pay close attention to the overall flow, timing, and visual impact of the presentation. Make any necessary adjustments to the slide duration, transition effects, or music track to ensure a seamless and captivating experience for your viewers.
Once you are satisfied with the preview and confident that your slideshow is ready to be shared, it’s time to finalize it. Finalizing the slideshow will save all your customization settings and create a finalized version of the slideshow that can be easily shared with others.
To finalize the slideshow, exit the preview mode and navigate to the album view in Google Photos. Look for the three-dot menu icon (⋮) and select the “Finalize Slideshow” or “Save Slideshow” option. Google Photos will process the slideshow and create a finished version that can be accessed and shared anytime.
After finalizing your slideshow, you have several options for sharing it with others. You can share a link to the slideshow, invite others to collaborate and add their own photos and comments, or even export the slideshow as a video file.
Remember to keep a backup of your finalized slideshow and the original photos used in case you need to make any changes or revisions in the future.
Congratulations! You have successfully created a captivating and personalized slideshow using Google Photos. It’s time to share your creation with friends, family, or a wider audience and let them relive the special moments captured in your photos.
By following these steps and putting your creative touch into the process, you can create stunning and memorable slideshows that will leave a lasting impression on your audience.
Conclusion
Congratulations on successfully creating a stunning slideshow with Google Photos! You have learned how to upload your photos, select the images for your slideshow, create a new album, customize the slideshow settings, add captions or text to your photos, rearrange the order of the photos, choose a music track, and preview and finalize your masterpiece.
Google Photos provides a user-friendly platform with powerful features that allow you to transform your photos into captivating slideshows. Whether you are showcasing precious memories, documenting a special event, or creating a visual narrative, Google Photos offers the tools you need to bring your ideas to life.
Remember to take the time to carefully curate your photos, paying attention to composition, clarity, and relevance. Add captions or text sparingly to enhance the storytelling and engage your audience. Take advantage of the customization options to ensure a seamless and immersive viewing experience.
Through the process of arranging your photos and choosing a music track, you have the opportunity to create a cohesive and emotionally impactful slideshow. Consider the pace, tempo, and mood of the music, and synchronize it with the transitions of your photos to create a truly immersive experience.
Finally, preview and finalize your slideshow to ensure that it meets your vision and captures the essence of the moments you want to share. With Google Photos, you can easily share the finalized slideshow with others and preserve your memories for years to come.
So go ahead, showcase your creativity and share your story with the world. With Google Photos, the possibilities are endless, and you have the tools to create slideshows that will captivate and inspire. Start exploring, experimenting, and enjoy the process of creating beautiful slideshows with Google Photos!