Introduction
Welcome to the world of digital photo frames, where your iPad can transform into a captivating display of cherished memories. While the iPad is known for its versatility in many areas, it also excels at showcasing your favorite photos in a stylish and interactive manner. By utilizing the right apps and settings, you can turn your iPad into a stunning digital photo frame that adds a touch of elegance to any space.
Gone are the days of traditional photo frames, limited to displaying only a few snapshots. With a digital photo frame, you have the freedom to showcase an entire slideshow of memories, beautifully transitioning from one image to another. Whether it’s reliving a family vacation, celebrating milestones, or simply displaying breathtaking landscapes, the possibilities are endless.
In this guide, we will explore the various steps and options to set up your iPad as a digital photo frame. We will discuss the best apps to use, how to configure your device for optimal display, and additional features that enhance the overall experience. So, let’s dive in and discover how you can unleash the full potential of your iPad as a captivating digital photo frame.
Choosing the Right App for a Digital Photo Frame
When it comes to turning your iPad into a digital photo frame, choosing the right app is crucial. There are several options available in the App Store, each with its own unique features and capabilities. Here are a few factors to consider when selecting the perfect app for your digital photo frame:
- Ease of Use: Look for an app that offers a user-friendly interface, making it easy to navigate and customize your photo slideshow. The app should have intuitive controls and a seamless setup process.
- Slideshow Options: Consider the features offered for creating and customizing your photo slideshow. Look for options to adjust transition effects, display duration, and the ability to shuffle or loop the images.
- Compatibility: Ensure that the app is compatible with your iPad model and operating system version. Some apps may work specifically for certain iPad models, so check the app requirements before downloading.
- Integration with Cloud Services: If you store your photos in cloud services like iCloud, Google Photos, or Dropbox, consider an app that offers seamless integration. This will allow you to easily access and display your photos from these cloud platforms.
- Additional Features: Explore the app’s additional features, such as the ability to add captions or filters to your photos, display weather information, or even play music while your slideshow is running. These extra features can enhance your digital photo frame experience.
It’s important to take your time and explore different apps to find the one that suits your needs and preferences. Some popular apps for turning your iPad into a digital photo frame include “Frameo,” “Digital Photo Frame – Nixplay,” and “Photosmith.” These apps offer a range of features and customization options, making them ideal choices for creating an immersive photo display.
Once you’ve chosen the app that meets your requirements, it’s time to move on to the next step: setting up your iPad for displaying photos. In the next section, we will walk you through the process of transforming your iPad into a captivating digital photo frame that brings your memories to life.
Setting Up the iPad for Displaying Photos
Before you can start enjoying your iPad as a digital photo frame, you need to ensure that it is set up properly to display your photos in the best possible way. Here are the steps to set up your iPad for displaying photos:
- Clear the Home Screen: Begin by clearing the home screen of any unnecessary icons and apps. This will provide a clean and clutter-free display when your iPad is turned into a photo frame. To remove an app, press and hold its icon until the icons start jiggling, then tap on the ‘X’ button.
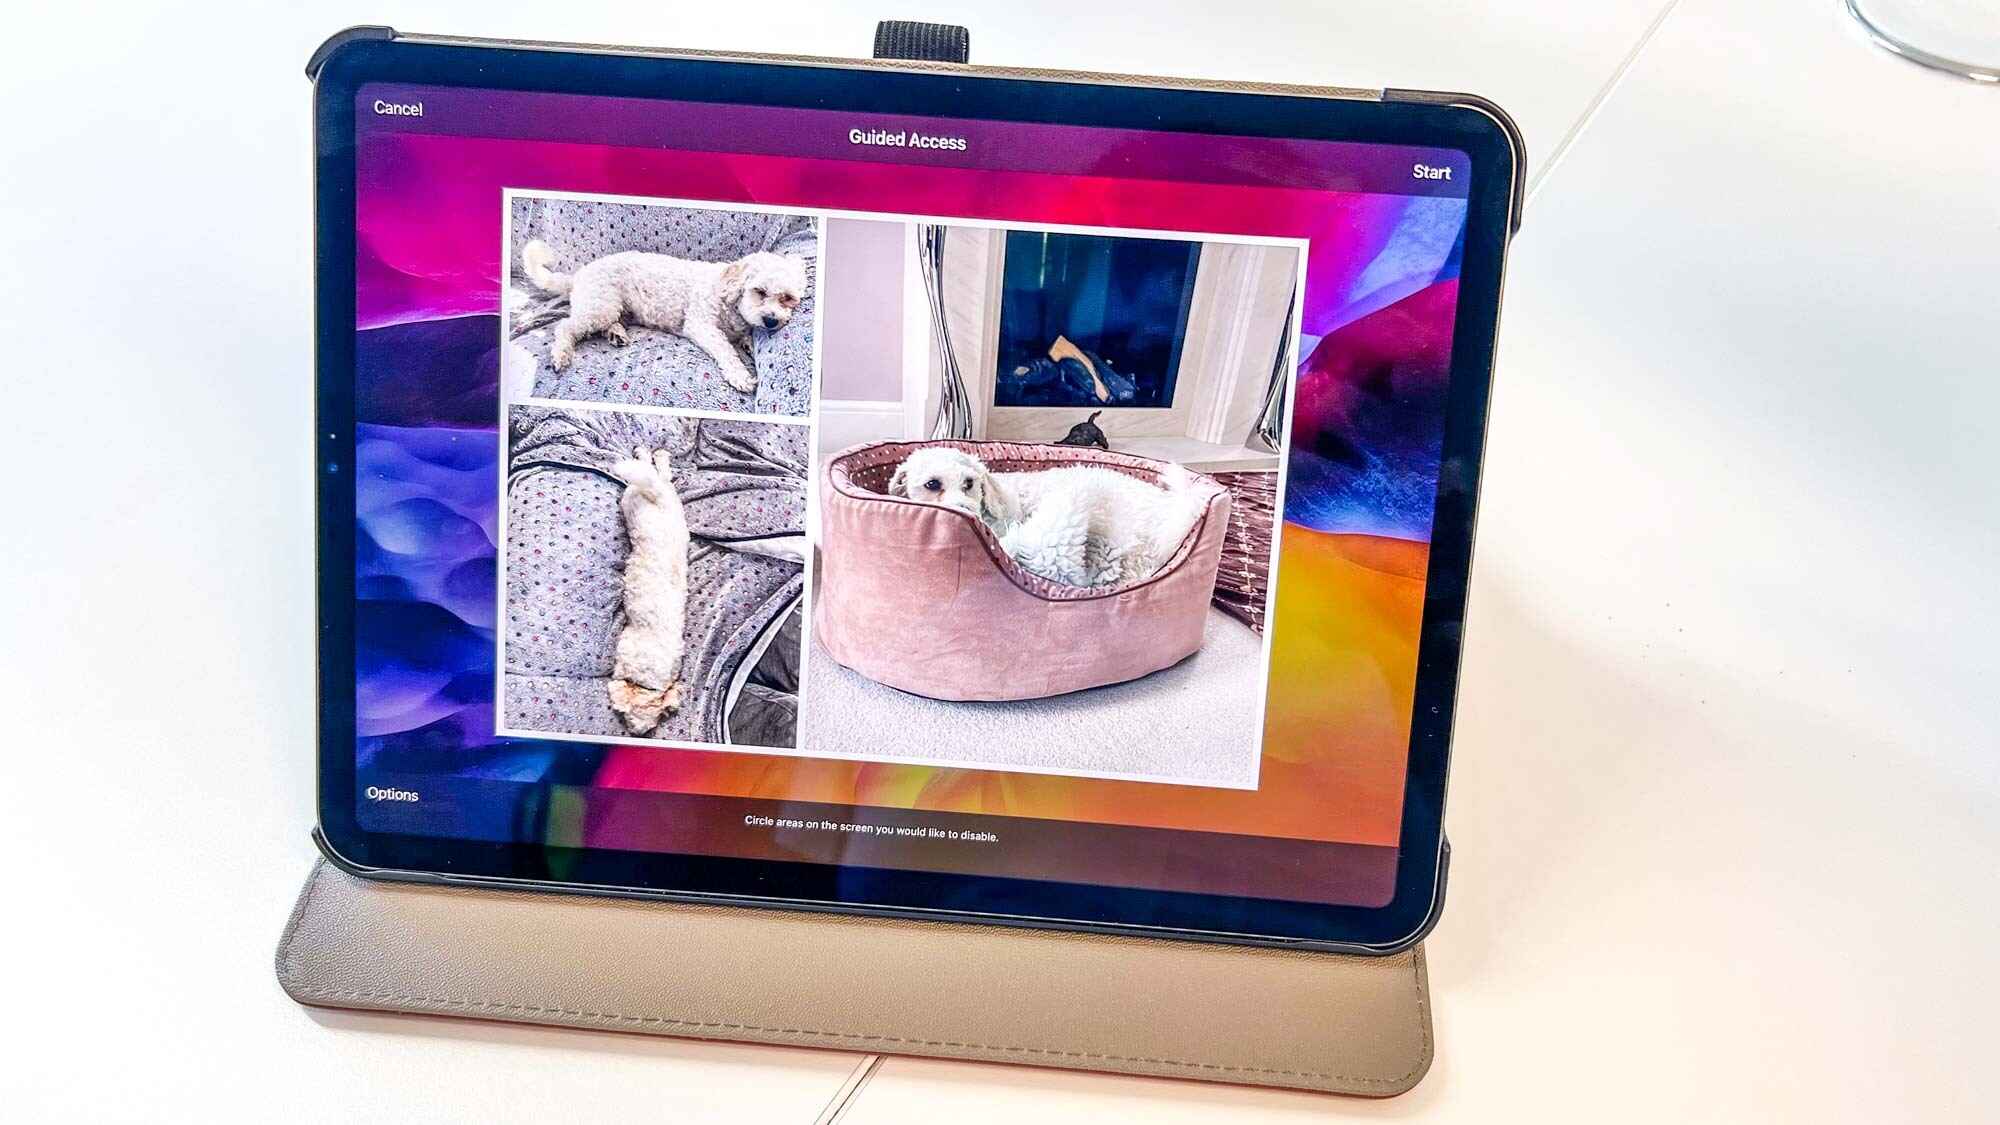
- Enable Guided Access: Guided Access is a feature that locks your iPad into a single app, preventing accidental exit or access to other apps. It is useful for keeping your iPad focused on displaying photos only. To enable Guided Access, go to Settings > Accessibility > Guided Access, toggle the switch to on, and set up a passcode.
- Automatically Lock Screen: To save battery life and ensure uninterrupted display of your photos, set your iPad to automatically lock the screen after a specific period of inactivity. Go to Settings > Display & Brightness > Auto-Lock and choose your desired time interval.
- Adjust Brightness: Depending on the ambient lighting conditions, you may need to adjust the brightness of your iPad’s screen for optimal viewing. Swipe down from the top-right corner to access the Control Center and adjust the brightness slider according to your preference.
- Connect to a Power Source: To avoid running out of battery during extended photo display sessions, connect your iPad to a power source or use a charging dock. This ensures that your photo frame remains powered up without interruptions.
- Enable Do Not Disturb: To prevent notifications and disturbances from interrupting the viewing experience, enable the “Do Not Disturb” mode. This can be done by swiping down from the top-right corner of the screen and tapping on the crescent moon icon.
By following these steps, you can ensure that your iPad is optimized for displaying photos as a digital photo frame. Next, we will explore how to create a slideshow with customizable options, allowing you to personalize your photo display further.
Creating a Slideshow with Customizable Options
One of the key advantages of using your iPad as a digital photo frame is the ability to create a customized slideshow of your favorite photos. Here’s how you can create a slideshow with customizable options:
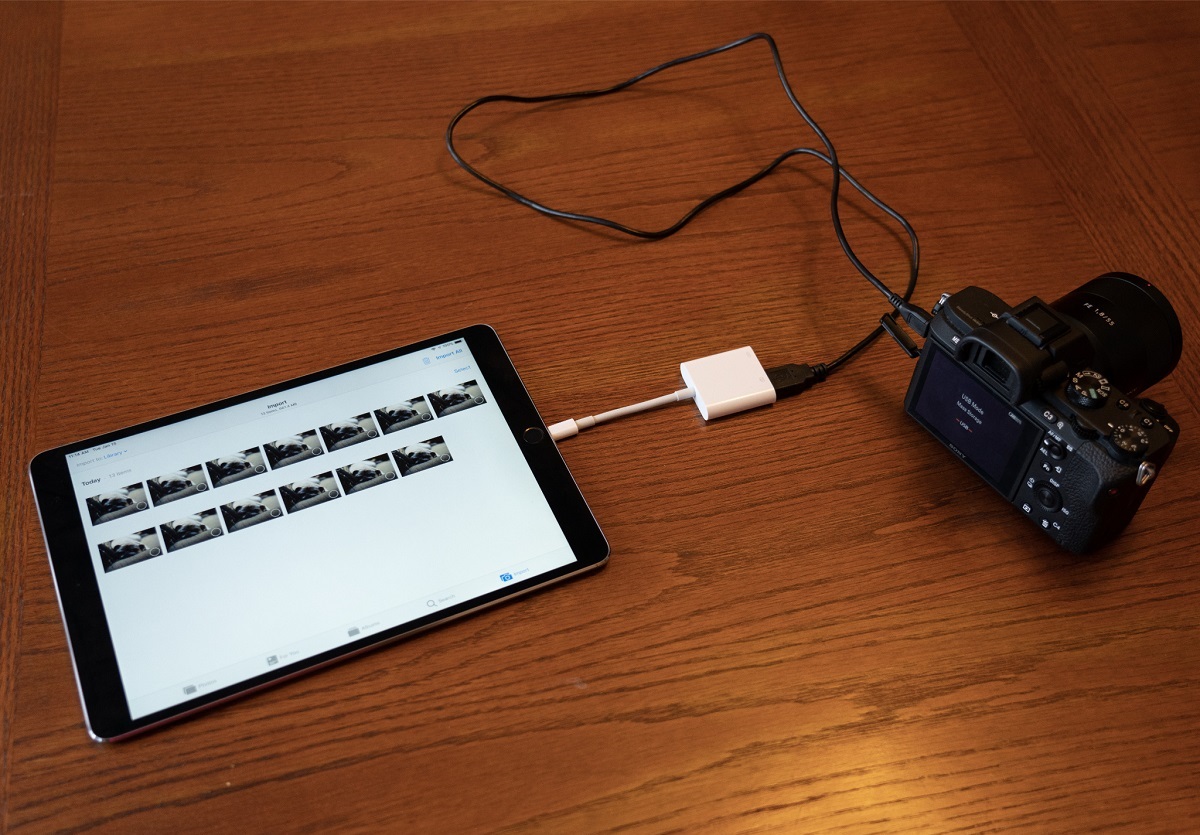
- Select Photos: Begin by selecting the photos you want to include in your slideshow. You can either choose specific albums or create a dedicated folder with your chosen photos. To select multiple photos, tap on the first photo and then tap on each subsequent photo you want to include.
- Create a New Album: If you prefer, you can create a new album specifically for your digital photo frame slideshow. Simply tap on the “Add” icon and select “New Album.” Give the album a name and add the selected photos to it.
- Open the Photo App: Launch the Photos app on your iPad and navigate to the created album or selected photos folder.
- Start Slideshow: Tap on the first photo in your selected album or folder, then tap on the “Slideshow” button (located at the bottom-right corner). Your iPad will automatically start playing the slideshow with default settings.
- Customize Slideshow Options: To customize the slideshow, tap on the screen to display playback controls. You can adjust the slideshow settings, including the transition style, speed, and music options. Some apps even offer additional settings such as display duration per photo or the ability to include captions.
- Shuffle and Repeat: If you want your photos to be displayed in a random order, enable the shuffle option. This ensures that each time the slideshow starts, the photos will be shown in a different sequence. If you want the slideshow to repeat continuously, enable the repeat option.
By creating a slideshow with customizable options, you can tailor your digital photo frame experience to match your preferences. Experiment with different transition effects, playback speeds, and music choices to create a visually pleasing and engaging slideshow.
Next, let’s explore how you can display photos from popular cloud services like iCloud, Google Photos, and more, on your iPad digital photo frame.
Displaying Photos from iCloud, Google Photos, and Other Cloud Services
Displaying photos from your favorite cloud services on your iPad digital photo frame is a fantastic way to have access to a vast library of memories. Here’s how you can display photos from iCloud, Google Photos, and other cloud services:
- iCloud: If your photos are stored in iCloud, ensure that you have enabled iCloud Photos on your iPad. This will automatically sync your photos to your device. You can then access the synced photos by opening the Photos app and selecting the appropriate album or folder for your digital photo frame.
- Google Photos: To display photos from Google Photos, you can use the Google Photos app on your iPad. Download the app from the App Store, sign in with your Google account, and grant the necessary permissions. Once logged in, you can access your Google Photos library and select the desired photos or albums for your digital photo frame.
- Other Cloud Services: There are various other cloud services, such as Dropbox, OneDrive, and Amazon Photos, that allow you to store and access your photos. To display photos from these services, you need to download the respective apps on your iPad, sign in with your account credentials, and sync your photos to your device. Once synced, you can access the photos through the Photos app and select them for your digital photo frame.
- Automatic Syncing: Some photo frame apps, such as “Frameo,” “Digital Photo Frame – Nixplay,” and “Photosmith,” offer automatic syncing with cloud services. This means that any changes or additions you make to your cloud photo library will be reflected in your digital photo frame slideshow automatically. Check the app settings or preferences to enable automatic syncing with your preferred cloud service.
By accessing your photos from cloud services, you can expand your digital photo frame display beyond the photos stored directly on your iPad. This ensures that you have a wide variety of images to enjoy and share with others. Now, let’s move on to the next step: adjusting the display settings for the best viewing experience.
Adjusting Display Settings for the Best Viewing Experience
To achieve the best viewing experience with your iPad digital photo frame, it’s important to adjust the display settings accordingly. Here are a few tips to help you optimize the display settings:
- Screen Brightness: Adjust the screen brightness to ensure optimal visibility of your photos. If the room is well-lit, increase the brightness level. If the room is dimly lit, lower the brightness to avoid straining your eyes and prevent glare.
- Auto-Lock: Set the auto-lock feature to a longer period or disable it altogether. This prevents the iPad from going into sleep mode and ensures continuous display of your photos without interruptions.
- Display Orientation: Determine whether you want your digital photo frame to be in landscape or portrait orientation. Based on your preference, lock the display orientation so that the photos are displayed in the desired mode.
- Slideshow Timing: Adjust the speed of your photo slideshow to suit your viewing preferences. Some apps allow you to set the duration for each photo and the transition time between photos. Experiment with different timings to find the right balance.
- Aspect Ratio: If your photos have different aspect ratios, you may need to adjust the display settings to avoid black bars or cropping. Choose a display option that preserves the original aspect ratio of your photos while fitting the screen.
- Screensaver Mode: Consider enabling screensaver mode when the iPad is idle for an extended period. This can help to prevent screen burn-in and save battery life. Screensaver modes may include displaying clocks, art, or other visual elements.
By adjusting the display settings, you can ensure that your digital photo frame presents your photos in the most appealing and immersive way possible. Take the time to experiment with different settings until you find the optimal combination that suits your preferences.
Next, let’s explore how you can control your digital photo frame remotely, adding convenience and flexibility to your photo viewing experience.
Controlling the Digital Photo Frame Remotely
Controlling your digital photo frame remotely adds an extra level of convenience and flexibility to your photo viewing experience. Here are a few methods you can use to control your iPad digital photo frame remotely:
- Remote Control Apps: Some photo frame apps, such as “Frameo” and “Digital Photo Frame – Nixplay,” offer companion remote control apps that you can install on your smartphone or another device. These apps allow you to remotely manage and control your digital photo frame, including selecting albums, adjusting settings, and even uploading new photos from your phone’s gallery.
- Home Sharing: If you have an Apple TV or a compatible smart TV, you can set up your iPad as a home sharing device. This allows you to stream the photo slideshow from your iPad directly to your TV, providing a larger display for everyone to enjoy.
- Cloud-Based Control: Some digital photo frames have built-in Wi-Fi connectivity and cloud-based controls. With these frames, you can remotely upload and manage your photos through a web portal or a dedicated app, even when you’re not at home.
- Voice Control Assistants: If you have a voice-controlled device like Amazon Echo or Google Home, you can control your digital photo frame using voice commands. By integrating your photo frame app with the respective voice assistant, you can change settings, start or stop slideshows, and perform other functions using voice commands.
Remote control capabilities allow you to manage and customize your digital photo frame from anywhere in your home or even when you’re away. This means you can update the photos, change settings, and ensure a fresh viewing experience for yourself and others, regardless of your location.
Now that you have learned how to control your digital photo frame remotely, let’s explore some tips and tricks to enhance your overall experience.
Tips and Tricks for Enhancing Your Digital Photo Frame Experience
While the basic setup and functionality of a digital photo frame are straightforward, there are some tips and tricks that can take your experience to the next level. Here are a few tips to enhance your digital photo frame experience:
- Create Theme-Based Slideshows: Organize your photos into theme-based albums or folders. You can have albums dedicated to specific events, holidays, or even a collection of your favorite landscapes. Creating themed slideshows adds a personal touch and helps evoke specific emotions or memories.
- Add Captions and Descriptions: Consider adding captions or descriptions to your photos. This can provide additional context or remind you of the story behind the image. Some digital photo frame apps allow you to include captions, making your photo slideshow more engaging and informative.
- Include a Mix of Photos: Don’t limit your photo slideshow to just family portraits or vacation snapshots. Mix it up by incorporating a variety of photos, including landscapes, artwork, or inspirational quotes. This adds visual interest and keeps the slideshow engaging for longer periods.
- Regularly Update Your Photos: Keep your digital photo frame fresh and exciting by regularly updating the photos. Add new images, remove older ones, and rearrange the order to create a dynamic display. This ensures that your photo frame always showcases the most recent and meaningful memories.
- Experiment with Different Effects: Take advantage of the transition effects provided by your photo frame app. Try different styles like fades, slides, or cross dissolves to bring a unique touch to your slideshow. Experimenting with different effects can add a new level of visual appeal and keep your display interesting.
- Consider Ambient Lighting: Pay attention to the ambient lighting in the room where your digital photo frame is displayed. Adjust the brightness and contrast settings accordingly. You can also experiment with diffusing the light or placing the frame in a spot where it receives just the right amount of illumination.
- Share Your Photo Frame: If you have a Wi-Fi-enabled digital photo frame, consider sharing it with family members or close friends. This allows them to contribute their own photos to the slideshow, creating a collaborative and more diverse display.
Implementing these tips and tricks can enhance your digital photo frame experience and make it even more enjoyable. Remember to have fun and be creative with your displays, as it is a unique opportunity to showcase and celebrate your favorite memories.
Now that you’re armed with these helpful tips, you can maximize the potential of your iPad as a digital photo frame. Let your photos come to life and enjoy reliving your cherished moments in a visually captivating manner.
Conclusion
Turning your iPad into a digital photo frame opens up a world of possibilities to showcase your favorite memories in a captivating and personalized way. By carefully selecting the right app, setting up your iPad properly, and customizing your slideshow, you can create an immersive viewing experience that brings your photos to life. Exploring the options to display photos from cloud services and adjusting the display settings further enhances the versatility and convenience of your digital photo frame.
Controlling your digital photo frame remotely adds a level of flexibility, allowing you to manage and update your photo display from anywhere. And with the additional tips and tricks, such as creating themed slideshows, adding captions, and regularly updating your photos, you can create a dynamic and engaging experience that will be enjoyed by both yourself and anyone who views your digital photo frame.
So, unleash the potential of your iPad and transform it into a captivating digital photo frame that showcases your most cherished memories. With the right app, settings, and creativity, you can bring your photos to life in a way that brings joy and nostalgia to your everyday life.


