Introduction
When it comes to capturing memories, a digital camera is a valuable tool, offering high-quality photos with ease. However, if you want to view and share those photos on your iPad 2, you may need to transfer them from your camera to your device. In this guide, we will explore various methods to transfer photos from a digital camera to an iPad 2, allowing you to enjoy your precious memories on the go.
With the advancement in technology, transferring photos has become simpler and more convenient. Gone are the days of cumbersome cables and complicated processes. Now, you have several options to choose from, depending on your equipment and preferences.
Whether you prefer a wired connection or a wireless transfer, there is a method that will suit your needs. We will walk you through each method, providing step-by-step instructions and tips to make the process as smooth as possible.
Before we dive into the various transfer methods, it’s important to note that you will need some accessories and software to facilitate the transfer. These include a camera connection kit or a lightning to USB adapter, depending on the model of your iPad 2. Additionally, you will need a USB cable for wired transfers or a Wi-Fi transfer app for wireless transfers.
Now that we have the necessary equipment, let’s explore the different methods you can use to transfer photos from your digital camera to your iPad 2. Whether you’re a photography enthusiast or simply someone who loves capturing special moments, these methods will help you enjoy your photos on the big screen of your iPad 2.
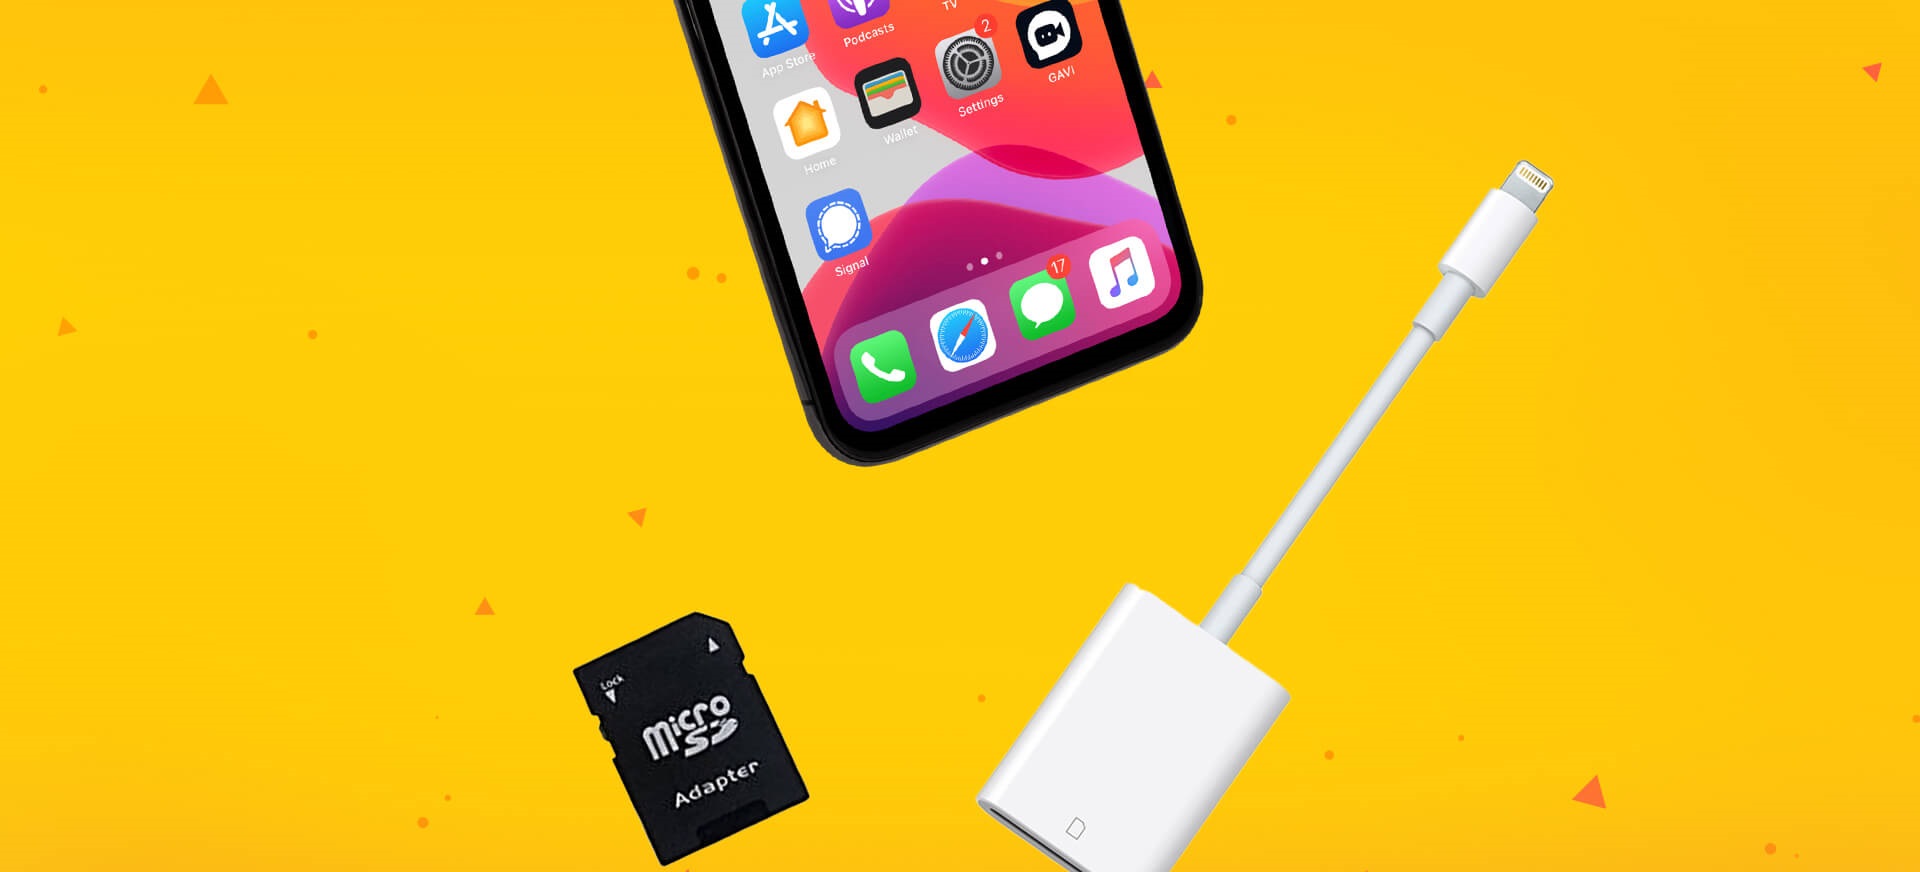
Method 1: Using the Camera Connection Kit
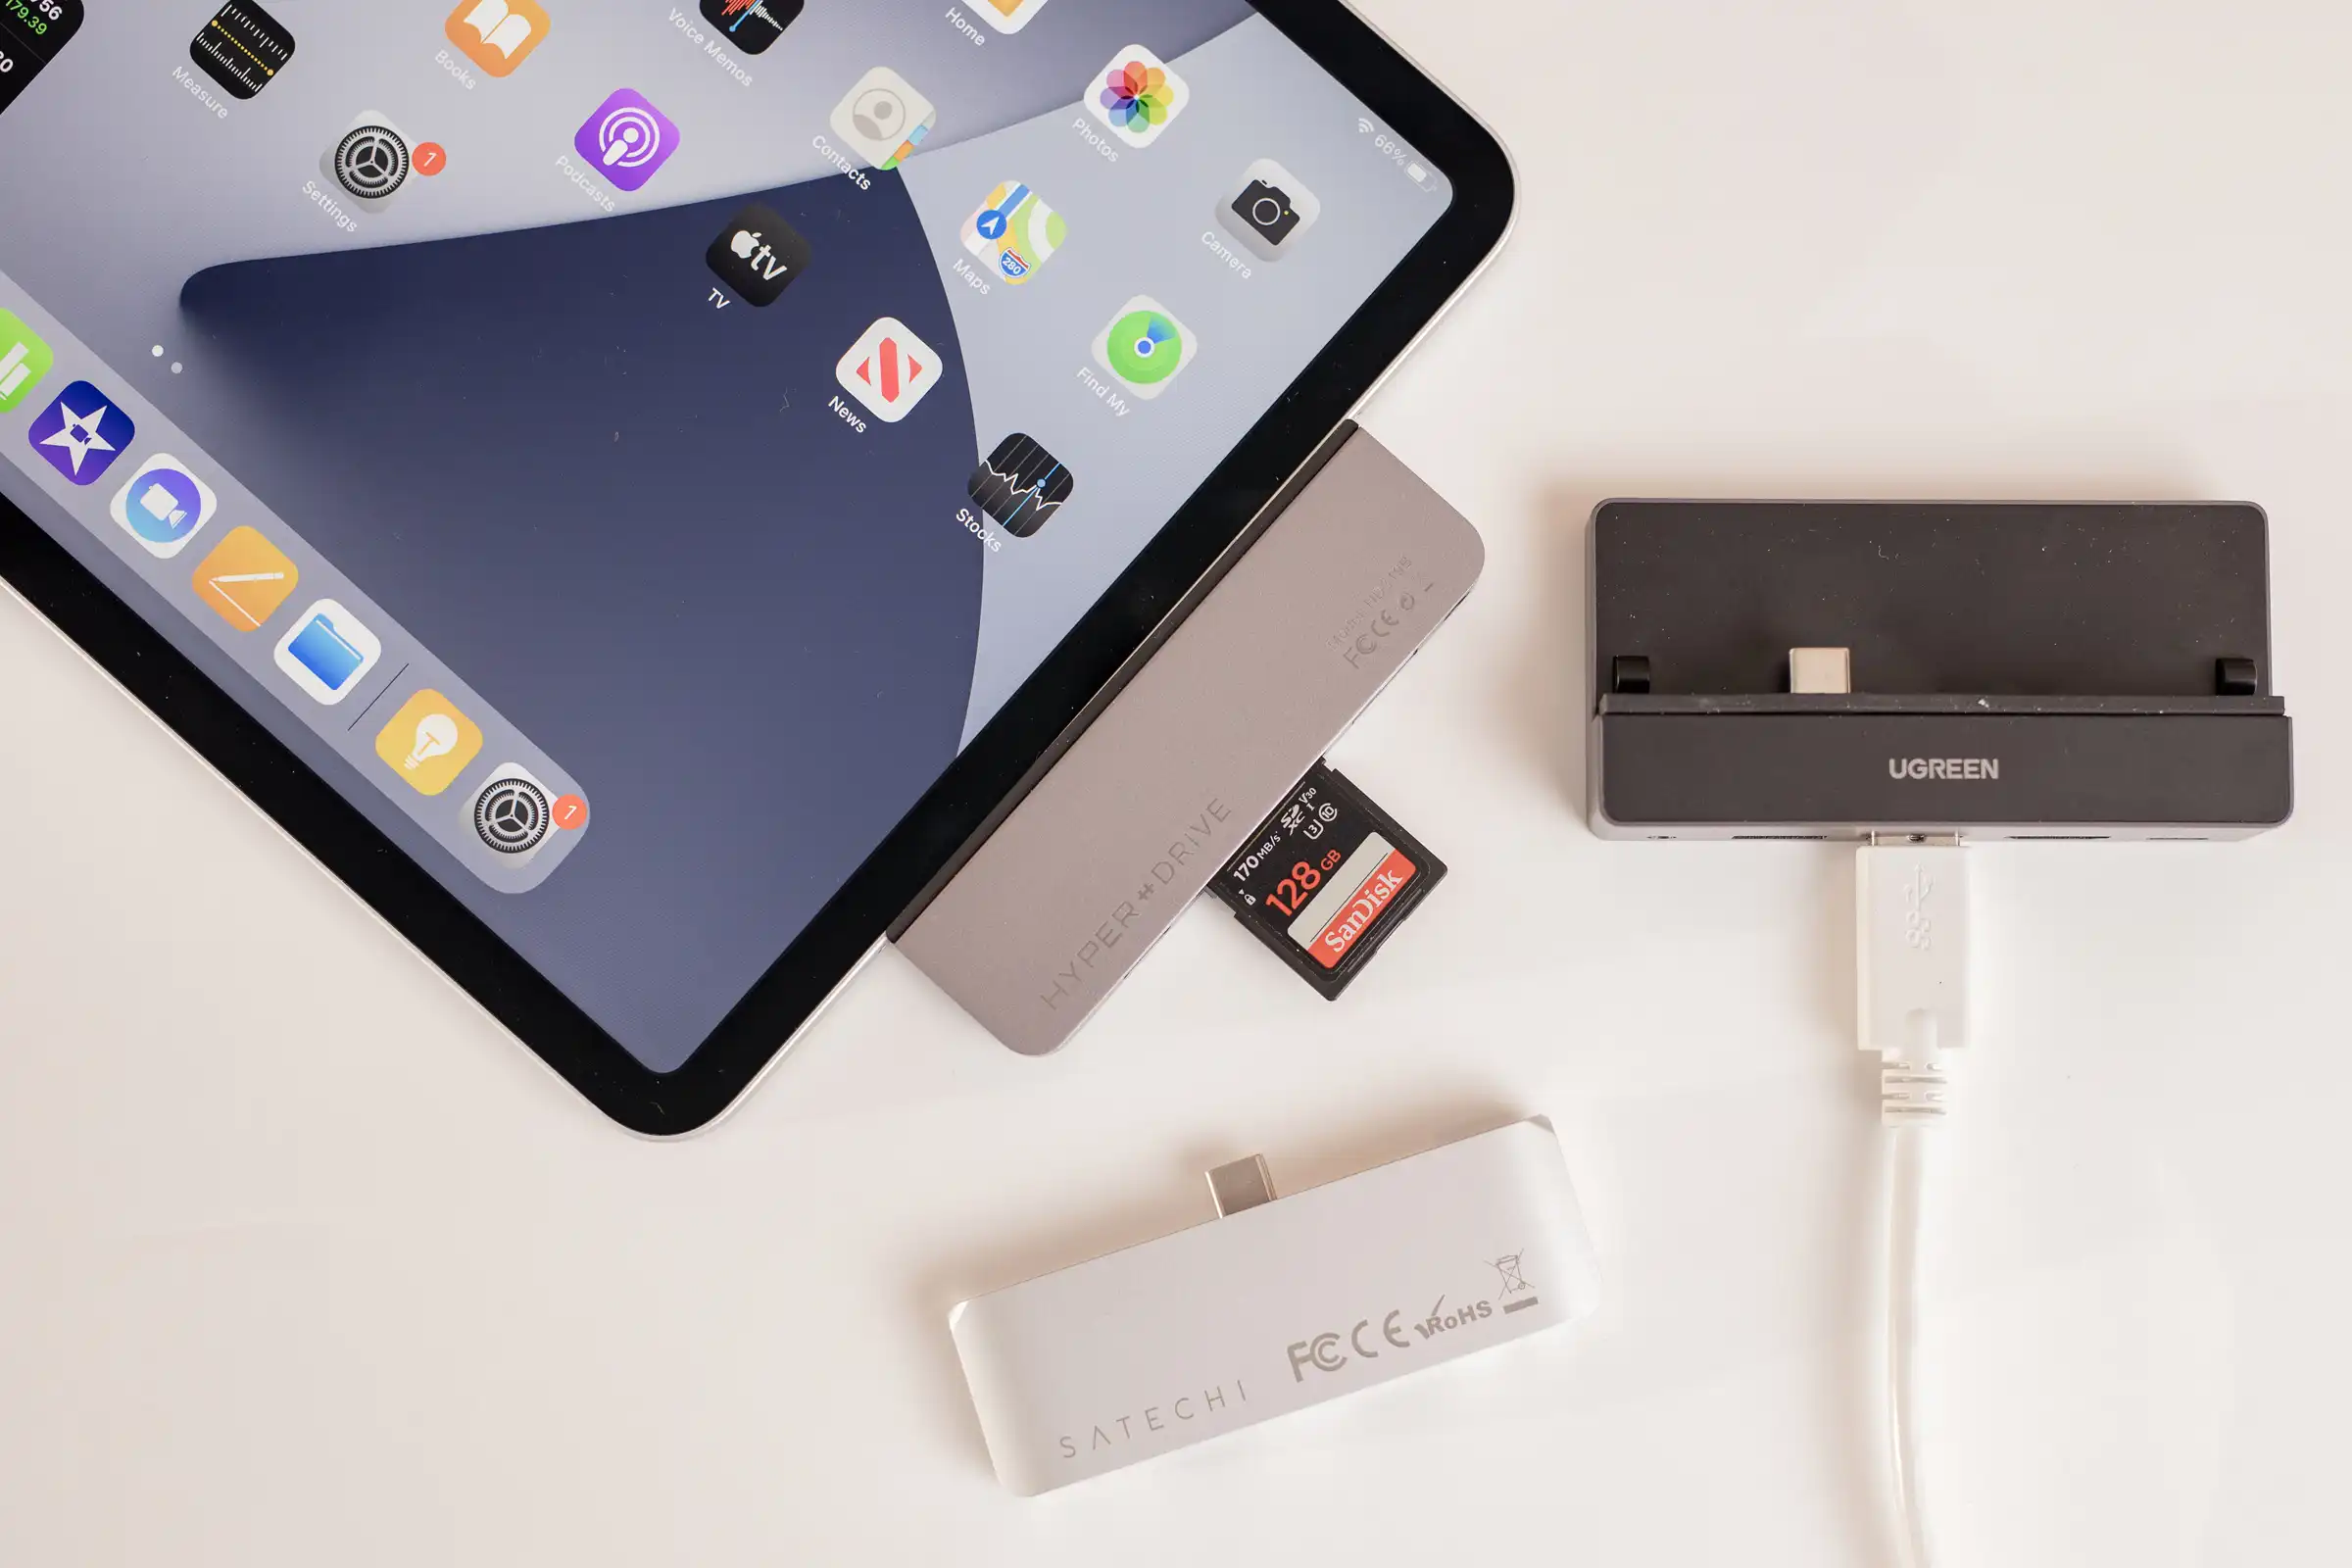
If you have a digital camera and an iPad 2, the camera connection kit is a convenient accessory that allows you to directly transfer photos from your camera to your iPad 2. This kit includes two adapters: one with a USB port and one with an SD card slot.
To use the camera connection kit, follow these steps:
- Connect the USB adapter of the camera connection kit to the charging port of your iPad 2.
- Connect your digital camera to the USB adapter using the USB cable that came with your camera.
- Turn on your camera and unlock your iPad 2.
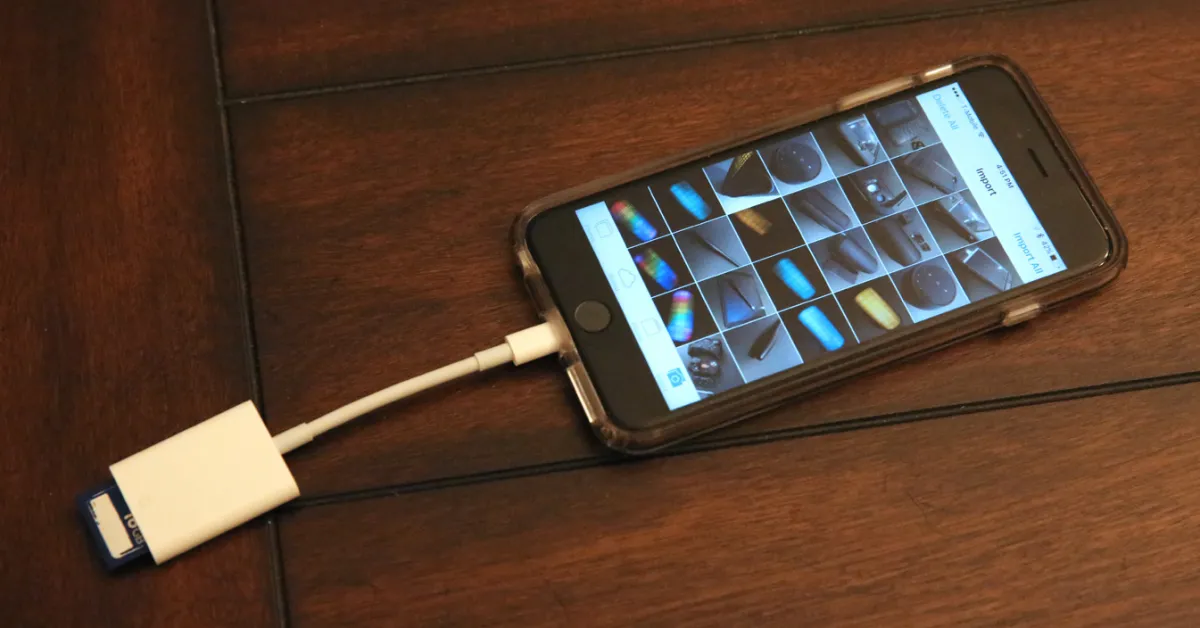
- An app called “Photos” should automatically launch. If it doesn’t, open the Photos app manually.
- Select “Import” at the top right corner of the screen.
- Your iPad 2 will automatically detect the photos on your camera and display them on the screen.
- Select the photos you want to transfer by tapping on them. Selected photos will have a blue checkmark.
- Tap on “Import” to transfer the selected photos to your iPad 2’s photo library.
Once the transfer is complete, you can view the imported photos in the Photos app on your iPad 2. From there, you can organize them into albums, edit them, or share them with friends and family.
This method is straightforward and works well if you have a USB-compatible digital camera. However, it’s worth noting that not all cameras are supported by the camera connection kit. Some cameras may require additional drivers or firmware updates to work with the kit. Before purchasing the camera connection kit, it’s recommended to check if your camera model is compatible with it.
Overall, using the camera connection kit is a reliable and hassle-free way to transfer photos from your digital camera to your iPad 2. It eliminates the need for a computer as an intermediary device and allows you to enjoy your photos on a larger screen, making it perfect for on-the-go photo transfers and quick viewing.
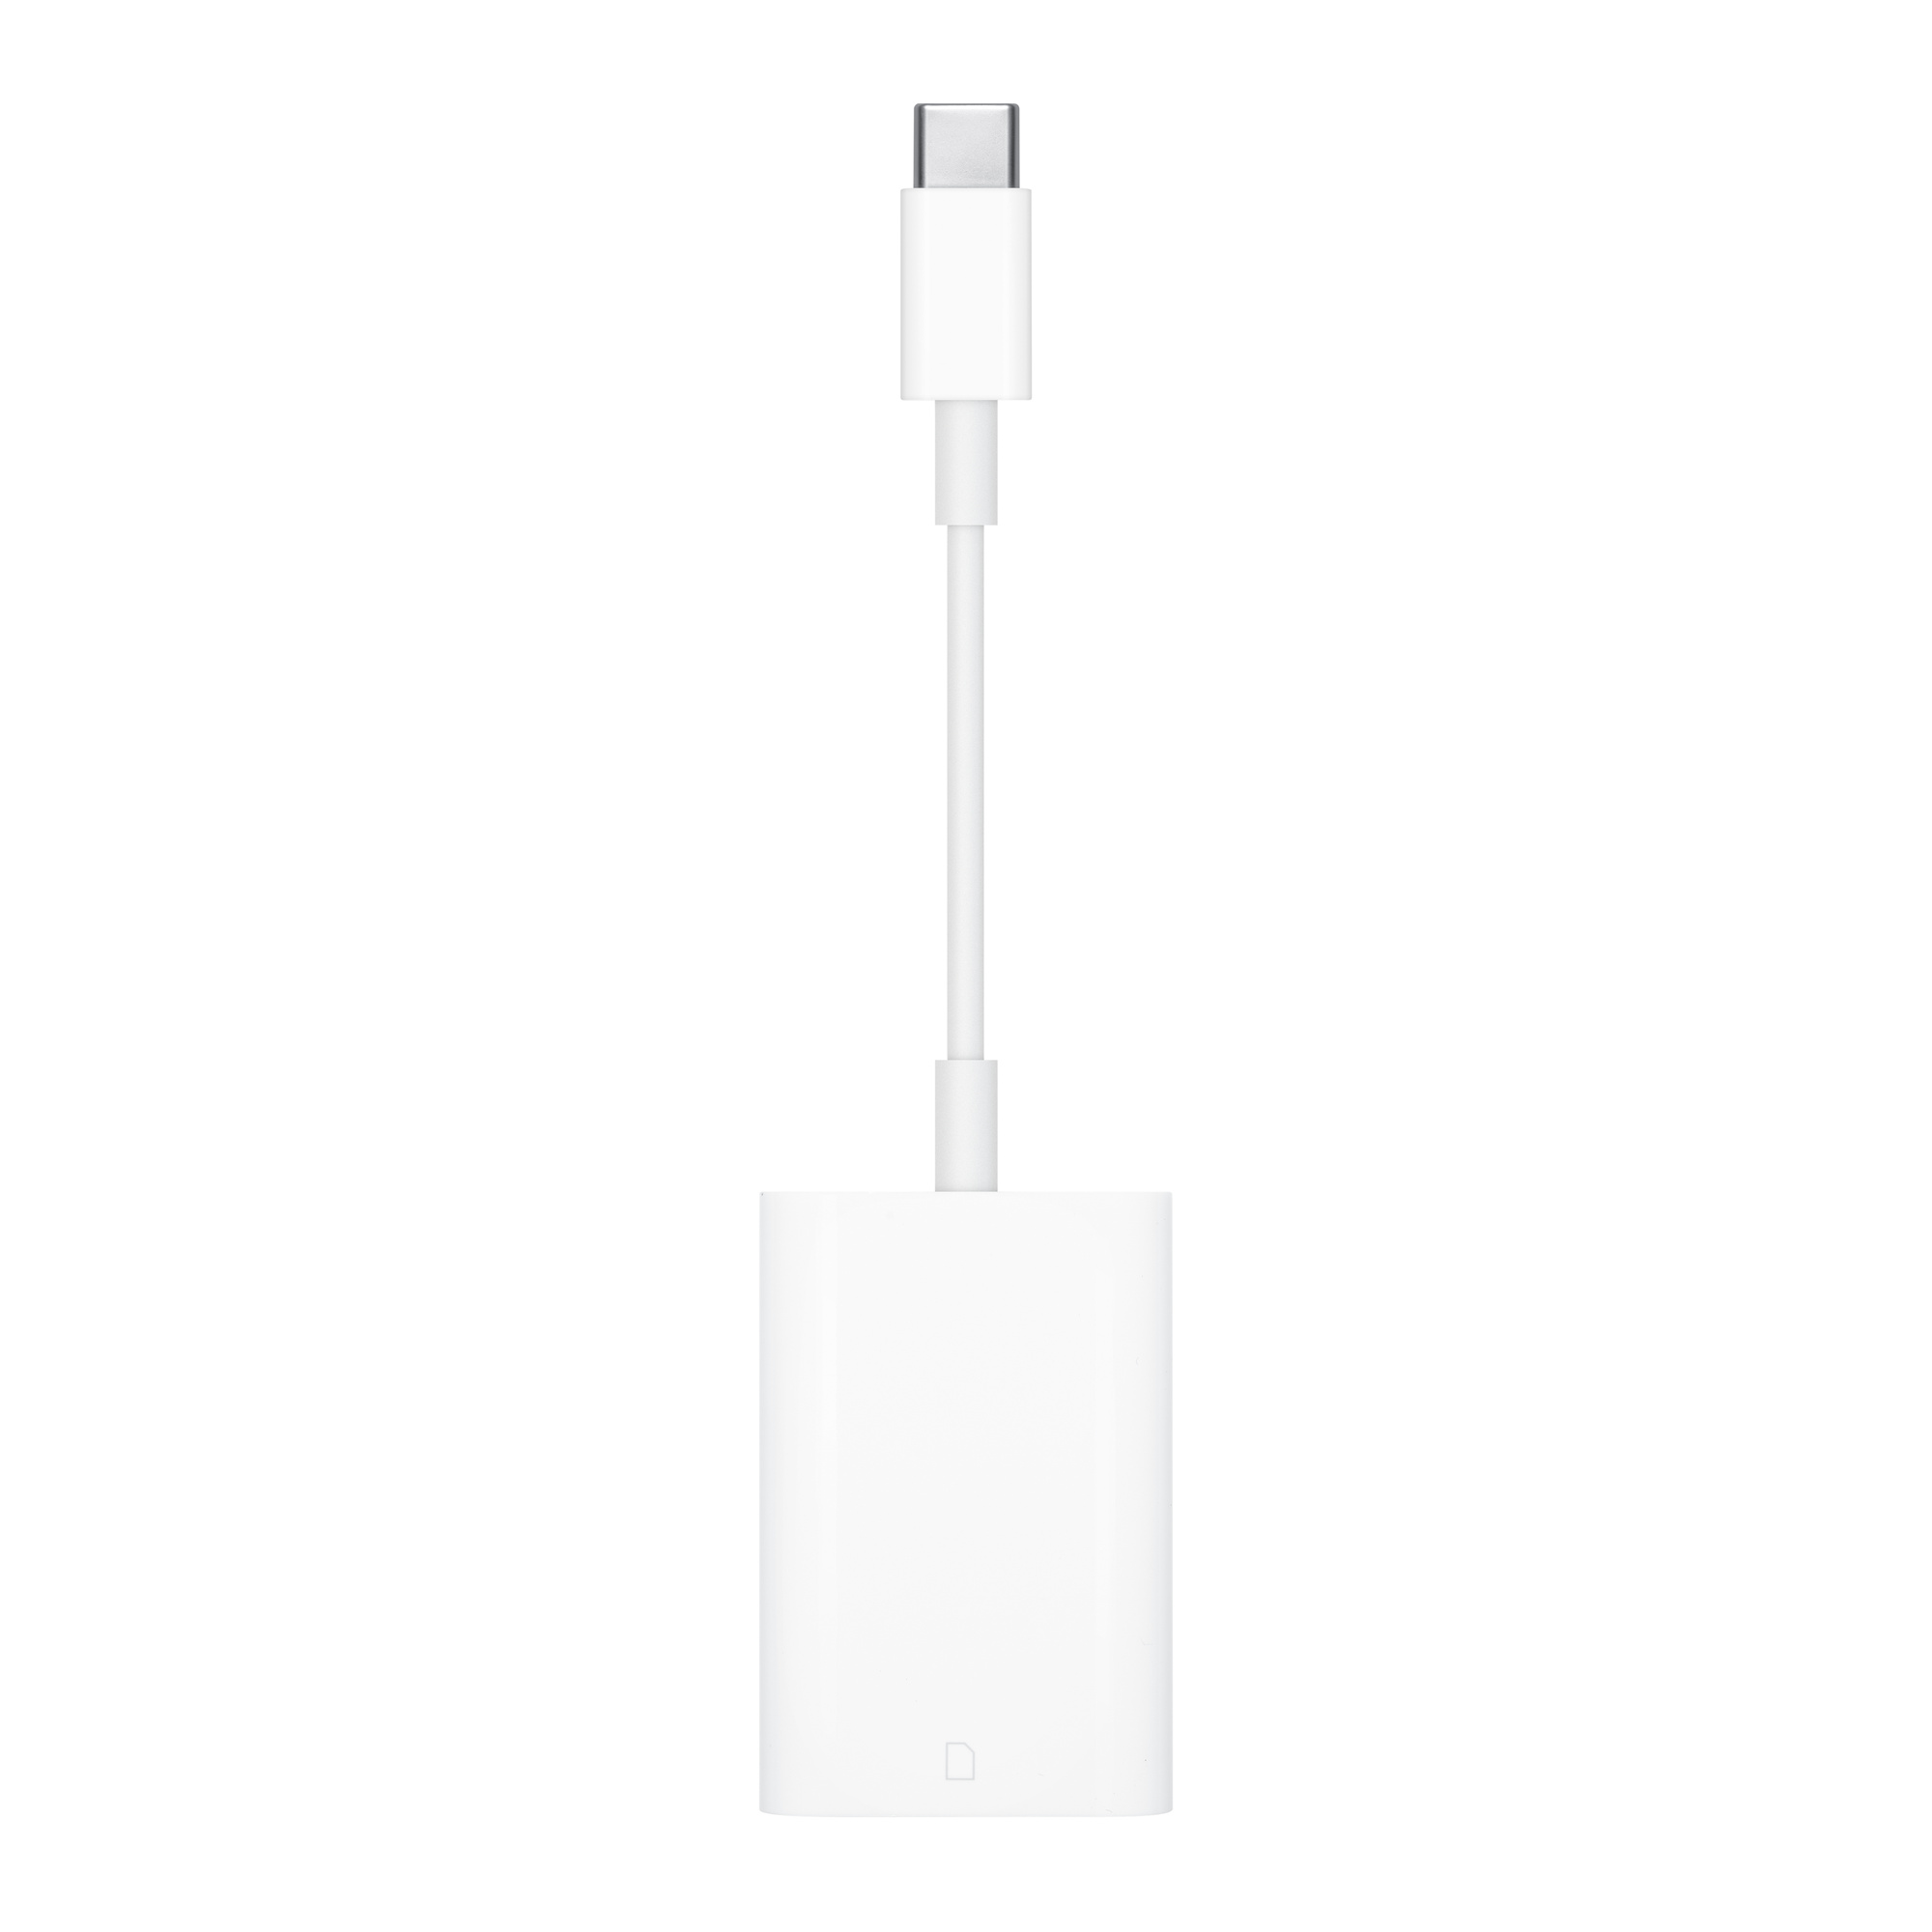
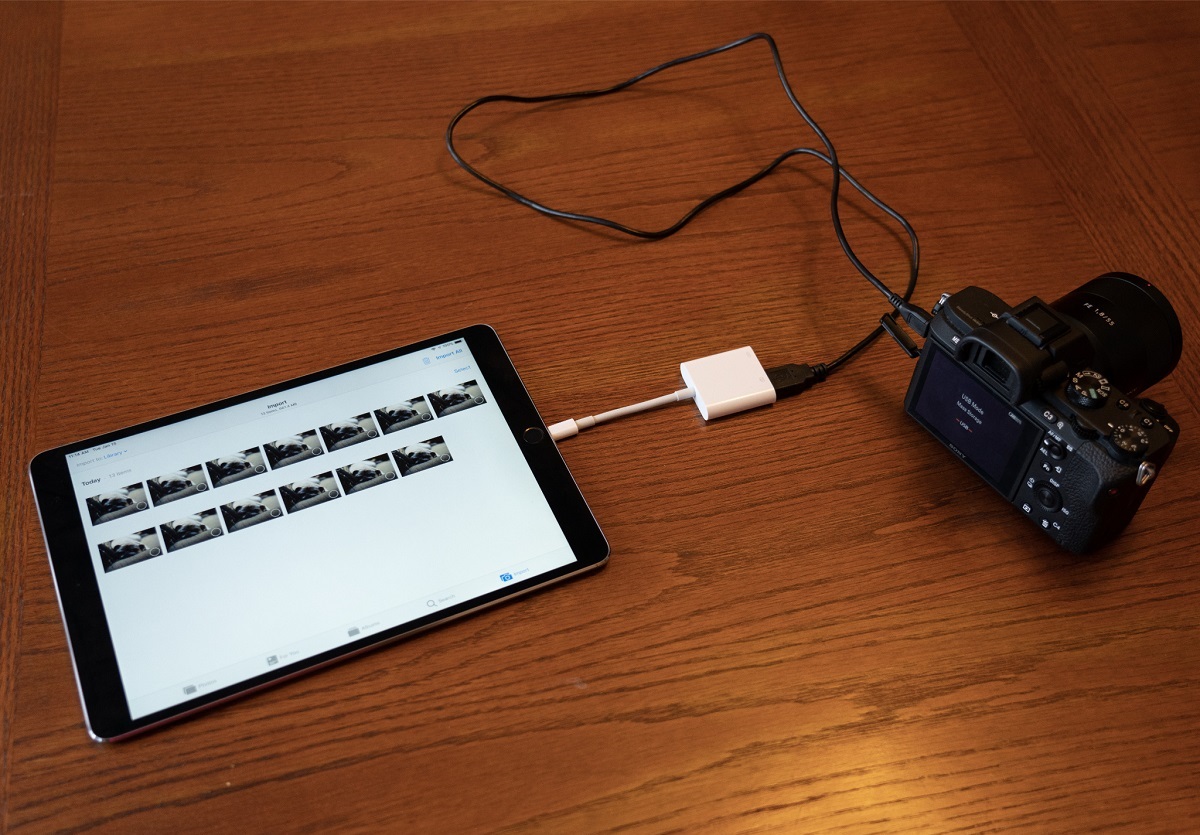
Method 2: Using a Lightning to USB Adapter
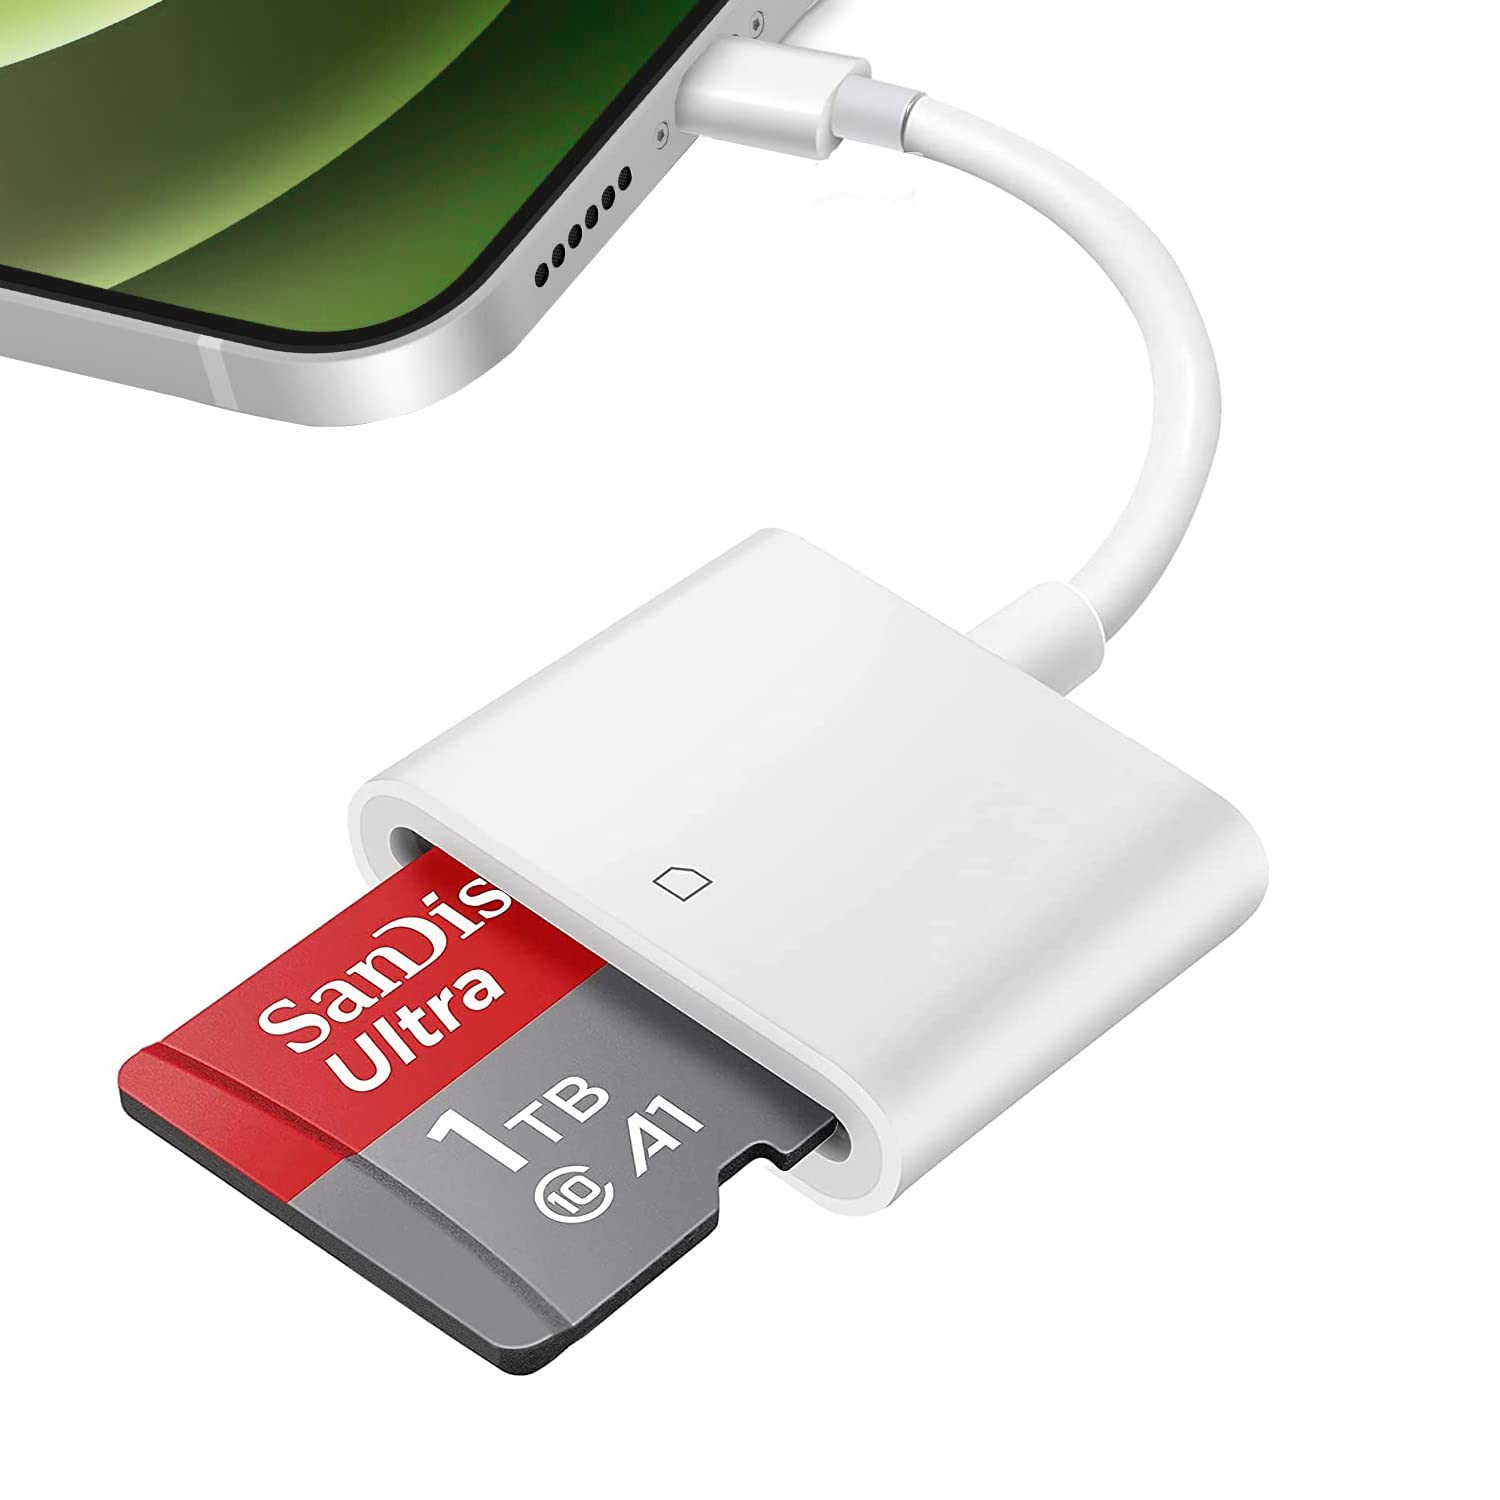
If you own a newer model of iPad, such as the iPad 2, that uses a lightning connector instead of the older 30-pin connector, you can transfer photos from your digital camera to your iPad using a Lightning to USB Adapter. This method provides a direct and convenient way to import your photos without the need for an additional camera connection kit.
To transfer photos using a Lightning to USB Adapter, follow these steps:
- Attach the Lightning to USB Adapter to the charging port of your iPad 2.
- Connect the USB end of the adapter to your digital camera using the USB cable provided with your camera.
- Unlock your iPad 2 and open the Photos app. If it doesn’t launch automatically, you can find it on your home screen.
- Tap on the “Import” button at the top right corner of the Photos app.
- Your iPad 2 will detect the photos on your camera and display them on the screen.
- Select the photos you want to transfer by tapping on them. Selected photos will have a checkmark.
- Tap on the “Import” button to initiate the transfer of the selected photos to your iPad 2’s photo library.
Once the transfer is complete, you can access the imported photos in the Photos app on your iPad 2. From there, you can organize them into albums, edit them, or share them with others.
Using a Lightning to USB Adapter offers a simple and straightforward way to transfer photos from your digital camera to your iPad 2. It eliminates the need for additional accessories, making it a convenient option if you already have a Lightning to USB Adapter available. However, it’s important to note that not all digital cameras are compatible with this method. Some cameras require specific requirements, such as power input or file format compatibility, to work with the adapter. It’s recommended to check the compatibility of your camera with a Lightning to USB Adapter before attempting to transfer photos.
Overall, using a Lightning to USB Adapter provides a seamless way to transfer photos from your digital camera to your iPad 2. It’s a great option for photographers looking for a quick and direct transfer method without the need for additional equipment or cables.
Method 3: Using Wi-Fi Transfer Apps
If you prefer a wireless approach to transfer photos from your digital camera to your iPad 2, using Wi-Fi transfer apps is an excellent option. These apps allow you to connect your camera and iPad 2 to the same Wi-Fi network and transfer photos wirelessly, eliminating the need for cables or physical connections.
Here’s how you can transfer photos using a Wi-Fi transfer app:
- Download and install a Wi-Fi transfer app on both your camera and your iPad 2, following the instructions provided by the app developer.
- Launch the app on your camera and enable the Wi-Fi transfer mode.
- Open the app on your iPad 2 and connect to the Wi-Fi network created by your camera.
- The app on your iPad 2 will detect the camera on the network and establish a connection.
- Select the photos you want to transfer from your camera to your iPad 2.
- Initiate the transfer process within the app.
- The selected photos will be transferred wirelessly to your iPad 2 and saved in your photo library.
Once the transfer is complete, you can access the imported photos in the Photos app on your iPad 2. From there, you can organize, edit, or share them just like photos captured directly on your device.
Wi-Fi transfer apps offer great convenience and flexibility, allowing you to transfer photos without the need for any physical connections. These apps often provide additional features such as photo organization, backup options, and the ability to transfer photos in batch mode. However, it’s important to note that the specific steps and functionality may vary depending on the app you choose to use. Be sure to follow the instructions provided by the app developer for a successful transfer.
With Wi-Fi transfer apps, you can easily transfer photos from your digital camera to your iPad 2 while enjoying the freedom of wireless connectivity. It’s a convenient option for photographers who prefer a cable-free workflow and want to transfer their photos quickly and efficiently.
Method 4: Using iCloud Photo Library
If you want to seamlessly sync and access your photos across multiple devices, using iCloud Photo Library is a fantastic option. This method allows you to upload your photos to iCloud and then access them on your iPad 2 and other devices connected to your iCloud account.
Here’s how you can transfer photos using iCloud Photo Library:
- Ensure that both your digital camera and iPad 2 are connected to the internet.
- On your digital camera, connect to a Wi-Fi network if available.
- On your iPad 2, go to Settings, then tap on your name, and select iCloud.
- Enable the Photos option under the iCloud settings.
- Open the Photos app on your iPad 2.
- Wait for your iPad 2 to sync with iCloud and download the photos from your iCloud Photo Library.
Once the sync is complete, you will be able to access your photos on your iPad 2 through the Photos app. This method ensures that your photos are securely stored in iCloud and can be accessed from any device with your iCloud account.
It’s worth mentioning that iCloud Photo Library offers features like automatic backup and synchronization across devices. Any changes you make to your photos, such as edits or organization, will be reflected on all your devices. This eliminates the need for manual transfers and simplifies the process of accessing your photos wherever you are.
One thing to note is that iCloud offers a limited amount of free storage, and if you have an extensive collection of photos, you may need to purchase additional iCloud storage space for your photos. The storage capacity required will depend on the size of your photo library.
Using iCloud Photo Library provides a seamless and convenient way to transfer photos from your digital camera to your iPad 2. It offers the advantage of automatic synchronization and access to your entire photo library across all your devices, making it ideal for photographers who value ease of use and accessibility.
Conclusion
Transferring photos from a digital camera to an iPad 2 is now easier than ever, thanks to a variety of methods available. Whether you prefer a wired connection using the camera connection kit or a lightning to USB adapter, a wireless transfer using Wi-Fi transfer apps, or seamless synchronization through iCloud Photo Library, you can choose the method that best suits your needs and preferences.
The camera connection kit and lightning to USB adapter offer simple and direct ways to transfer photos, perfect for those who prefer a wired connection and want to quickly import their photos. These methods eliminate the need for a computer as an intermediary device and allow you to enjoy your photos on the larger screen of your iPad 2.
On the other hand, Wi-Fi transfer apps provide wireless convenience, allowing you to transfer photos without any physical connections. This option is great for photographers who value a cable-free workflow and want to transfer their photos quickly and efficiently.
If you prefer seamless syncing and access to your photos across multiple devices, iCloud Photo Library is the ideal choice. By uploading your photos to iCloud, you can easily access them on your iPad 2 and all your other devices connected to your iCloud account. This method offers the advantage of automatic backup and synchronization, ensuring that your photos are securely stored and easily accessible.
What method you choose ultimately depends on your equipment, preferences, and the level of convenience you desire. Regardless of the method you select, transferring photos from your digital camera to your iPad 2 allows you to enjoy your precious memories on the go and share them with friends and family.
Now that you have explored the various methods available, you can confidently transfer your photos and start experiencing the joy of viewing and sharing them on your iPad 2. So, grab your camera, connect it to your iPad 2, and begin enjoying your beautiful photos wherever you are.