Introduction
Are you tired of the grainy, low-resolution video quality provided by your laptop’s built-in webcam? Do you want to upgrade your video conferencing experience to a professional level? If so, using a digital camera as a webcam could be the solution you’ve been looking for.
With the rapid advancements in technology, digital cameras have become more powerful, offering high-resolution imagery and superior video quality. By utilizing your digital camera as a webcam, you can significantly enhance your virtual meetings, online classes, or live streaming sessions.
This guide will walk you through the step-by-step process of using your digital camera as a webcam. Whether you’re a content creator, business professional, or simply someone who values crystal-clear video, this method will help you achieve a more professional and visually pleasing appearance.
Now, let’s explore why using a digital camera as a webcam is a game-changer and what you need to get started.
Why Use a Digital Camera as a Webcam?
Using a digital camera as a webcam offers several compelling advantages over traditional webcam options. Let’s take a closer look at why you should consider this approach:
- Improved Video Quality: Digital cameras are designed to capture high-resolution images and videos, resulting in significantly better video quality compared to built-in webcams. With a digital camera, you can appear more professional and enhance the visual experience during virtual meetings or live streams.
- Flexible Camera Options: Digital cameras often come with a wide range of features and settings, allowing you to customize your video output. You can adjust aspects such as exposure, focus, white balance, and zoom, providing greater control over your video appearance.
- Wide Lens Selection: Digital cameras offer interchangeable lenses, which means you can choose the lens that suits your needs best. Whether you require a wide-angle lens for group video calls or a prime lens for a more cinematic look, the ability to switch lenses gives you endless possibilities.
- Utilize Existing Equipment: Many professionals already own a digital camera but may not use it frequently. By repurposing your existing camera as a webcam, you can maximize the value of your investment without needing to purchase additional equipment.
- Increased Versatility: When using a digital camera as a webcam, you aren’t limited to just video calls. You can also leverage its capabilities for online tutorials, product demonstrations, live streaming on platforms like YouTube or Twitch, and recording high-quality videos for your content creation needs.
Incorporating a digital camera into your webcam setup can elevate the overall visual quality and professionalism of your online presence. Let’s move on to the next section to explore what you’ll need to get started.
What You Need
Before you can start using your digital camera as a webcam, there are a few essential things you’ll need to ensure a successful setup. Here’s a list of what you’ll need:
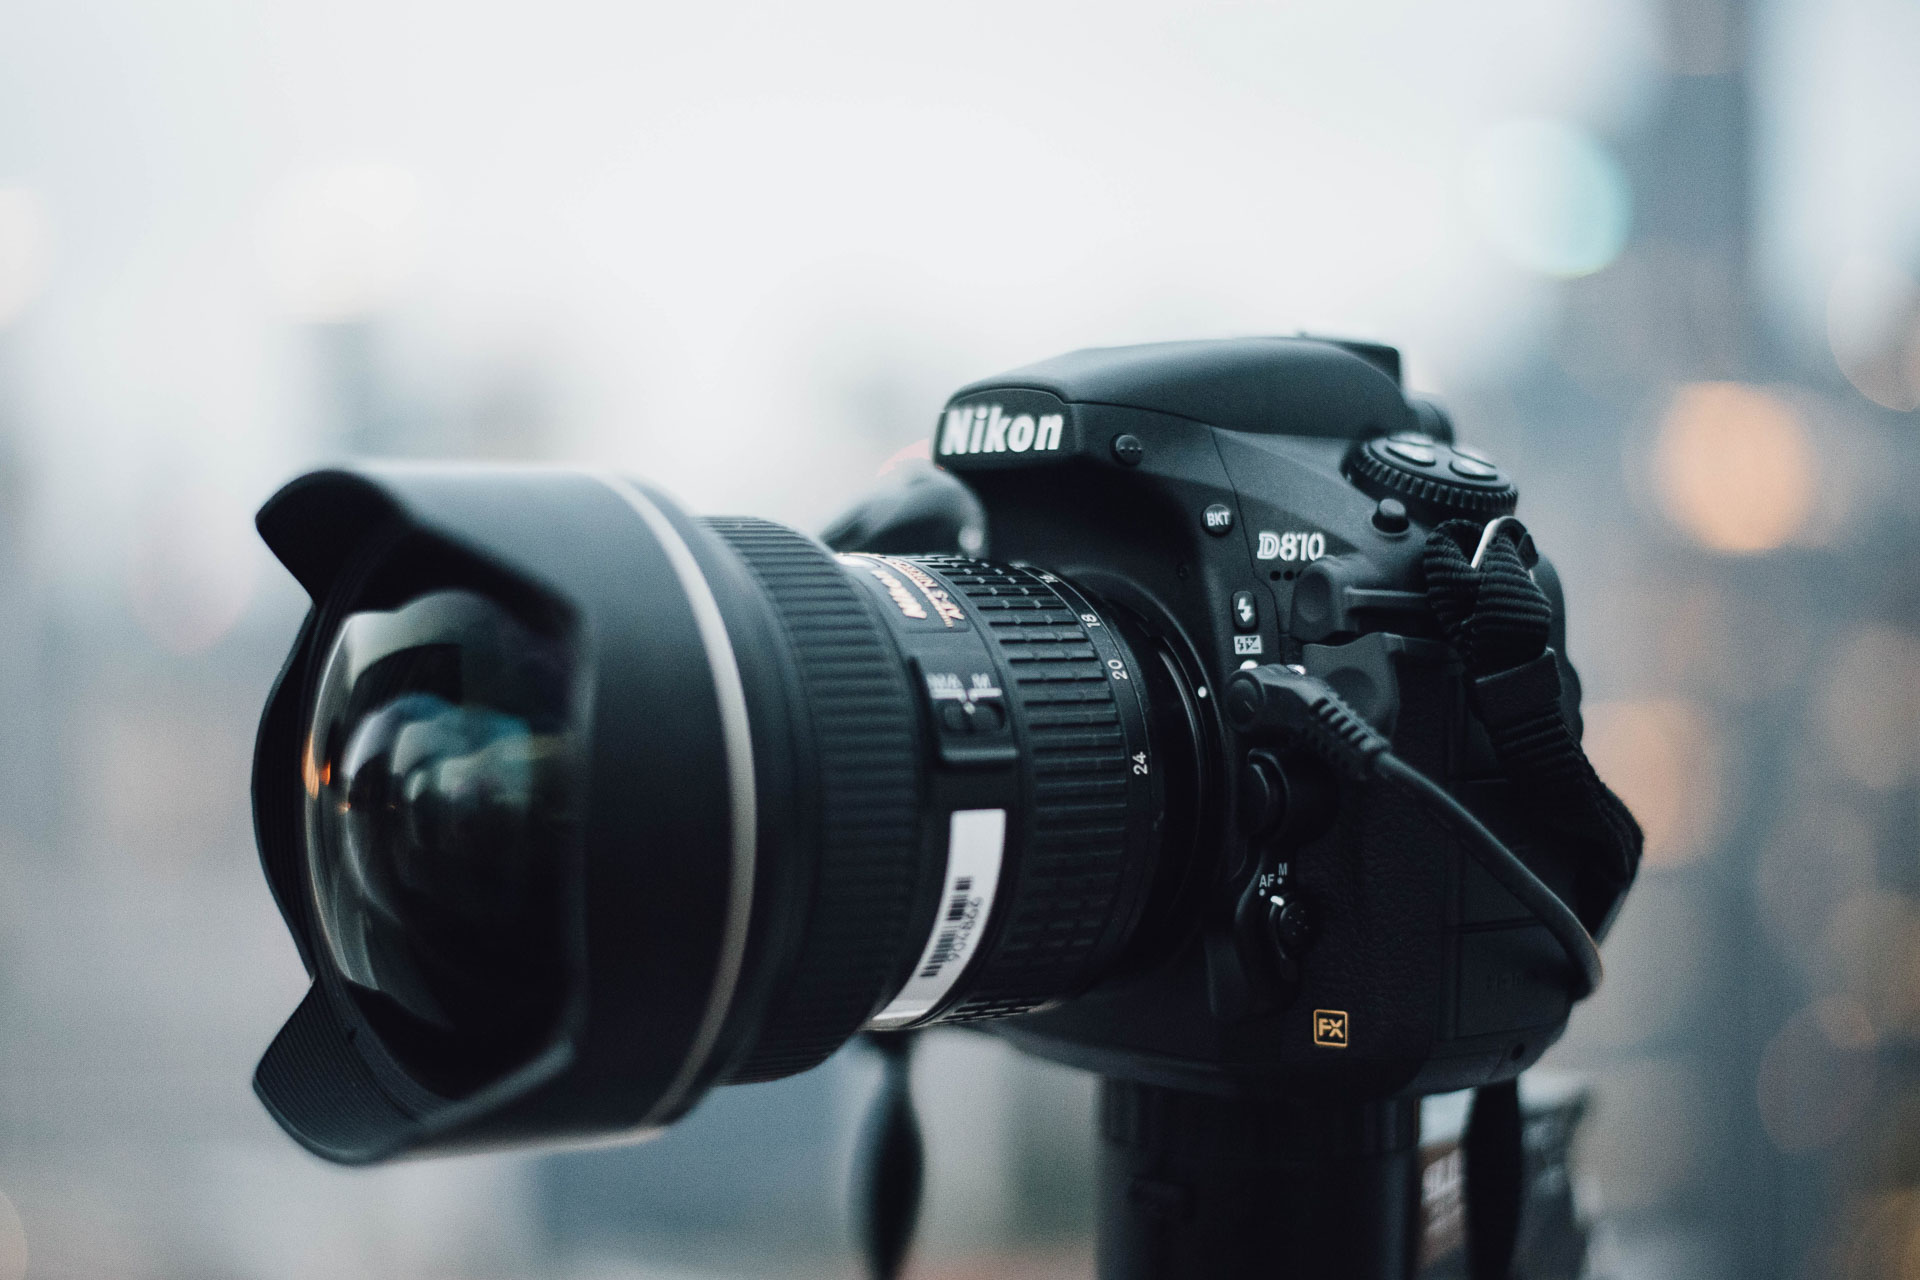
- A Digital Camera: Of course, you’ll need a digital camera to serve as your webcam. Any modern digital camera with video capabilities should work, but it’s recommended to use a camera that supports live video output via HDMI or USB connection.
- A Computer: You’ll need a computer with a USB or HDMI port to connect your digital camera. Ensure that your computer is capable of handling video processing, especially if you plan on using high-resolution video.
- A USB or HDMI Cable: Depending on your camera’s connectivity options, you’ll need either a USB cable or an HDMI cable to connect your camera to your computer. Check the camera’s specifications to determine the appropriate cable.
- Camera Power Adapter or Fully Charged Battery: To ensure continuous power supply during extended usage, it’s advisable to have your camera connected to a power adapter. However, if your camera relies on battery power, make sure it’s fully charged before starting.
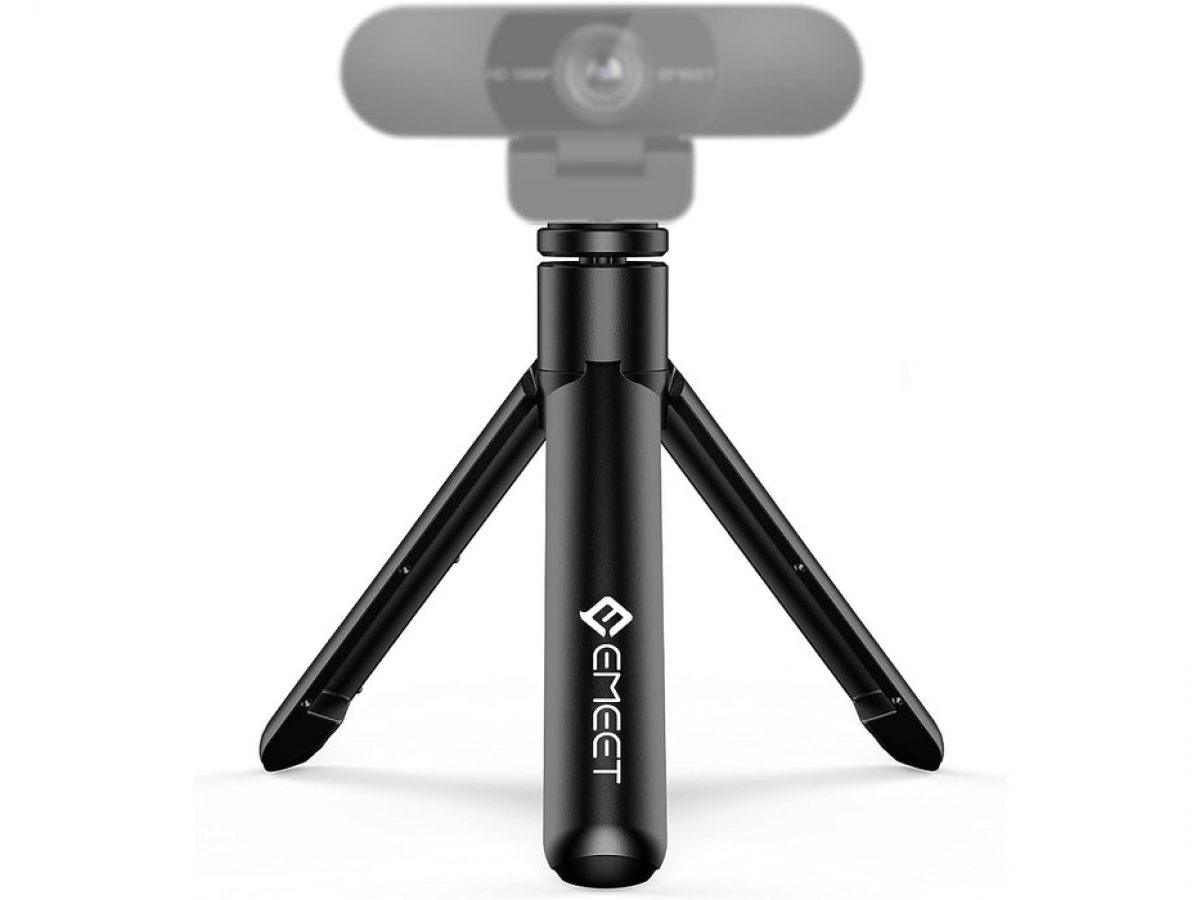
- Camera Mount or Tripod: To position your camera correctly and maintain stability, consider using a camera mount or tripod. This will allow you to adjust the camera angle and keep it steady during your video calls or streaming sessions.
- Software or Drivers: Depending on your camera model and computer operating system, you may need specific software or drivers to enable the camera-to-webcam functionality. Check the camera manufacturer’s website for any available software updates or drivers.
By gathering these essential items, you’ll have everything you need to set up your digital camera as a webcam. In the following sections, we’ll guide you through the step-by-step process, from connecting your camera to configuring the necessary software.
Step 1: Check Compatibility and Connect
Before diving into the setup process, it’s important to ensure that your digital camera is compatible with being used as a webcam. Here’s how to check and establish the connection:
- Camera Compatibility: Check the camera’s user manual or visit the manufacturer’s website to verify if your specific model supports being used as a webcam. Look for features like “clean HDMI output” or “USB video output” to indicate compatibility.
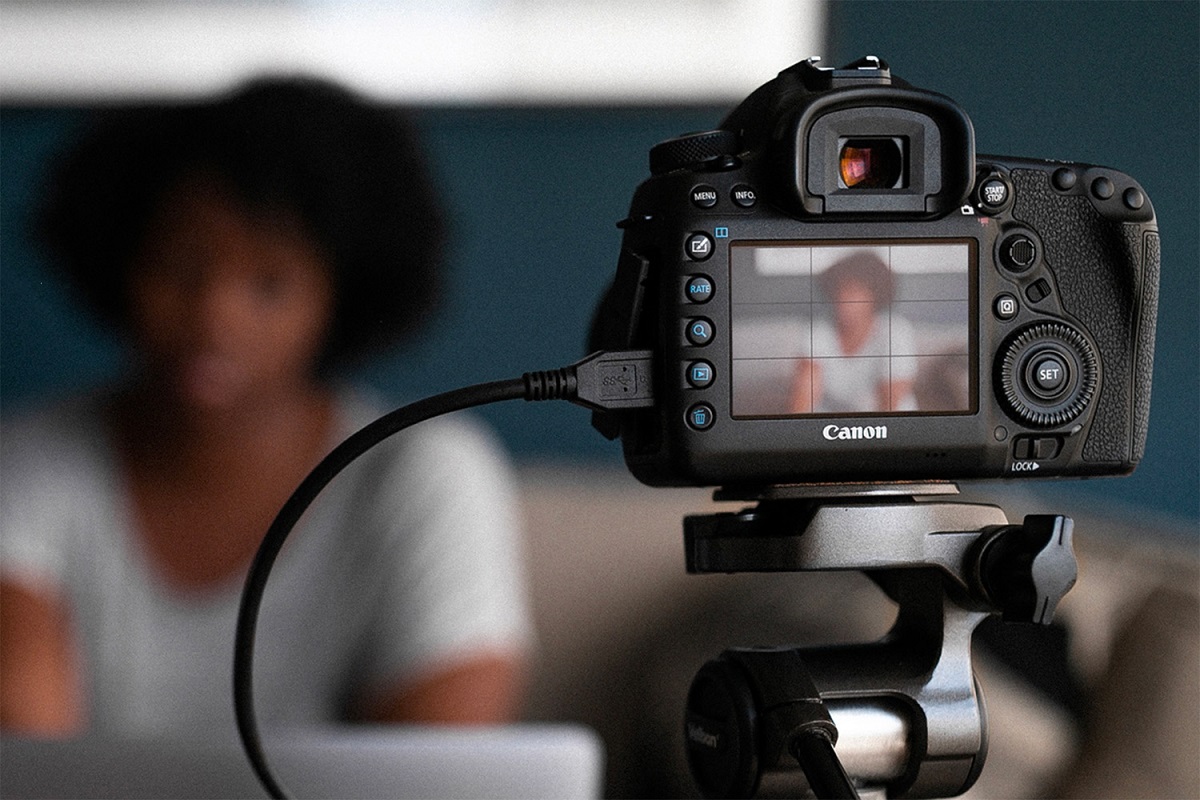
- Connect via USB: If your camera supports USB video output, connect one end of the USB cable to the camera and the other end to an available USB port on your computer. Make sure the camera is powered on.
- Connect via HDMI: If your camera supports clean HDMI output, connect one end of the HDMI cable to the camera’s HDMI port and the other end to an available HDMI port on your computer. Some computers may require an HDMI capture device for compatibility. Check your computer’s specifications and consider utilizing an HDMI capture device if necessary.
- Camera Settings: Access your camera’s menu and navigate to the video settings. Ensure that the video output mode is set to “Clean HDMI” or “USB Video”. Consult your camera’s user manual for specific instructions on adjusting the video output settings.
- Camera Display: By connecting your camera via USB or HDMI, you may notice that the camera’s display screen has turned off. This is normal as the camera prioritizes the video output to your computer. The camera display will remain off during use as a webcam.
Once you’ve completed these steps, your digital camera should be connected to your computer and ready to be configured as a webcam. In the next section, we’ll explore how to set up the necessary software to enable camera functionality.
Step 2: Set up Your Camera
Now that you have successfully connected your digital camera to your computer, it’s time to set up the camera for its webcam functionality. Follow these steps to configure your camera:
- Camera Placement: Decide where you want to position your camera. Consider factors such as lighting, background, and the angle that will provide the most flattering and professional look.
- Camera Mount or Tripod: Use a camera mount or tripod to securely position your camera at the desired angle. Adjust the height and tilt until you achieve the desired framing for your video.
- Camera Stability: Ensure that your camera is stable and won’t move or shake during your video calls or streaming. This will help maintain a professional appearance and prevent distractions caused by camera movements.
- Camera Orientation: Make sure that your camera is positioned in the correct orientation. Most cameras have a rotation option in their settings, allowing you to adjust the image if needed.
- Camera Focus: Set the focus on your camera to ensure that you appear clear and sharp on video. You can use autofocus if your camera supports it or manually adjust the focus by following the camera’s user manual.
- Camera Settings: Familiarize yourself with the camera’s settings related to video recording. Understand features like exposure, ISO, and white balance, as you may need to adjust these settings based on your environment and lighting conditions.
Take some time to experiment with different camera settings and angles to find the optimal configuration for your video setup. By setting up your camera correctly, you can ensure a professional and visually pleasing appearance during your video calls, online classes, or live streams.
Now that your camera is set up, let’s proceed to the next step, where we’ll install the required software to enable the camera’s functionality as a webcam.
Step 3: Install Required Software
In order to use your digital camera as a webcam, you will need to install the necessary software or drivers on your computer. The specific software required may vary depending on your camera model and computer operating system. Follow these steps to install the required software:
- Check Camera Manufacturer’s Website: Visit the website of your camera manufacturer and navigate to the support or downloads section. Look for any available software or drivers specific to using your camera as a webcam.
- Download and Install the Software or Driver: Locate the appropriate software or driver for your camera model and download it onto your computer. Follow the provided instructions to install the software or driver.
- Connect Camera to Computer: Ensure that your camera is connected to your computer via USB or HDMI, as mentioned in the earlier steps.
- Open the Software: Launch the software or driver that you installed on your computer. It should detect your connected camera and provide options to configure and control its settings.
- Adjust Camera Settings: Use the software or driver interface to adjust camera settings such as resolution, frame rate, exposure, and white balance according to your preferences and requirements. This will help achieve the desired video quality and appearance.
Once you have installed the necessary software and configured the camera settings, you are ready to utilize your digital camera as a webcam. Keep in mind that the software interface and options may vary depending on the specific camera model and software provided by the manufacturer.
In the next step, we will guide you on how to configure the camera’s settings for optimal video quality and performance. Continue following the steps to complete the setup process.
Step 4: Configure Camera Settings
Configuring the settings of your digital camera is crucial to ensure optimal video quality and performance when using it as a webcam. Follow these steps to adjust the camera settings:
- Exposure: Adjust the exposure settings to control the amount of light entering the camera. Experiment with different exposure levels to find the right balance for your environment and lighting conditions.
- Focus: Ensure that your camera is focused properly. Some cameras offer auto-focus functionality, while others allow you to manually adjust the focus. Use the focus settings to achieve a clear and sharp image.
- White Balance: Set the white balance to ensure accurate color representation. This feature helps adjust the camera’s color temperature based on the lighting conditions in your environment. Choose a white balance option that matches the lighting or adjust it manually for more precise color accuracy.
- Frame Rate: Adjust the frame rate to determine the smoothness of the video. Higher frame rates result in smoother motion but may require more processing power. Choose an appropriate frame rate based on your computer’s capabilities and the desired video quality.
- Video Resolution: Set the video resolution to the appropriate level based on your needs and the capabilities of your camera. Higher resolutions offer more detail but also require greater processing power and internet bandwidth. Consider the available options and choose the resolution that balances video quality and performance.
- Audio Settings: If your camera has a built-in microphone or an option to connect an external microphone, configure the audio settings accordingly. Adjust the microphone sensitivity and settings to ensure clear audio capture during your video calls or streaming sessions.
Remember to refer to your camera’s user manual for specific instructions on adjusting these settings. Take some time to experiment with different configurations to find the optimal setup that meets your specific requirements.
Once you have configured the camera settings, proceed to the next step to learn how to adjust the quality and settings for your camera’s video output.
Step 5: Adjust Quality and Settings
To ensure the best video quality and performance when using your digital camera as a webcam, it’s important to adjust the quality and settings to suit your needs. Follow these steps to make the necessary adjustments:
- Video Quality: Determine the desired video quality based on your internet connection speed and the capabilities of your computer. Higher quality settings may require more bandwidth and processing power. Strike a balance between video quality and performance by selecting the appropriate settings.
- Bitrate: Adjust the bitrate – the amount of data transmitted per second – to control the video quality. Higher bitrates provide better video quality but require more bandwidth. Lower bitrates can help conserve bandwidth but may result in reduced video quality. Experiment with different bitrate values until you find the optimal setting for your needs.
- Frame Size: Set the frame size to match the resolution you have selected. Ensure that the frame size is consistent with the aspect ratio of the video to prevent any distortion or cropping.
- Image Compression: Consider adjusting the image compression settings to strike a balance between file size and image quality. Higher compression ratios result in smaller file sizes but may lead to a loss of image detail.
- Auto vs. Manual Settings: Depending on your camera’s capabilities, you may have the option to use auto settings or manually adjust various parameters. Experiment with both options to determine which provides the best results for your specific use case.
- Audio Quality: Pay attention to the audio settings as well. Consider adjusting the audio quality and microphone sensitivity to ensure clear and balanced sound during your video calls or streaming sessions.
Remember that the optimal settings may vary depending on your specific camera model, computer capabilities, and the platform you are using for video calls or live streaming.
Once you have adjusted the quality and settings based on your preferences, you are ready to position your camera for optimal usage. Proceed to the next step to learn about positioning your camera correctly.
Step 6: Position Your Camera
The positioning of your digital camera plays a crucial role in achieving the desired visual presentation during video calls or live streams. Follow these steps to position your camera correctly:
- Eye-Level Placement: Position your camera at eye level or slightly above. This ensures a more natural and flattering perspective for video communication.
- Stable Mounting: Use a camera mount or tripod to secure your camera in place. This helps maintain stability and prevents unwanted camera movements during your video sessions.
- Adjust Angle and Framing: Experiment with different camera angles to find the most suitable framing for your video calls or streaming. Consider the ideal distance, framing, and composition that best highlights you or the subject you wish to capture.
- Background Considerations: Pay attention to the background of your video frame. Make sure it is free from clutter and distractions. Consider using a neutral or professional-looking backdrop to maintain a clean and focused appearance.
- Lighting: Ensure adequate lighting for your video setup. Position your camera in a well-lit area, preferably facing a light source. Avoid backlighting or harsh shadows that may obscure your face or subject.
- Test Different Positions: Experiment with various camera positions and angles to find the optimal setup for your specific needs. Take into account the feedback and responses you receive during practice sessions to refine your camera positioning.
By positioning your camera correctly, you can present yourself or your subject in the most professional and visually appealing way. Remember to consider factors such as lighting, background, and framing when determining the ideal camera placement.
Once you have positioned your camera, proceed to the next step to test your camera and ensure everything is working properly.
Step 7: Test Camera
Before you embark on your video calls, online classes, or live streaming sessions, it’s essential to test your camera to ensure everything is working as expected. Follow these steps to test your camera:
- Open your preferred video conferencing or streaming platform: Launch the application or platform that you plan to use for your video sessions. This could be Zoom, Microsoft Teams, Skype, or any other platform of your choice.
- Select your camera: In the video settings of the platform, select your digital camera as the preferred video input device. Make sure it is recognized by the application and properly configured.
- Preview your video: Most video conferencing or streaming platforms offer a preview feature that allows you to see how others will view your video. Check the video preview to ensure that the camera angle, framing, lighting, and focus are all as desired.
- Test audio and video quality: Initiate a test call or recording to assess the audio and video quality. Speak or perform actions, and observe if the audio is clear, and the video is smooth and properly synced.
- Make necessary adjustments: If you encounter any issues during the test, make adjustments to your camera settings, positioning, or any other relevant factors to address the problem. Repeat the test until you are satisfied with the results.
- Get feedback: Seek feedback from colleagues, friends, or family members who can provide an objective opinion on the audio and video quality. Ask for their input on factors such as clarity, lighting, framing, and overall presentation.
By conducting a thorough test of your camera, you can ensure that everything is functioning properly and make any necessary adjustments to improve the quality and performance of your video calls or live streams.
If the test results are satisfactory, congratulations! You are now ready to confidently use your digital camera as a webcam for your online communication needs.
In the final step, we’ll provide some troubleshooting tips to help you overcome any challenges that may arise during the usage of your camera as a webcam.
Step 8: Troubleshooting Tips
While using a digital camera as a webcam can greatly enhance your video calls and streaming sessions, you may encounter some challenges along the way. Here are some troubleshooting tips to help you address common issues:
- Connection Problems: If your camera is not being recognized by your computer, ensure that the cables are securely connected. Try using a different USB or HDMI port and check if the camera is powered on.
- Software Compatibility: Ensure that you have installed the correct software or drivers for your camera model and that they are up to date. Check the manufacturer’s website for any software updates or troubleshooting guides specific to your camera and operating system.
- Camera Not Detected: If your camera is not appearing as an option in your video conferencing or streaming application, try restarting both the camera and the application. If the issue persists, double-check the camera settings and connection to ensure proper configuration.
- Poor Video Quality: If you are experiencing low-quality video, check the camera settings for resolution, bitrate, and frame rate. Adjust these settings based on your computer’s capabilities and available bandwidth. Additionally, ensure that your lighting is adequate and the camera lens is clean.
- Audio Issues: If you encounter problems with audio, check the microphone settings on your camera and in the video conferencing or streaming platform. Ensure that the microphone is not muted and adjust the microphone sensitivity if necessary. Consider using an external microphone if the built-in microphone is not providing satisfactory audio quality.
- Computer Performance: If your computer is struggling to handle the video processing, consider closing any unnecessary applications running in the background. Upgrade your computer’s hardware components, such as RAM or processor, if needed, to ensure smooth video performance.
- Camera Overheating: Some digital cameras may overheat during extended use, especially when recording high-resolution video. If you notice your camera getting hot, take breaks during usage and make sure the camera is properly ventilated. Refer to your camera’s manual for recommendations on preventing overheating.
If you encounter any other issues not covered here, refer to your camera’s user manual or contact the manufacturer’s support for assistance.
Remember, troubleshooting is a normal part of the process, and with some patience and persistence, you’ll be able to resolve most issues and enjoy the benefits of using your digital camera as a webcam.
With that, you’ve reached the end of the steps for setting up and using your digital camera as a webcam. Now you can enjoy high-quality video calls, online classes, or streaming sessions with a professional touch!
Conclusion
Using a digital camera as a webcam can significantly enhance your online communication and streaming experiences. By following the step-by-step process outlined in this guide, you can transform your digital camera into a powerful tool for high-quality video calls, online classes, and live streams.
We began by discussing the advantages of using a digital camera as a webcam, including improved video quality, flexible camera options, a wide lens selection, and maximized utilization of existing equipment. We then moved on to the necessary requirements, such as a compatible digital camera, a computer with USB or HDMI ports, the required cables, a stable camera mount or tripod, and the necessary software or drivers.
Throughout the setup process, we covered crucial steps, including checking compatibility and establishing the connection, setting up the camera for optimal performance, installing the required software, configuring camera settings, adjusting quality and settings, positioning the camera correctly, and testing its functionality. We also provided troubleshooting tips to help you overcome any challenges that may arise along the way.
Now that you have completed the setup process and have gained the knowledge to effectively use your digital camera as a webcam, you can enjoy the benefits of enhanced video quality, customizable settings, and a more professional appearance in your virtual interactions.
Remember to continuously experiment, test, and refine your setup to achieve the best results. Capture clear and sharp video, adjust lighting conditions, and ensure audio clarity for a seamless communication experience.
So go ahead, confidently connect your digital camera to your computer and dive into a world of high-quality video conferencing, engaging online classes, and captivating live streams!