Introduction
Have you ever taken some amazing photos on your digital camera and wished you could easily transfer them to your computer for editing, sharing, or printing? Connecting your digital camera to your computer is easier than you think! In this article, we will guide you through the steps to connect your digital camera to your computer and transfer your photos seamlessly.
Connecting your digital camera to your computer opens up a world of possibilities. You can create backups of your precious memories, organize your photo library, and edit your photos using powerful software applications. Whether you’re a professional photographer or just someone who enjoys capturing moments, the ability to connect your camera to your computer is a valuable skill to have.
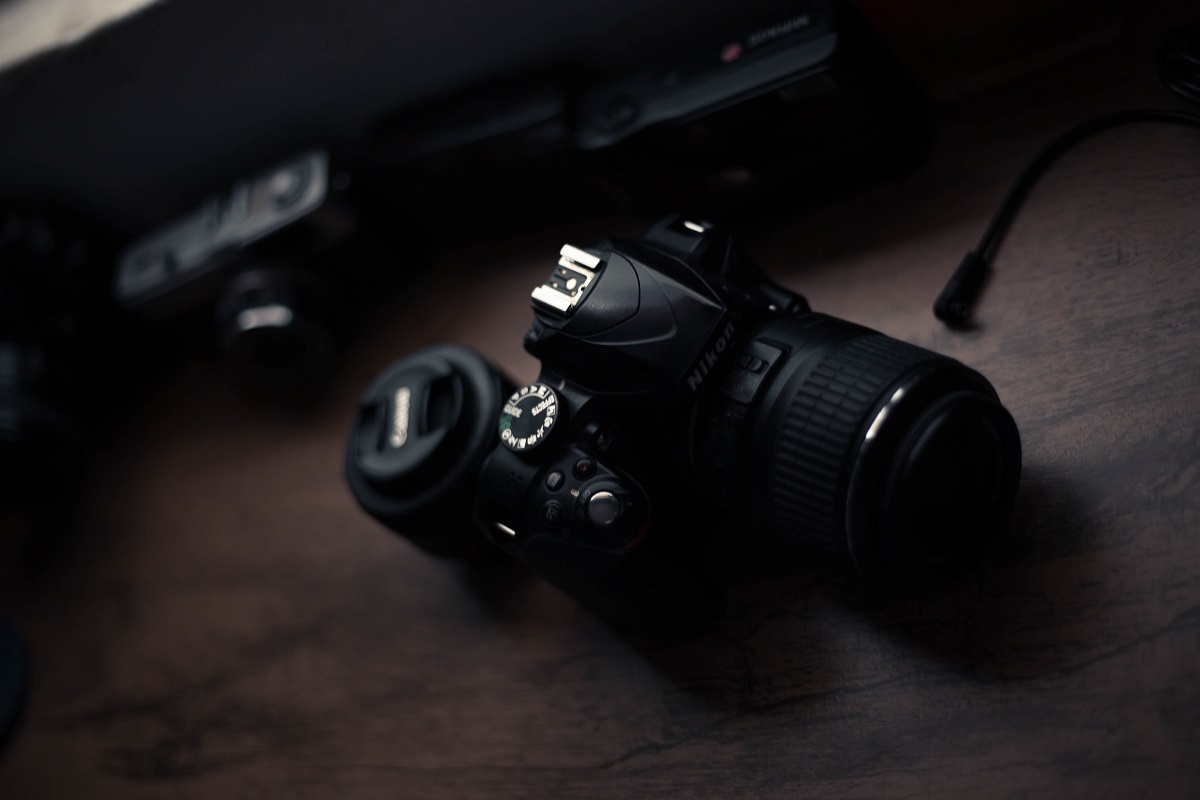
Before we dive into the steps, let’s briefly talk about the equipment you’ll need. First and foremost, you’ll need a digital camera with a USB cable. Most modern digital cameras come with a USB cable for easy connection. Additionally, you’ll need a computer, preferably with the latest operating system and sufficient available storage space.
Now that we have a good understanding of what we need, let’s get started! Follow the step-by-step guide below to connect your digital camera to your computer.
Step 1: Gather the Necessary Equipment
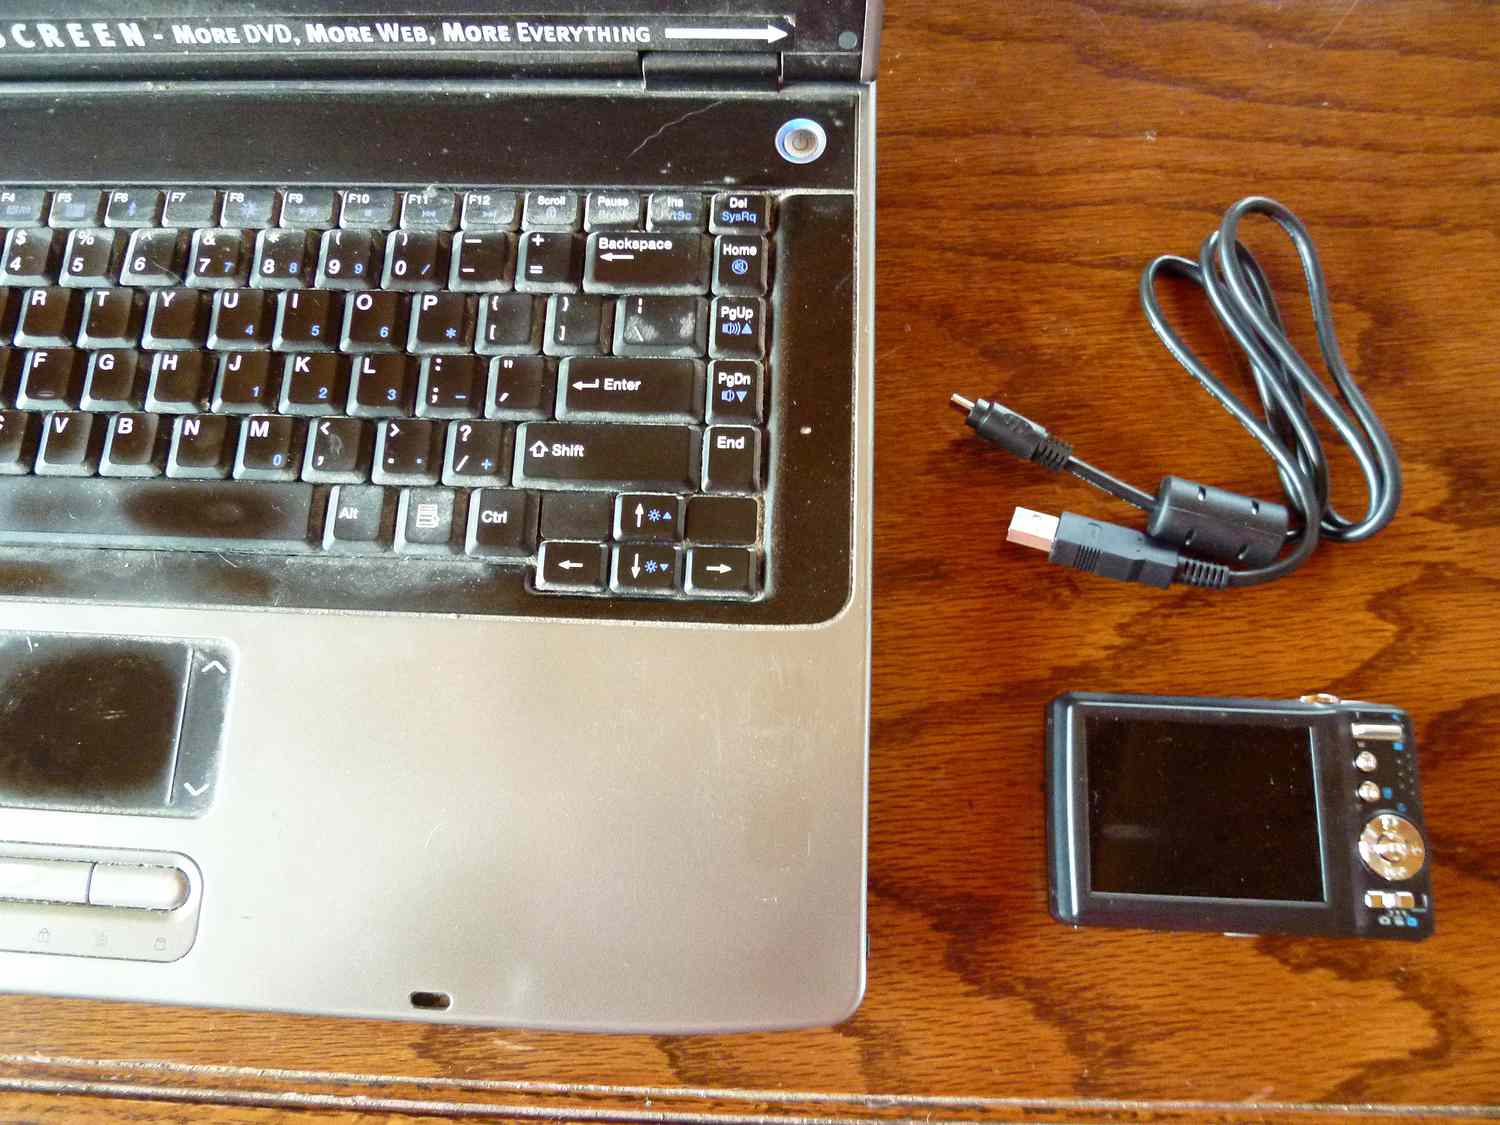
Before you can connect your digital camera to your computer, it’s important to gather all the necessary equipment. Here’s what you’ll need:
- A digital camera: Ensure that your camera has a USB port and comes with a USB cable for connecting it to your computer. If you’re unsure, refer to your camera’s user manual or check the manufacturer’s website for more information.
- A computer: You’ll need a computer that has an available USB port. Make sure that your computer meets the minimum system requirements for the camera software if you plan on installing it.
- A USB cable: This cable is used to establish a connection between your camera and your computer. The type of USB cable you need will depend on your specific camera model. Check the cable that came with your camera or consult your camera’s documentation to ensure you have the correct one.
- A fully charged camera battery: It’s a good idea to ensure that your camera’s battery is fully charged before connecting it to your computer. This will help prevent any interruptions during the transfer process.
Once you have gathered all the necessary equipment, you’re ready to move on to the next step. Remember to double-check that you have everything you need before proceeding, as it will save you time and frustration later on.
Now that we have all the required equipment in place, let’s move on to the next step: turning on your digital camera.
Step 2: Turn on Your Digital Camera
Now that you have gathered all the necessary equipment, it’s time to turn on your digital camera. Follow these steps:
- Locate the power button on your camera. The location of the power button might vary depending on the model of your digital camera. It is usually located on the top or back of the camera.
- Press and hold the power button for a few seconds until the camera’s screen or viewfinder turns on. This indicates that your camera is powered on and ready to use.
- Depending on your camera’s settings, you may need to enter a passcode or password to access the camera’s features. Follow the on-screen instructions to unlock your camera if necessary.
- Once your camera is powered on, you’re ready to move on to the next step: connecting your camera to your computer.
Turning on your digital camera is a straightforward process. However, if you encounter any issues, refer to your camera’s user manual for specific instructions related to your camera model. Now that your camera is powered on, let’s proceed to the next step: connecting your camera to your computer.
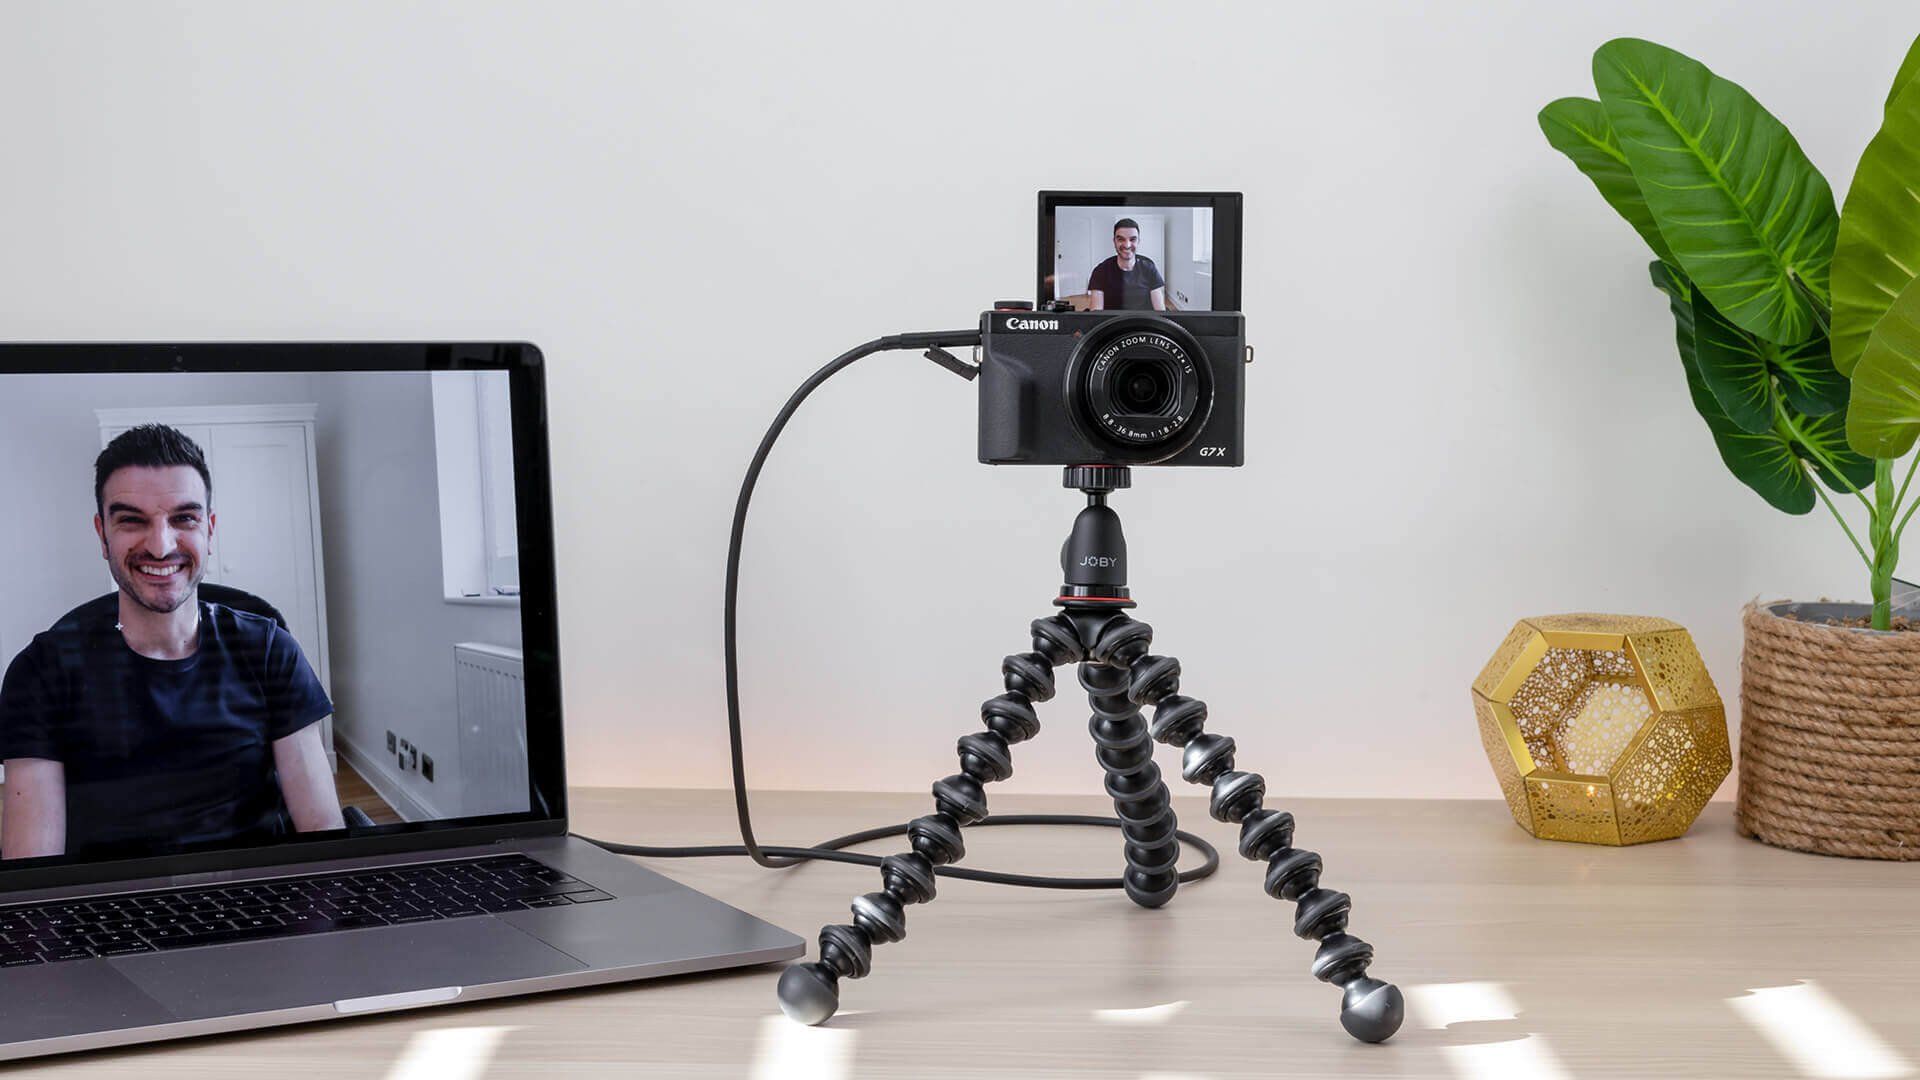
Step 3: Connect the Camera to Your Computer
With your digital camera powered on, it’s time to establish a connection to your computer. Follow these steps to connect your camera:
- Locate the USB port on your digital camera. It is usually located on the side or bottom of the camera and is labeled accordingly.
- Take the USB cable that came with your camera and plug one end into the USB port on your camera. Make sure the connection is secure.
- Next, locate an available USB port on your computer. It may be present on the front or back of your desktop computer or on the side of your laptop.
- Plug the other end of the USB cable into the USB port on your computer. Again, ensure that the connection is secure.
Once you have successfully connected your camera to your computer, a notification may appear on your camera’s screen indicating that it is connected or recognized by the computer. Additionally, your computer may also display a notification that a new device has been connected.
It’s important to note that some cameras require you to set the connection mode to “PC” or “Mass Storage” in the camera’s settings for the computer to detect it. If this is the case, refer to your camera’s user manual for instructions on how to change the connection mode.
Congratulations! You have successfully connected your digital camera to your computer. Now, it’s time to move on to the next step: installing the required software (if needed) to facilitate the photo transfer process.
Step 4: Install the Required Software
Before you can begin transferring photos from your digital camera to your computer, you may need to install the necessary software. Some cameras require special drivers or software to establish a proper connection and allow for seamless photo transfer. Follow these steps to install the required software:
- Check the documentation that came with your camera to see if any software or drivers are provided. If so, insert the software CD into your computer’s CD/DVD drive and follow the on-screen instructions to install the software.
- If your camera did not come with any specific software or drivers, you can check the manufacturer’s website for the latest drivers or software updates. Visit the support section of the manufacturer’s website and search for your camera model. Look for the “Downloads” or “Support” section where you can find the necessary software or drivers to download and install.
- Once you have downloaded the software or drivers, locate the file on your computer and double-click on it to start the installation process. Follow the on-screen instructions to complete the installation.
- After the installation is complete, restart your computer to ensure that the software or drivers are properly configured.
Once the software or drivers are installed and your computer has restarted, you are now ready to transfer your photos from your digital camera to your computer. The installed software should provide you with a user-friendly interface or prompt you to choose how you want to transfer your photos.
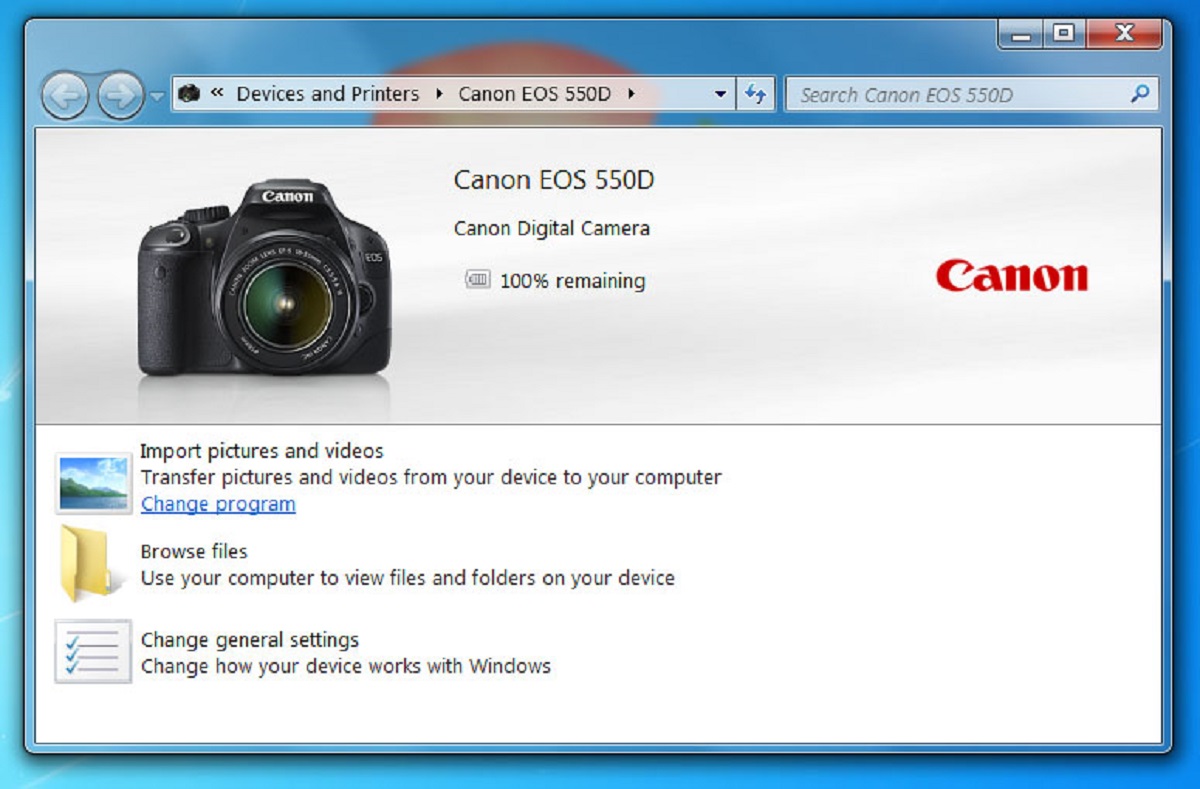
It’s important to note that some modern operating systems, such as Windows 10 and macOS, have built-in support for many digital cameras. In such cases, you may not need to install any additional software. Your computer should automatically recognize your camera and provide you with options for transferring your photos.
Now that you have the necessary software installed (if required), let’s move on to the exciting part: transferring photos from your digital camera to your computer!
Step 5: Transfer Photos from Camera to Computer
Now that you have your digital camera connected to your computer and the necessary software installed (if required), it’s time to transfer your photos. Follow these steps to transfer your photos from your camera to your computer:
- Open the software that came with your camera or the default photo management software on your computer. This software will allow you to access and manage the photos on your camera.
- Once the software is open, you should see an option to import or transfer photos from your camera. Click on this option to initiate the photo transfer process.
- A window will appear displaying the photos on your camera. You can usually select all the photos for transfer or choose specific photos you want to transfer to your computer.
- Select the desired photos and choose a destination folder on your computer where you want to save the transferred photos. You can create a new folder specifically for these photos to keep them organized.
- Click on the “Transfer” or “Import” button to begin the transfer process. Depending on the number of photos and their file sizes, the transfer may take a few moments to complete. Be patient and avoid unplugging your camera or interrupting the process.
- Once the transfer is complete, you can close the software and access the transferred photos in the destination folder on your computer. From here, you can organize, edit, or share your photos as desired.
It’s important to note that the exact steps for transferring photos may vary depending on the software you are using and your camera model. Refer to the software’s user manual or the camera’s documentation for more specific instructions if needed.
Remember to safely disconnect your digital camera from your computer once the photo transfer is complete. Failure to do so could result in data loss or damage to your camera. Now that you have successfully transferred your photos, let’s move on to the final step: safely disconnecting your camera from the computer.
Step 6: Safely Disconnect Your Camera from the Computer
After successfully transferring your photos from your digital camera to your computer, it’s important to safely disconnect your camera from the computer to avoid any data loss or damage. Follow these steps to safely disconnect your camera:
- Make sure that all file transfers are complete and that the software or any other applications accessing your camera or its files are closed.
- Locate the USB icon on your computer’s taskbar or system tray. It may appear as a small icon with a USB symbol or as a removable device icon.
- Click on the USB icon to display a list of connected USB devices. Look for your camera’s name or a description that matches your camera.
- Once you have identified your camera in the USB devices list, right-click on it and select the “Eject” or “Safely Remove” option. This will notify your computer that you want to disconnect the camera.
- Wait for a notification or message confirming that it is safe to disconnect your camera. This usually appears as a pop-up message or a notification in the taskbar. It may take a few seconds for the notification to appear.
- Once you receive confirmation that it is safe to disconnect your camera, gently unplug the USB cable from both your camera and your computer.
It’s important to follow these steps to safely disconnect your camera to prevent any potential data loss or damage. Abruptly unplugging the USB cable can result in corrupted files or even damage to your camera’s internal memory or storage card.
With your camera safely disconnected, you have successfully completed the process of transferring photos from your digital camera to your computer. Now, you can explore your transferred photos, edit them, share them with others, or simply enjoy the memories they capture.
Remember, each time you want to transfer photos from your camera to your computer, follow these steps to establish a secure connection, transfer the photos, and safely disconnect your camera for a smooth and hassle-free experience.
Conclusion
Connecting your digital camera to your computer opens up a whole new world of opportunities for managing, organizing, and editing your photos. By following the step-by-step guide outlined in this article, you can easily connect your camera to your computer and transfer your photos seamlessly.
We started by gathering the necessary equipment, including a digital camera with a USB cable, a computer with an available USB port, a fully charged camera battery, and any required software or drivers. With these essentials in place, we moved on to turning on the camera and connecting it to the computer.
Once the connection was established, we discussed the importance of installing the required software, if necessary, to facilitate the photo transfer process. Depending on your camera and operating system, this step may or may not be needed, but it is essential to ensure a smooth transfer experience.
With the camera connected and the software installed, we then explored the process of transferring photos from the camera to the computer. By using the appropriate software, selecting the desired photos, and choosing a destination folder, you can effortlessly migrate your precious memories to your computer for further editing, organization, or sharing.
Finally, we emphasized the significance of safely disconnecting your camera from the computer to avoid any data loss or damage. By following the recommended steps to eject or safely remove your camera, you can protect your files and maintain the integrity of your camera’s storage.
Remember, transferring photos from your camera to your computer is a simple yet valuable skill to have. It allows you to have a backup of your photos, conveniently organize your photo library, and unlock the full potential of editing software for enhancing and retouching your images.
Now that you have completed this guide, you are ready to unleash your creativity and explore all the possibilities that connecting your digital camera to your computer brings. So grab your camera, start connecting, and enjoy the world of endless photographic possibilities!