Introduction
Are you looking to preserve cherished memories captured on 8mm film? Converting 8mm film to DVD without a camcorder is a popular choice for individuals seeking to safeguard and share their vintage footage. This process allows you to breathe new life into old recordings, ensuring they remain accessible and well-preserved for future generations to enjoy.
In this comprehensive guide, you will learn how to convert your 8mm film to DVD without the need for a camcorder. We will explore the essential equipment needed, the setup process, and the steps to transfer your 8mm film to a digital format. Additionally, we will delve into the crucial aspects of editing and saving your digital files, providing you with the knowledge and confidence to undertake this rewarding endeavor.
Whether you are a novice or a seasoned enthusiast, this guide will equip you with the necessary insights to embark on this fulfilling journey of preserving and sharing your precious 8mm film footage. Let's dive in and discover the timeless art of converting 8mm film to DVD, breathing new life into treasured memories.
Understanding 8mm Film
8mm film, introduced by Eastman Kodak in 1932, revolutionized home movie-making, allowing families to capture and preserve their most precious moments. This format quickly gained popularity due to its accessibility and affordability, becoming a staple in countless households.
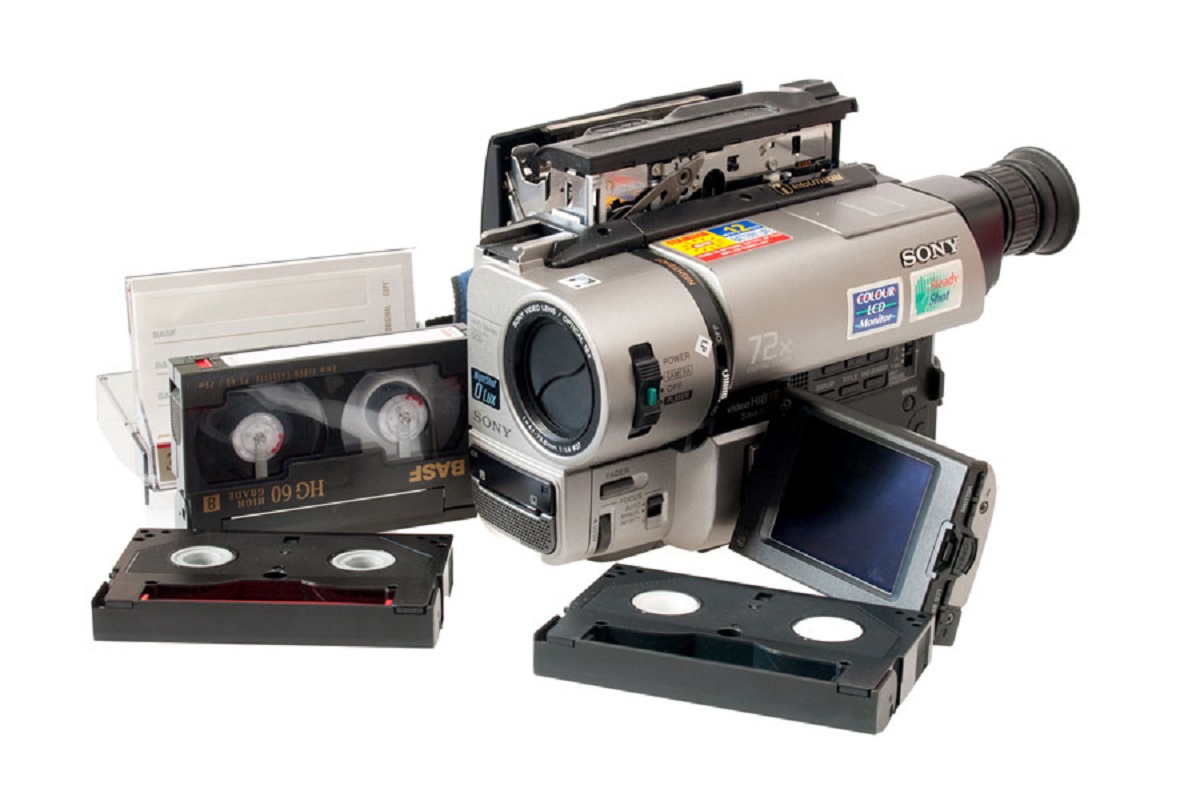
8mm film comes in two main variants: Standard 8 and Super 8. Standard 8, also known as Regular 8, features a film width of 8mm and exposes one side of the film at a time. Super 8, introduced in 1965, boasts smaller perforations and a larger image area, enhancing the visual quality of recordings.
When working with 8mm film, it’s essential to understand the intricacies of the format. The film is typically housed in reels, with each reel containing a limited duration of footage. The frame size and aspect ratio of 8mm film differ from modern digital formats, necessitating careful consideration during the conversion process to ensure optimal visual output.
Despite the advent of digital technology, the charm and nostalgia associated with 8mm film endure, making it a sought-after medium for preserving precious memories. By grasping the unique characteristics of 8mm film, you can approach the conversion process with a deeper appreciation for its historical significance and timeless appeal.
Equipment Needed
Converting 8mm film to DVD without a camcorder requires specific equipment to ensure a seamless and successful transition to digital format. Here are the essential tools you’ll need to undertake this rewarding endeavor:
- 8mm Film Projector: A reliable 8mm film projector serves as the primary tool for projecting your film onto a screen or a white surface. Ensure that the projector is in good working condition, as any malfunctions can affect the quality of the digitized footage.
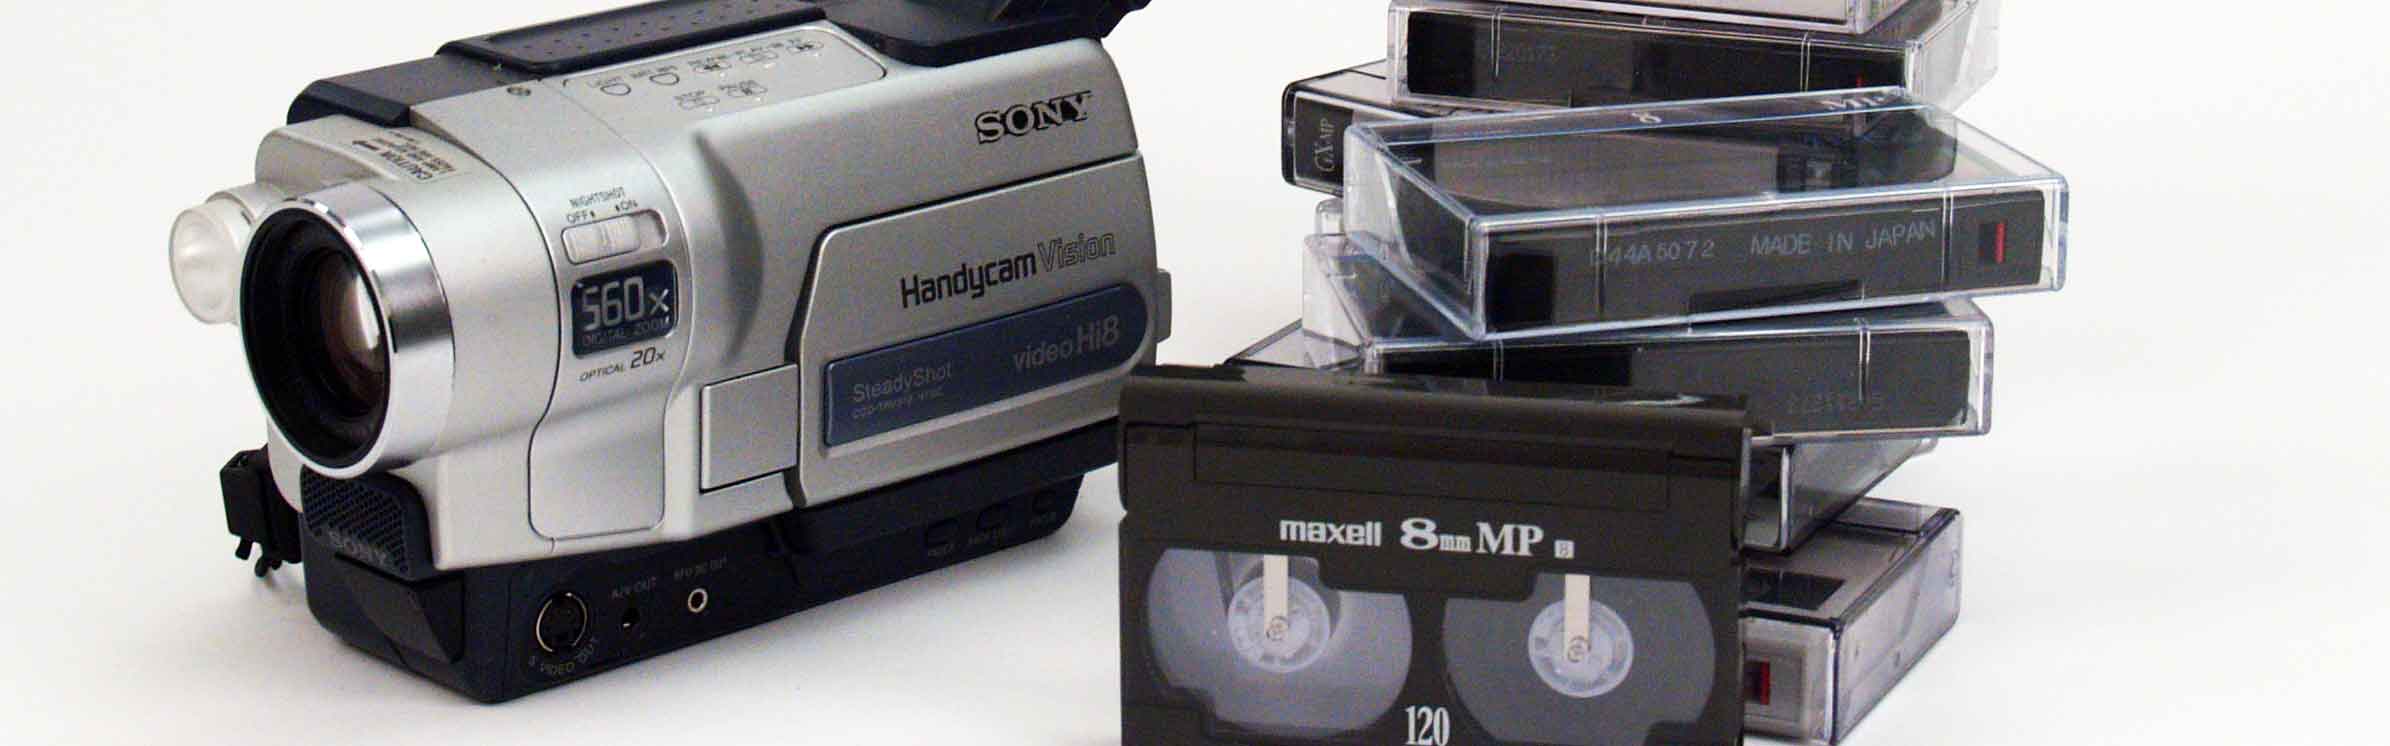
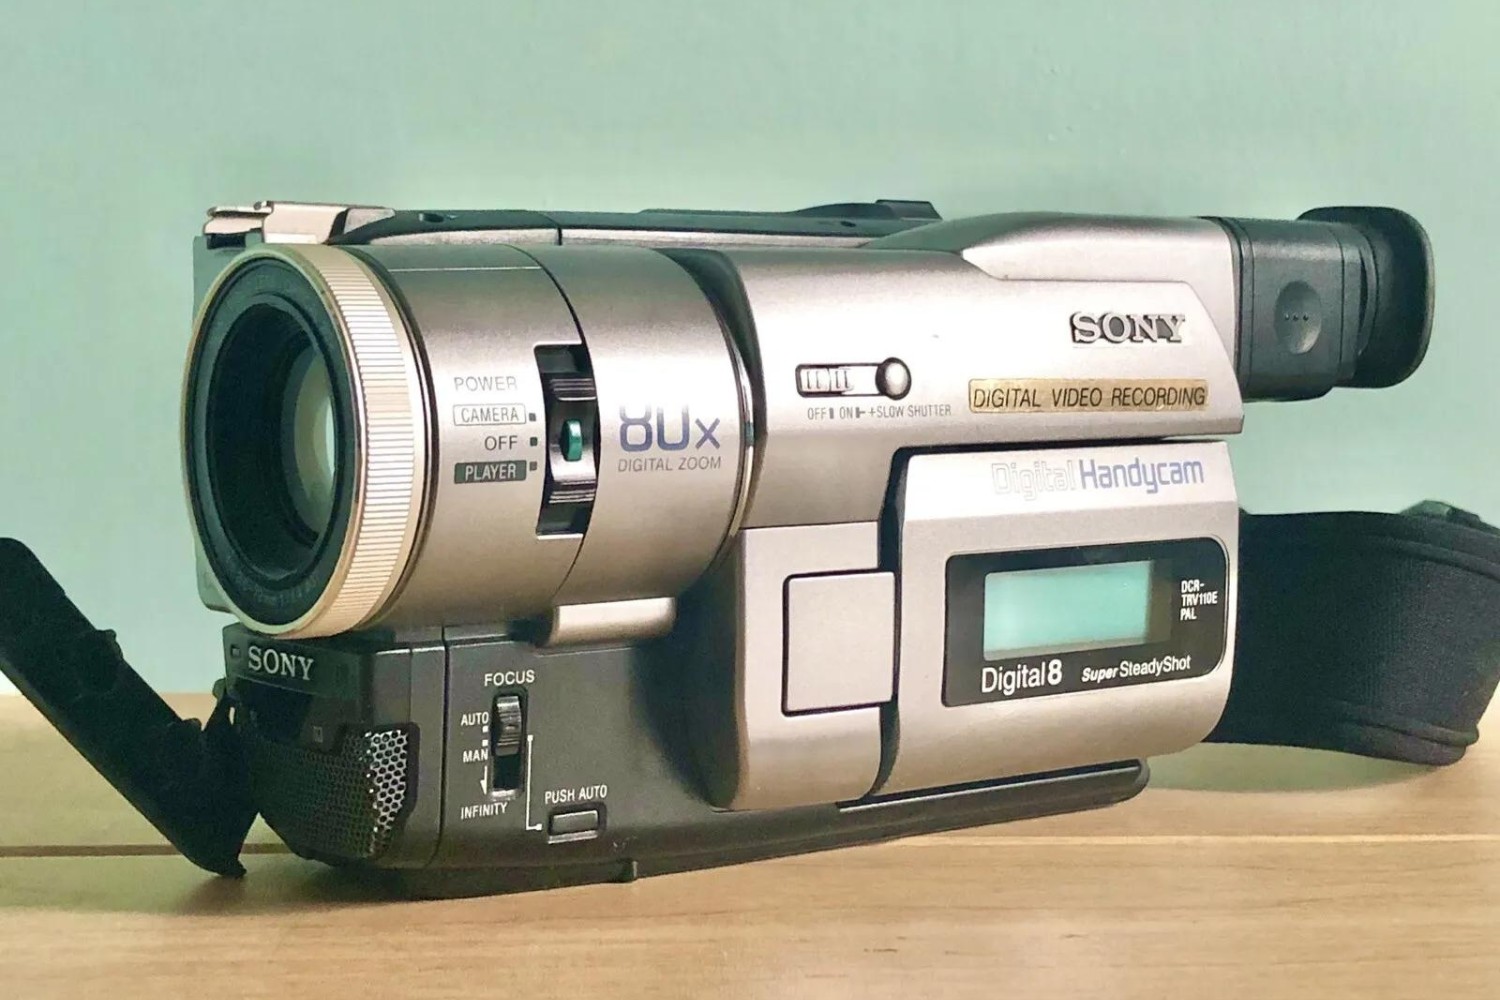
- Digital Video Camera: A high-quality digital video camera with the capability to record in high definition is indispensable for capturing the projected 8mm film. This camera will serve as the intermediary device for transferring the analog footage to a digital format.
- Projection Screen or White Surface: To display the 8mm film, you’ll need a projection screen or a smooth, white surface that provides a clear and stable backdrop for recording the footage with the digital video camera.
- Tripod: A sturdy tripod is essential for stabilizing the digital video camera during the recording process, ensuring steady and professional-looking footage.
- Blank DVDs or Digital Storage Device: To store the digitized 8mm film, you’ll need blank DVDs or a digital storage device with ample capacity to accommodate the transferred footage.
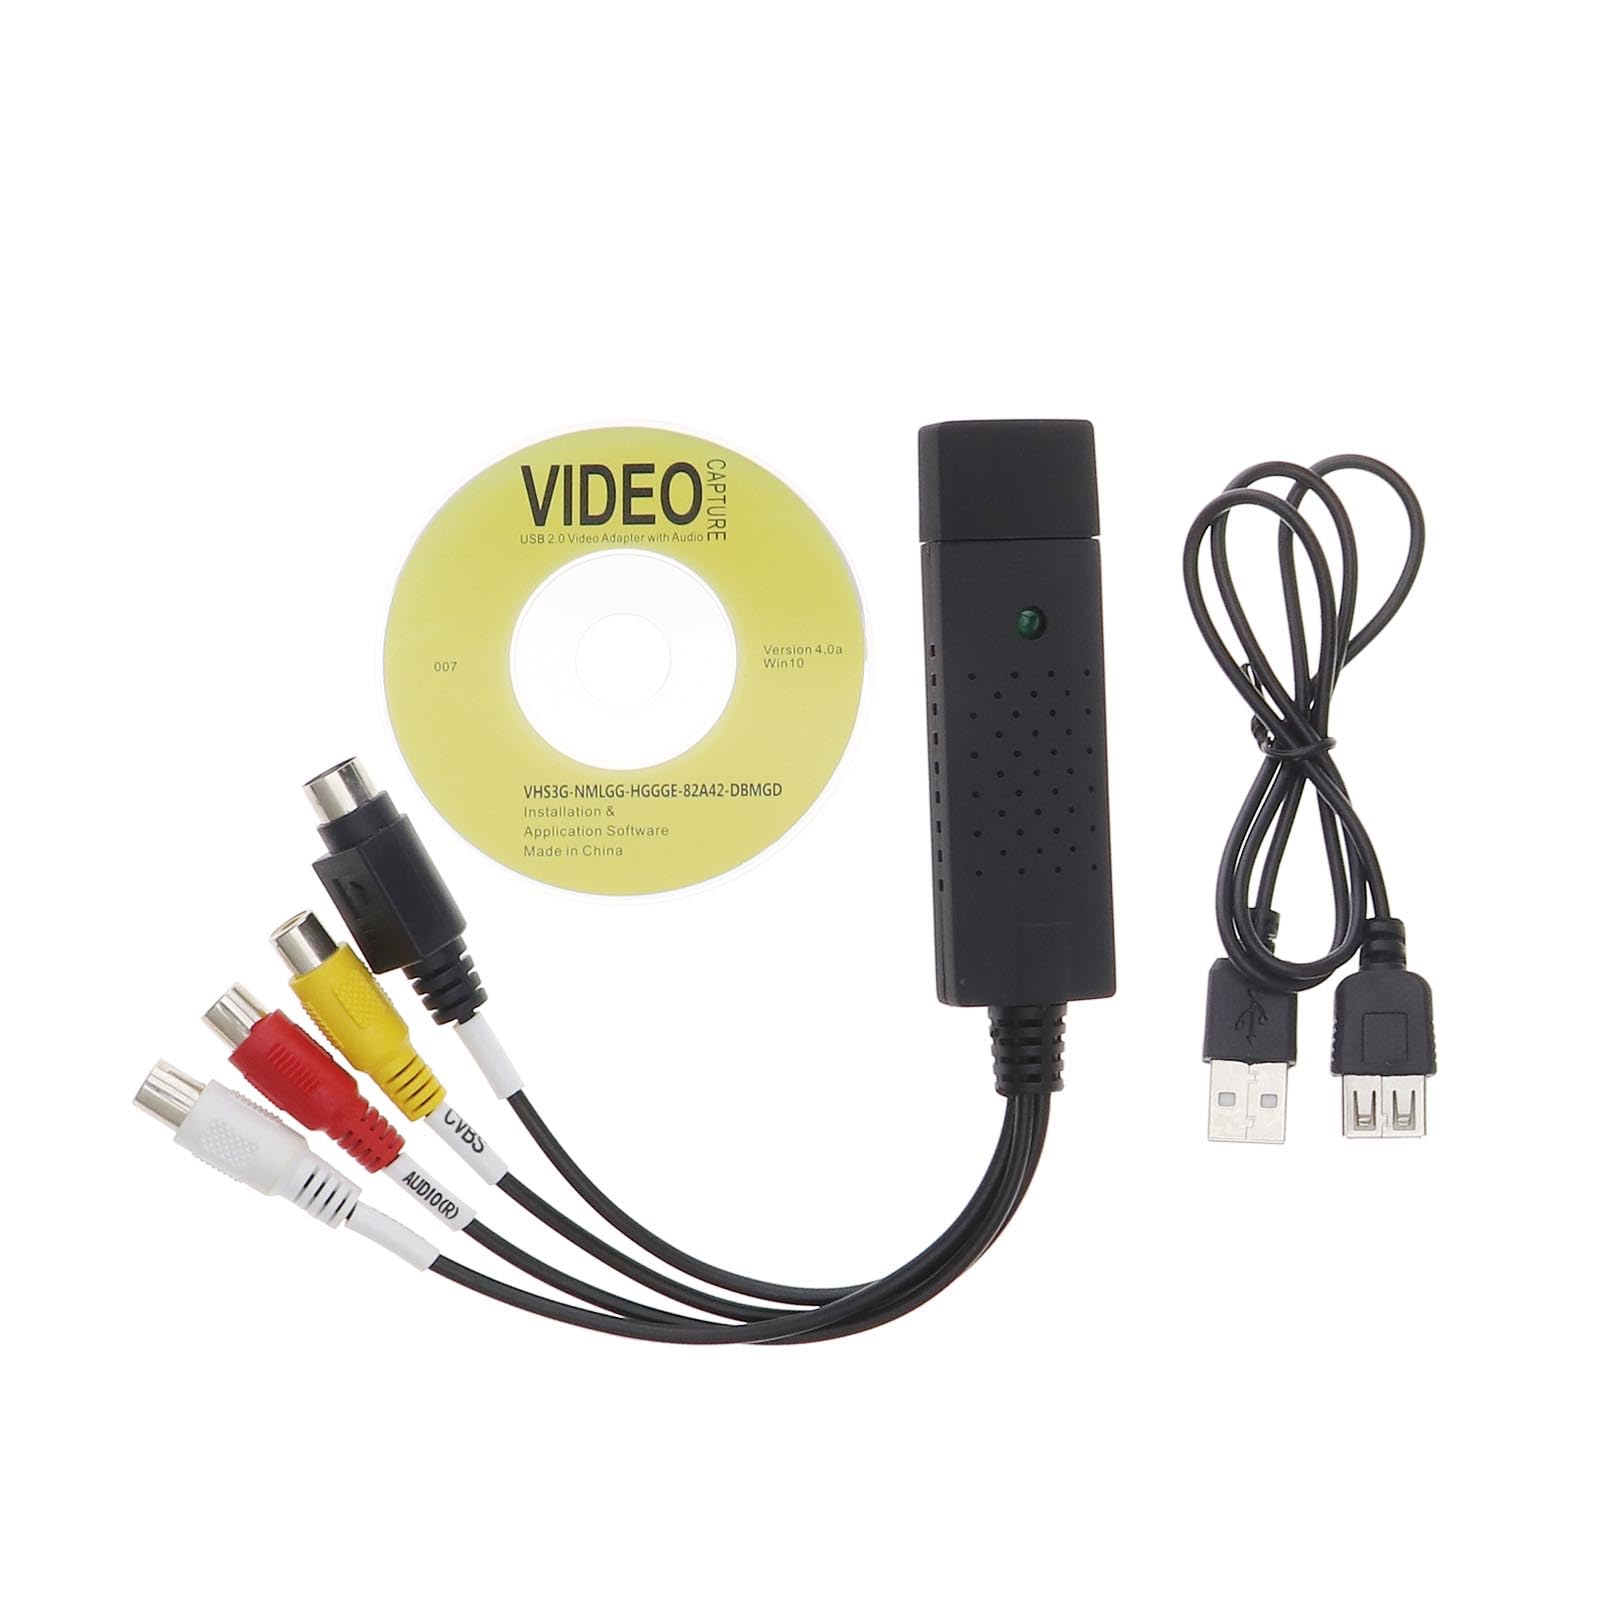
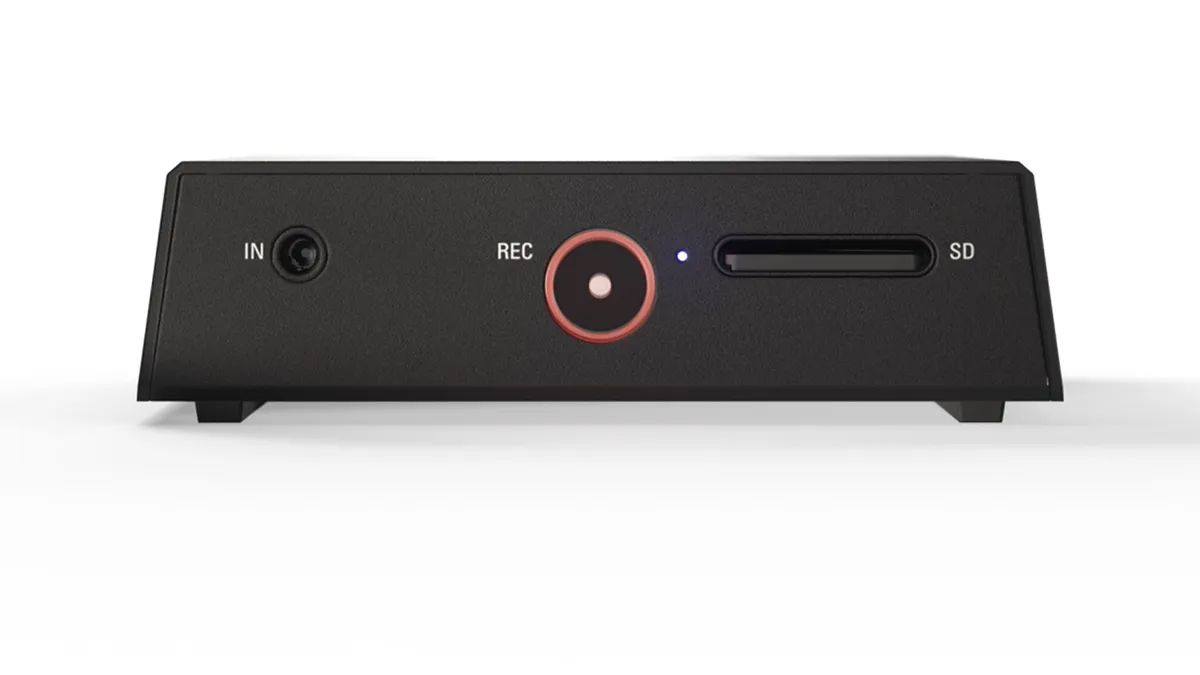
- Computer with Video Capture Capability: A computer equipped with video capture capability is necessary for transferring the recorded footage from the digital video camera to a digital format that can be edited and saved.
- Video Editing Software: Utilize video editing software to refine and enhance the digitized 8mm film, allowing you to make adjustments, add effects, and create a polished final product before saving it to a DVD or digital storage device.
By assembling these essential pieces of equipment, you can confidently embark on the journey of converting your cherished 8mm film to a digital format, preserving its timeless beauty and sentimental value for years to come.
Setting Up Your Equipment
Before embarking on the process of converting 8mm film to DVD without a camcorder, it’s crucial to set up your equipment meticulously to ensure optimal results. Follow these steps to prepare your workspace and assemble the necessary tools for a seamless conversion process:
- Prepare the Projection Area: Set up your 8mm film projector on a stable surface, ensuring that it is positioned at an appropriate distance from the projection screen or white surface. Test the projector to verify that it is functioning correctly and that the film runs smoothly through the mechanism.
- Position the Digital Video Camera: Mount the digital video camera securely on a tripod and position it in front of the projection screen or white surface. Adjust the camera’s settings to ensure optimal exposure and focus for capturing the projected 8mm film.
- Calibrate the Projection: Align the 8mm film projector to project a clear and well-centered image onto the screen or white surface. Make any necessary adjustments to the projector’s position and focus to achieve the best possible image quality.
- Ensure Adequate Lighting: Assess the lighting conditions in the room and make adjustments as needed to eliminate any glare or shadows that may affect the quality of the projected 8mm film. Consistent and even lighting is essential for capturing clear and vibrant footage with the digital video camera.
- Connect the Digital Video Camera to the Computer: Establish a stable connection between the digital video camera and the computer using the appropriate cables or transfer methods. Verify that the computer recognizes the camera and is ready to capture the recorded 8mm film for digital transfer.
- Prepare the Blank DVDs or Digital Storage Device: Ensure that you have a sufficient number of blank DVDs or a digital storage device with ample capacity to accommodate the digitized 8mm film. Prepare the storage media for saving the transferred footage after the recording and editing process.
By meticulously setting up your equipment and workspace, you can lay a solid foundation for a smooth and successful conversion of your cherished 8mm film to a digital format, preserving its timeless allure and sentimental value.
Transferring 8mm Film to Digital Format
Once your equipment is set up and ready, you can proceed with the crucial step of transferring your 8mm film to a digital format. This process involves capturing the projected film with a digital video camera and transferring the recorded footage to a computer for further editing and preservation. Follow these essential steps to ensure a seamless transition from analog to digital:
- Begin Projection: Start the 8mm film projector and allow the film to run smoothly, ensuring that the footage is projected onto the screen or white surface with clarity and stability.
- Start Recording: Activate the digital video camera and commence recording the projected 8mm film. Maintain a steady hand or tripod-mounted position to capture the footage with minimal shake or movement.
- Monitor the Recording: Keep a close eye on the recording process, ensuring that the entire length of the 8mm film is captured without interruptions or technical issues. Monitor the camera’s battery life and storage capacity to prevent any disruptions during recording.
- Review the Captured Footage: After recording the entire 8mm film, review the footage on the digital video camera to confirm that it has been captured accurately and with satisfactory visual quality. Address any issues or discrepancies before proceeding to the next step.
- Transfer Footage to the Computer: Connect the digital video camera to the computer and transfer the recorded footage to the computer’s hard drive or designated storage location. Ensure that the transfer process is smooth and that the digital files are intact and accessible for further editing.
- Organize and Backup Files: Organize the transferred digital files on the computer, creating a backup if necessary to safeguard against data loss or corruption. Establish a clear and accessible file structure for easy navigation and editing.
By following these steps with precision and care, you can effectively transfer your cherished 8mm film to a digital format, preserving its timeless charm and sentimental value in a modern and accessible medium.
Editing and Saving Your Digital Files
Once the 8mm film has been successfully transferred to a digital format, the next crucial phase involves editing and saving the digital files to refine the footage and ensure its longevity. This process allows you to enhance the visual quality, correct imperfections, and create a polished final product for preservation and sharing. Follow these essential steps to edit and save your digitized 8mm film:
- Import Footage into Video Editing Software: Utilize video editing software to import the transferred digital footage, allowing you to access and manipulate the files effectively. Choose a reputable and user-friendly editing program that offers a range of tools and features for enhancing your 8mm film.
- Review and Trim Footage: Carefully review the imported footage, identifying sections that may require trimming or removal. Trim any unnecessary or flawed segments to refine the overall flow and coherence of the film.
- Adjust Visual and Audio Elements: Use the editing software to adjust visual elements such as brightness, contrast, and color balance to enhance the overall quality of the footage. Additionally, address any audio issues and improve the sound quality if necessary.
- Add Transitions and Effects: Enhance the viewing experience by incorporating transitions between scenes and adding subtle effects to elevate the visual appeal of the 8mm film. Exercise restraint to maintain the authenticity of the original footage while enhancing its presentation.
- Create a Polished Final Cut: Compile the edited footage into a cohesive and polished final cut, ensuring that the narrative flows smoothly and captivates the audience. Pay attention to pacing, continuity, and overall visual coherence during this process.
- Save the Edited Footage: Once the editing process is complete, save the edited footage in a high-quality digital format that is suitable for burning to a DVD or storing on a digital storage device. Choose a reliable file format and resolution that preserves the visual integrity of the 8mm film.
By meticulously editing and saving your digitized 8mm film, you can breathe new life into cherished memories, ensuring that they are preserved in a refined and enduring format that can be enjoyed for years to come.
Conclusion
Embarking on the journey of converting 8mm film to DVD without a camcorder is a rewarding endeavor that allows you to preserve and share cherished memories in a modern and accessible format. By understanding the unique characteristics of 8mm film and assembling the necessary equipment, you can breathe new life into vintage recordings, ensuring their longevity and continued enjoyment.
The process of transferring 8mm film to a digital format requires meticulous attention to detail and a passion for preserving the historical and sentimental value of the footage. Setting up your equipment with care and precision, capturing the 8mm film with a digital video camera, and editing and saving the digitized files are essential steps that culminate in a refined and enduring representation of your treasured memories.
As you navigate the intricacies of this conversion process, remember that each frame of 8mm film holds a unique and irreplaceable piece of history and personal significance. By embracing the art of preserving these moments, you contribute to the preservation of cultural heritage and the celebration of family narratives.
Whether you are digitizing family milestones, capturing historical events, or preserving artistic expressions, the conversion of 8mm film to DVD without a camcorder is a testament to the enduring power of storytelling and visual heritage. Embrace this journey with reverence and creativity, and let the timeless allure of 8mm film continue to captivate and inspire generations to come.