Introduction
So, you've come across your old 8mm camcorder tapes and you're eager to relive those precious memories. Whether it's a family vacation, a child's birthday, or a special event, these tapes hold invaluable moments that you'd love to revisit. However, with technology advancing rapidly, your old 8mm camcorder tapes may seem outdated and incompatible with modern devices. But fear not! In this guide, we'll walk you through the process of playing and preserving your 8mm camcorder tapes, ensuring that those cherished memories remain alive for years to come.
Perhaps you're wondering, "How do I even begin to play my 8mm camcorder tapes?" or "How can I transfer these tapes to a digital format?" These questions are common, and navigating the world of outdated technology can be daunting. But with the right knowledge and tools, you can easily bring your 8mm tapes into the digital age. This guide will provide you with the essential information and step-by-step instructions to help you play, transfer, and preserve your 8mm camcorder tapes.
As we delve into the intricacies of 8mm camcorder tapes, you'll gain a deeper understanding of the equipment needed, the process of connecting your camcorder to a TV or computer, and the best methods for transferring your tapes to a digital format. We'll also explore the importance of storing and preserving your 8mm tapes to ensure their longevity. By the end of this guide, you'll be equipped with the knowledge and confidence to embark on this nostalgic journey, preserving your treasured memories for generations to come. Let's dive in and unlock the magic of your 8mm camcorder tapes!
Understanding 8mm Camcorder Tapes
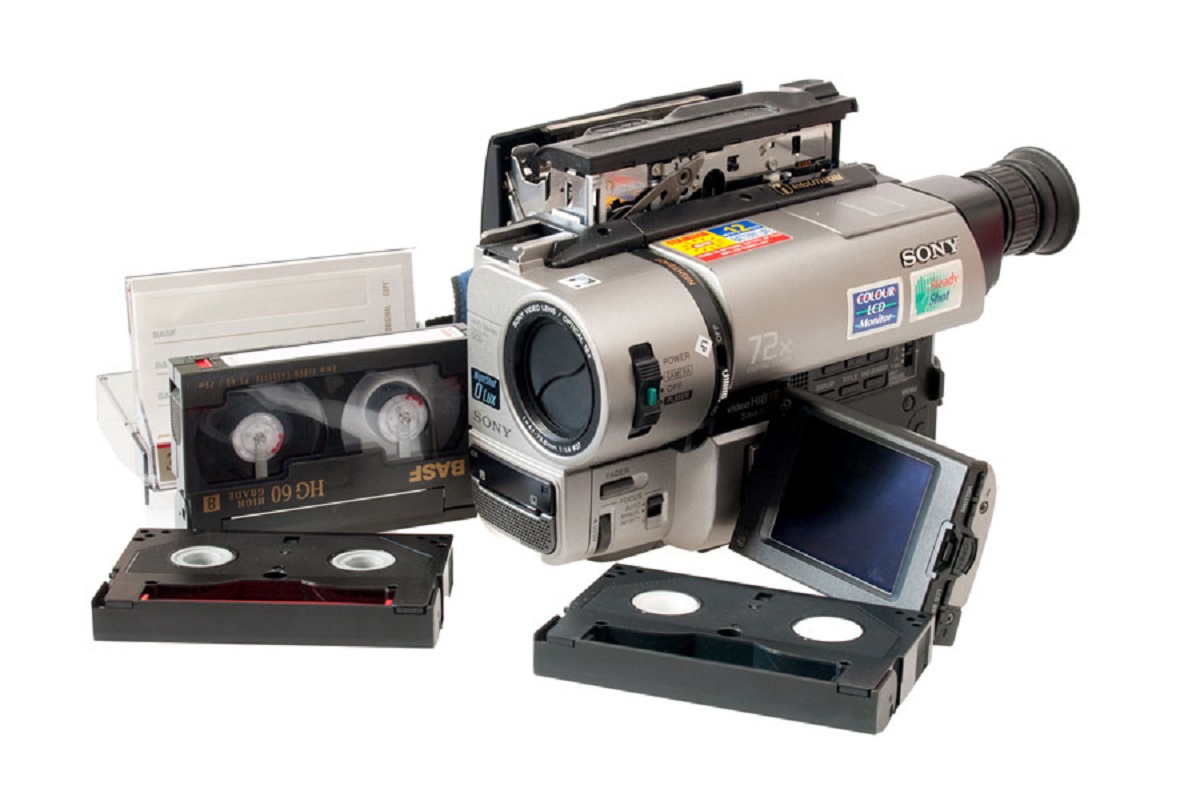
Before delving into the process of playing and preserving your 8mm camcorder tapes, it's essential to understand the nature of these analog marvels. 8mm camcorder tapes were once the primary medium for capturing and storing precious moments, offering a tangible and nostalgic way to revisit memories. The 8mm format, introduced in the mid-20th century, revolutionized home videography, allowing families to document their lives with unprecedented ease.
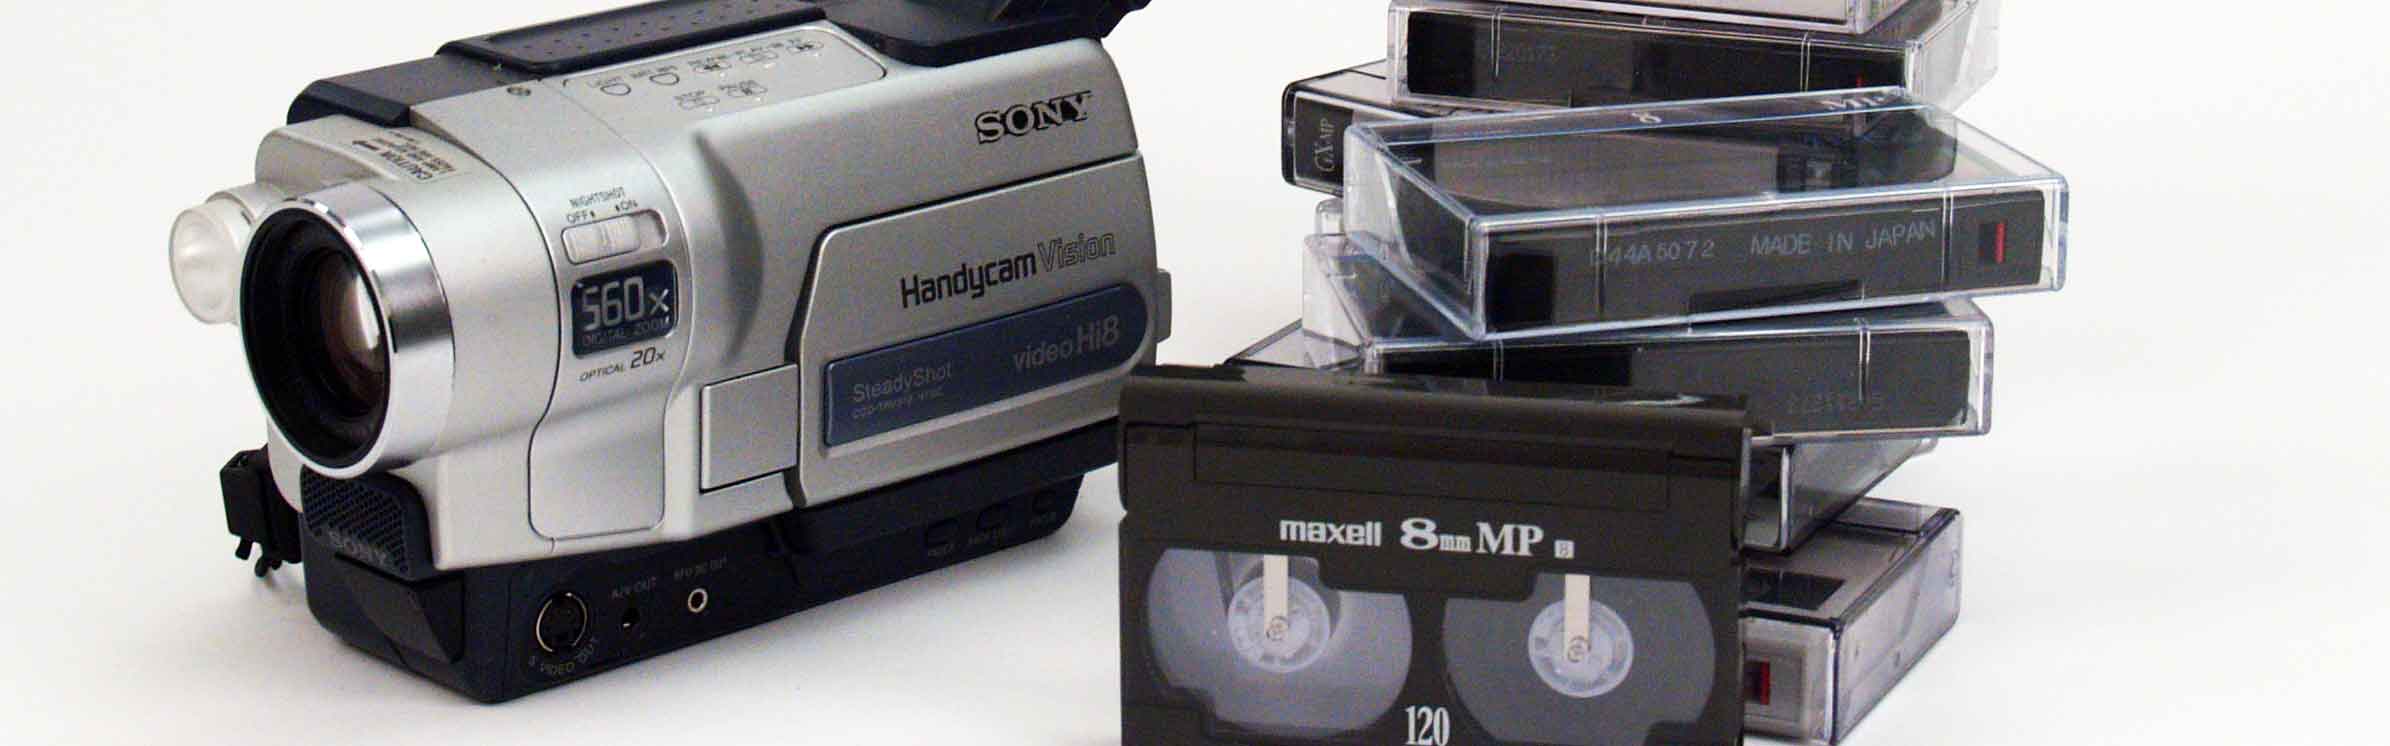
These tapes come in two main variants: Video8 and Hi8. Video8 tapes, the earlier format, have a lower resolution compared to Hi8 tapes, which boast improved video quality. Both formats utilize 8mm-wide magnetic tape to record analog video and audio signals. The physical tapes are housed in protective cassettes, shielding them from dust, moisture, and physical damage.
Understanding the technical aspects of 8mm tapes is crucial for navigating the playback and preservation process. The playback speed of 8mm tapes is standardized at either SP (Standard Play) or LP (Long Play), affecting the duration of footage that can be recorded on a single tape. Additionally, the resolution of the recorded video, typically measured in lines of horizontal resolution, varies between Video8 and Hi8 formats, influencing the visual clarity of the footage.
It's important to note that 8mm camcorder tapes are susceptible to degradation over time, especially if they have been stored improperly. Factors such as temperature fluctuations, humidity, and exposure to magnetic fields can compromise the integrity of the recorded content. As a result, preserving these tapes by transferring them to a digital format is essential for safeguarding the memories they hold.
By grasping the nuances of 8mm camcorder tapes, you'll be better equipped to navigate the subsequent steps of playing, transferring, and preserving your cherished recordings. Armed with this knowledge, you'll embark on a journey to unlock the timeless treasures captured within these analog relics.
Choosing the Right Equipment
When it comes to playing and preserving your 8mm camcorder tapes, selecting the appropriate equipment is paramount. Given the analog nature of these tapes, you'll need specialized tools to ensure seamless playback and high-quality digitization. Here are the key components to consider:
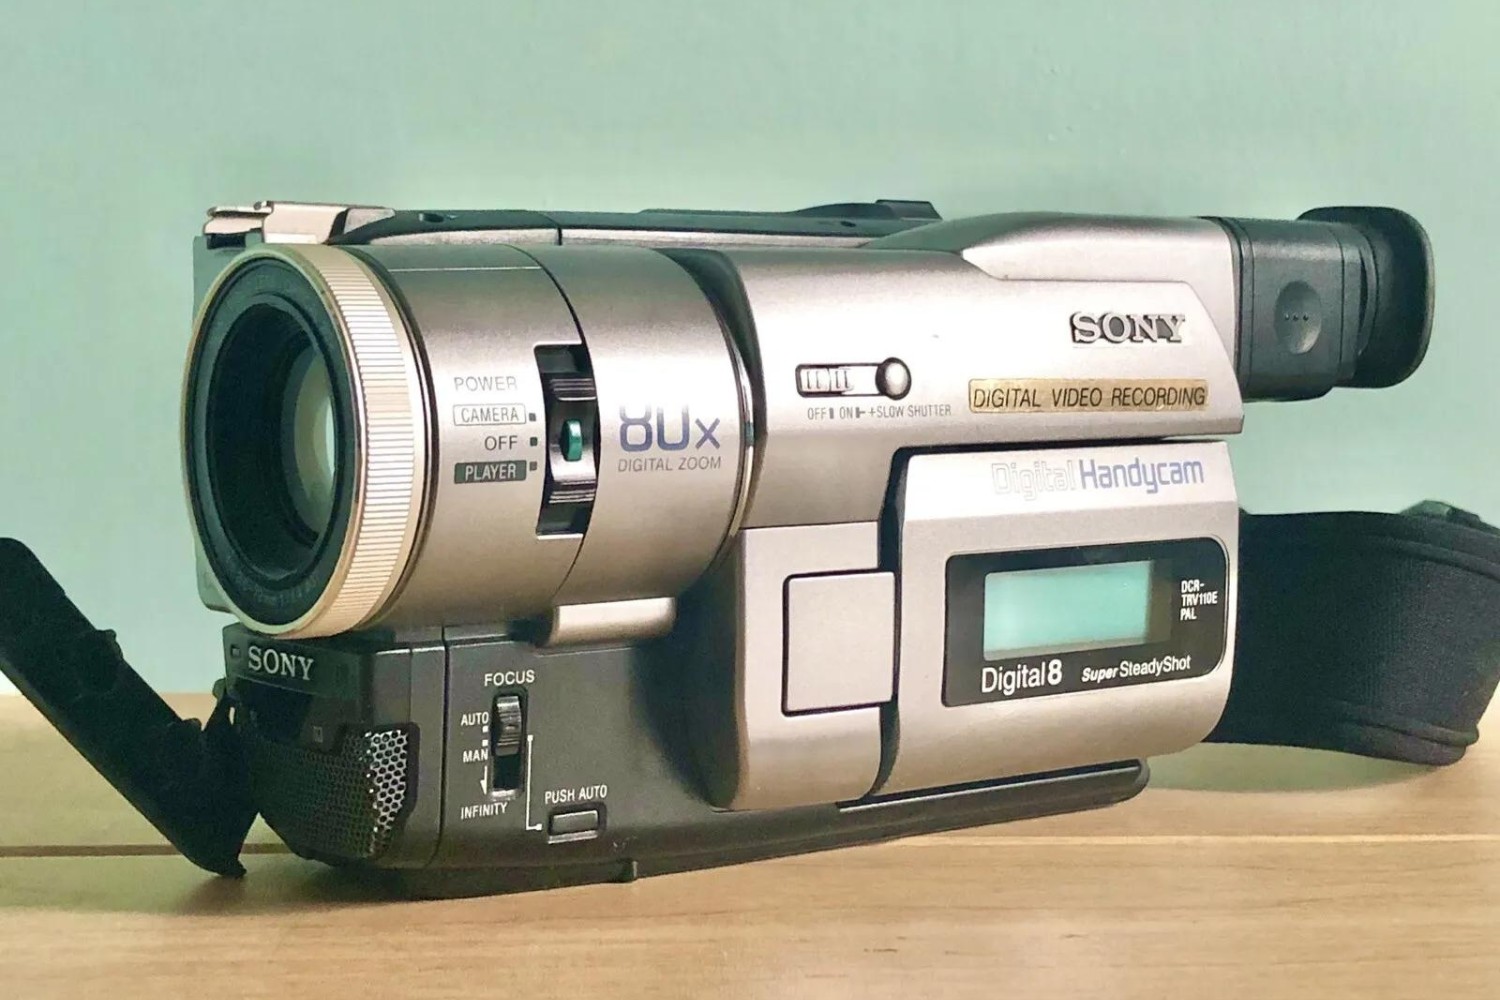
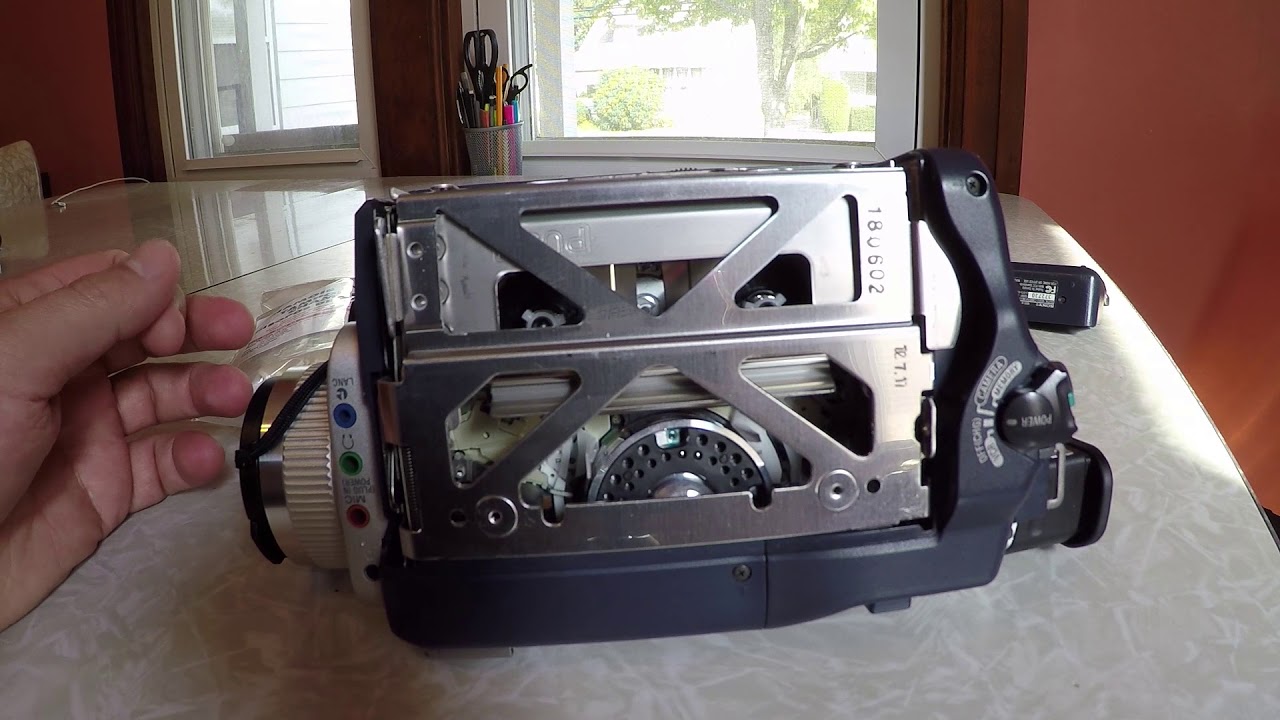
- 8mm Camcorder: The cornerstone of your playback and digitization process is, of course, the 8mm camcorder itself. If you still have a functional camcorder that supports Video8 or Hi8 tapes, you're in luck. However, if your original camcorder is no longer operational, or if you don't have one, you may need to acquire a compatible camcorder through online marketplaces or specialty stores.
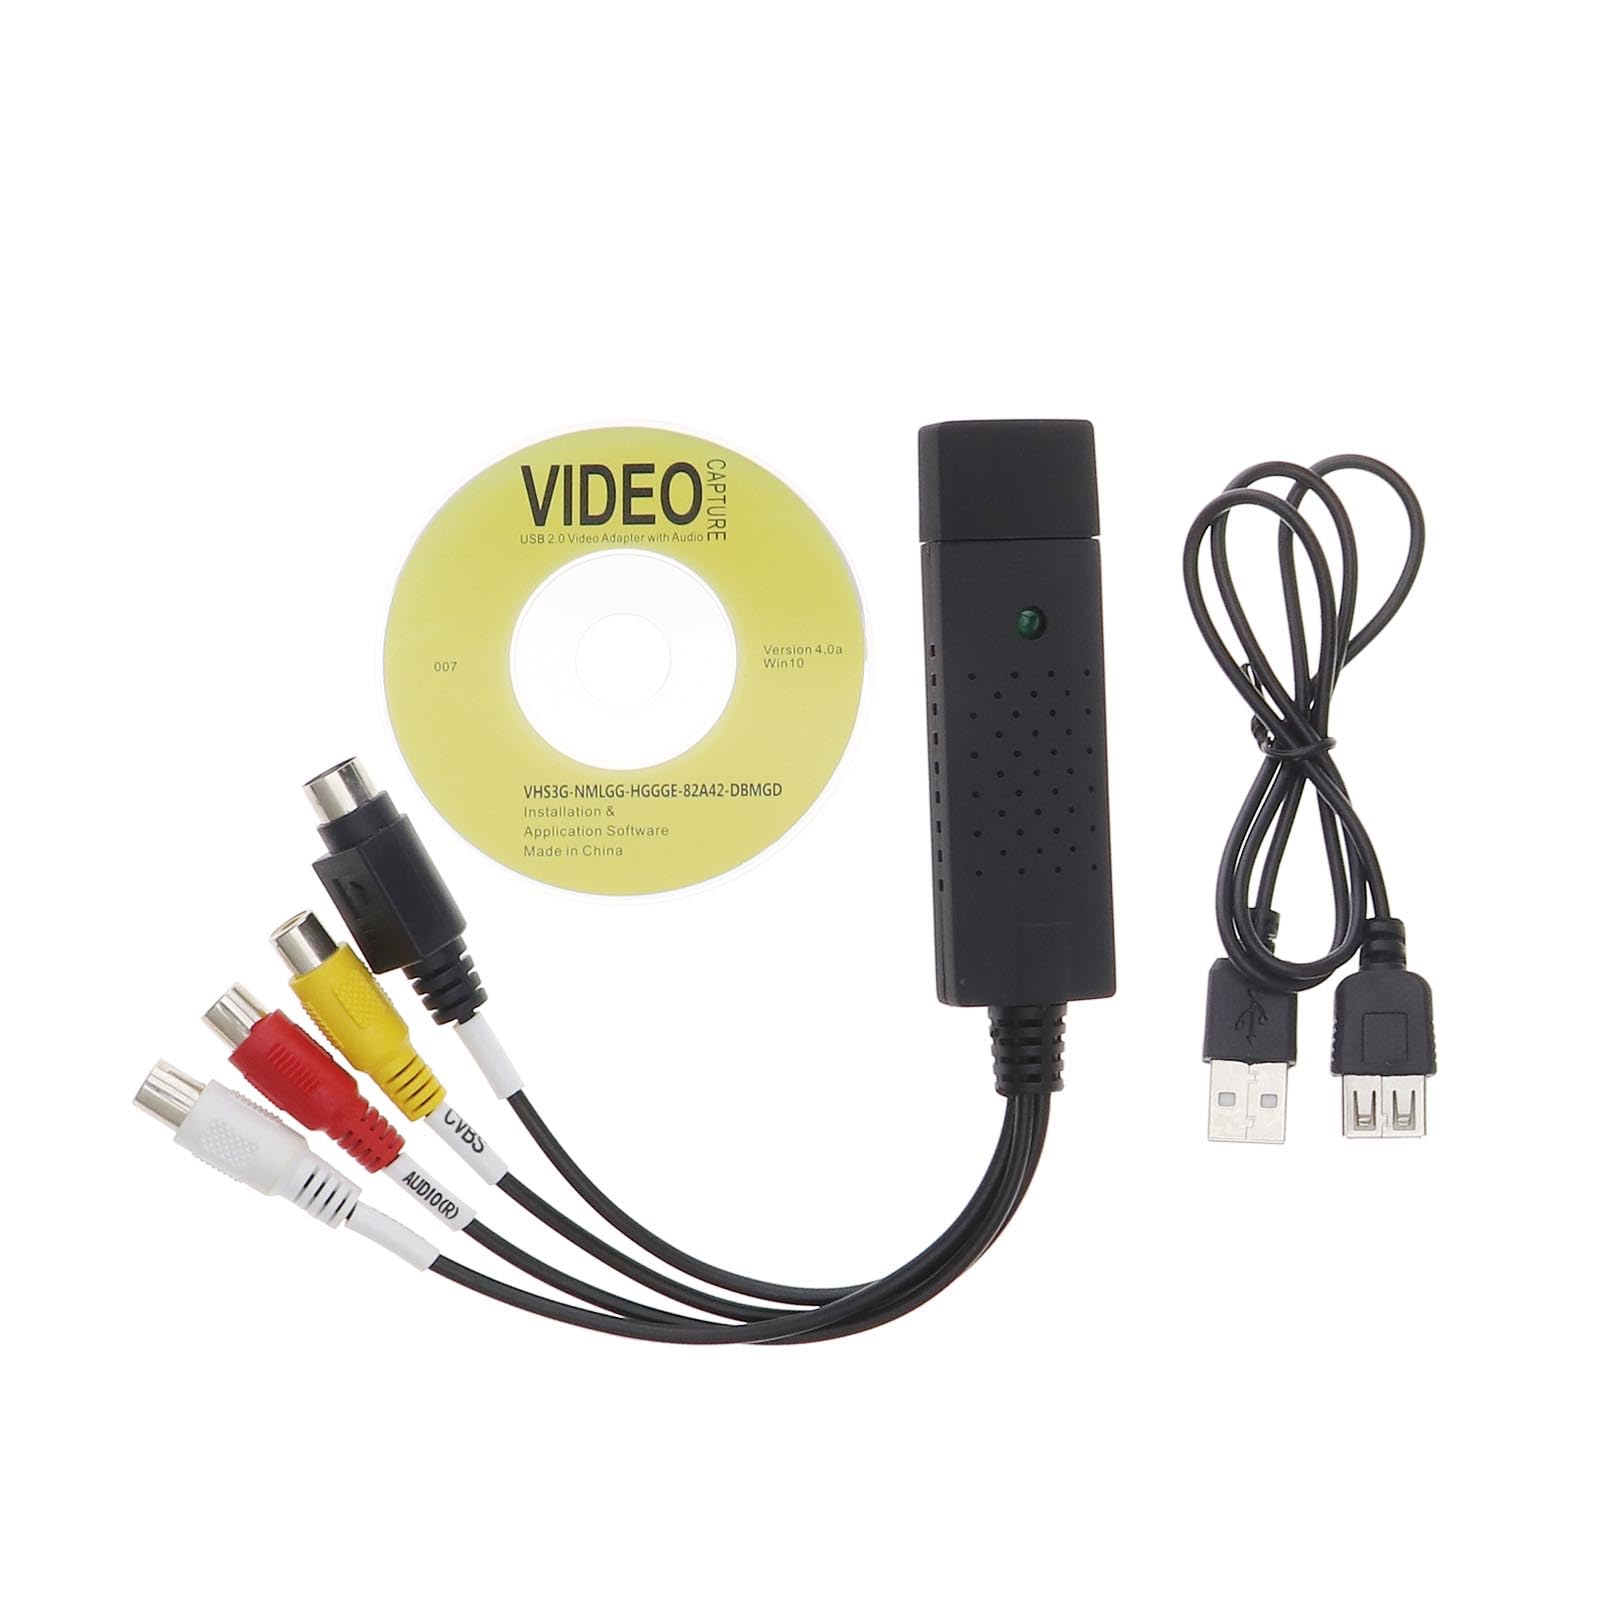
- Video Capture Device: To transfer your 8mm tapes to a digital format, you'll require a video capture device that connects your camcorder to a computer. This device acts as a bridge between the analog output of the camcorder and the digital input of your computer, allowing you to capture and save the footage in a digital file format.
- Computer or Television: Depending on your preferences and the equipment at your disposal, you'll need either a computer or a television to facilitate the playback and digitization process. A computer provides the advantage of storing and editing digital files, while a television offers a larger viewing screen for immediate playback.
- Compatible Cables and Adapters: Ensuring that you have the necessary cables and adapters to connect your camcorder to the video capture device and your chosen playback screen is crucial. Depending on the specific model of your camcorder and capture device, you may need RCA cables, S-Video cables, or USB adapters to establish the connections.
When selecting equipment, it's essential to verify compatibility between the various components to ensure seamless integration and optimal performance. Additionally, consider the quality of the video capture device, as it directly impacts the fidelity of the digitized footage. Investing in reliable equipment will not only streamline the digitization process but also yield superior results, preserving the essence and clarity of your original recordings.
By carefully choosing the right equipment, you'll set the stage for a smooth and successful journey in playing and preserving your 8mm camcorder tapes, paving the way for a seamless transition from analog nostalgia to digital preservation.
Connecting Your Camcorder to a TV or Computer
Once you have the necessary equipment in place, the next step in the process of playing and preserving your 8mm camcorder tapes involves establishing the connections between your camcorder and a playback device, such as a TV or computer. This pivotal step requires attention to detail and the use of compatible cables and adapters to ensure a seamless transfer of analog signals to a digital interface.
Here's a step-by-step guide to connecting your camcorder to a TV or computer:
- Assess Your Camcorder Outputs: Begin by identifying the output ports on your 8mm camcorder. Common output options include RCA composite video output, S-Video output, and audio output ports. Understanding the available outputs will dictate the type of cables and adapters you'll need for the connection.
- Choose the Right Cables and Adapters: Based on the output ports of your camcorder, select the appropriate cables and adapters to establish the connection. For RCA composite video output, use RCA cables with yellow, white, and red connectors. If your camcorder features an S-Video output, opt for an S-Video cable for enhanced video quality. Additionally, ensure you have the necessary audio cables for sound transmission.
- Connect to a TV: If you prefer to view your 8mm tapes on a television screen, connect the chosen cables from your camcorder to the corresponding input ports on the TV. Most modern televisions feature composite or HDMI input ports, accommodating analog and digital connections. Once connected, set your TV to the appropriate input source to view the playback.
- Connect to a Computer: To transfer your 8mm tapes to a digital format, connect your camcorder to a video capture device, which is then linked to your computer. Utilize the compatible cables and adapters to establish the connections, ensuring that the video capture device is recognized by your computer. Once connected, follow the software instructions for capturing and saving the analog footage as digital files on your computer.
By meticulously following these steps and ensuring secure connections, you'll seamlessly bridge the analog world of 8mm camcorder tapes with the digital realm of modern playback devices. Whether you choose to relive your memories on a television screen or embark on the digitization journey through your computer, the process of connecting your camcorder to a TV or computer marks a crucial phase in the preservation of your cherished recordings.
Transferring Your 8mm Tapes to Digital Format
As technology continues to evolve, the transition from analog to digital media has become increasingly prevalent, offering enhanced accessibility and longevity for cherished recordings. When it comes to your 8mm camcorder tapes, transferring them to a digital format ensures that your precious memories are preserved in a modern and sustainable medium. This process involves digitizing the analog footage from your tapes and saving it as digital files on your computer, allowing for convenient storage, sharing, and long-term preservation.
Here are the essential steps to transfer your 8mm tapes to a digital format:
- Prepare Your Camcorder and Playback Device: Ensure that your 8mm camcorder is in working condition and properly connected to a playback device, such as a TV or computer, as outlined in the previous section. Verify that the analog playback is clear and stable before initiating the digitization process.
- Set Up Your Video Capture Device: If you are using a video capture device to transfer the analog footage to your computer, launch the appropriate software and configure the settings for capturing the incoming video and audio signals. Adjust the recording quality and file format settings based on your preferences and the capabilities of your capture device.
- Begin Capturing the Footage: Start playing the 8mm tape on your camcorder and initiate the recording process on your computer through the video capture software. Monitor the playback to ensure that the digitized footage is being captured accurately and without any visual or audio distortions. Allow the entire tape to play through to capture the complete recording.
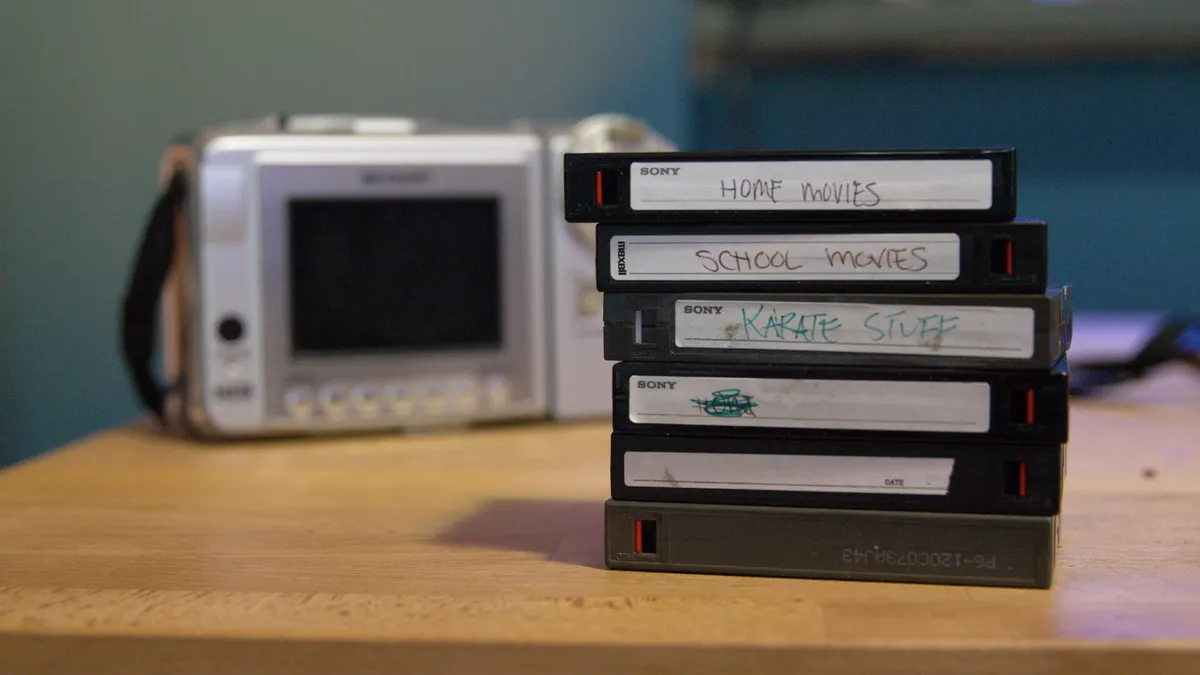
- Save and Organize the Digital Files: Once the digitization process is complete, save the captured footage as digital files on your computer. Organize the files into appropriately labeled folders, categorizing them based on the content of the recordings. Consider creating backup copies of the digital files to safeguard against data loss or corruption.
By following these steps, you can seamlessly transition your analog 8mm tapes to a digital format, unlocking a new realm of possibilities for enjoying and preserving your cherished memories. Whether you choose to share the digitized footage with loved ones, edit the recordings into cohesive montages, or simply safeguard them for future generations, the process of transferring your 8mm tapes to a digital format empowers you to embrace the timeless essence of your original recordings in a modern context.
Storing and Preserving Your 8mm Tapes
Once you’ve successfully transferred your 8mm camcorder tapes to a digital format, it’s essential to prioritize the storage and preservation of the original tapes to maintain their longevity and safeguard the irreplaceable memories they hold. Proper storage practices can mitigate the risk of degradation and ensure that the physical tapes remain intact for years to come.
Consider the following guidelines for storing and preserving your 8mm tapes:
- Optimal Storage Conditions: Store your 8mm tapes in a cool, dry environment away from direct sunlight and extreme temperatures. Excessive heat and humidity can accelerate the degradation of the magnetic tape and the protective casing, potentially leading to irreversible damage. A stable and moderate climate is ideal for preserving the integrity of the tapes.
- Vertical Storage Orientation: Store the tapes vertically, similar to books on a shelf, to minimize pressure on the spools and prevent warping or distortion of the tape. This orientation reduces the risk of tape slacking and facilitates easy access for retrieval without causing unnecessary strain on the internal components of the cassette.
- Protective Cases and Enclosures: Place your 8mm tapes in protective cases or enclosures specifically designed for analog media storage. These cases shield the tapes from dust, moisture, and physical damage, serving as a crucial barrier against environmental elements that could compromise the structural integrity of the tapes.
- Regular Inspection and Maintenance: Periodically inspect your stored 8mm tapes for any signs of deterioration, such as mold growth, discoloration, or warping. If any issues are detected, take immediate steps to address them, including cleaning the tape heads of your camcorder and transferring the content to a digital format if degradation is evident.
By adhering to these storage and preservation practices, you can prolong the lifespan of your original 8mm camcorder tapes, ensuring that the memories they encapsulate remain intact and accessible for future generations. The combination of digital preservation and thoughtful physical storage represents a comprehensive approach to safeguarding the legacy of your cherished recordings, perpetuating their significance in the tapestry of your personal history.