Introduction
Welcome to the world of 8mm camcorders, where vintage technology meets timeless memories. These compact and reliable devices have been capturing life's precious moments for decades, and their ability to record and preserve memories is unparalleled. However, like any mechanical equipment, 8mm camcorders require regular maintenance to ensure optimal performance.
In this comprehensive guide, we will delve into the essential steps for cleaning 8mm camcorder heads, a crucial aspect of maintenance often overlooked by users. By understanding the intricate workings of these devices and learning the proper cleaning techniques, you can prolong the lifespan of your camcorder and continue to create lasting memories for years to come.
Whether you are a seasoned enthusiast or a newcomer to the world of 8mm camcorders, this guide will equip you with the knowledge and skills needed to maintain your equipment and preserve its functionality. From understanding the components of 8mm camcorder heads to gathering the necessary tools and executing the cleaning process with precision, this article will serve as your comprehensive resource for keeping your camcorder in optimal condition.
So, grab your cleaning supplies and let's embark on a journey to ensure that your 8mm camcorder continues to capture life's most cherished moments with clarity and precision. Let's dive into the world of 8mm camcorder maintenance and uncover the secrets to keeping your beloved device in top-notch condition.
Understanding 8mm Camcorder Heads
Before delving into the cleaning process, it’s essential to grasp the significance of the 8mm camcorder heads within the device’s mechanism. The heads play a pivotal role in capturing and recording video footage, making them a critical component of the camcorder’s functionality.
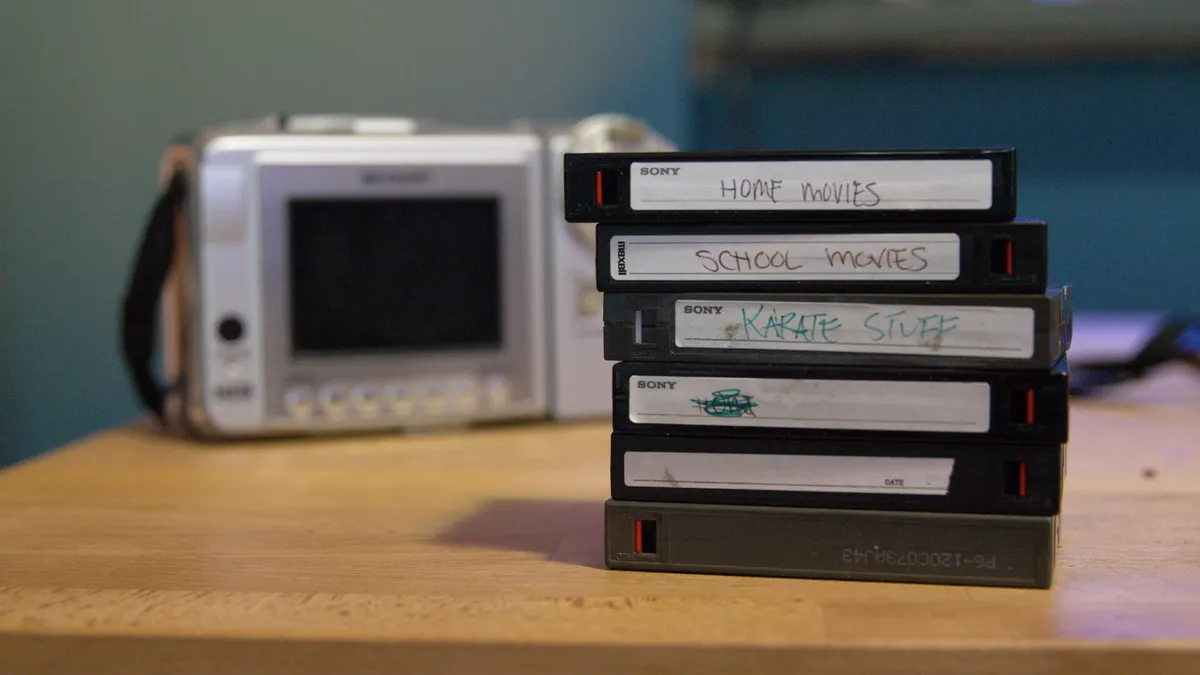
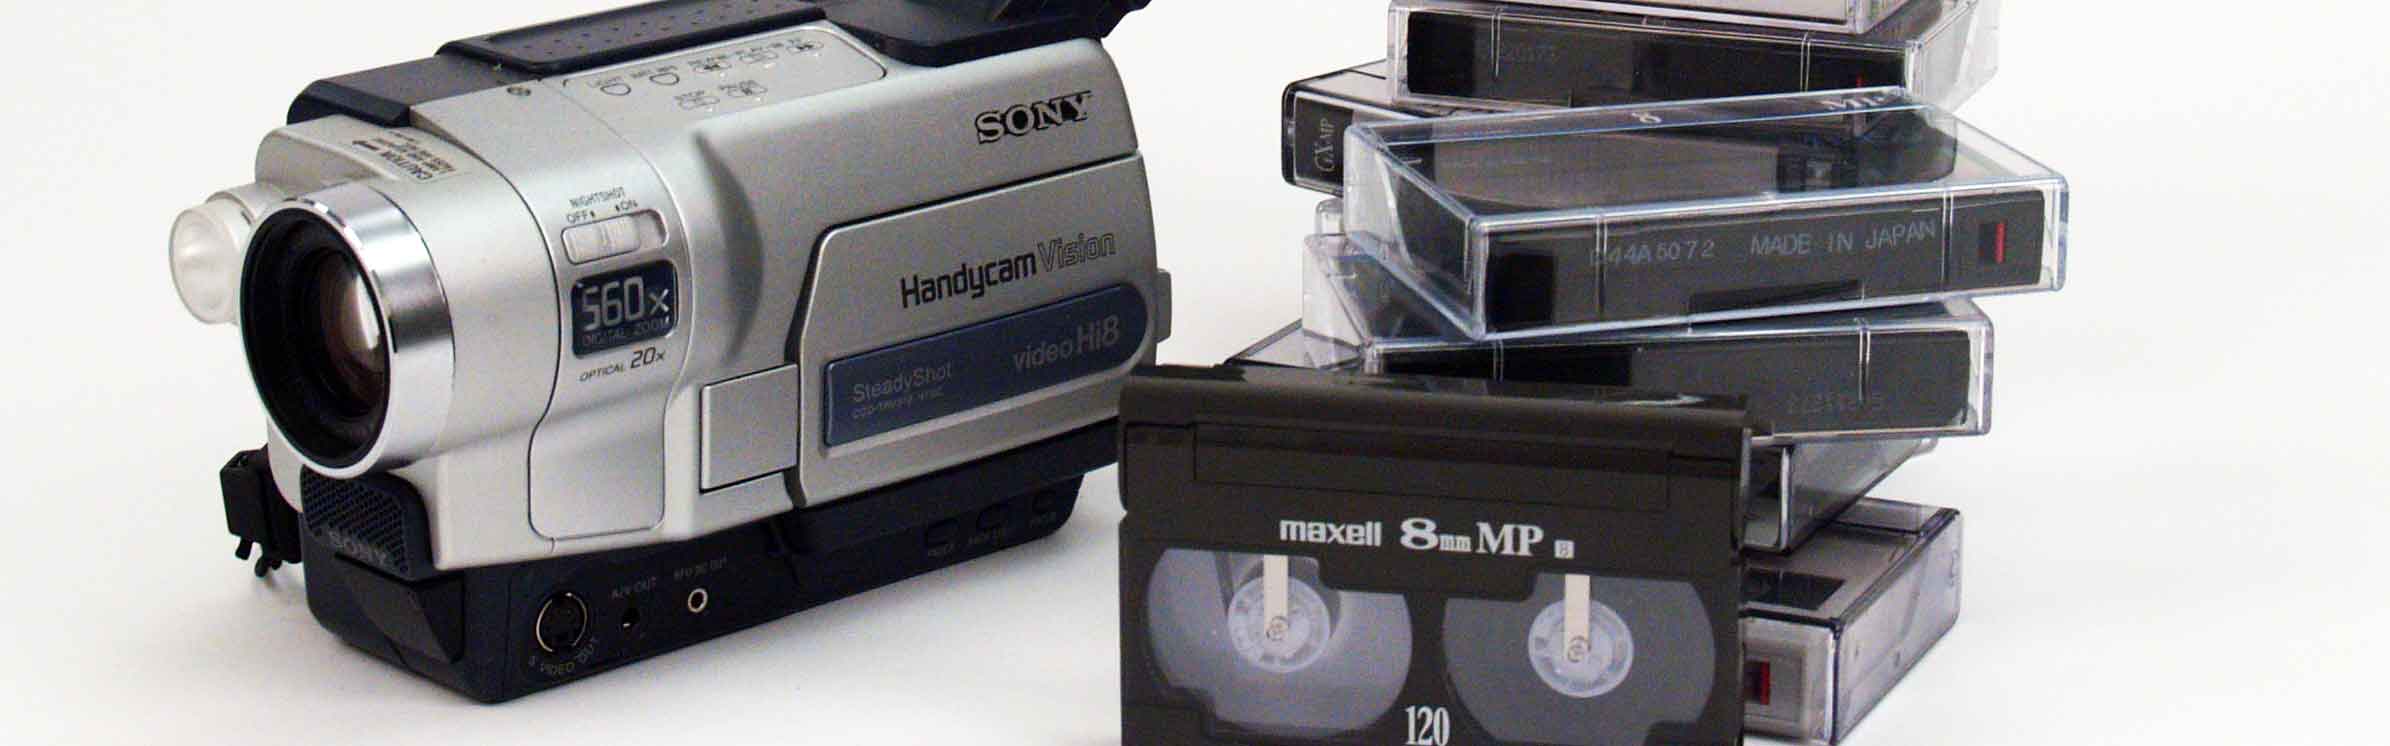
8mm camcorders utilize magnetic tape to record videos, and the heads are responsible for reading and writing data onto this tape. These heads consist of small electromagnets that align with the magnetic particles on the tape, enabling the recording and playback of video content. Understanding the intricate nature of these heads is crucial for comprehending the importance of keeping them clean and well-maintained.
Over time, dust, dirt, and debris can accumulate on the heads, leading to diminished recording quality and potential playback issues. This buildup can hinder the proper alignment of the electromagnets with the tape, resulting in distorted or fuzzy video output. Additionally, a dirty head can contribute to premature wear and tear on the tape, impacting its longevity and the overall lifespan of the camcorder.
By recognizing the vital role of the 8mm camcorder heads in the recording process, users can appreciate the necessity of regular maintenance. Keeping these components clean and free from contaminants is essential for preserving the camcorder’s performance and ensuring the integrity of recorded footage.
As we proceed, we will explore the tools and techniques required to effectively clean the 8mm camcorder heads, empowering users to maintain their devices with confidence and precision.
Tools and Materials Needed
Before embarking on the cleaning process, it’s crucial to gather the necessary tools and materials to ensure a thorough and effective maintenance procedure for your 8mm camcorder heads. Here’s a comprehensive list of items you’ll need:
- Cleaning Solution: Utilize a high-quality cleaning solution specifically designed for camcorder heads. Avoid using abrasive or alcohol-based solutions, as these can damage the delicate components of the camcorder.
- Cleaning Swabs: Opt for lint-free and non-abrasive cleaning swabs to delicately clean the camcorder heads without leaving behind any residue or fibers.
- Camcorder Head Cleaning Tape: Invest in a reputable camcorder head cleaning tape, designed to effectively remove debris and contaminants from the heads without causing damage.
- Canned Air: A can of compressed air can be used to gently remove loose particles and dust from the camcorder heads and surrounding areas.
- Cotton Swabs: Soft and non-abrasive cotton swabs can be employed for detailed cleaning in areas that require precision and care.
- Lint-Free Cloth: A lint-free cloth is essential for wiping down external surfaces of the camcorder and ensuring a clean and polished finish after the maintenance process.
- Work Area: Set up a well-lit and clean work area to perform the maintenance procedure, minimizing the risk of introducing additional debris to the camcorder.
By assembling these tools and materials, you’ll be equipped to execute the cleaning process with precision and care, safeguarding the integrity of your 8mm camcorder and ensuring optimal performance for future recordings.
Preparing the Camcorder for Cleaning
Prior to initiating the cleaning process, it’s essential to prepare the 8mm camcorder to ensure a smooth and effective maintenance procedure. Follow these steps to adequately prepare the device for cleaning:
- Power Off and Eject the Tape: Turn off the camcorder and eject any tapes to prevent accidental damage or interference during the cleaning process.
- Inspect the Exterior: Carefully examine the exterior of the camcorder for any visible dirt, dust, or debris. Use a lint-free cloth to gently wipe down the outer surfaces and remove any loose particles that may compromise the cleaning process.
- Secure the Work Area: Choose a well-lit and clean workspace to perform the maintenance. Ensure that the area is free from excessive dust and contaminants that could impede the cleaning process.
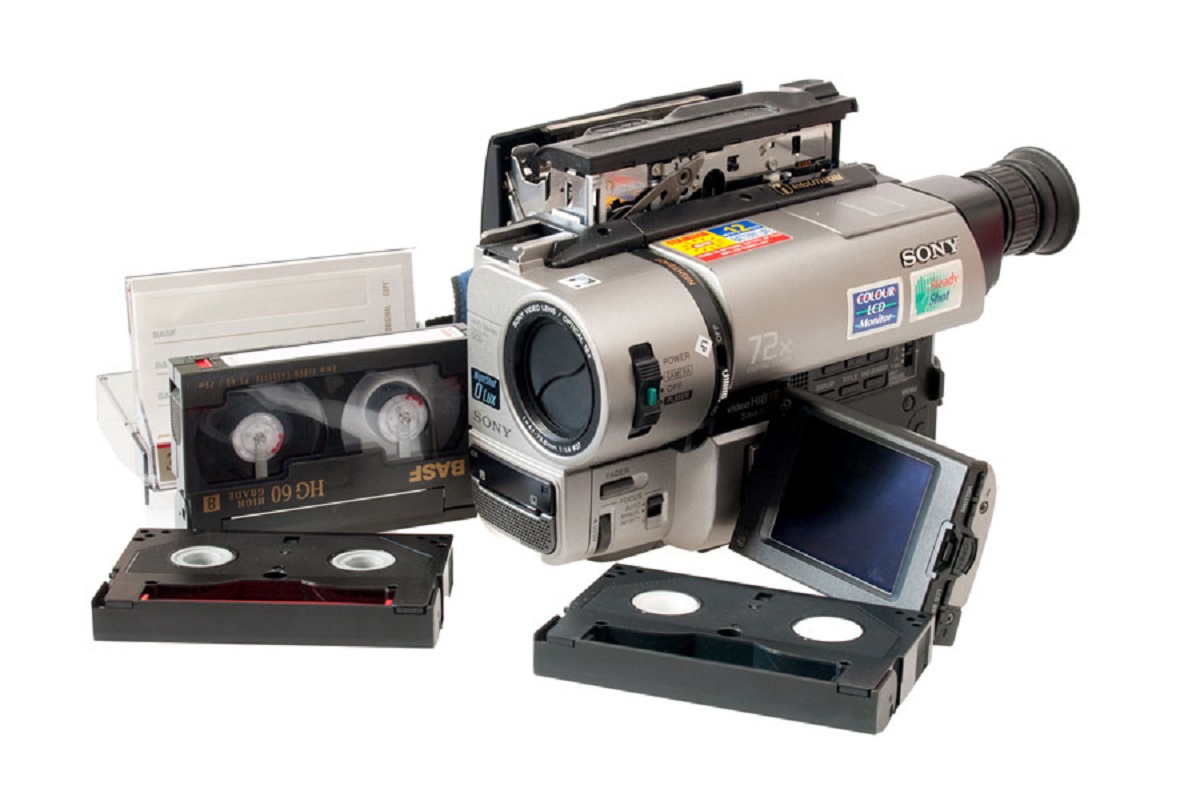
- Access the Camcorder Heads: Depending on the specific model of the 8mm camcorder, access the compartment or mechanism that houses the camcorder heads. Refer to the user manual for detailed instructions on accessing the heads safely and effectively.
- Stabilize the Camcorder: Use a stable surface or tripod to secure the camcorder during the cleaning process, minimizing movement and ensuring steady access to the heads.
- Prepare the Cleaning Tools: Have the cleaning solution, swabs, cleaning tape, canned air, and other necessary tools readily available for quick access during the maintenance procedure.
By meticulously preparing the 8mm camcorder for cleaning, you’ll create an optimal environment for executing the maintenance process with precision and care. These preparatory steps are essential for safeguarding the integrity of the camcorder and maximizing the effectiveness of the cleaning endeavor.
Cleaning the 8mm Camcorder Heads
Now that the camcorder is prepared, it’s time to delve into the meticulous process of cleaning the 8mm camcorder heads. Follow these step-by-step instructions to ensure a thorough and effective cleaning procedure:
- Apply Cleaning Solution: Moisten a cleaning swab with the designated cleaning solution, ensuring it is not overly saturated. Gently apply the swab to the camcorder heads, moving it in a back-and-forth motion to remove any accumulated debris or residue. Exercise caution to avoid excessive pressure on the delicate heads.
- Utilize Cleaning Tape: Insert the camcorder head cleaning tape into the designated slot or mechanism, following the manufacturer’s instructions. Allow the cleaning tape to run for the specified duration, effectively removing contaminants from the heads and ensuring optimal performance.
- Address Stubborn Debris: For persistent debris or residue, employ a fresh cleaning swab lightly moistened with the cleaning solution. Carefully target the affected areas, gently loosening and removing the stubborn contaminants from the camcorder heads.
- Compressed Air Treatment: Use canned air to blow away any loose particles or dust that may have been dislodged during the cleaning process. Maintain a safe distance from the camcorder heads to prevent accidental damage from the force of the compressed air.
- Final Inspection: After completing the cleaning process, visually inspect the camcorder heads to ensure they are free from debris and contaminants. Verify that the heads are clean and devoid of any residual buildup that could compromise recording quality.
By meticulously adhering to these cleaning steps, you can effectively maintain the integrity of the 8mm camcorder heads, ensuring optimal recording quality and prolonged functionality of the device. The meticulous approach to cleaning the camcorder heads is essential for preserving the clarity and precision of recorded footage, allowing you to continue capturing cherished memories with confidence and reliability.
Testing the Camcorder
After completing the meticulous cleaning process, it’s imperative to conduct a comprehensive test of the 8mm camcorder to ensure that the maintenance procedure has effectively restored optimal functionality. Follow these steps to thoroughly test the camcorder:
- Tape Insertion: Carefully insert a blank or test tape into the camcorder, ensuring that it is properly loaded and secured within the tape compartment.
- Recording Test: Initiate a brief recording to assess the clarity and quality of the captured footage. Monitor the playback screen or viewfinder to evaluate the visual and audio output for any signs of distortion or irregularities.
- Playback Examination: Review the recorded footage by playing it back on the camcorder or connecting the device to an external display. Assess the playback quality, ensuring that the video and audio are clear, free from artifacts, and devoid of any anomalies that may indicate lingering issues with the camcorder heads.
- Head Alignment Check: If the camcorder features adjustable head alignment settings, verify that the heads are properly aligned to optimize recording and playback performance. Refer to the user manual for guidance on adjusting head alignment if necessary.
- Extended Testing: Conduct an extended recording and playback session to assess the camcorder’s sustained performance. Capture various scenes and audio scenarios to thoroughly test the device’s functionality across different recording conditions.
By meticulously evaluating the camcorder’s performance through these testing procedures, you can ascertain the effectiveness of the cleaning process and identify any residual issues that may require further attention. The comprehensive testing phase is essential for confirming that the 8mm camcorder is fully restored to its optimal state, ready to continue capturing life’s precious moments with clarity and precision.
Additional Tips for Maintenance
While cleaning the 8mm camcorder heads is a crucial aspect of maintenance, there are additional tips and practices that can contribute to the longevity and optimal performance of your beloved device. Consider the following recommendations to enhance the overall maintenance of your 8mm camcorder:
- Regular Cleaning Schedule: Establish a routine cleaning schedule for the camcorder heads, especially if the device is frequently used or operates in dusty environments. Consistent maintenance can prevent the accumulation of stubborn debris and ensure continuous recording quality.
- Storage Considerations: Store the 8mm camcorder in a protective case or cover when not in use to shield it from dust, moisture, and other environmental factors that could compromise its functionality. Proper storage can significantly extend the lifespan of the device.
- Professional Servicing: Periodically consider professional servicing and maintenance for your 8mm camcorder. Expert technicians can conduct comprehensive inspections, cleaning, and adjustments to address intricate internal components and ensure the device’s longevity.
- Environmental Awareness: Be mindful of the recording environment and avoid exposing the camcorder to excessive dust, humidity, or extreme temperatures. Operating the device in favorable conditions can mitigate the risk of internal contamination and mechanical stress.
- Use High-Quality Tapes: Invest in high-quality recording tapes designed for 8mm camcorders. Superior tapes can minimize residue buildup on the heads and contribute to consistently clear and reliable recordings.
- Regular Playback: Periodically play back previously recorded tapes to ensure that the playback quality remains consistent. This practice can reveal any potential issues with the camcorder heads and prompt timely maintenance.
By integrating these additional maintenance tips into your care regimen, you can fortify the resilience and performance of your 8mm camcorder, preserving its ability to capture cherished memories with uncompromised clarity and precision. Embracing a holistic approach to maintenance will empower you to derive enduring enjoyment from your timeless recording device.
Conclusion
Congratulations on successfully navigating the intricate process of cleaning and maintaining the 8mm camcorder heads. By embracing the meticulous techniques outlined in this guide, you have taken a proactive step towards preserving the functionality and recording quality of your cherished device. The comprehensive understanding of 8mm camcorder heads, coupled with the strategic use of cleaning tools and materials, has empowered you to safeguard the integrity of your camcorder and continue capturing life’s precious moments with clarity and precision.
As you embark on your journey of 8mm camcorder maintenance, remember that regular care and attention are essential for ensuring sustained performance and longevity. By adhering to a consistent cleaning schedule, implementing additional maintenance tips, and staying attuned to the needs of your device, you can cultivate a lasting and rewarding relationship with your 8mm camcorder.
Furthermore, the testing phase serves as a crucial checkpoint to verify the efficacy of the cleaning process and confirm that the camcorder is primed for continued use. Through meticulous testing and observation, you can identify any residual issues and address them proactively, ensuring that your device is fully optimized for future recording endeavors.
As you integrate these maintenance practices into your routine, remember that the care and attention you invest in your 8mm camcorder will yield enduring benefits, allowing you to relive and preserve cherished memories with unparalleled clarity and fidelity. Embrace the art of maintenance as a testament to your dedication to preserving the timeless legacy of the 8mm camcorder, and may your continued recordings be imbued with the enduring essence of authenticity and nostalgia.