Introduction
Are you holding onto precious memories captured on 8mm camcorder tapes? Perhaps it's time to preserve those moments by transferring them to a more durable and accessible format. Converting your 8mm camcorder tapes to DVD not only safeguards your memories from the inevitable degradation of magnetic tapes but also allows for easy sharing and viewing on modern devices. In this guide, we'll walk you through the process of transferring your 8mm camcorder tapes to DVD, ensuring that you can relive those cherished moments for years to come.
Whether it's a family vacation, a child's first steps, or a milestone celebration, the footage on your 8mm camcorder tapes holds immense sentimental value. However, the fragility of magnetic tapes means that these memories are at risk of being lost to time. By transferring them to DVD, you can safeguard them against degradation and ensure that future generations can experience the joy and nostalgia captured in these recordings.
As we embark on this journey to preserve your precious memories, it's important to gather the necessary equipment and familiarize ourselves with the process of setting up your 8mm camcorder and connecting it to a DVD recorder. With the right tools and a clear understanding of the process, you can seamlessly transfer your footage to DVD, allowing you to revisit those treasured moments whenever you desire.
Join us as we delve into the steps required to transfer your 8mm camcorder tapes to DVD, from setting up your equipment to finalizing and testing the DVD. Let's embark on this rewarding endeavor to safeguard your memories and ensure that they remain a vibrant part of your family's legacy.
Gathering the Necessary Equipment
Before embarking on the process of transferring your 8mm camcorder tapes to DVD, it’s essential to ensure that you have the requisite equipment at your disposal. Gathering the necessary tools will not only streamline the transfer process but also guarantee the quality and longevity of the resulting DVD.
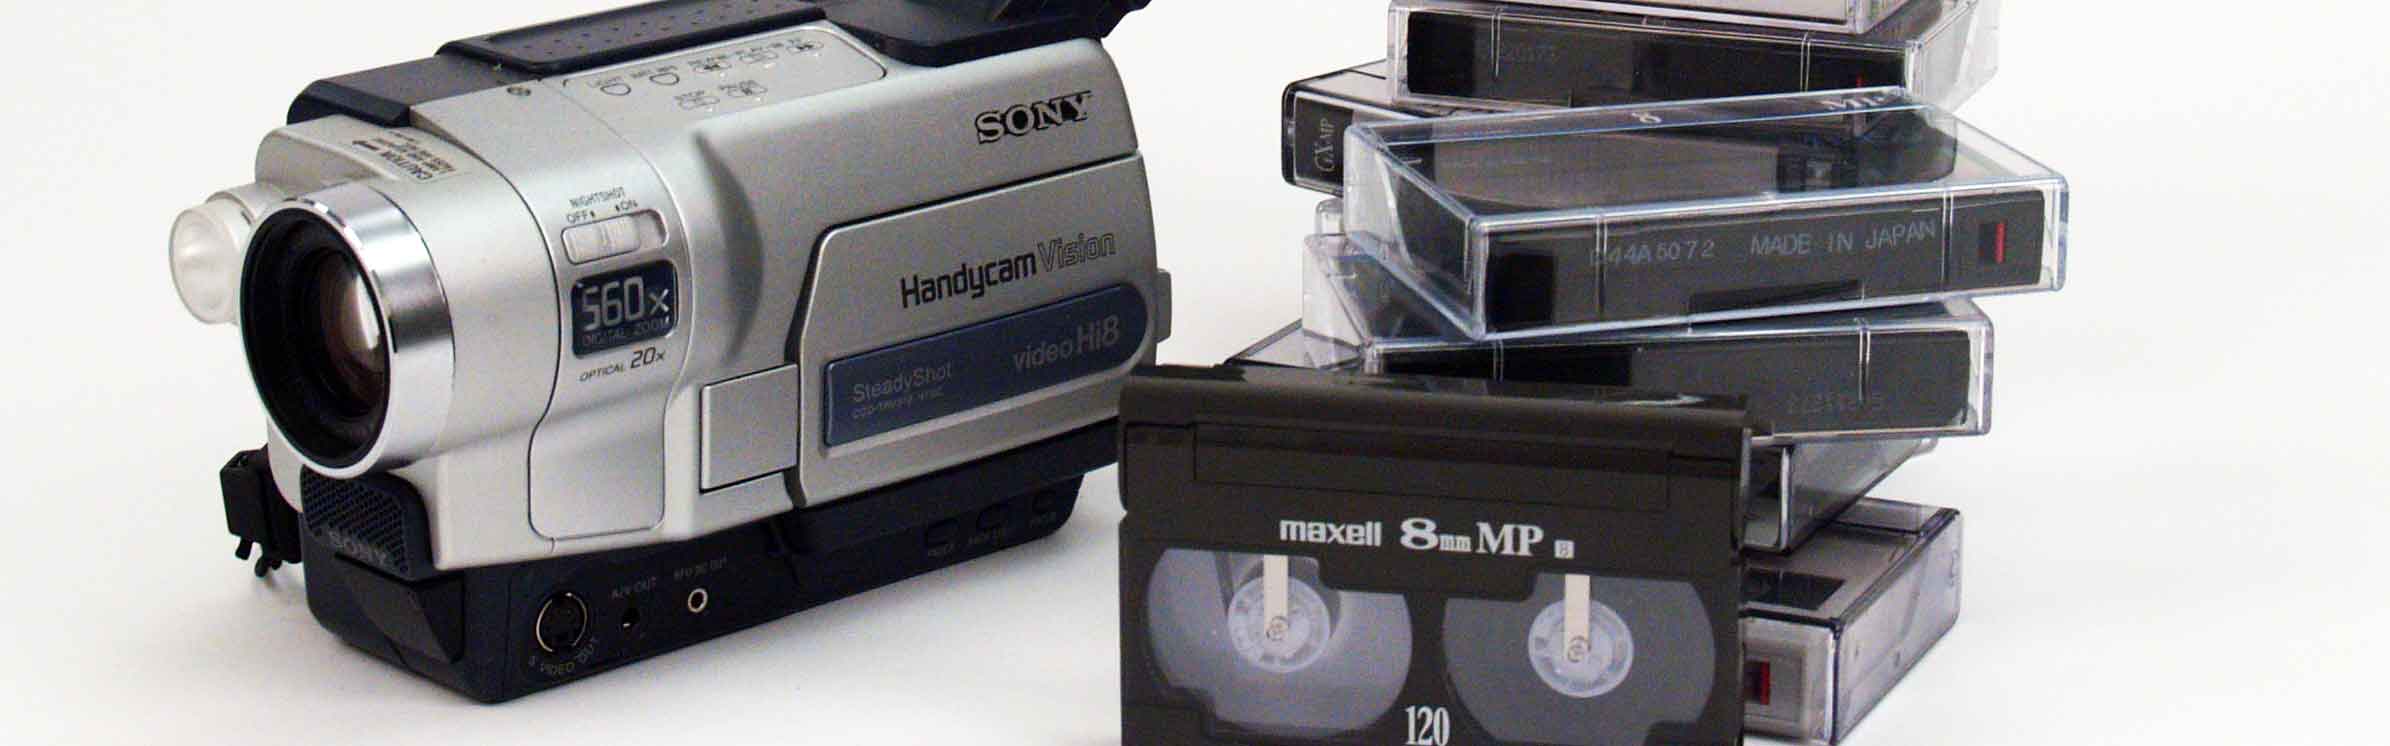
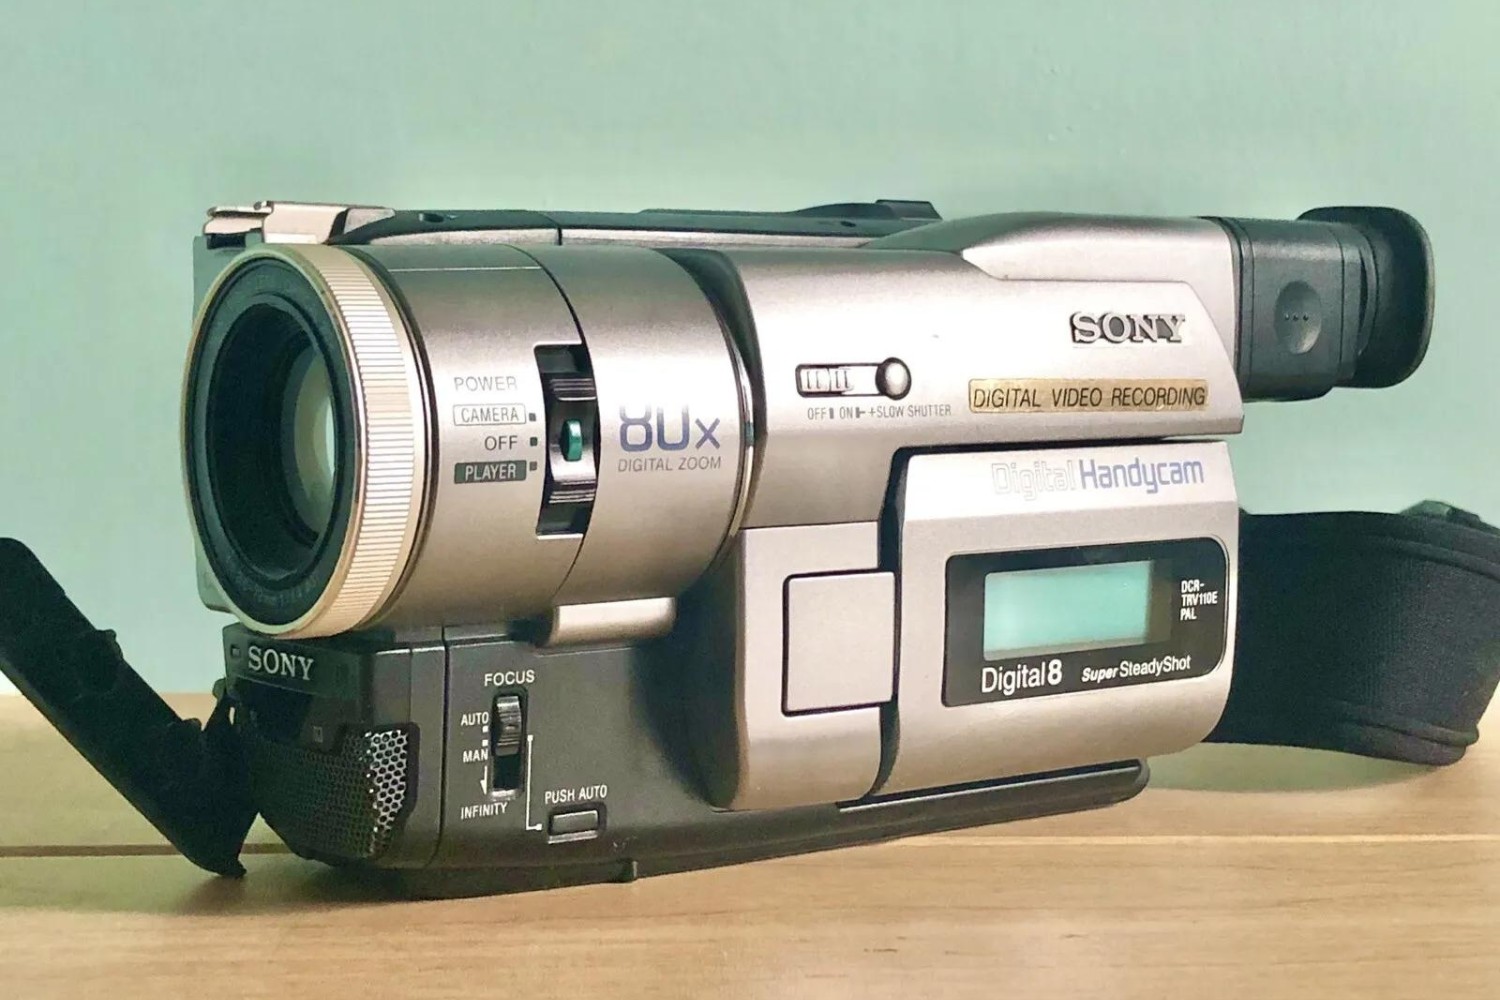
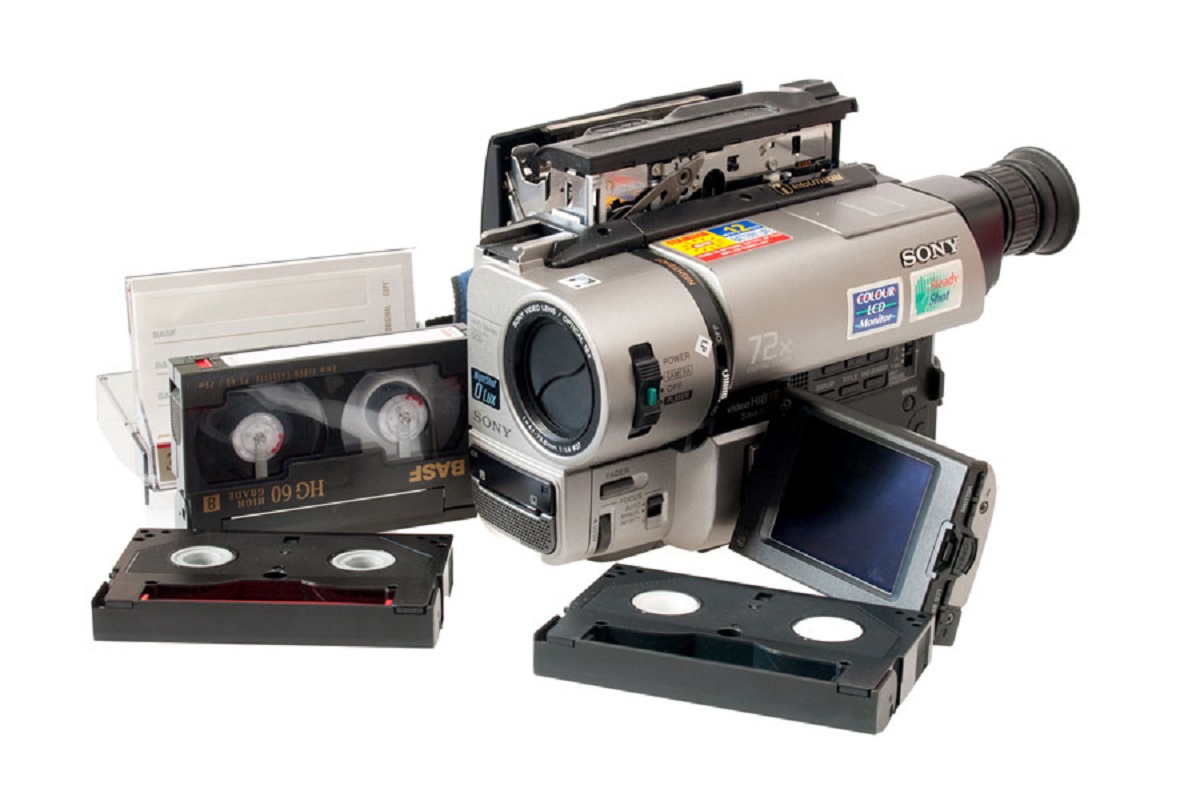
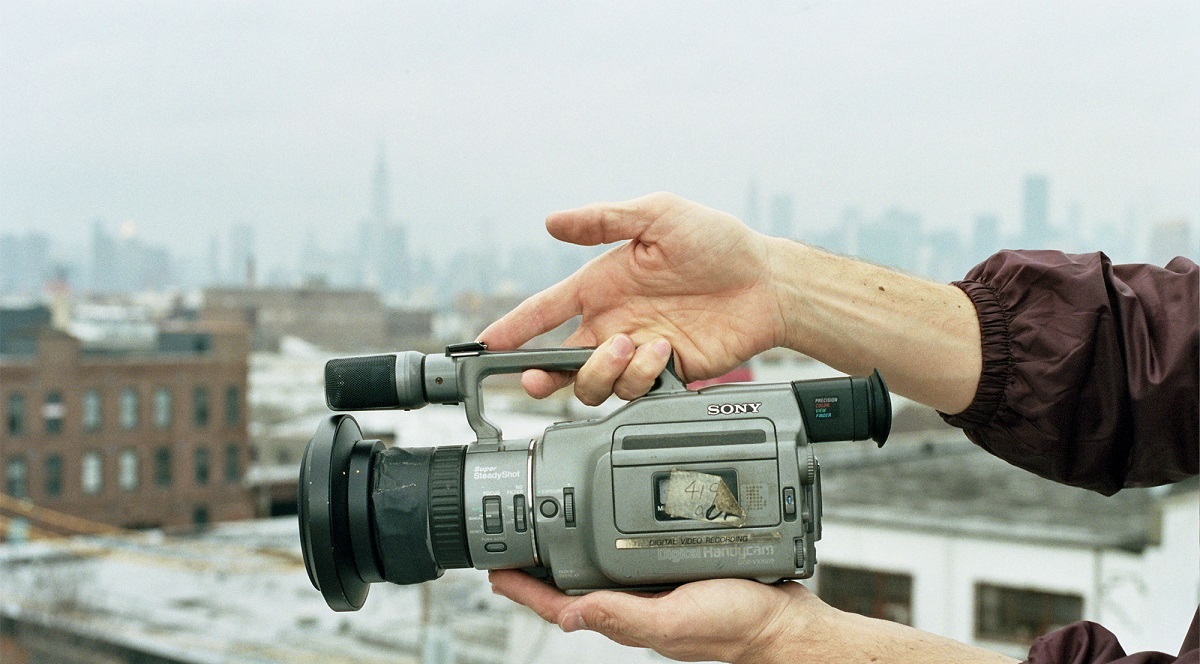
1. 8mm Camcorder: The heart of this operation is, of course, the 8mm camcorder that houses your cherished recordings. Ensure that the camcorder is in good working condition, as this will directly impact the quality of the transferred footage. If the camcorder has been dormant for an extended period, consider having it professionally serviced to address any potential issues.
2. DVD Recorder: To convert your 8mm camcorder tapes to DVD, you’ll need a DVD recorder. This device allows you to capture the footage from your camcorder and write it onto a blank DVD. Opt for a reliable DVD recorder with the necessary input connections to interface with your 8mm camcorder.
3. Blank DVDs: Stock up on high-quality blank DVDs to store your transferred footage. Look for reputable brands that offer reliable performance and longevity. Ensure that the DVDs are compatible with your DVD recorder to avoid any compatibility issues during the transfer process.
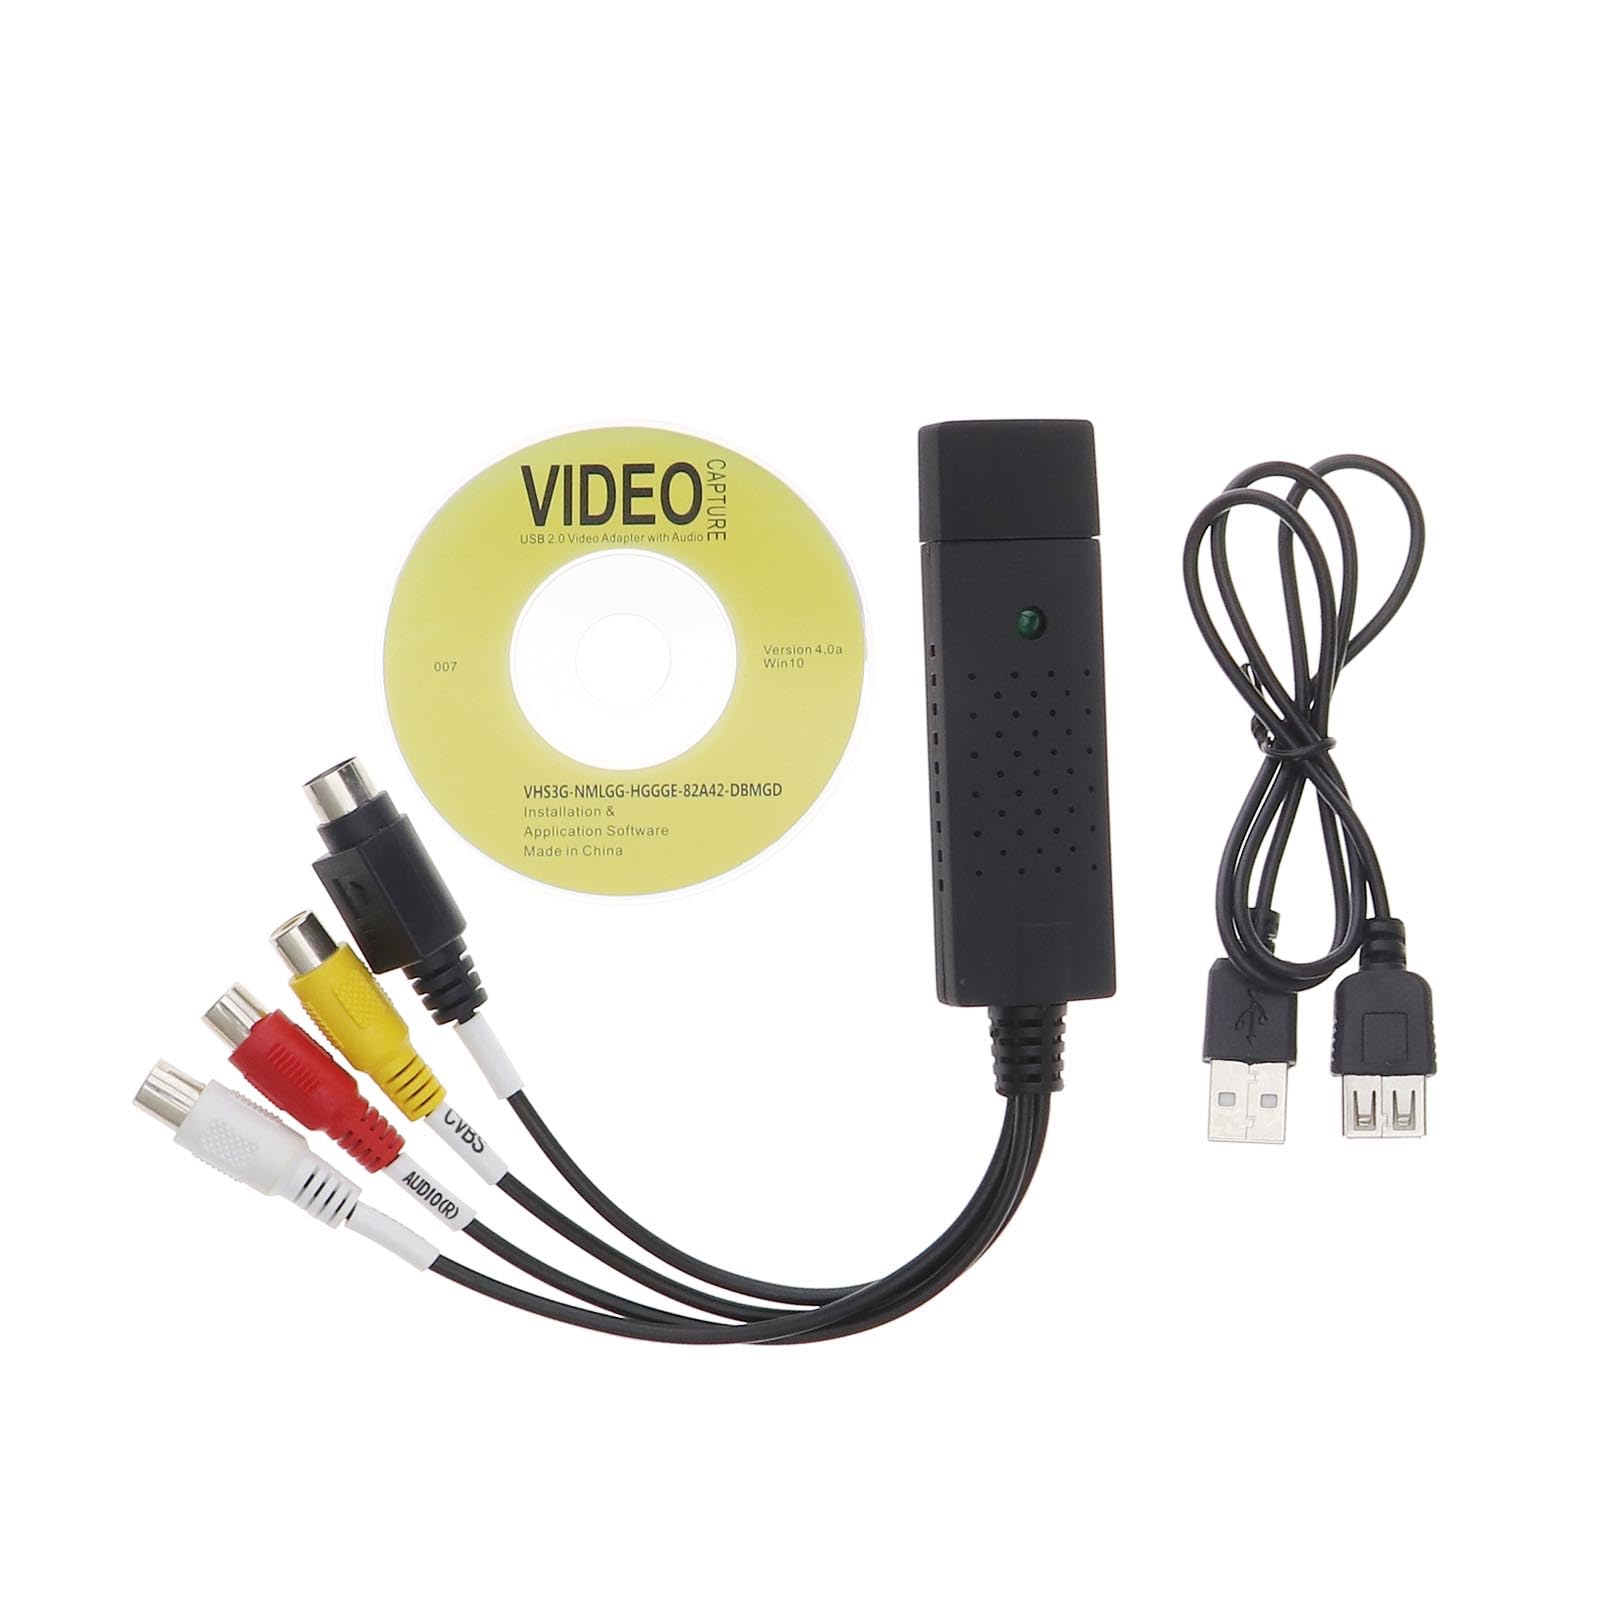
4. Audio-Video Cables: Depending on the specific connections supported by your 8mm camcorder and DVD recorder, you may need audio-video cables to establish the link between the two devices. Verify the input and output ports on both devices and procure the appropriate cables to facilitate seamless connectivity.
5. Cleaning Supplies: Given the age of 8mm camcorder tapes, it’s advisable to have cleaning supplies on hand to ensure optimal playback and transfer quality. Invest in a soft, lint-free cloth and a gentle tape head cleaner to remove any accumulated debris or dust from the camcorder’s tape heads.
By assembling the necessary equipment, you’re laying a solid foundation for a successful and efficient transfer process. With the essential tools at your disposal, you’re well-prepared to embark on the journey of preserving your treasured 8mm camcorder footage on durable and accessible DVDs.
Setting Up Your 8mm Camcorder
Before initiating the transfer process, it’s crucial to ensure that your 8mm camcorder is properly set up and ready to playback the desired footage. This step is essential for seamless connectivity with the DVD recorder and optimal playback quality during the transfer.
1. Power and Playback Test: Begin by powering on your 8mm camcorder and conducting a playback test of the tapes you intend to transfer. This allows you to identify any potential issues such as tape degradation, playback malfunctions, or audio-visual distortions. Addressing these issues beforehand will contribute to a smoother transfer process and higher-quality output.
2. Cleaning and Maintenance: Given the age of 8mm camcorder equipment, it’s advisable to perform a thorough cleaning and maintenance routine. Use a soft, lint-free cloth to gently clean the exterior of the camcorder, ensuring that dust and debris are removed from the casing and control buttons. Additionally, consider using a tape head cleaner to maintain optimal playback performance.
3. Connectivity Check: Inspect the output ports on your 8mm camcorder to ascertain the type of audio-video connections supported. Depending on the available options, identify the appropriate cables required to establish a connection with the DVD recorder. This may involve composite, S-video, or other proprietary cables depending on the make and model of your camcorder.
4. Playback Settings: Familiarize yourself with the playback settings and options available on your 8mm camcorder. Adjust the tracking, playback speed, and audio output settings as needed to optimize the playback quality of your tapes. This step ensures that the footage is presented in the best possible condition for the transfer process.
5. Test Recording: Consider conducting a test recording and playback cycle to confirm that the camcorder is functioning as expected. This allows you to identify any last-minute issues and address them before proceeding with the actual transfer of footage to DVD.
By meticulously setting up your 8mm camcorder and ensuring that it is in optimal condition, you’re laying the groundwork for a successful transfer process. This proactive approach not only enhances the quality of the transferred footage but also minimizes the likelihood of technical hitches during the crucial stages of the transfer.
Connecting Your Camcorder to a DVD Recorder
As you embark on the process of transferring your 8mm camcorder tapes to DVD, establishing a seamless connection between your camcorder and DVD recorder is pivotal. This step forms the bridge through which your cherished footage will be transferred and preserved in a more durable format. Let’s delve into the essential steps to connect your 8mm camcorder to a DVD recorder, ensuring a smooth and efficient transfer process.
1. Identify Input and Output Ports: Begin by identifying the input and output ports on both your 8mm camcorder and DVD recorder. Commonly used ports include composite video, S-video, and RCA audio connectors. Understanding the specific ports available on your devices is crucial for selecting the appropriate cables and ensuring compatibility.
2. Selecting the Right Cables: Based on the available input and output ports, select the appropriate audio-video cables to establish a connection between your 8mm camcorder and DVD recorder. Ensure that the cables are of sufficient length to allow flexibility in positioning the devices for optimal connectivity.
3. Establishing the Connection: With the selected cables in hand, carefully connect the video and audio output ports of your 8mm camcorder to the corresponding input ports on the DVD recorder. Exercise caution to ensure a secure and snug fit, minimizing the risk of signal interference or disconnection during the transfer process.
4. Powering On and Testing: Once the physical connection is in place, power on both the 8mm camcorder and DVD recorder. Initiate a test playback of the camcorder footage to confirm that the signal is being transmitted to the DVD recorder without any visual or audio distortions. Adjust the input settings on the DVD recorder as needed to optimize the incoming signal.
5. Playback Monitoring: Throughout the connection and testing process, monitor the playback on the DVD recorder’s display or connected monitor. This allows you to identify any issues with the transferred signal and make real-time adjustments to the connection or playback settings for optimal results.
By carefully connecting your 8mm camcorder to a DVD recorder, you’re creating the conduit through which your cherished memories will be preserved on durable DVDs. This pivotal step sets the stage for the actual transfer of footage and ensures that the connectivity is robust and reliable, paving the way for a successful transfer process.
Transferring the Footage to DVD
With your 8mm camcorder connected to the DVD recorder and the preliminary setup complete, you’re now poised to initiate the transfer of your cherished footage to DVD. This pivotal phase of the process marks the transformation of fragile magnetic tapes into durable and accessible digital media. Let’s explore the essential steps involved in transferring the footage from your 8mm camcorder to DVD, ensuring that your memories are preserved with the utmost care and quality.
1. Initiating the Transfer: Once the connection between your 8mm camcorder and DVD recorder is established, initiate the playback of the desired footage on the camcorder. Ensure that the tapes are in optimal condition and that the playback quality meets your expectations before proceeding with the transfer.
2. Recording Settings: Access the recording settings on your DVD recorder to configure the desired parameters for the transfer. This may include selecting the recording mode, setting the quality level, and specifying any additional preferences such as chapter markers or menu options for the DVD.
3. Commencing the Recording: With the recording settings configured, commence the recording process on the DVD recorder. Monitor the transfer in real time to verify that the footage is being captured accurately and that the audio-visual quality meets your expectations. Keep a close eye on the recording progress to address any anomalies or issues promptly.
4. Managing Multiple Tapes: If you have multiple 8mm camcorder tapes to transfer, ensure that each tape is seamlessly integrated into the recording process. Monitor the transition between tapes to maintain continuity and avoid any disruptions in the transferred footage.
5. Finalizing the Transfer: Upon completion of the transfer process, finalize the DVD on the recorder to ensure that it is compatible with a wide range of DVD players and devices. This step may involve finalizing the disc, creating a menu structure, and adding any necessary metadata or labeling to the DVD.
By meticulously overseeing the transfer of your 8mm camcorder footage to DVD, you’re safeguarding your treasured memories in a format that ensures longevity and accessibility. This transformative process marks the culmination of your efforts to preserve these invaluable recordings and ensures that they can be enjoyed for years to come.
Finalizing and Testing the DVD
As the transfer of your 8mm camcorder footage to DVD nears completion, the crucial steps of finalization and testing come into focus. These pivotal tasks ensure that the transferred footage is seamlessly integrated into a durable and accessible format, ready to be enjoyed on a wide range of devices. Let’s delve into the essential processes of finalizing the DVD and conducting thorough testing to validate the quality and compatibility of the transferred content.
1. Finalization Process: Once the footage has been successfully transferred to the DVD, initiate the finalization process on the DVD recorder. This step is essential for closing the recording session, enabling the DVD to be played on a variety of compatible devices. Finalization may also involve the creation of a menu structure and the inclusion of metadata for easy navigation.
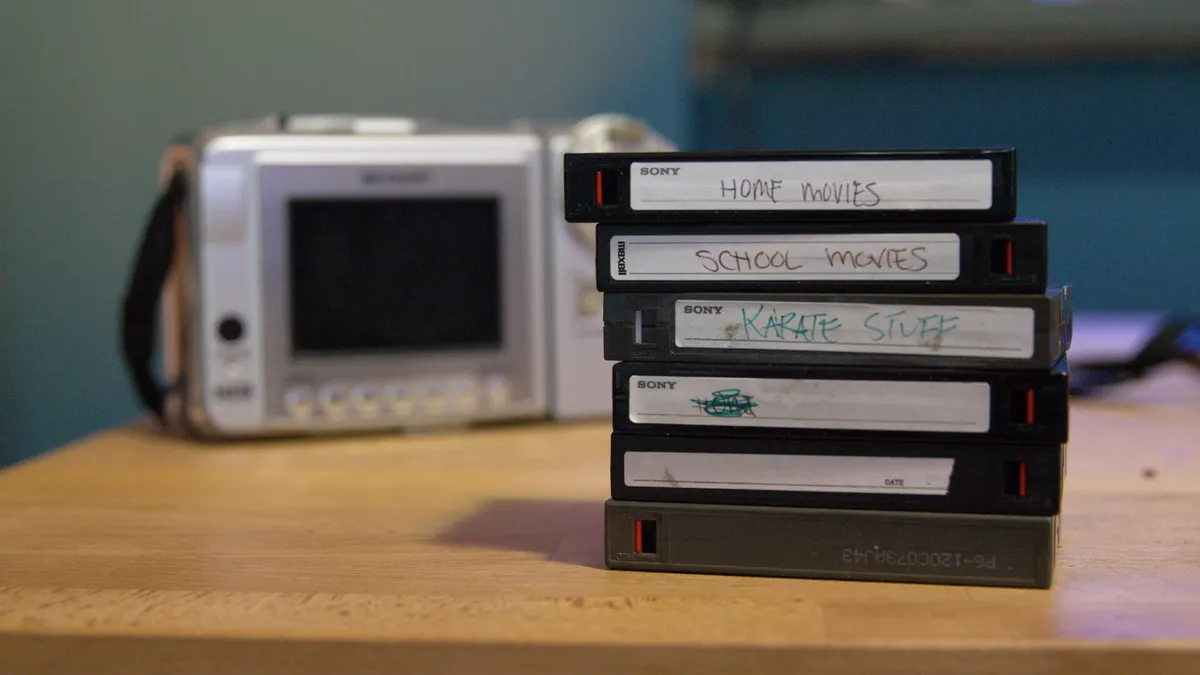
2. Labeling and Archiving: With the DVD finalized, consider labeling the disc with pertinent details such as the date of transfer, the contents of the footage, and any other relevant information. This labeling not only serves as a reference for future use but also contributes to the archival organization of your transferred recordings.
3. Compatibility Testing: After finalizing the DVD, conduct thorough compatibility testing by playing the disc on different DVD players and devices. Verify that the transferred footage plays back seamlessly, with clear audio-visual quality and consistent playback performance across various platforms.
4. Menu Navigation and Chapters: If you’ve opted to include a menu structure and chapters in the DVD, navigate through the menu interface to ensure that the content is easily accessible and that the chapter markers function as intended. This step enhances the user experience and facilitates effortless navigation through the transferred footage.
5. Long-Term Storage Considerations: As a final consideration, contemplate the long-term storage of your newly transferred DVDs. Store the discs in a cool, dry, and dark environment, ideally in protective cases to minimize the risk of damage or degradation. Label the storage cases with pertinent details for easy identification.
By diligently finalizing and testing the DVD containing your transferred 8mm camcorder footage, you’re ensuring that your cherished memories are preserved in a durable and accessible format. This meticulous attention to detail not only safeguards the integrity of the transferred content but also enhances the overall experience of reliving those treasured moments for years to come.