Introduction
Introduction
Are you ready to capture your next road trip, document your daily commute, or record any unexpected moments on the road? Setting up an action camera on your dashboard can provide you with exciting footage and valuable evidence in case of any incidents. Whether you’re a travel enthusiast, a cautious driver, or a vlogger looking to enhance your content, mounting an action camera in your car can offer a unique perspective and a sense of security.
In this guide, we will walk you through the process of setting up an action camera on your dashboard. From selecting the right camera to adjusting its settings, we’ll cover everything you need to know to ensure a seamless and effective setup. By the end of this tutorial, you’ll be well-equipped to capture stunning footage of your journeys and drive with added peace of mind.
Let’s dive into the world of action cameras and discover how to integrate them into your driving experience. Whether you’re a seasoned driver or a newbie behind the wheel, this guide will equip you with the knowledge and skills to harness the power of action cameras on your dashboard. Let’s get started!
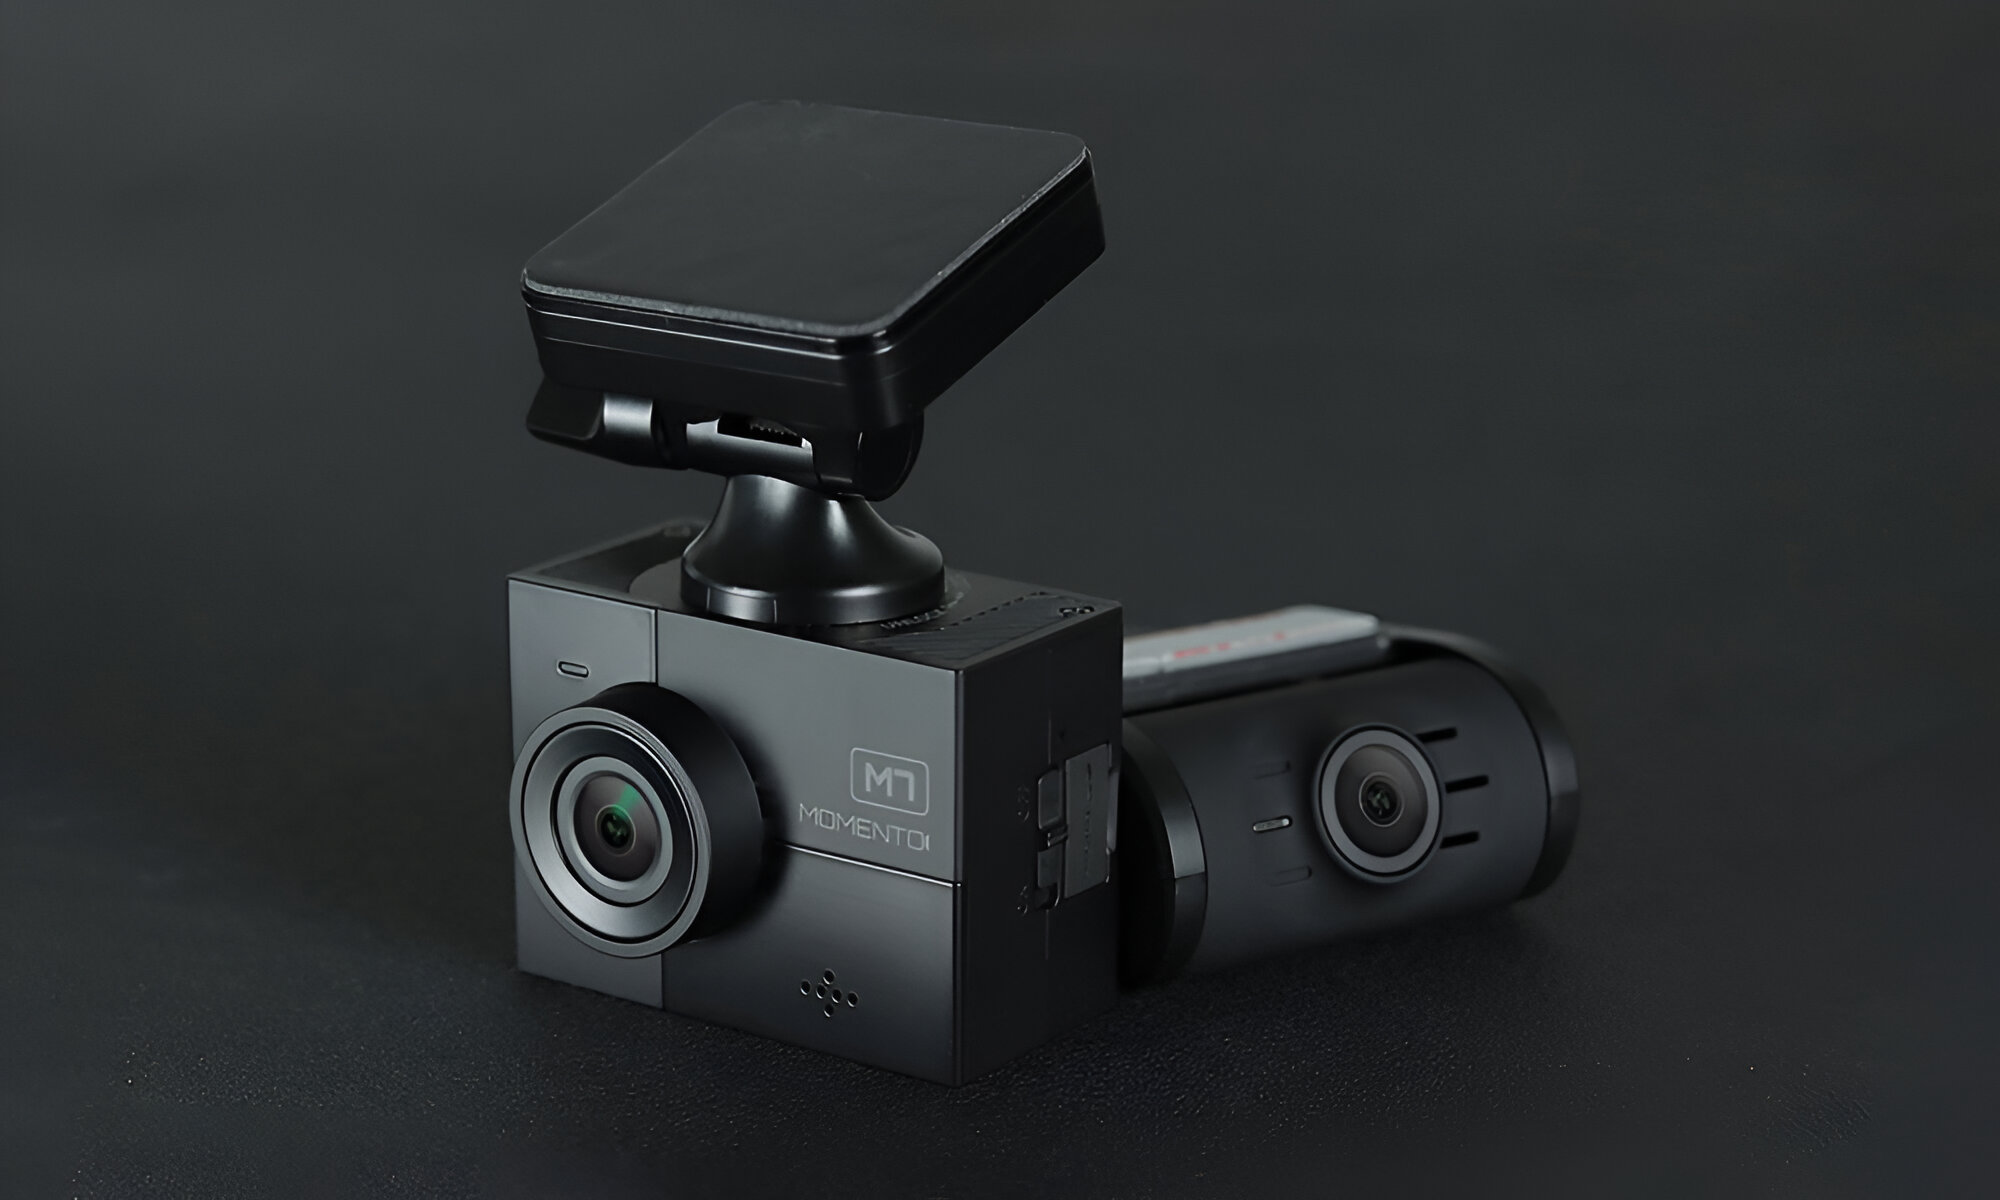
Choosing the Right Action Camera
When it comes to selecting the ideal action camera for your dashboard setup, several factors should be considered to ensure that you make the best choice for your specific needs.
Resolution and Frame Rate: The quality of the footage captured by your action camera is paramount. Look for a camera that offers at least 1080p resolution at 30 frames per second (fps) for crisp and smooth video playback. Higher resolutions such as 4K provide stunning clarity, but also consider the storage space required for higher resolution recordings.
Size and Form Factor: Since the camera will be mounted on your dashboard, a compact and aerodynamic design is preferable. This ensures that the camera does not obstruct your view while driving and maintains a sleek appearance within the vehicle.
Mounting Options: Consider the mounting options available for the action camera. Some models come with versatile mounting accessories that are suitable for dashboard installation, while others may require additional mounting hardware or adhesive mounts.
Field of View (FOV): A wider FOV allows the camera to capture more of the surrounding environment. Look for a camera with a wide-angle lens to ensure that it captures a broad perspective of the road ahead and the surrounding scenery.
Low-Light Performance: Driving conditions can vary, and it’s essential to choose a camera with good low-light performance. Look for a camera with a wide aperture and advanced sensor technology to ensure clear footage in various lighting conditions, including nighttime driving.
Additional Features: Explore additional features such as built-in stabilization, Wi-Fi connectivity, GPS, and compatibility with external microphones. These features can enhance the functionality and versatility of the camera, allowing you to capture high-quality footage and access advanced settings with ease.
By carefully evaluating these factors, you can narrow down your options and select an action camera that aligns with your preferences and requirements. Whether you prioritize video quality, compactness, or advanced features, choosing the right action camera is the first step toward creating captivating footage from your dashboard setup.
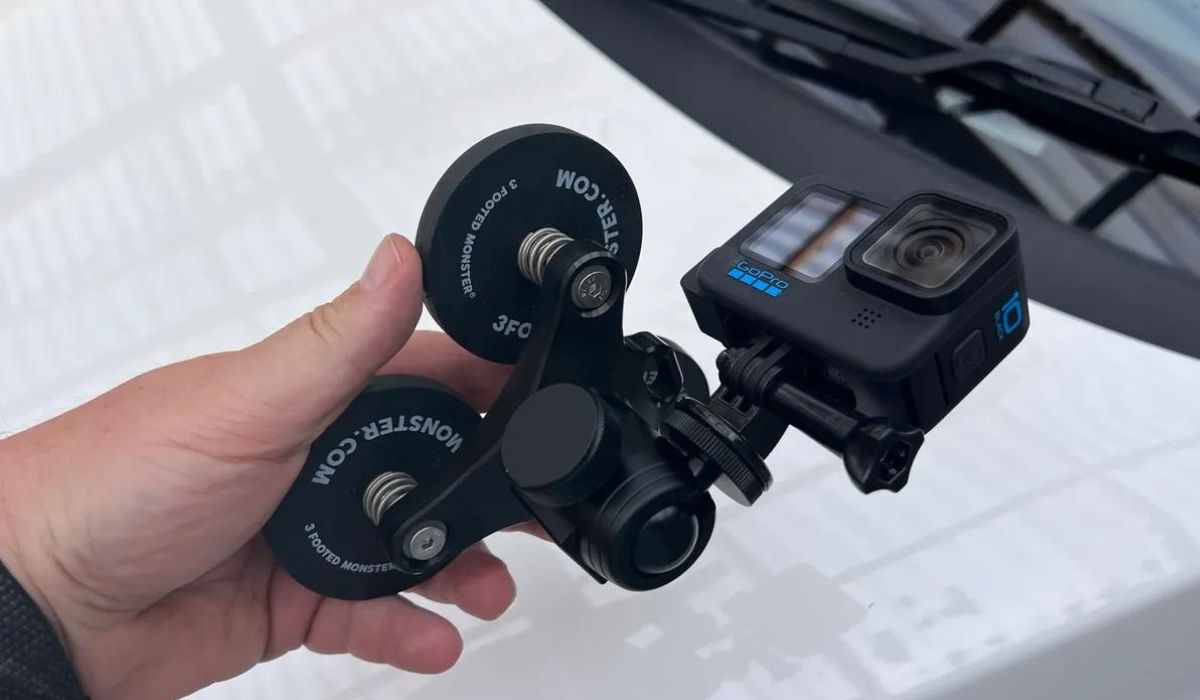
Mounting the Camera to Your Dashboard
Once you have chosen the perfect action camera for your dashboard setup, the next step is to securely mount it within your vehicle. Proper installation is crucial for ensuring stable footage capture and minimizing distractions while driving. Here’s a step-by-step guide to mounting your action camera on the dashboard:
Choose the Mounting Location: Select a suitable location on your dashboard that provides a clear view of the road ahead without obstructing your line of sight. Avoid placing the camera in areas that may interfere with the driver’s visibility or airbag deployment zones.
Clean the Dashboard Surface: Before attaching the camera mount, thoroughly clean the chosen area on the dashboard to remove any dust, debris, or residue. A clean surface will ensure a secure attachment and prevent the mount from shifting over time.
Attach the Mounting Base: Depending on the type of mount provided with your action camera, follow the manufacturer’s instructions to securely attach the mounting base to the dashboard. Adhesive mounts are commonly used for dashboard installations and provide a stable foundation for the camera.
Secure the Camera: Once the mounting base is in place, carefully attach the action camera to the mount, ensuring that it is firmly secured and aligned to capture the desired field of view. Double-check the stability of the attachment to prevent any potential movement during driving.
Adjust the Camera Angle: Fine-tune the camera angle to optimize the framing of the footage. Consider the positioning of the camera to capture the road, the vehicle’s interior, and any relevant surroundings. Ensure that the camera’s view is unobstructed and provides a comprehensive perspective.
Test the Stability: Gently apply pressure to the mounted camera to verify its stability. It should remain firmly in place without shifting or vibrating excessively. This test ensures that the camera will maintain its position during normal driving conditions.
By following these steps, you can effectively mount your action camera to the dashboard, setting the stage for seamless and reliable footage capture during your journeys. A securely installed camera not only enhances the safety of your driving experience but also ensures that you can capture captivating moments with confidence.
Adjusting Camera Settings
Once your action camera is securely mounted on the dashboard, it’s essential to configure its settings to optimize the quality of the footage and tailor it to your specific driving environment. Here are the key settings to consider when adjusting your camera:
Resolution and Frame Rate: Access the camera’s settings menu to adjust the resolution and frame rate based on your preferences. Higher resolutions offer greater clarity, while higher frame rates result in smoother video playback. Consider the trade-offs in file size and storage requirements when selecting these settings.
Exposure and White Balance: Fine-tune the exposure settings to ensure that the camera adapts to varying lighting conditions, such as transitioning from bright outdoor settings to dimly lit tunnels or shaded areas. Adjusting the white balance helps maintain accurate color representation in different environments.
Field of View (FOV): Some action cameras offer adjustable FOV settings, allowing you to select a wide-angle perspective or a narrower field of view. Experiment with these settings to capture the most suitable view of the road and surroundings from your dashboard.
Stabilization and Distortion Correction: If your camera features built-in stabilization or distortion correction capabilities, enable these settings to enhance the stability of the footage and correct any lens distortion. This can significantly improve the overall visual quality of the recordings.
Audio Recording: Determine whether you want to capture audio alongside the video footage. Some action cameras feature advanced noise reduction and wind suppression technologies to enhance audio clarity, while others may offer the option to connect external microphones for improved sound capture.
Time-Lapse and Continuous Recording: Explore time-lapse and continuous recording settings if you wish to capture extended journeys or specific events over an extended period. These settings can be valuable for creating captivating time-lapse sequences or documenting lengthy drives.
Connectivity and Remote Control: If your camera supports Wi-Fi or Bluetooth connectivity, configure these options to enable remote control via a smartphone app or a dedicated remote control device. This feature can streamline the camera operation and provide convenient access to settings and recording controls.
By customizing these settings to suit your preferences and driving conditions, you can maximize the potential of your action camera and ensure that it delivers exceptional footage from your dashboard setup. Experiment with different configurations to find the optimal settings that align with your desired video quality and overall recording experience.
Testing and Troubleshooting
Before hitting the road, it’s crucial to conduct thorough testing of your action camera setup to ensure that it functions reliably and captures high-quality footage. Additionally, being prepared to troubleshoot common issues can help you address any unexpected challenges that may arise. Here’s a guide to testing and troubleshooting your dashboard-mounted action camera:
Functional Testing: Power on the camera and verify that it begins recording without any errors. Check the video feed on the camera’s display or through a connected smartphone app to confirm that the footage is clear and free from any distortions or malfunctions.
Audio and Microphone Check: If you intend to capture audio alongside the video, conduct a brief audio test to ensure that the microphone is functioning correctly and that the recorded sound is clear and free from any unwanted noise or interference.
Stability and Vibration Testing: Simulate driving conditions by gently tapping the dashboard and observing the camera’s stability. Ensure that the camera remains securely mounted and that vibrations from the vehicle’s movement do not cause excessive shaking or blurring in the footage.
Low-Light Performance Assessment: Test the camera’s performance in low-light conditions by recording in dimly lit environments or during nighttime. Verify that the footage maintains adequate clarity and visibility, allowing for clear documentation of nighttime driving scenarios.
GPS and Connectivity Validation: If your camera features GPS functionality or wireless connectivity, test these features to confirm their accuracy and reliability. Ensure that GPS data is accurately recorded, and that wireless connections remain stable throughout the testing process.
Troubleshooting Common Issues: Familiarize yourself with common issues such as SD card errors, firmware glitches, or connectivity problems. Have a plan in place to address these issues, such as formatting the SD card, updating the camera’s firmware, or troubleshooting connectivity settings.
Emergency Recording Simulation: Consider simulating emergency recording scenarios to ensure that the camera responds effectively to unexpected events. This may involve conducting abrupt stops, sudden maneuvers, or simulated emergency braking to assess the camera’s ability to capture critical moments.
By conducting comprehensive testing and preparing for potential troubleshooting scenarios, you can instill confidence in the reliability of your action camera setup. Addressing any issues proactively and verifying the camera’s performance under various conditions will ensure that you are well-prepared to capture compelling footage and navigate any challenges that may arise during your driving experiences.


![How to Stream on Twitch Easily [Beginner-Friendly]](https://robots.net/wp-content/uploads/2020/10/Twitch-Featured-300x148.jpg)