Introduction
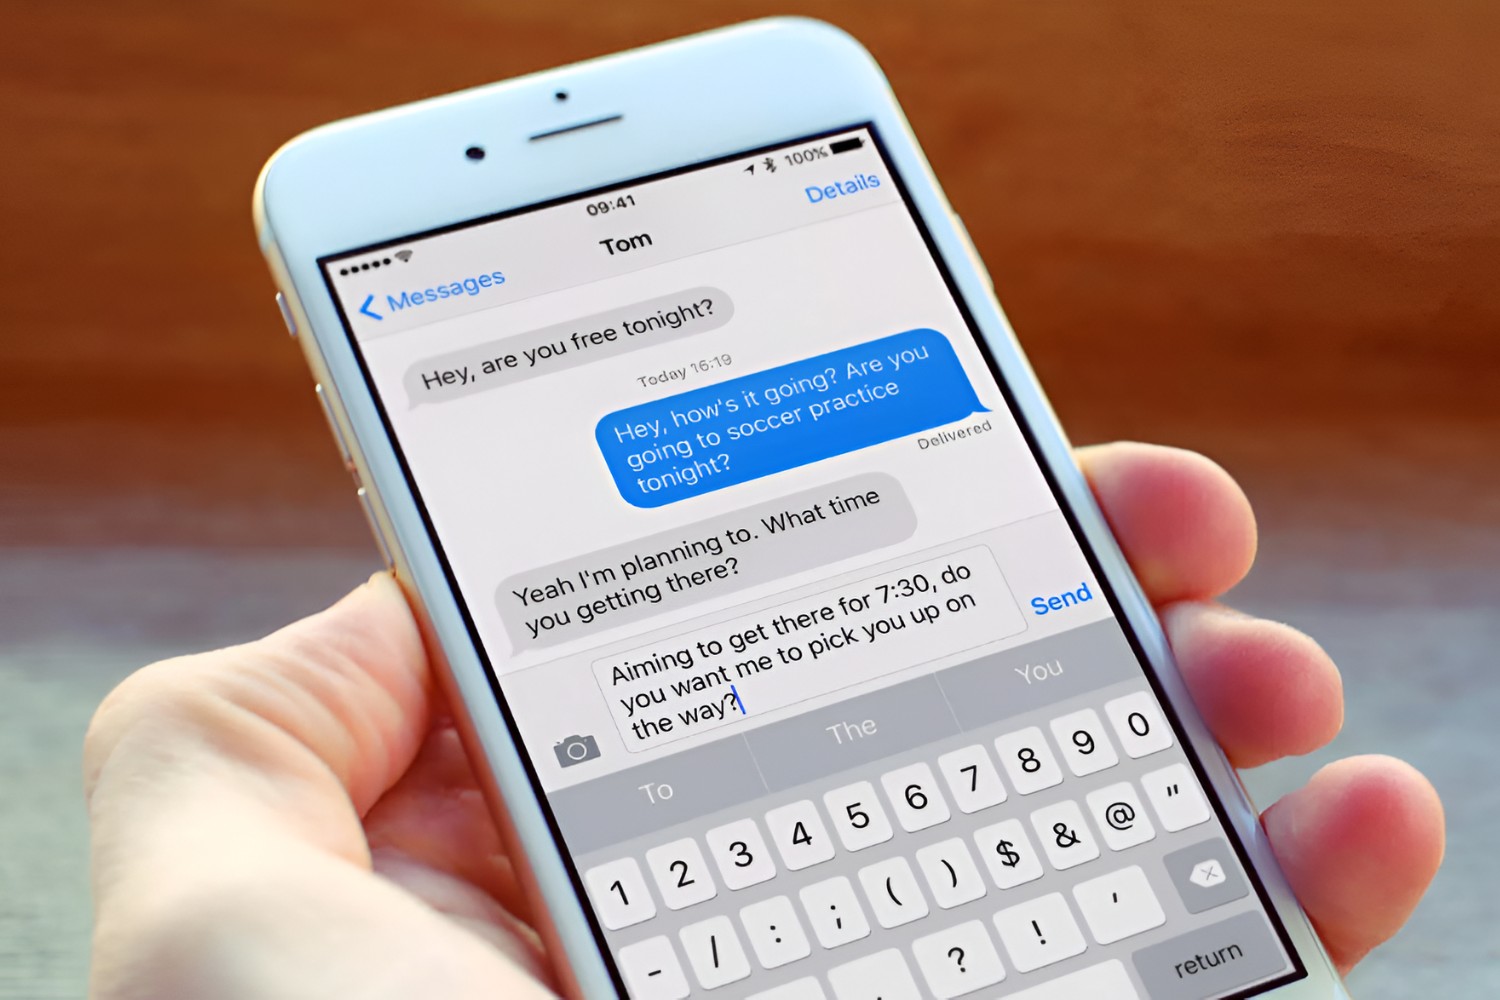
Welcome to the world of iMessage, a messaging platform that allows Apple device users to send text messages, photos, videos, and more to each other seamlessly. If you recently purchased a new Apple device or have been experiencing difficulties with iMessage, you’re in the right place. In this article, we will guide you through a step-by-step process to turn on iMessage and start enjoying its features.
With iMessage, you can send and receive messages with fellow Apple device users, whether they have an iPhone, iPad, or Mac. Plus, iMessage offers additional benefits like end-to-end encryption for enhanced security and the ability to send audio messages, share your location, and use various fun effects and stickers.
However, before you can start using iMessage, there are a few necessary steps to ensure everything is set up correctly. In the following sections, we will walk you through the process, addressing potential issues and providing solutions.
Whether you’re a new Apple device user or have recently encountered problems with iMessage, this guide will assist you in enabling this fantastic messaging service. Let’s get started on turning on your iMessage and begin enjoying effortless communication with your friends and family.
Step 1: Check your internet connection
Before diving into the process of turning on iMessage, it’s essential to ensure that you have a stable internet connection. iMessage relies on an internet connection, whether it’s Wi-Fi or cellular data, to send and receive messages. Without a reliable internet connection, iMessage won’t function correctly.
To check your internet connection, follow these steps:
- Open a web browser or any app that requires an internet connection.
- Visit a website or try accessing any online content to confirm if your internet connection is working.
If you’re connected to Wi-Fi, make sure you’re within range of the router and that the signal is strong. If you’re using cellular data, ensure that you have a stable mobile network signal.
If you’re experiencing internet connection issues, try the following troubleshooting tips:
- Restart your router or modem to refresh the internet connection.
- Toggle Airplane Mode on and off in your device’s settings.
- Move closer to the Wi-Fi router or try connecting to a different Wi-Fi network.
- If using cellular data, switch to a different network provider or contact your service provider for assistance.
By checking and troubleshooting your internet connection, you’ll ensure that iMessage can function properly and facilitate seamless communication with other Apple device users.
Step 2: Update your device to the latest iOS version
Keeping your Apple device up to date with the latest iOS version is crucial for optimal performance, security, and compatibility with various apps, including iMessage. If you’re experiencing issues with iMessage, it’s possible that your device is running an outdated iOS version. Updating to the latest iOS version can resolve many software-related problems.
To update your device, follow these steps:
- Ensure your device is connected to a stable Wi-Fi network.
- Open the Settings app on your iPhone or iPad.
- Scroll down and tap on “General.”
- Select “Software Update” and wait for your device to check for updates.
- If an update is available, tap on “Download and Install.”
- Enter your passcode if prompted.
- Agree to the terms and conditions.
- Allow your device to download and install the latest iOS update.
- Restart your device once the update is complete.
It’s worth noting that updating your device can take some time, depending on the size of the update and your internet connection speed. Ensure that your device has enough battery life or is connected to a power source during the update.
By keeping your device updated with the latest iOS version, you’ll have access to the newest features and improvements, including enhancements to iMessage. This step can often resolve any issues you may be experiencing with iMessage and ensure a smoother messaging experience.
Step 3: Sign in to your Apple ID
In order to use iMessage on your Apple device, you need to sign in with your Apple ID. Your Apple ID is a unique identifier that allows you to access various Apple services and features, including iMessage, iCloud, and the App Store.
If you’re not already signed in to your Apple ID, follow these steps to do so:
- Open the Settings app on your iPhone or iPad.
- Tap on “Sign in to your iPhone/iPad” at the top of the screen.
- Enter your Apple ID email address and password.
- If prompted, enter the verification code sent to your trusted device or phone number.
- Agree to the terms and conditions.
If you don’t have an Apple ID, tap on the “Don’t have an Apple ID or forgot it?” option and follow the on-screen instructions to create a new one.
Signing in to your Apple ID ensures that your iMessage account is linked to your device and allows you to send and receive messages seamlessly. It also syncs your iMessage conversations across multiple devices, such as your iPhone, iPad, and Mac, if you have them connected with the same Apple ID.
By signing in to your Apple ID, you’ll have access to all the iMessage features and functionalities, such as syncing messages, using effects and stickers, and more. It’s an essential step in enabling iMessage on your device and enjoying its full capabilities.
Step 4: Enable iMessage in the Settings app
Now that you’re signed in to your Apple ID, it’s time to enable iMessage in the Settings app on your Apple device. Enabling iMessage will activate the messaging service and allow you to start sending and receiving messages through the iMessage platform.
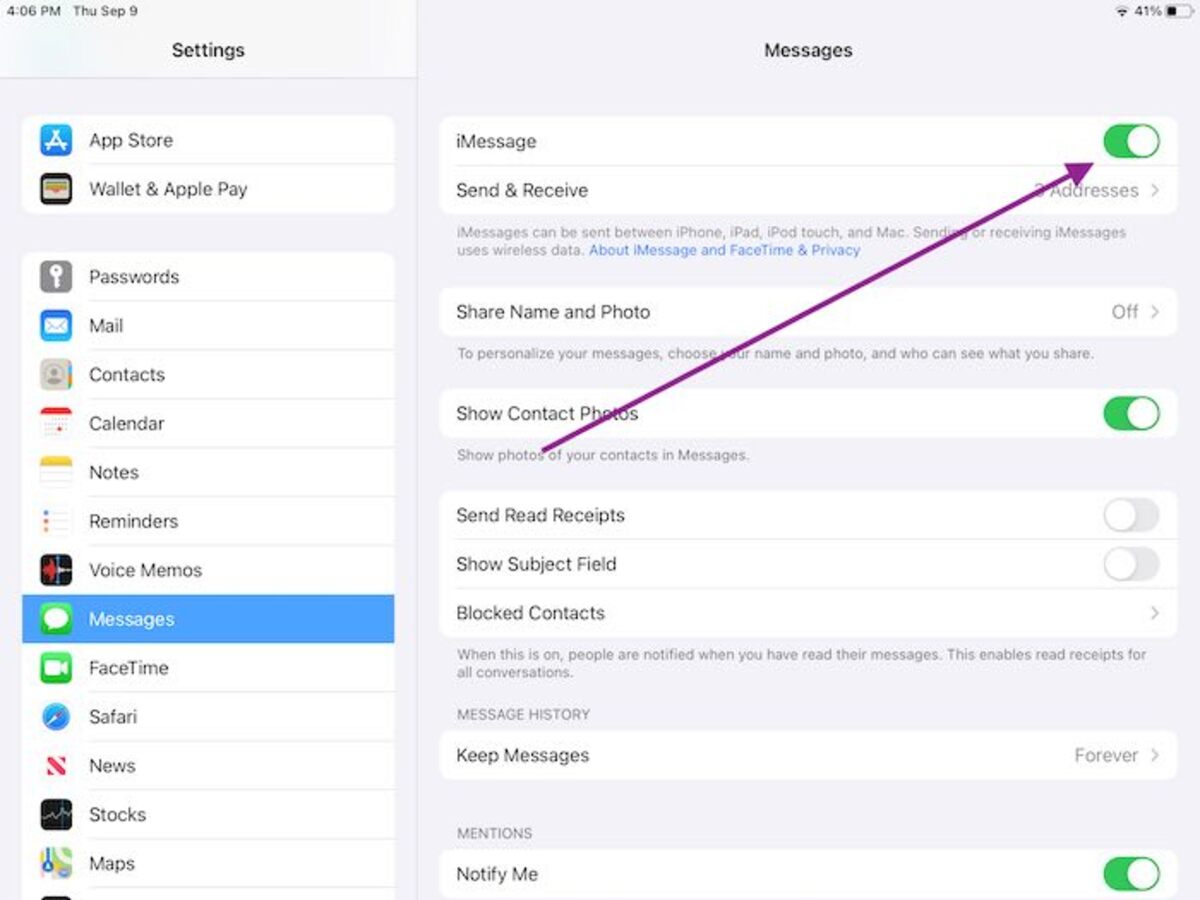
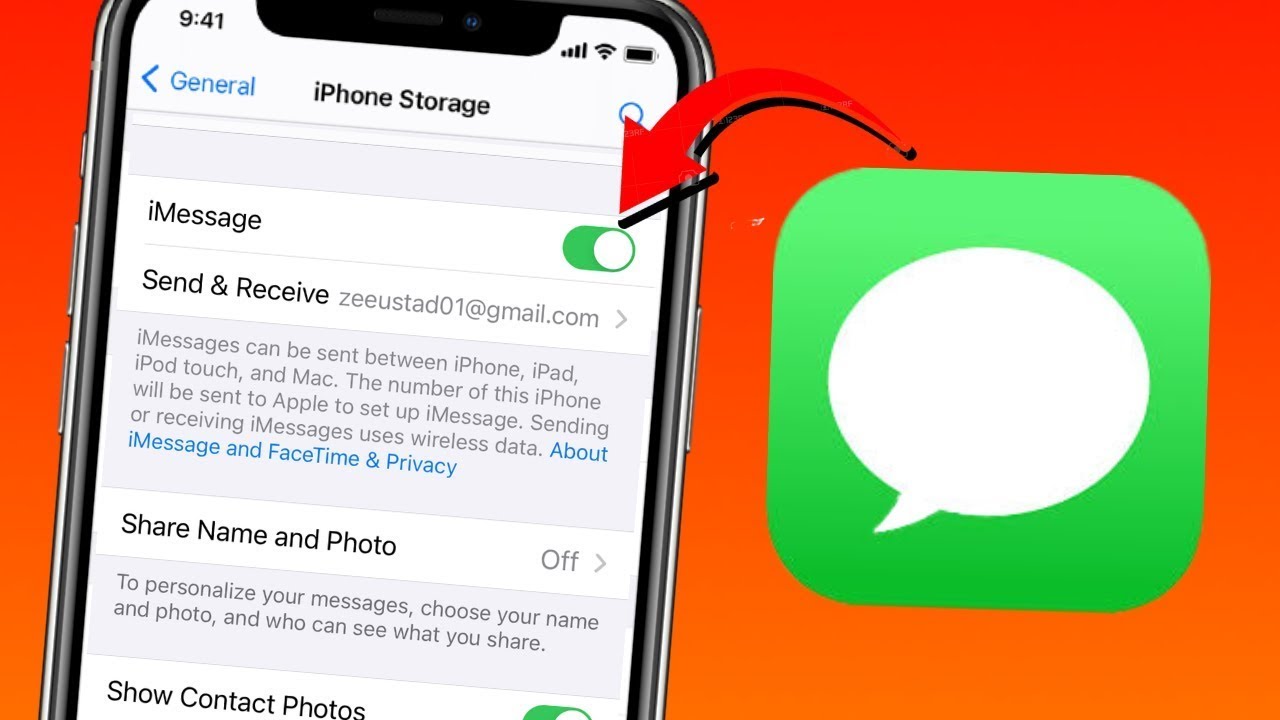
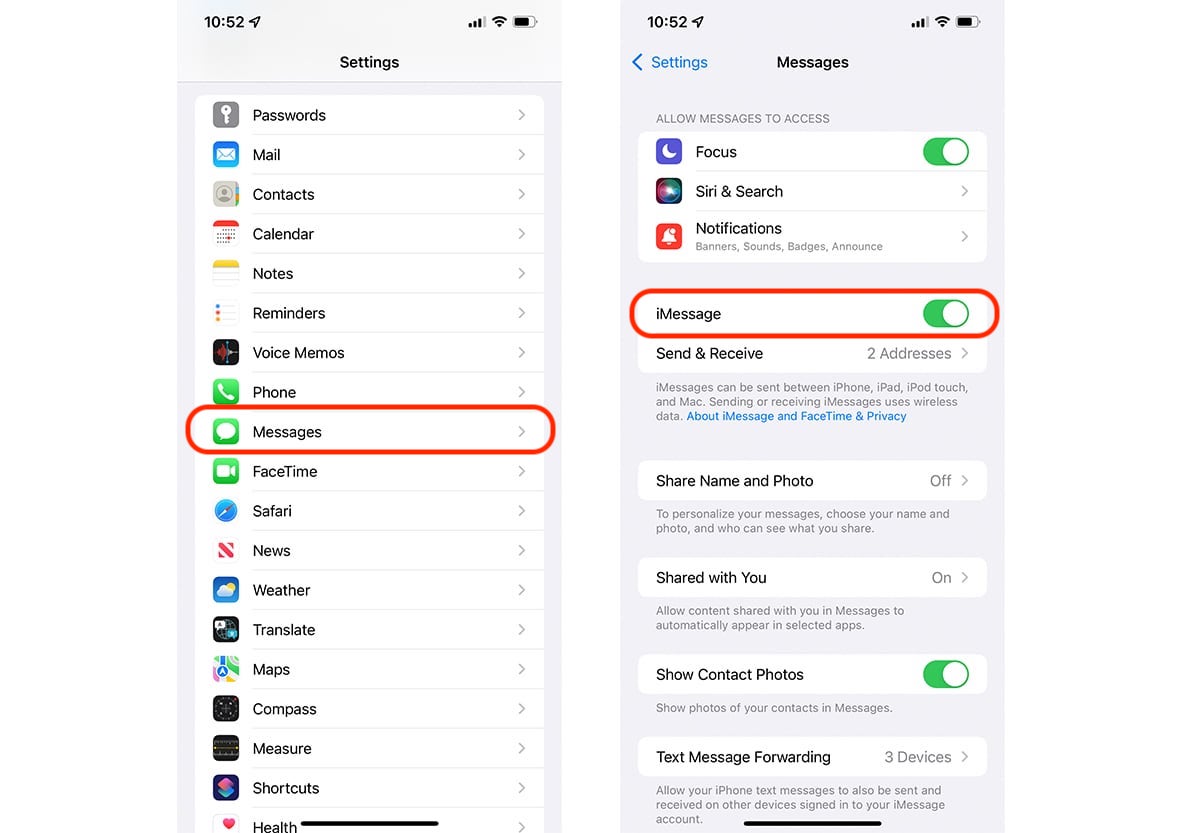
To enable iMessage, follow these steps:
- Open the Settings app on your iPhone or iPad.
- Scroll down and tap on “Messages.”
- Toggle the switch next to “iMessage” to turn it on.
When you turn on iMessage, your device will verify your phone number and Apple ID email address. This process may take a few moments, and you may need to enter a verification code if prompted.
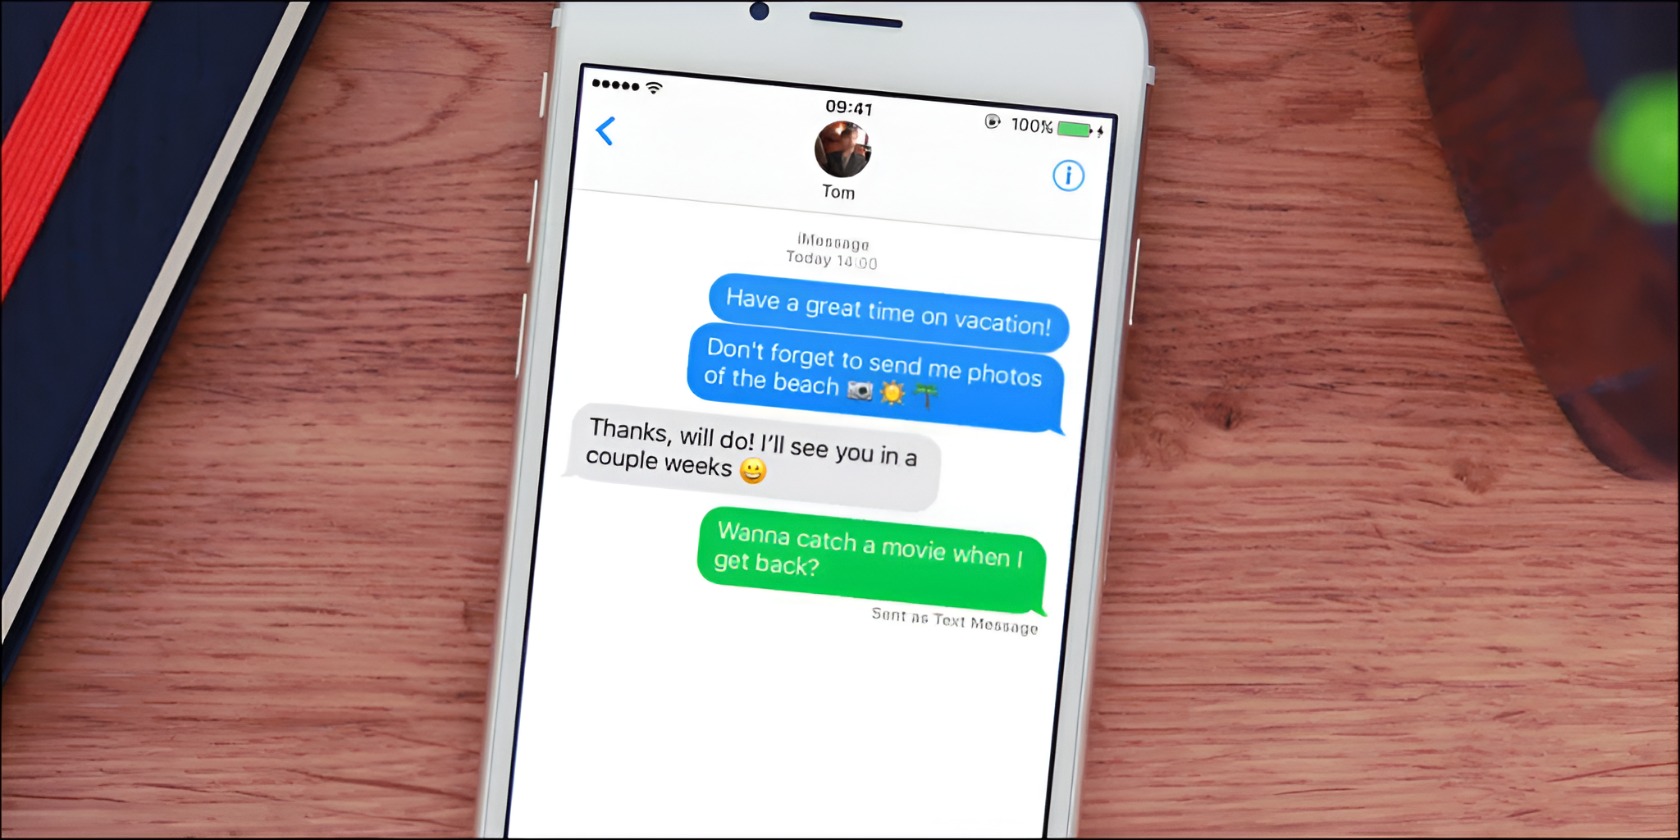
Once iMessage is enabled, the messaging service will be activated, and you can begin using it to send and receive messages with other Apple device users. The messages sent through iMessage will be indicated by a blue bubble instead of the traditional green SMS bubble.
Enabling iMessage also gives you access to additional features, such as read receipts, message effects, and the ability to send high-quality photos and videos. It’s an essential step to take advantage of the full functionality and benefits of iMessage.
If you encounter any issues while enabling iMessage, ensure that you have a stable internet connection and try restarting your device. Also, make sure that you’re using an Apple device that supports iMessage, such as an iPhone, iPad, or Mac.
Now that you have successfully enabled iMessage, let’s move on to the next step to verify your phone number and email address to ensure seamless communication.
Step 5: Verify your phone number and email address
Verifying your phone number and email address is an important step in setting up iMessage, as it ensures that other Apple device users can reach you using these contact details.
To verify your phone number and email address, follow these steps:
- Open the Settings app on your iPhone or iPad.
- Scroll down and tap on “Messages.”
- Tap on “Send & Receive.”
- Under the “You Can Be Reached By iMessage At” section, make sure that your phone number and email address are correct and listed.
- If your phone number or email address is missing or incorrect, tap on “Add Another Email” or “Add Phone Number” and follow the instructions to add or update the information.
- Once your correct phone number and email address are listed, make sure the checkmark is visible next to them.
Verifying your phone number and email address ensures that other Apple device users can send you iMessages using the correct contact details. It also allows you to send iMessages from multiple devices connected to the same Apple ID.
If you added a new phone number or email address, you may receive a verification code to confirm ownership. Enter the code when prompted to complete the verification process.
By verifying your phone number and email address, you enhance the reliability and effectiveness of iMessage. You can now enjoy seamless communication with your contacts using iMessage, knowing that you’re easily reachable through the verified contact details.
Now that you’ve successfully verified your phone number and email address, let’s move on to the next step to set up your iMessage preferences and customize the messaging experience to your liking.
Step 6: Set up iMessage preferences
Now that you have enabled and verified iMessage on your Apple device, it’s time to customize your iMessage preferences. By adjusting these settings, you can personalize your messaging experience and make it more convenient and enjoyable.
Here are some iMessage preferences you can consider customizing:
- Message effects: Add a touch of fun and personality to your messages by using message effects. You can send balloons, confetti, and more to celebrate special occasions or use the “Invisible Ink” effect to reveal a hidden message.
- Read receipts: Decide whether or not you want to send read receipts to others. Enabling read receipts lets other people know when you have read their messages, but it also means that you can see when they have read your messages.
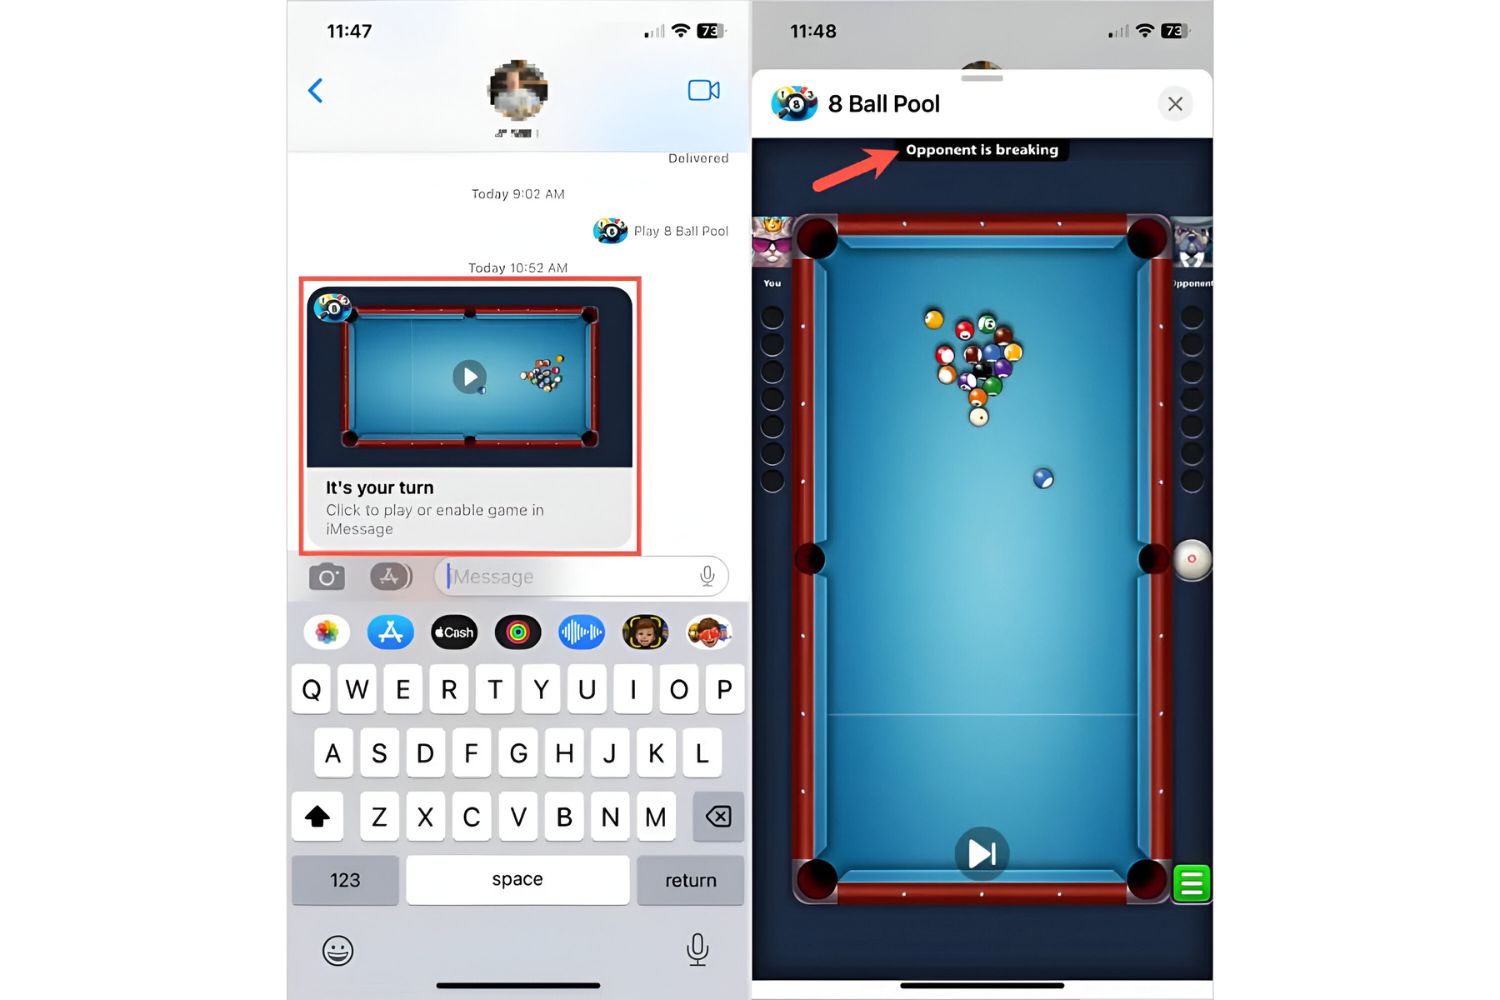
- Stickers and apps: Explore the wide range of stickers, emojis, GIFs, and apps available in the iMessage App Store. You can download and install various sticker packs and apps to add more fun and functionality to your iMessage conversations.
- Auto-delete messages: Set a time frame for messages to automatically delete after a certain period. This helps you manage your message history and free up storage space on your device.
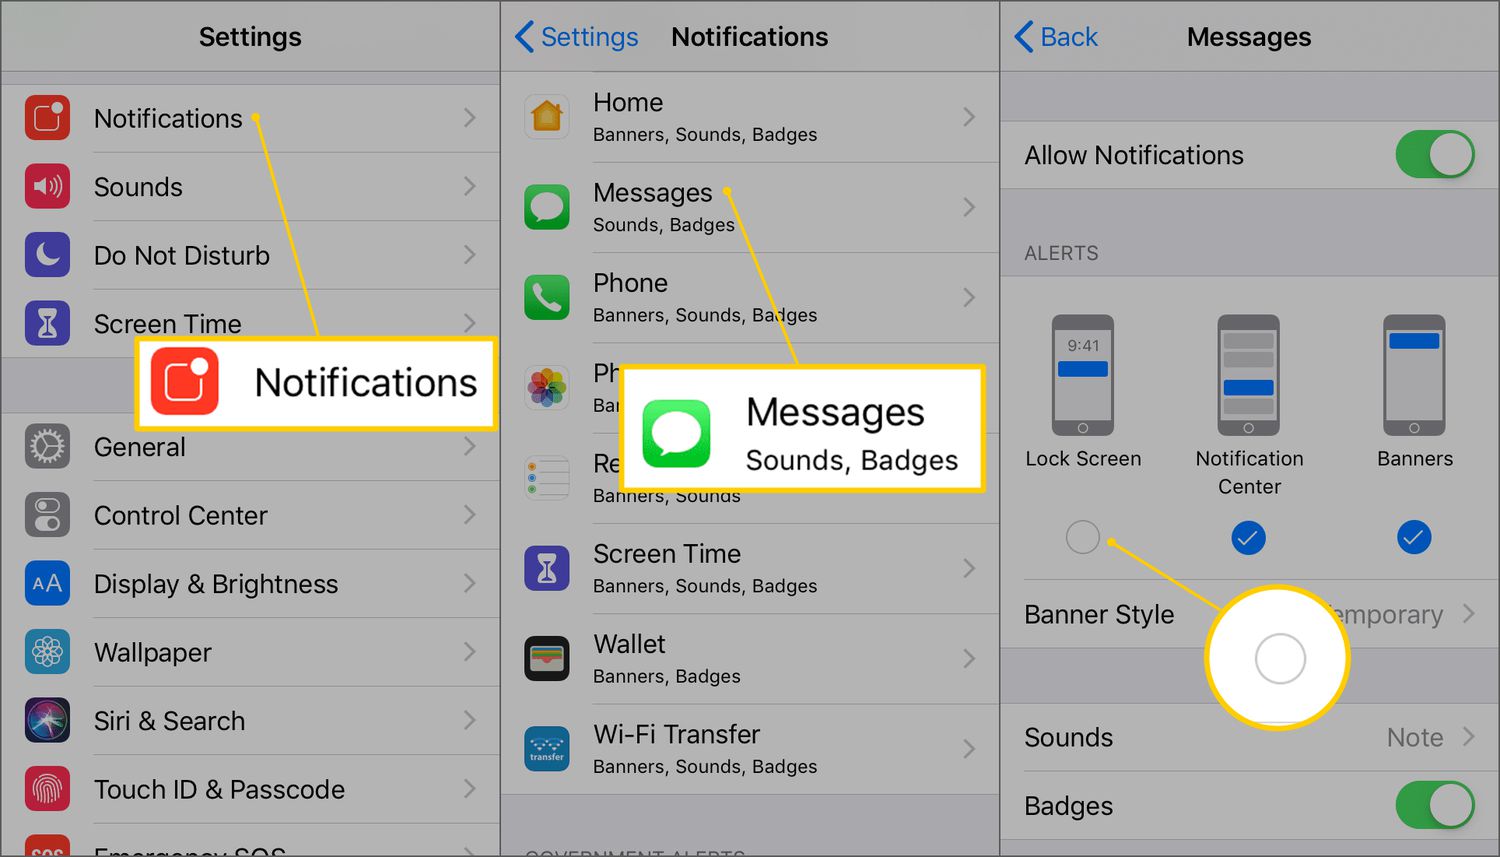
- Customize notifications: Adjust the settings for receiving notifications when you receive new iMessages. You can choose to display banners, sounds, or alerts, and even set specific notification tones for individual contacts.
- Sync with iCloud: If you have multiple Apple devices, you can enable the “Messages on iCloud” feature to sync your iMessage conversations across all your devices. This ensures that you can access your messages seamlessly from any of your Apple devices.
To access and customize these iMessage preferences, follow these steps:
- Open the Settings app on your iPhone or iPad.
- Scroll down and tap on “Messages.”
- Explore the various options available to customize your iMessage settings. Adjust them according to your preference.
By customizing your iMessage preferences, you can make your messaging experience reflect your style and preferences. Explore the different options and make iMessage truly your own.
Congratulations! You have successfully completed the process of turning on iMessage, verifying your contact details, and customizing the settings. Now you can enjoy the seamless communication and exciting features that iMessage has to offer.
Conclusion
Congratulations on successfully enabling iMessage on your Apple device! You’ve learned how to check your internet connection, update your device to the latest iOS version, sign in to your Apple ID, enable iMessage in the Settings app, verify your phone number and email address, and set up your iMessage preferences.
iMessage offers a seamless and feature-rich messaging experience for Apple device users. With iMessage, you can send text messages, photos, videos, and more to your contacts, enjoying benefits such as end-to-end encryption, read receipts, message effects, and stickers.
Remember to keep your device updated with the latest iOS version to ensure optimal performance, security, and compatibility with iMessage and other apps. Additionally, always check your internet connection to ensure smooth communication through iMessage.
By signing in to your Apple ID, you can sync your iMessage conversations across multiple devices and access your messages seamlessly. Verifying your phone number and email address guarantees that others can reach you using the correct contact details.
Finally, don’t forget to customize your iMessage preferences to personalize your messaging experience. Explore message effects, stickers, apps, and other settings to make iMessage reflect your style and preferences.
Now that you’re familiar with the steps to enable and customize iMessage, you’re ready to connect with your friends, family, and colleagues effortlessly. Enjoy the convenience, security, and fun features that iMessage brings to your Apple device.