Introduction
Welcome to the world of video editing in Google Photos! In today’s digital era, capturing videos has become an integral part of our lives. Whether it’s a cherished family moment, a breathtaking travel adventure, or a creative project, being able to edit and enhance those videos is crucial to make them truly shine. Google Photos offers a convenient and user-friendly platform to not only store and organize your videos but also to unleash your creativity by providing basic video editing tools.
With Google Photos, you can upload, manage, and edit videos from your desktop, smartphone, or tablet. The platform is accessible and straightforward, even for beginners in the world of video editing. In this article, we’ll guide you through the various features and tools available in Google Photos for editing your videos.
From trimming and cutting videos to applying filters and effects, adding music or audio tracks, adjusting video speed and playback, creating stunning animations, and exporting and sharing your edited videos, Google Photos has got you covered. Whether you’re a casual video enthusiast or a seasoned professional, these tools will help you bring your videos to life and tell your stories in a captivating and engaging way.
Throughout this article, we’ll explore each of these features in detail, providing step-by-step instructions and tips to get the most out of your video editing experience in Google Photos. So, let’s dive in and discover how to unleash your creativity and turn your raw videos into stunning masterpieces using the incredible editing capabilities of Google Photos!
Overview of Google Photos
Google Photos is a versatile and powerful platform that allows you to store, organize, and edit your photos and videos. With its intuitive interface and seamless integration with other Google services, it has become a popular choice for users looking to manage and enhance their visual content.
When it comes to videos, Google Photos offers a range of features and tools that make it easy to edit and transform your footage. Whether you’re capturing videos on your smartphone, tablet, or digital camera, you can effortlessly upload them to Google Photos and access them from anywhere with an internet connection.
One of the standout features of Google Photos is its smart organization capabilities. Through advanced algorithms, the platform can automatically categorize your videos based on the content, location, and even people present in the footage. This makes it incredibly convenient to search and find specific videos, saving you valuable time and effort.
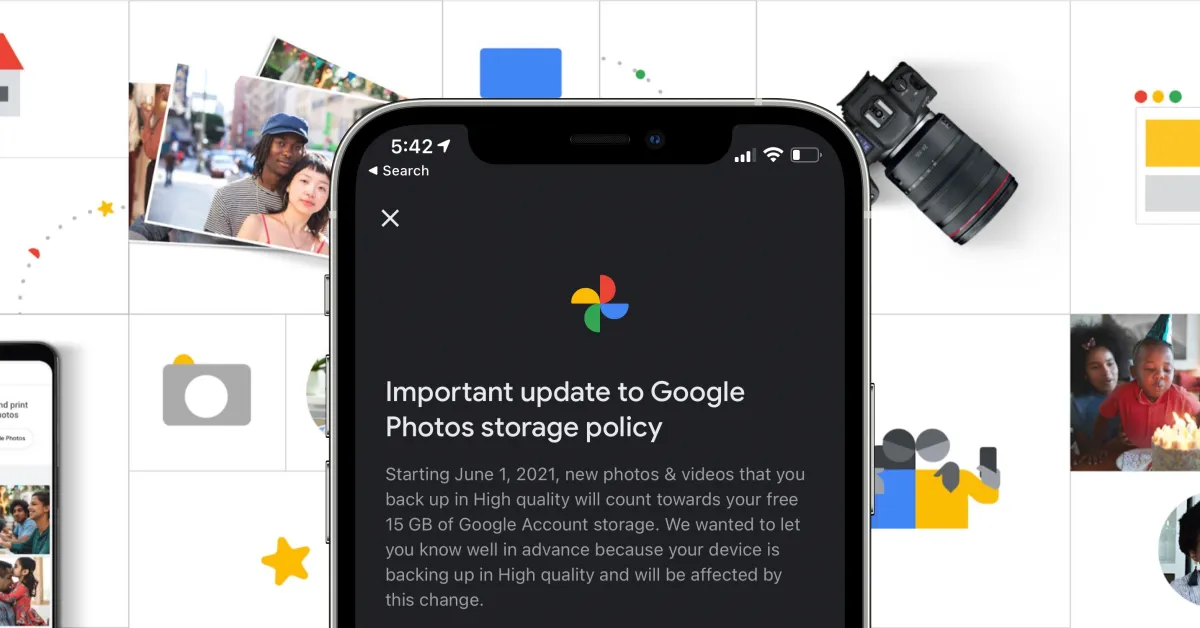
Additionally, Google Photos offers unlimited storage for high-quality videos, taking advantage of its cloud-based infrastructure. This means you can confidently upload all your videos without worrying about running out of storage space on your device. However, it’s important to note that videos uploaded in original quality may count towards your Google account’s storage limit.
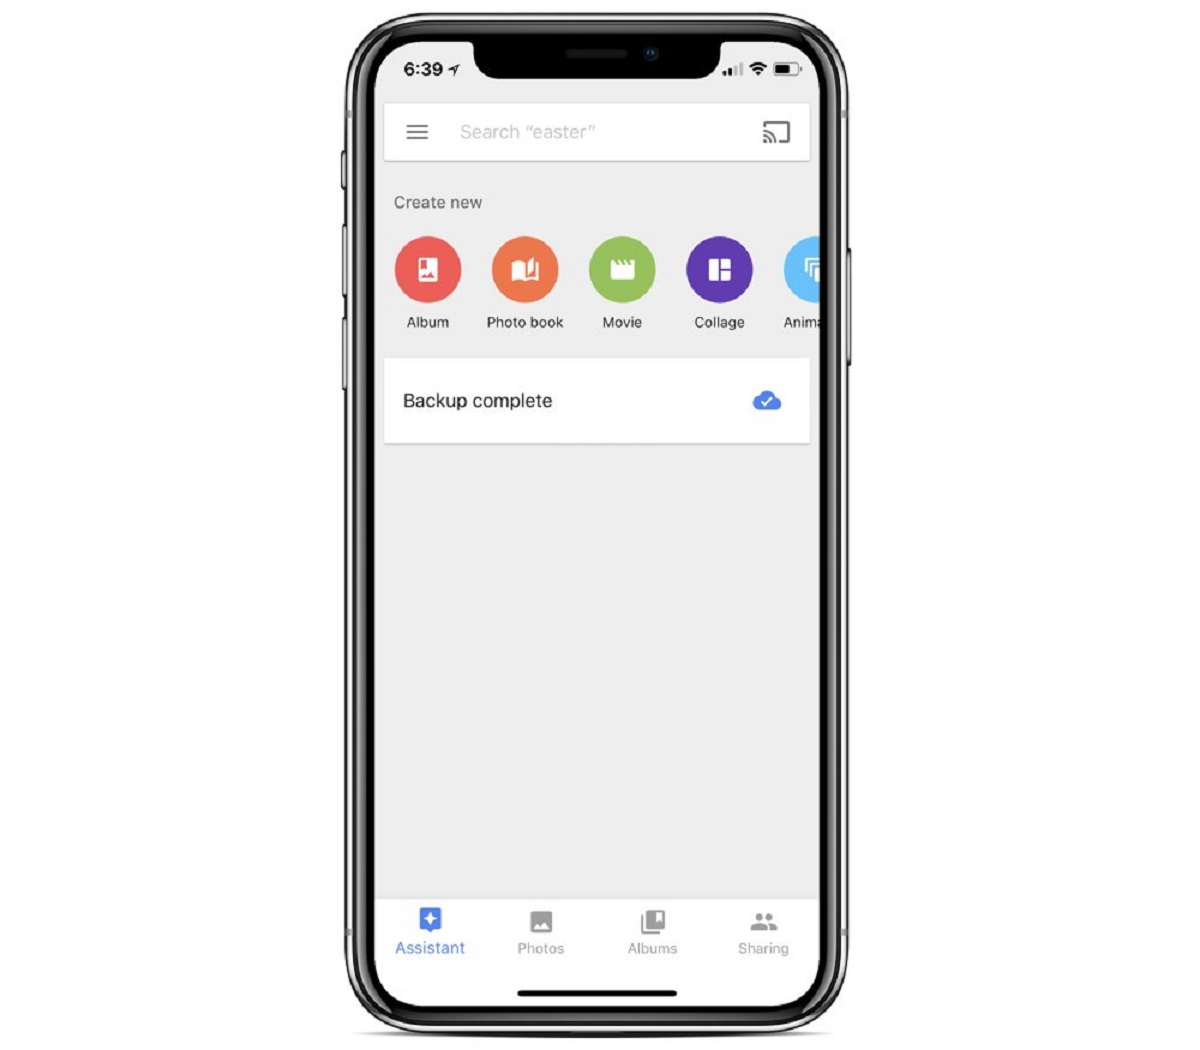
Another noteworthy feature of Google Photos is its ability to automatically create movies and animations from your videos. Using machine learning algorithms, the platform can analyze your footage and intelligently stitch together relevant moments, creating captivating montages and slideshows. You can further customize these creations by choosing different themes, music, and transitions.
Overall, Google Photos provides a comprehensive and user-friendly platform for managing and editing your videos. The combination of its storage capabilities, smart organization features, and intuitive editing tools makes it a go-to choice for individuals looking to enhance their video content.
In the following sections, we’ll delve into the specific video editing tools and techniques available in Google Photos, empowering you to unleash your creativity and transform your raw videos into stunning masterpieces.
Uploading and Organizing Videos in Google Photos
Before diving into the editing process, it’s essential to understand how to efficiently upload and organize your videos in Google Photos. With its user-friendly interface and seamless integration with various devices, the platform makes it effortless to store and manage your video library.
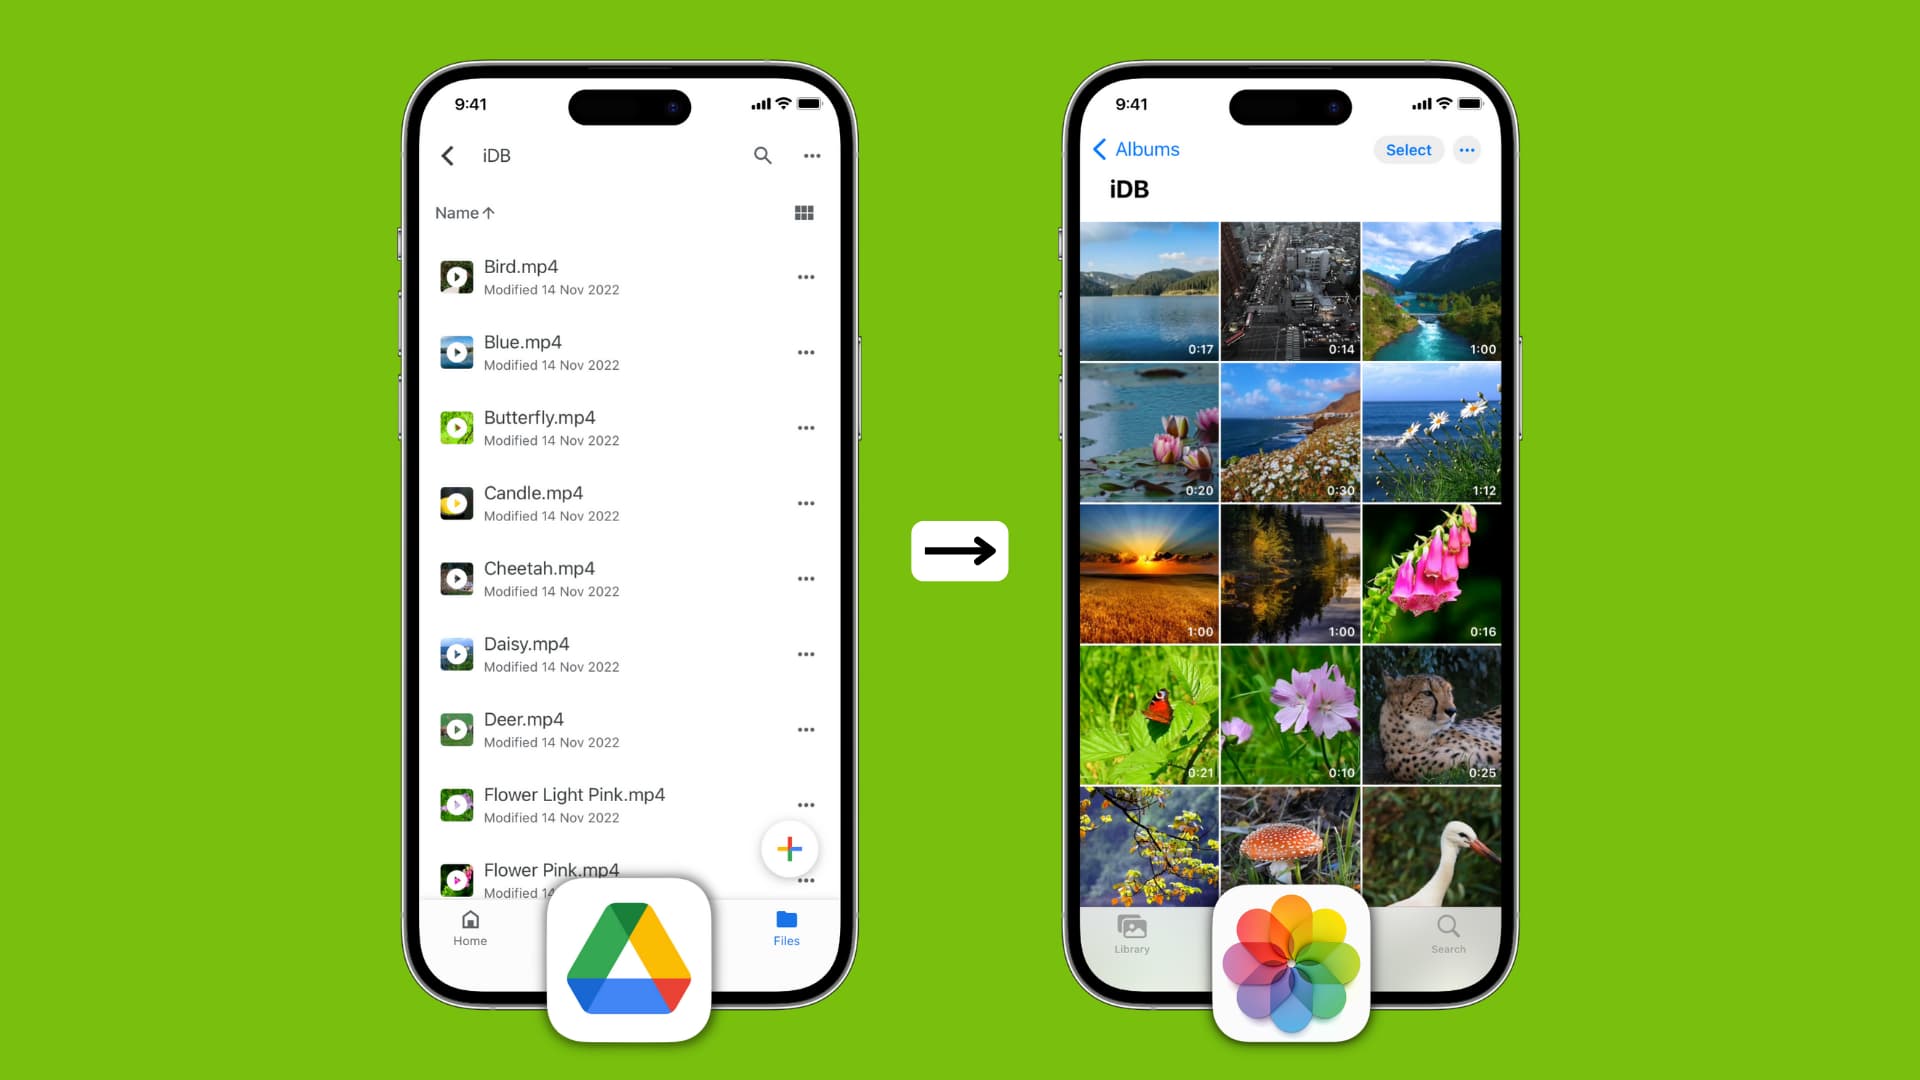
To upload videos to Google Photos, you have a few options. If you’re using a mobile device, simply open the Google Photos app, tap on the “Library” icon at the bottom, and select the “Videos” tab. From there, tap on the “+” button at the top of the screen and choose whether you want to upload a video from your device’s internal storage or cloud storage services like Google Drive or Dropbox. You can select multiple videos at once, making it convenient for uploading in bulk.
If you prefer to upload videos from your computer, visit the Google Photos website and sign in with your Google account. Click on the “Upload” button, located at the top right corner of the page, and select the videos you want to upload from your computer. You can also simply drag and drop the video files into the Google Photos website to initiate the upload process.
Once your videos are uploaded, Google Photos will automatically organize them based on various factors such as the date, location, and content within the videos. You can find these categories by clicking on the “Albums” tab in the app or on the website. Additionally, Google Photos allows you to manually create albums to further categorize your videos, making it easier to locate specific footage at a later time.
In addition to organizing by albums, Google Photos uses powerful machine learning algorithms to automatically group similar videos together, creating a separate section called “Collections.” This feature enables you to easily discover related videos and view them as a cohesive collection, enhancing the overall browsing experience.
Furthermore, Google Photos provides a robust search functionality allowing you to find videos using specific keywords, locations, or even people’s names. Simply enter your desired search term in the search bar, and the platform will present relevant videos based on your query, saving you precious time and effort.
By efficiently uploading and organizing your videos in Google Photos, you can ensure easy access to your entire video library and quickly locate the footage you need for your editing endeavors. Now that you’re familiar with the process, let’s explore the various video editing tools and techniques available in Google Photos.
Basic Video Editing Tools in Google Photos
Google Photos offers a range of basic video editing tools that allow you to enhance and transform your footage without the need for complex software or technical know-how. These tools are designed to be user-friendly and accessible, making them suitable for both beginners and experienced video editors.
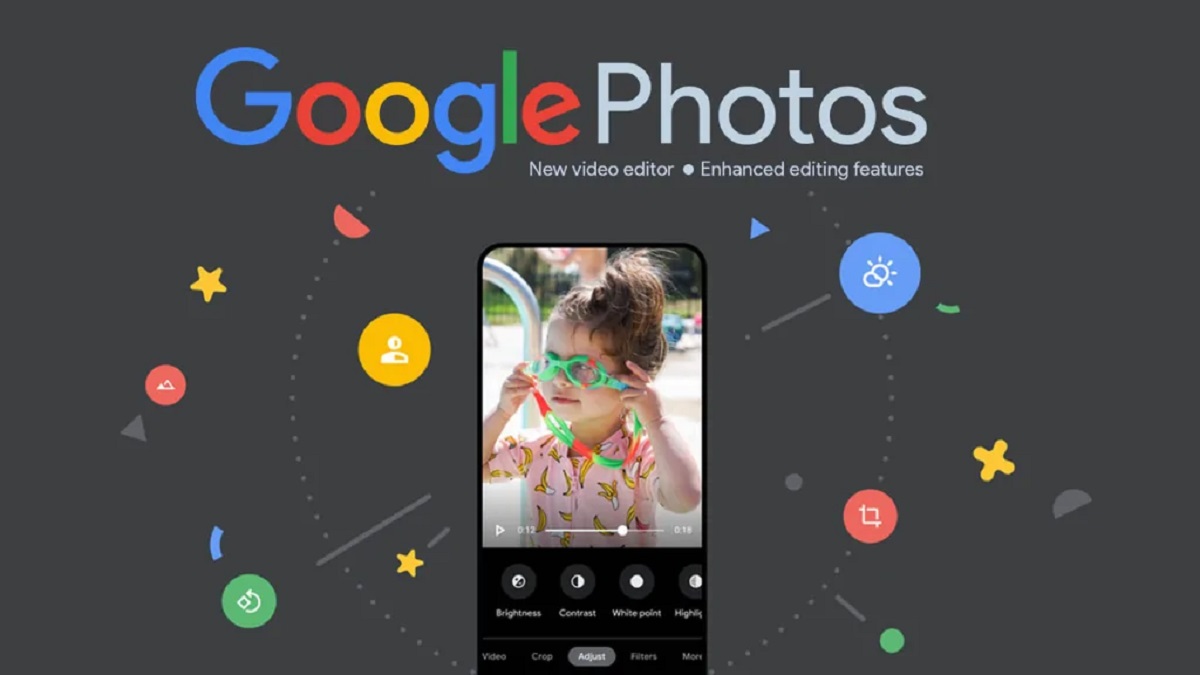
When you open a video in Google Photos, you’ll notice a set of editing options displayed along the bottom of the screen. Here are some of the primary editing tools available:
- Trim: With the trim tool, you can easily remove unwanted portions from the beginning or end of your video. Simply drag the edges of the timeline to select the desired start and end points, and Google Photos will trim the video accordingly, ensuring a seamless playback.
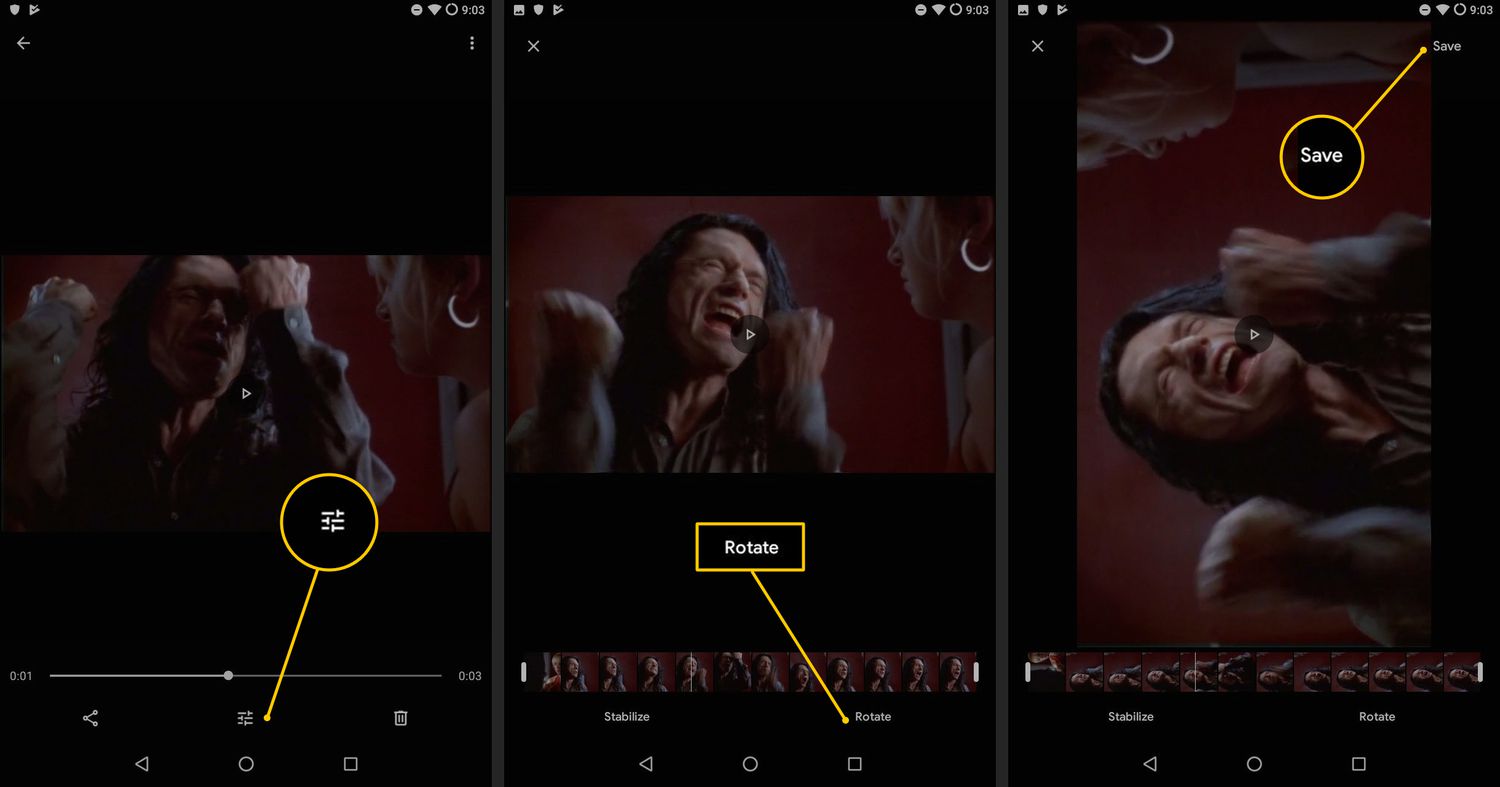
- Rotate: If you’ve accidentally recorded a video in the wrong orientation, fear not! The rotate tool allows you to adjust the video’s orientation by 90 degrees with a single tap. This is especially useful when capturing vertical videos that need to be converted to the standard landscape orientation.
- Stabilize: Shaky footage can be bothersome, but Google Photos has a stabilize tool that helps reduce camera shake and create smoother video playback. This tool analyzes the video and applies a stabilization algorithm to mitigate any unwanted camera movements.
- Auto Enhance: If your video needs a quick boost in color, contrast, or brightness, the auto enhance feature can come to the rescue. With a single tap, Google Photos will automatically adjust various parameters to give your video a more appealing and vibrant look.
- Crop: The crop tool allows you to alter the framing of your video by adjusting its aspect ratio. You can choose from various predefined ratios, such as 16:9 or 1:1, or manually adjust the frame to a custom size. This tool is particularly handy when preparing videos for different social media platforms or specific display purposes.
These basic video editing tools in Google Photos provide a solid foundation for enhancing the overall look and feel of your footage. Whether you need to trim out unnecessary clips, correct the orientation, stabilize shaky footage, enhance colors, or adjust the framing, these tools empower you to achieve your desired results with minimum effort.
In the next sections, we’ll explore more advanced video editing features available in Google Photos, including applying filters and effects, adding music or audio tracks, adjusting video speed, and creating animations and slideshows. So let’s dive deeper into the world of video editing and unleash your creativity with Google Photos!
Trimming and Cutting Videos
One of the fundamental editing tasks is trimming and cutting videos to remove unwanted sections or create shorter clips. Google Photos provides a simple and intuitive tool for precisely selecting the desired segments of your footage.
To trim or cut a video in Google Photos, follow these steps:
- Open the video you want to edit in Google Photos by selecting it from your library or album.
- Below the video player, you’ll see a timeline which represents the duration of the video. At each end of the timeline, you’ll find handles that you can drag to set the desired start and end points of your trimmed segment.
- To trim the beginning of the video, drag the left handle to the right until you reach the desired starting point. Similarly, to trim the end of the video, drag the right handle to the left until you reach the desired endpoint.
- As you drag the handles, the video player will display a preview of the trimmed segment in real-time, allowing you to fine-tune the selection.
- Once you’re satisfied with the trimmed segment, click the “Save” or “Done” button (depending on your device) to apply the changes. Google Photos will then create a new video file with only the selected portion.
In addition to basic trimming, you can also cut a video into multiple segments within Google Photos. After selecting your desired starting and ending points for the first segment, simply create a copy of the original video and repeat the process to trim another section. This way, you can create a compilation of the best moments from a longer video or extract specific scenes for further editing.
It’s important to note that trimming and cutting videos in Google Photos are non-destructive edits, meaning your original video remains intact. The platform creates separate video files for each trimmed segment, preserving the original footage for future use. This ensures that you can always go back and make further edits or revert to the unedited version if needed.
By mastering the art of trimming and cutting videos in Google Photos, you have the power to refine your footage, remove unnecessary content, and create concise, engaging clips that capture the essence of your story. So go ahead, explore the possibilities, and unleash your creativity!
Applying Filters and Effects
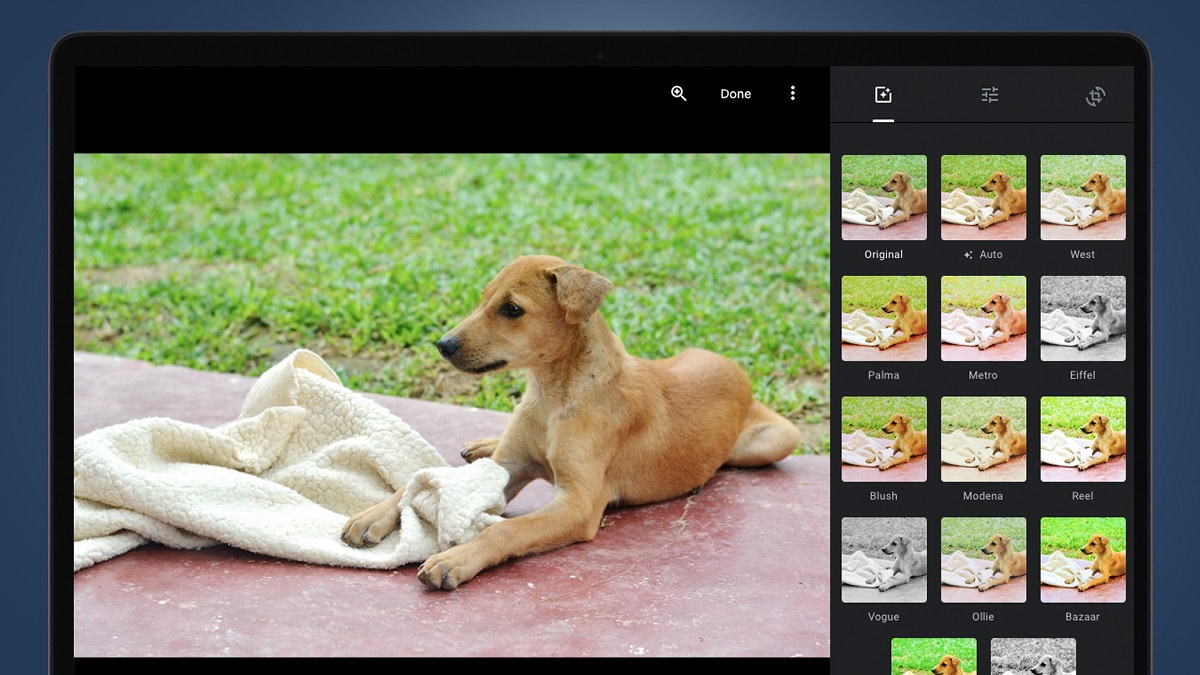
Filters and effects can dramatically change the mood and visual aesthetic of your videos, adding a touch of creativity and style. With Google Photos, you have access to a variety of filters and effects that can instantly enhance the look of your footage.
To apply filters and effects to your videos in Google Photos, follow these steps:
- Select the video you want to edit in Google Photos and open it for editing.
- Below the video player, you’ll find a row of icons representing different editing tools. Tap on the icon that looks like three overlapping circles, which represents the filters and effects tool.
- A menu with various filter options will appear. Browse through the available filters and select the one that best suits your video’s mood or theme.
- As you select each filter, Google Photos will display a real-time preview of the video with the chosen effect applied. This allows you to see the impact of the filter before applying it.
- Once you’re satisfied with a particular filter, tap on the “Save” or “Apply” button to apply the filter to your video.
In addition to filters, Google Photos also provides a set of effects that you can apply to your videos. These effects range from subtle adjustments like vignette and saturation to more artistic effects like black and white, vintage, and cinematic. Experimenting with different effects can add a unique and personalized touch to your footage, allowing you to create videos that evoke specific emotions or convey a particular theme.
Just like trimming and cutting, applying filters and effects in Google Photos is non-destructive, meaning your original video remains unaltered. The platform creates a duplicate version of your video with the selected filter or effect applied, preserving the integrity of the original footage.
By incorporating filters and effects into your video editing workflow, you can effortlessly transform the look and feel of your footage. Whether you want to create a vintage-style home movie, a vibrant and eye-catching travel montage, or a moody and atmospheric scene, the filter and effect options in Google Photos offer endless possibilities to express your creativity.
Now that you know how to apply filters and effects, let’s explore another exciting editing feature in Google Photos: adding music or audio tracks to your videos.
Adding Music or Audio to Videos
Music and audio play a crucial role in setting the tone and enhancing the storytelling in videos. With Google Photos, you can easily add music or audio tracks to your videos, creating a more immersive and engaging viewing experience.
To add music or audio to your videos in Google Photos, follow these steps:
- Select the video you want to edit in Google Photos and open it for editing.
- Below the video player, tap on the musical notes icon, which represents the audio editing tool.
- You can choose from three options: “Music,” “Record,” or “Library.” Select “Music” if you want to add pre-existing music tracks from Google’s extensive library.
- Browse through the available music tracks and select the one that complements your video’s mood or theme. You can use the search bar to find specific genres, moods, or artists.
- Once you’ve chosen a music track, Google Photos will automatically apply it to your video. You can preview the video with the music by playing it.
- If you prefer to add your own recorded audio, select the “Record” option. This allows you to capture live audio using your device’s microphone, such as narration, voiceovers, or ambient sounds, and layer it onto your video.
- If you have audio tracks stored on your device, select the “Library” option to upload and add them to your video. This is useful if you have custom music or audio tracks that you want to incorporate into your video.
- Once you’ve added the music or audio track, you can adjust its volume level using the on-screen controls. This allows you to fine-tune the balance between the video’s original audio and the added music or audio track.
- After making any desired adjustments, click the “Save” or “Apply” button to finalize the changes and create a new version of your video with the added music or audio.
By adding music or audio to your videos, you can evoke emotions, enhance storytelling, or simply create a more immersive viewing experience for your audience. Whether you’re making a travel montage, a heartfelt family video, or a professional presentation, the ability to include custom soundtracks or audio elements brings your videos to a whole new level.
With Google Photos, you have access to a vast library of music tracks that cater to diverse genres and moods. Additionally, the option to record your own audio or upload custom tracks ensures that you have complete control over the audio experience in your videos.
Now that you know how to add music or audio to your videos, get ready to explore another exciting editing feature in Google Photos: adjusting video speed and playback.
Adjusting Video Speed and Playback
Video speed and playback are essential elements for creating dynamic and engaging videos. With Google Photos, you have the ability to adjust the speed of your videos, allowing you to create captivating slow-motion or fast-forward effects.
To adjust the video speed and playback in Google Photos, follow these steps:
- Select the video you want to edit in Google Photos and open it for editing.
- Below the video player, tap on the speedometer icon, which represents the speed and playback tool.
- You’ll see a slider that allows you to adjust the video speed. Move the slider to the left to slow down the video or to the right to speed it up. You can watch the preview of the video at different speeds to choose the perfect effect.
- As you adjust the speed, Google Photos will automatically update the video playback to reflect the changes. This gives you real-time feedback on how the video will appear with the altered speed.
- Once you’re satisfied with the speed adjustment, click the “Save” or “Apply” button to apply the changes and create a new version of your video with the adjusted speed.
Adjusting the video speed and playback in Google Photos allows you to create unique visual effects and control the tempo of your videos. Slowing down a fast-paced action sequence can add drama and emphasize key moments, while speeding up a slow-moving scene can create a sense of urgency or excitement.
Furthermore, you can combine different video segments with varying speeds to create seamless transitions and enhance the overall storytelling. For example, you can start a video in slow motion, gradually increase the speed for an energetic middle section, and then slow it down again for a cinematic finale.
Beyond the creative possibilities, adjusting the video speed and playback can also be a practical tool for condensing longer videos or emphasizing specific moments within a clip. By manipulating the speed, you have the power to enhance the visual impact and viewer experience of your videos.
Now that you’re familiar with adjusting video speed and playback in Google Photos, get ready to explore another exciting editing feature: creating animations and slideshows with videos.
Creating Animations and Slideshows with Videos
Animations and slideshows are fantastic ways to bring your videos to life and create visually stunning presentations. With Google Photos, you can effortlessly transform your videos into captivating animations and slideshows, adding a dynamic and engaging element to your visual storytelling.
To create animations and slideshows with your videos in Google Photos, follow these steps:
- Select the video you want to edit in Google Photos and open it for editing.
- Below the video player, tap on the “+” button, which represents the tool for creating animations and slideshows.
- You’ll be prompted to select the type of creation you want to make. Select either “Animation” or “Slideshow,” depending on your preferences and the desired outcome.
- For animations, Google Photos will analyze your video and automatically generate an animated montage of the most interesting and visually captivating moments. You can customize the animation by choosing from various themes and music options.
- For slideshows, you’ll be able to select multiple videos and photos from your library to create a seamless presentation. You can choose the order, transition effects, and even add text captions to enhance the narrative.
- Once you’re satisfied with the animation or slideshow settings, click the “Create” or “Save” button to generate your creation.
Creating animations and slideshows with your videos allows you to tell stories in a more dynamic and engaging manner. Animations capture the most exciting moments and combine them into a visually stunning montage, while slideshows enable you to carefully curate and present a collection of videos in a cohesive and professional manner.
With Google Photos, you have a variety of customization options to make your animations and slideshows unique to your style and vision. From selecting different themes and music tracks to adjusting transitions and adding text captions, you can tailor these creations to match the tone and narrative of your videos.
Whether you’re creating a highlight reel of your travel adventures, a showcase of your family’s special moments, or a presentation for your business, animations and slideshows add an extra layer of professionalism and creativity to your videos.
Now that you’ve learned how to create animations and slideshows with your videos, let’s explore the final step in the video editing process: exporting and sharing your edited videos.
Exporting and Sharing Edited Videos
Once you’ve edited your videos in Google Photos, it’s time to share them with the world. Google Photos provides convenient options for exporting and sharing your edited videos, allowing you to showcase your creative work with ease.
To export and share your edited videos in Google Photos, follow these steps:
- Open the edited video in Google Photos.
- Below the video player, tap on the share icon, which typically looks like an arrow pointing outwards.
- A menu will appear, offering various sharing options. You can choose to share the video directly to social media platforms like Facebook, Twitter, or Instagram, or send it to individuals via messaging apps like WhatsApp or email.
- If you want to export the video to a different location, such as your device’s internal storage or cloud storage services, select the “Save video” or “Download” option. This will save a copy of the edited video to the destination of your choice.
- Depending on the sharing method or destination you choose, you may have additional options to adjust the video’s quality, size, or privacy settings.
- Once you’ve selected the preferred sharing option and adjusted any necessary settings, click the “Share” or “Export” button to initiate the sharing or exporting process.
Google Photos makes it incredibly easy to share your edited videos directly from the platform to your desired audience. Whether you’re posting on social media platforms, sending videos to friends and family, or saving copies to your personal storage, Google Photos offers a seamless sharing experience.
In addition to sharing options, Google Photos also provides helpful features like automatic video albums and collaborative sharing. Automatic video albums allow you to create collections of related videos that are automatically updated as you add or edit new videos. Collaborative sharing enables you to invite others to contribute videos to a shared album, making it ideal for events or collaborative projects.
By exporting and sharing your edited videos, you can showcase your creativity, engage with your audience, and share your memorable moments with family, friends, or a wider community. So, don’t hesitate to spread the joy and passion of your video creations using the versatile sharing capabilities of Google Photos.
Now that you’re familiar with exporting and sharing edited videos, let’s summarize the key points and conclude our exploration of video editing in Google Photos.
Conclusion
Google Photos offers a comprehensive and user-friendly platform for editing and enhancing your videos. With its range of editing tools and features, you can transform your raw footage into captivating videos that tell memorable stories and evoke powerful emotions.
Throughout this article, we explored the various aspects of video editing in Google Photos. We discussed how to upload and organize your videos, utilize basic editing tools such as trimming and cutting, apply filters and effects to enhance the visual appeal, add music or audio tracks to create a mesmerizing auditory experience, adjust video speed and playback for creative effects, and even create animations and slideshows to add a dynamic touch.
Google Photos’ intuitive interface, seamless integration with devices and cloud storage, and robust sharing options make it the go-to choice for both beginners and experienced video editors. The non-destructive nature of editing ensures that your original videos remain intact, allowing you to experiment and refine your edits as desired.
By leveraging the power of Google Photos, you can unleash your creativity, share your stories with the world, and bring your videos to life. Whether you’re a professional content creator, a hobbyist filmmaker, or someone who simply wants to create memorable videos, Google Photos provides the tools and resources you need.
So, grab your videos, dive into the exciting world of editing in Google Photos, and let your imagination run wild. Be bold, experiment, and create videos that reflect your unique style and vision. The possibilities are endless, and with Google Photos, your video editing journey has never been more accessible and enjoyable.