Introduction
Google Photos is a popular cloud-based storage platform that allows users to back up and organize their photos and videos. With its user-friendly interface and seamless integration with Google services, it has become the go-to choice for managing and accessing media files.
However, there may come a time when you want to save your photos from Google Photos to your device for offline access or backup purposes. Whether you need to create a local backup or want to share photos with someone who doesn’t have access to Google Photos, saving photos from Google Photos is a straightforward process.
In this article, we will walk you through the steps to save photos from Google Photos. Whether you are using the web version or the mobile app, the process is similar and can be easily accomplished in just a few clicks or taps.
So, if you’re ready to take control of your cherished memories and save them to your device, let’s dive into the step-by-step guide for saving photos from Google Photos.
Step 1: Open Google Photos
The first step to saving photos from Google Photos is to open the Google Photos app or go to the Google Photos website on your computer. If you’re using a mobile device, you can find the Google Photos app in your app drawer or home screen. Simply tap on the app icon to launch it.
If you prefer to use Google Photos on your computer, open your preferred web browser and enter “photos.google.com” in the address bar. Make sure you are signed in to your Google Account.
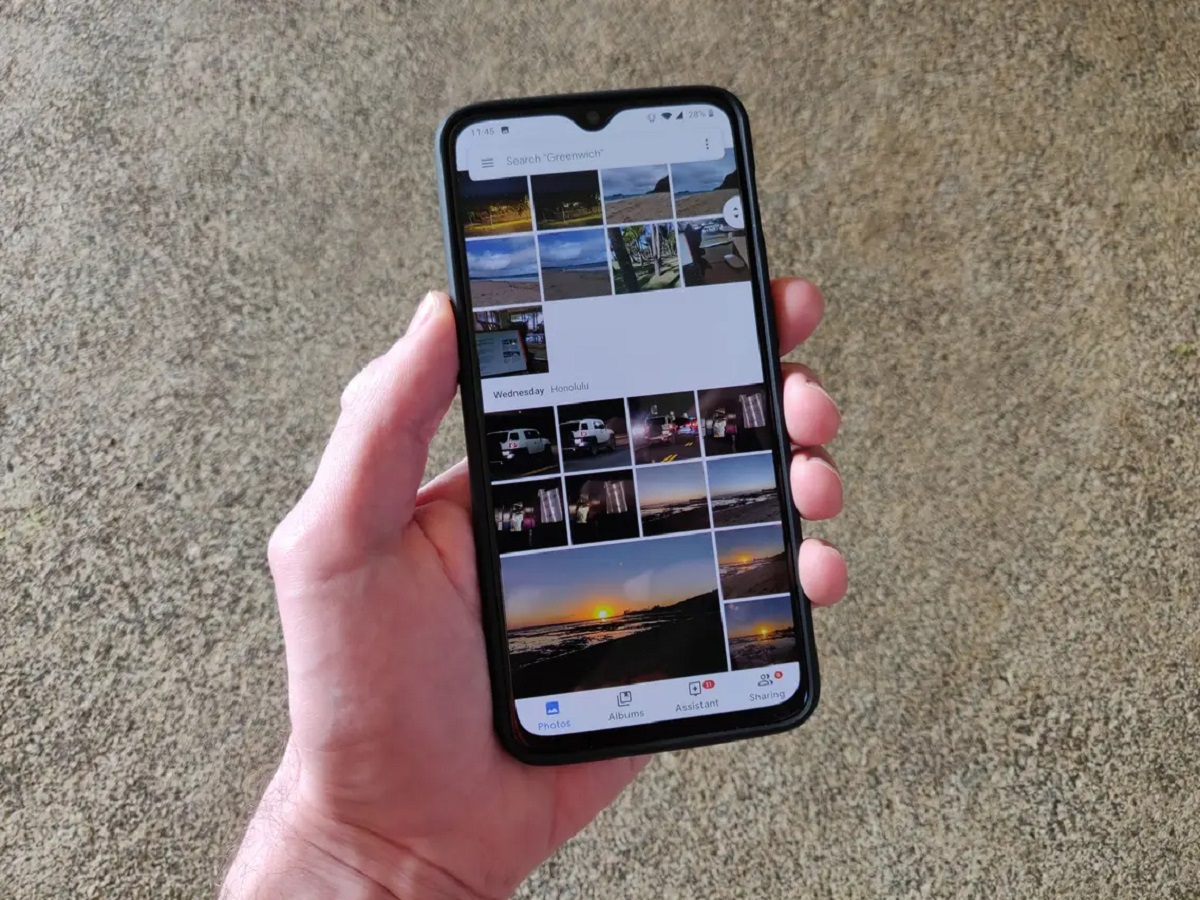
Once you have opened Google Photos, you will be greeted with a visually appealing interface that showcases your photos and videos. The homepage displays your recent photos, albums, and other relevant features.
If you have a large photo library, you may have to scroll through the homepage to find the photos you want to save. You can also use the search bar at the top to quickly locate specific photos by entering keywords or using filters like dates or locations.
Now that Google Photos is open and you have familiarized yourself with the interface, let’s move on to the next step to select the photos you want to save.
Step 2: Select the Photos You Want to Save
Once you have opened Google Photos, the next step is to select the photos you want to save. Whether you want to save individual photos or a batch of photos, Google Photos provides various options for selecting your desired images.
If you want to save a single photo, simply tap on the photo to open it in fullscreen mode. On the web version, click on the photo to view it in a larger size.
To save multiple photos, you can either long-press on a photo on the mobile app or use the checkboxes that appear on the top-left corner of each photo on the web version.
If you want to select all the photos available in an album or folder, you can either tap on the three-dot menu icon and select “Select all” on the mobile app, or click on the three-dot menu icon and choose “Select all” on the web version.
Google Photos also offers a convenient way to select photos using the “Assistant” feature. The Assistant suggests photos to save based on various criteria like recent uploads, created albums, or shared albums. When you open the Assistant tab, you can review the suggested photos and manually select the ones you want to save.
Remember that you can select multiple photos from different albums or folders at once. This flexibility allows you to gather photos from different sources and save them in a single batch.
Once you have selected the photos you want to save, it’s time to move on to the next step and download the photos onto your device.
Step 3: Download the Photos
After you have selected the photos you want to save from Google Photos, the next step is to download them onto your device. Here’s how you can do it:
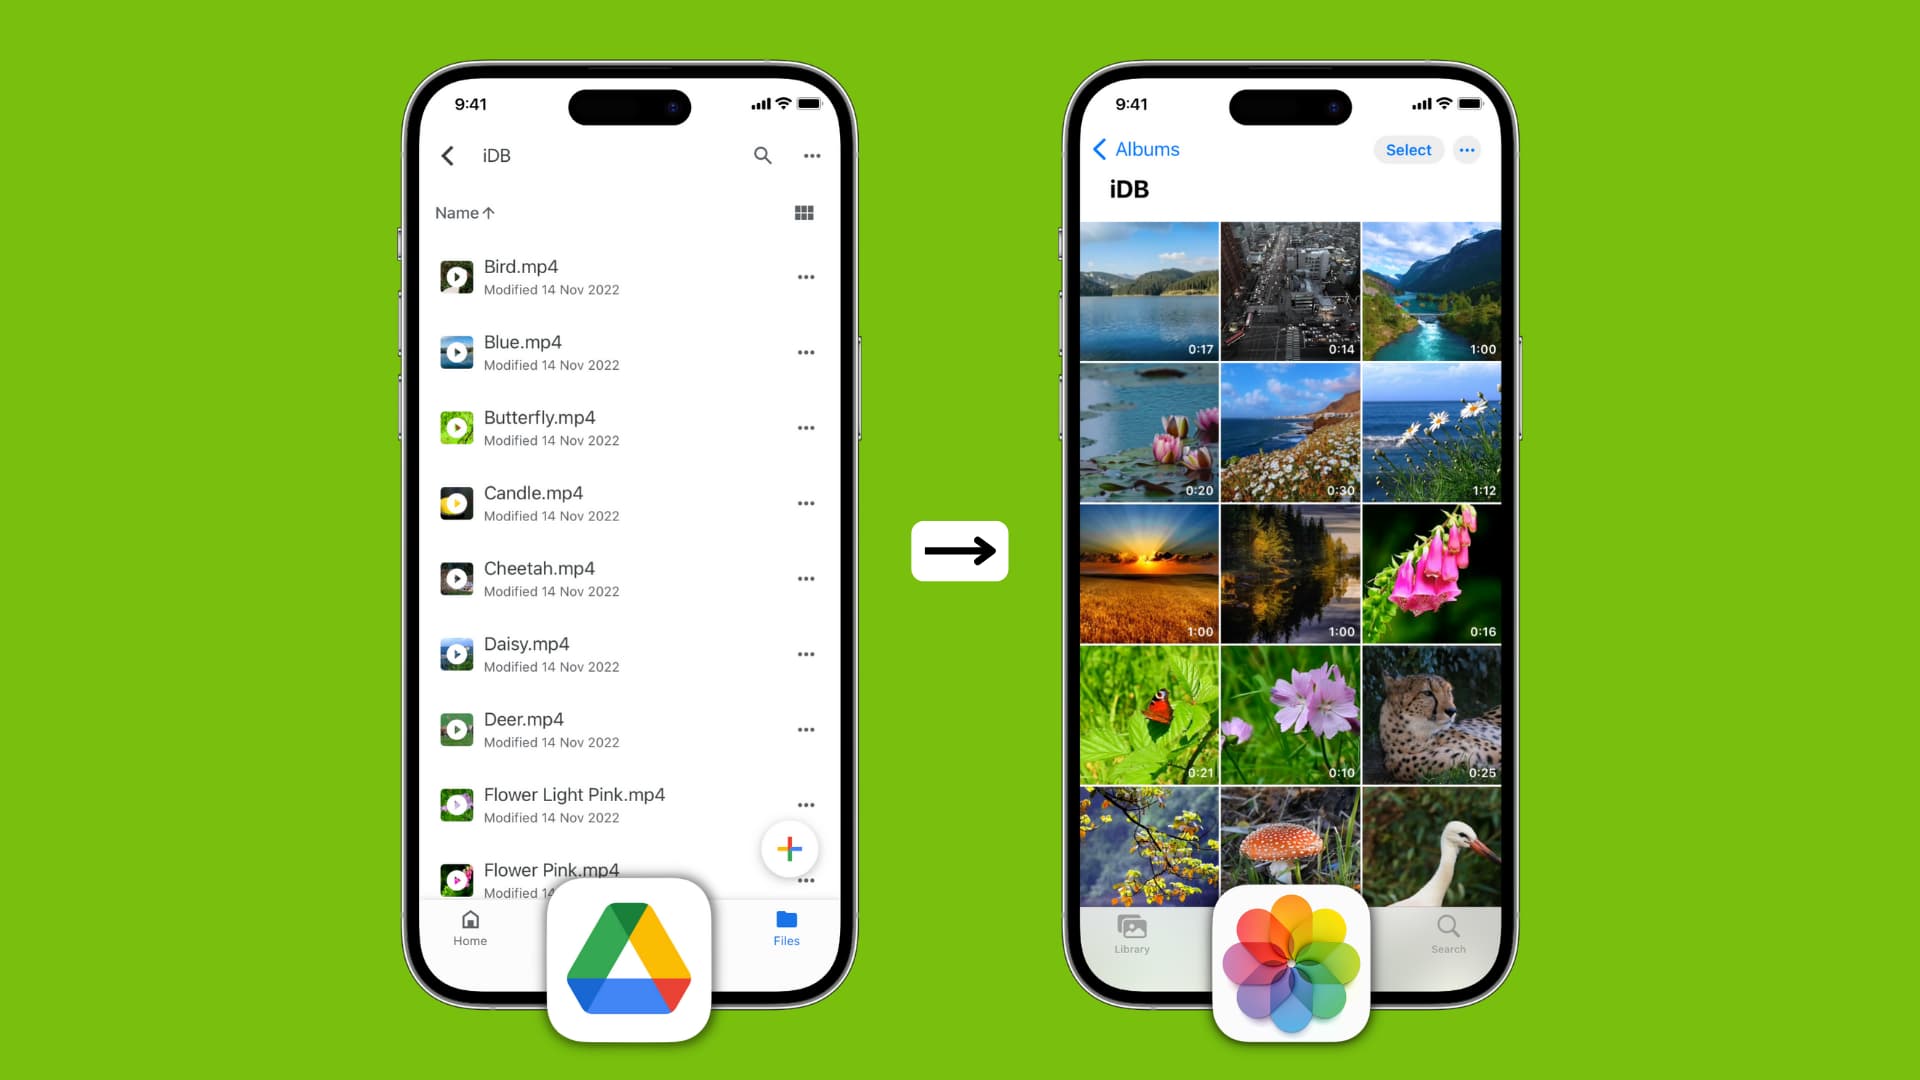
If you’re using the mobile app, tap on the share icon (typically represented by an arrow pointing upwards) located at the bottom of the screen. From the sharing options that appear, select “Save to device” or “Save to gallery.” The photos will then be downloaded and saved to your device’s local storage.
On the web version, click on the three-dot menu icon located at the top-right corner of the screen. From the dropdown menu, select “Download.” This will initiate the download process for the selected photos.
Keep in mind that the download speed may vary depending on the number and size of the photos. If you have a slow internet connection or a large photo collection, it may take some time to download all the selected photos.
Google Photos will automatically create a zip file containing the downloaded photos. Once the download is complete, the zip file will be saved in your device’s default download location.
Now that you have successfully downloaded the photos from Google Photos, it’s time to proceed to the next step and choose the location where you want to save the photos on your device.
Step 4: Choose the Download Location
When downloading photos from Google Photos, you have the flexibility to choose the location where you want to save the files on your device. Here’s how you can select the download location:
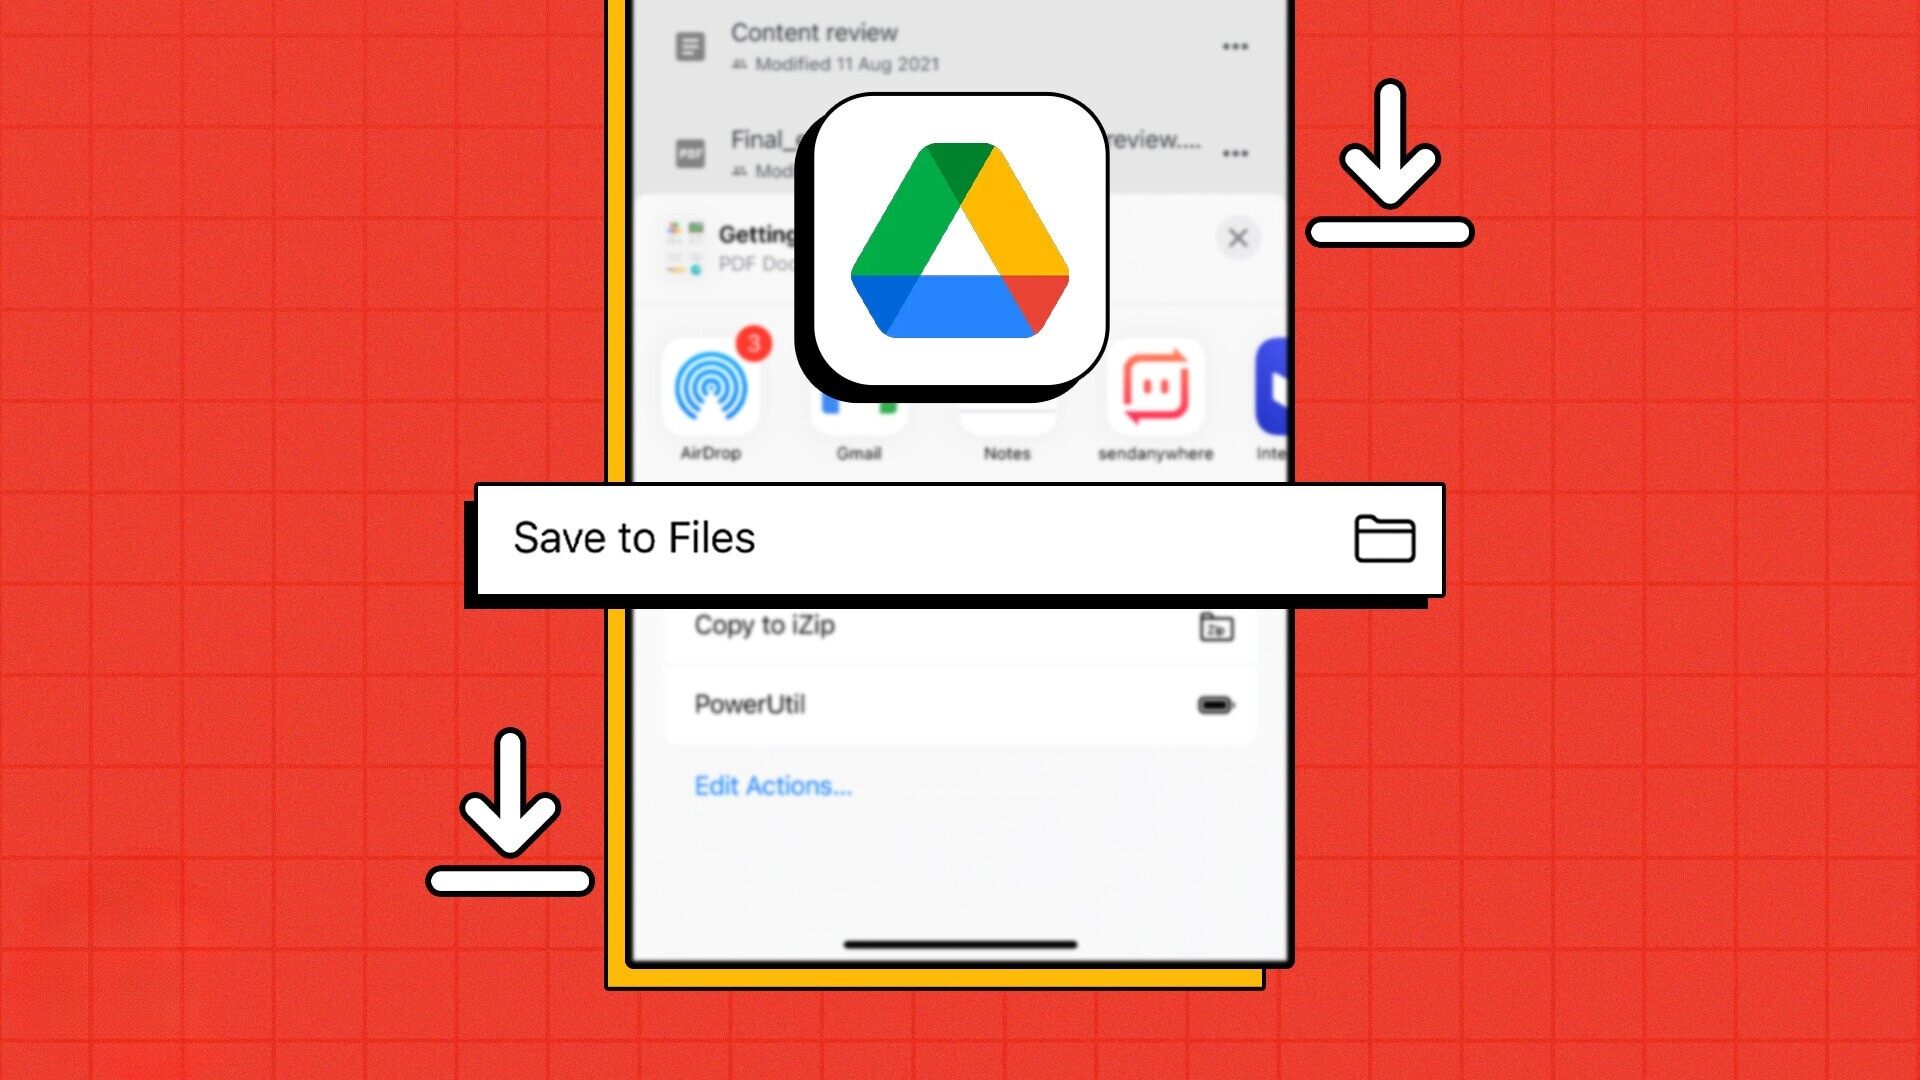
If you’re using the mobile app, after selecting the photos and tapping on the share icon, you may be prompted to choose a specific folder or directory to save the photos. You can browse through your device’s file system and select the desired location.
On the web version, once the zip file containing the downloaded photos is ready, you can choose the download location by clicking on the “Save” or “Save As” option that appears on your browser. This will open a file explorer window, allowing you to navigate to the folder or directory where you want to save the photos.
By selecting a specific download location, you can organize the downloaded photos according to your preference. You can create a new folder to store the photos, or choose an existing folder that is easily accessible and suits your organizational needs.
Remember to select a location that has sufficient storage capacity to accommodate the downloaded photos. If your device’s storage is running low, consider transferring the photos to an external storage device or freeing up space by deleting unwanted files.
Once you have chosen the download location and confirmed the selection, the photos will be saved in the designated folder or directory on your device. You’re almost there! The final step is to check the downloaded photos to ensure they have been successfully saved.
Step 5: Check the Downloaded Photos
After downloading the photos from Google Photos and selecting the download location, it’s important to check the downloaded photos to ensure they have been successfully saved to your device. Here’s how you can do it:
If you’re using a mobile app, navigate to the folder or directory where you saved the downloaded photos. Use your device’s built-in gallery app or a file manager app to locate the folder. Open the folder to view the downloaded photos. Swipe through the photos to ensure they have been downloaded correctly and are viewable on your device.
On the web version, open the file explorer or file manager app on your computer. Navigate to the folder or directory where you saved the downloaded photos. Look for the zip file that was downloaded from Google Photos. Extract the zip file to access the individual photos. Double-click on each photo to open it and verify that it has been successfully downloaded and can be viewed on your computer.
While checking the downloaded photos, pay attention to any errors or discrepancies. Make sure all the selected photos are present and that they have not been corrupted during the download process. If you encounter any issues, try re-downloading the photos or contacting Google support for further assistance.
If you’re satisfied with the downloaded photos and they appear as expected, you can now safely use them for your intended purpose, such as sharing with others or storing them in a separate location for backup purposes.
Congratulations! You have successfully saved and verified the downloaded photos from Google Photos. By following these steps, you can easily take control of your cherished memories and have them readily accessible on your device whenever you want.
Conclusion
Saving photos from Google Photos is a simple process that allows you to have offline access to your cherished memories. Whether you want to create a local backup or share photos with others, downloading the photos from Google Photos ensures that you have control over your media files.
In this article, we’ve walked you through the step-by-step process of saving photos from Google Photos. From opening the Google Photos app or website to selecting the desired photos, downloading them onto your device, choosing the download location, and finally checking the downloaded photos for accuracy, each step is straightforward and can be easily followed.
Remember to choose the appropriate download location that suits your organizational needs and has sufficient storage capacity. Additionally, always check the downloaded photos to ensure they have been successfully saved and are viewable on your device.
By following these steps, you can take control of your photo collection and have peace of mind knowing that your memories are safely stored on your device. Whether you want to enjoy them offline, share them with loved ones, or preserve them for the future, having the photos saved from Google Photos gives you the flexibility to use them however you wish.
So, go ahead and save those precious photos from Google Photos! Take the necessary steps to secure your memories and enjoy seamless access to your photo collection whenever you want.