Introduction
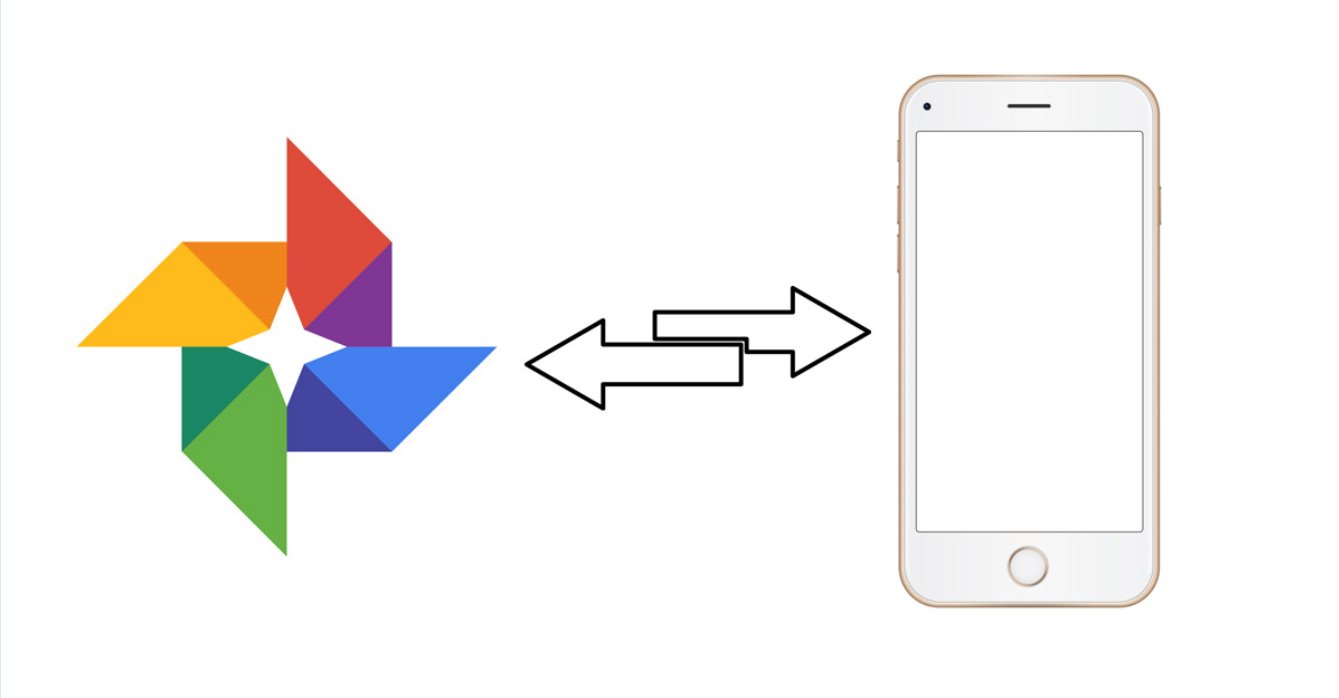
Welcome to the world of Google Photos! Whether you are a casual photographer or a seasoned pro, Google Photos provides a convenient platform to backup, organize, and share your precious memories captured on your phone or camera. One of the great features of Google Photos is the ability to download your photos directly to your phone, allowing you to access and enjoy them anytime, even without an internet connection.
In this step-by-step guide, we will walk you through the process of downloading photos from Google to your phone. Whether you’re looking to save a special moment, create a backup, or simply transfer photos to your device for easy access, this guide will provide you with all the necessary instructions.
Before we begin, it’s essential to note that Google Photos is available both as an app for your mobile device and as a web service accessible through your browser. For the purpose of this guide, we will focus on downloading photos using the Google Photos app, which is available for both iOS and Android devices. Let’s get started!
Step 1: Open Google Photos App
The first step in downloading photos from Google to your phone is to open the Google Photos app. Locate the app on your device’s home screen or in the app drawer and tap on it to launch it.
If you don’t have the Google Photos app installed on your device, you can easily download it from the App Store (for iOS devices) or the Google Play Store (for Android devices). Simply open the respective app store, search for “Google Photos,” and install the app.
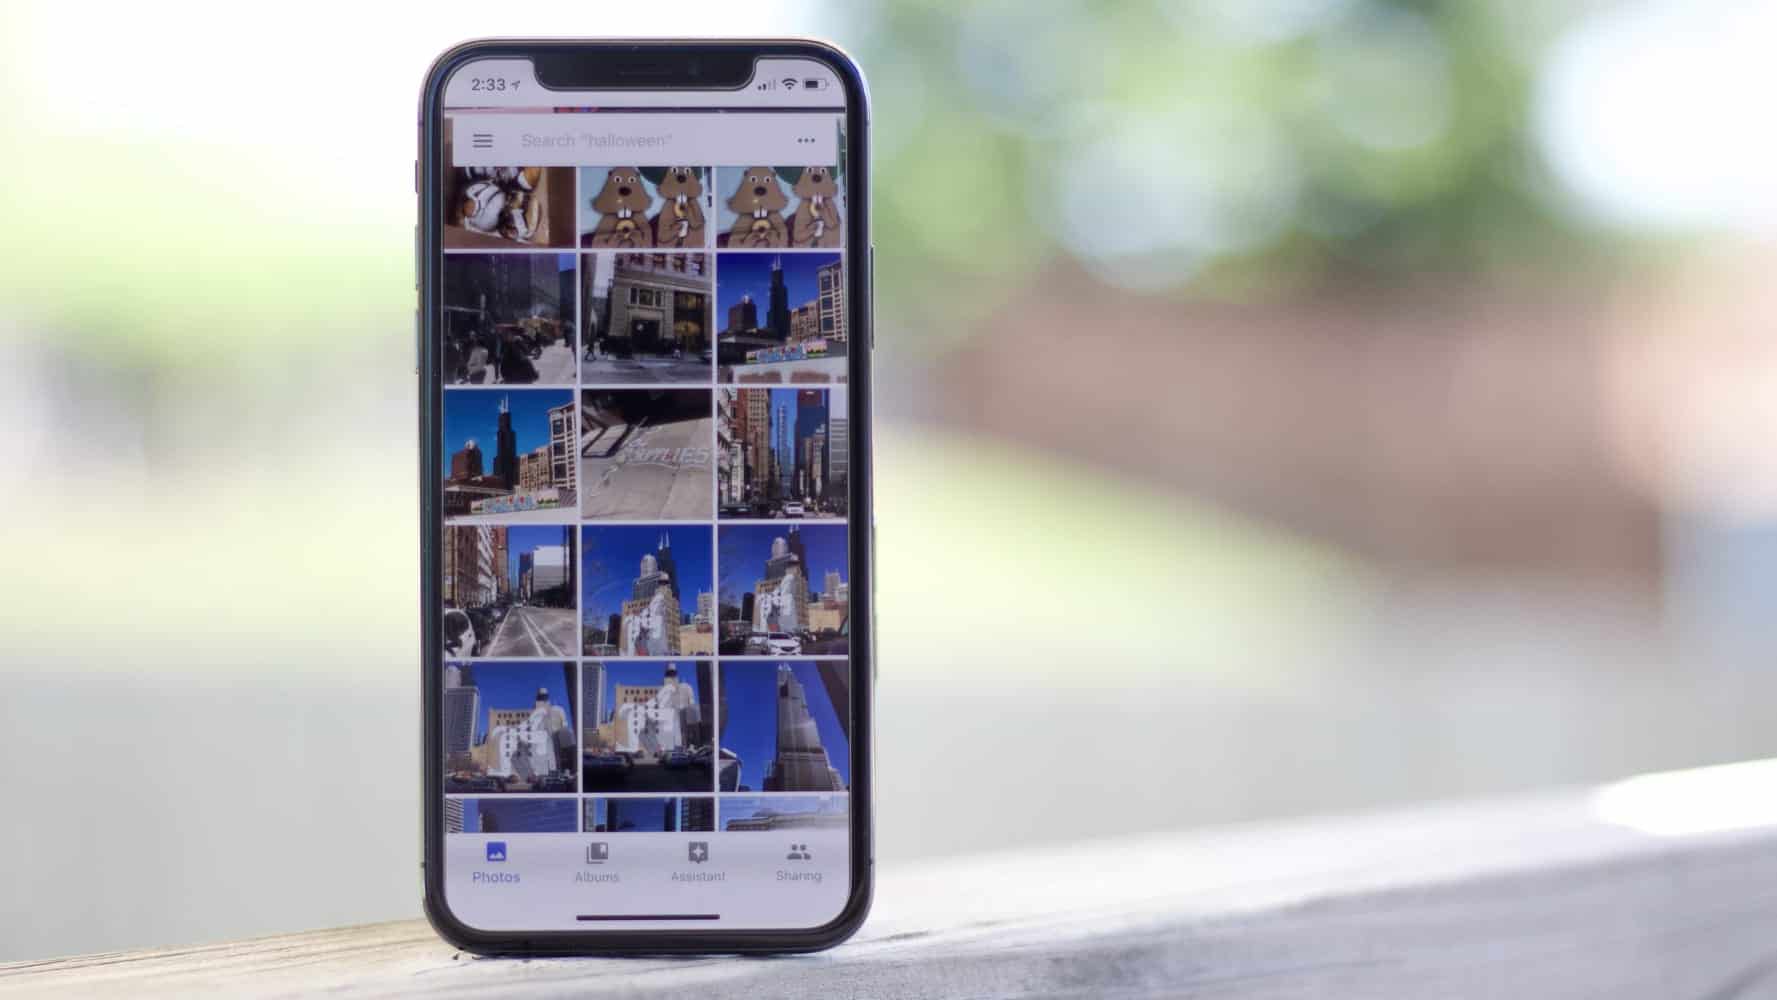
Once the app is opened, you will be greeted with the main screen of Google Photos. This screen will display your photo library with all the photos and videos you have uploaded or synced with your Google account.
It’s important to note that you need to be signed in to your Google account in order to access your photos and perform the download process. If you’re not signed in, you will be prompted to sign in using your Google credentials or create a new account if you don’t have one.
After signing in, you’ll have full access to your Google Photos library and can proceed to the next step of selecting the photos you want to download.
Step 2: Select the Photos to Download
Now that you have opened the Google Photos app and signed in to your account, it’s time to choose the photos you want to download to your phone. Google Photos provides various ways to select multiple photos quickly and efficiently.
Here’s how you can do it:
- First, navigate to the album or folder containing the photos you wish to download. You can find your albums and folders by tapping on the sidebar menu icon (typically represented by three horizontal lines) located at the top left corner of the app.
- Once you’re in the desired album or folder, you can swipe left or right to browse through the available photos. Tap on the first photo you want to select.
- To select multiple photos, you can either swipe up or down to scroll through the photos and tap on each one you want to download. Alternatively, you can tap and hold on one photo and then tap on the other photos to select them. Selected photos will be highlighted or marked with a checkmark.
- If you want to select all the photos in the album or folder, you can tap on the menu icon (represented by three vertical dots) and choose the “Select all” option.
Google Photos also provides a helpful search bar at the top of the screen that allows you to search for specific photos by keywords, people, places, or even objects. This can be especially useful if you have a large photo library and need to narrow down your selection.
Once you have selected the photos you want to download, you are ready to proceed to the next step: tapping on the share button.
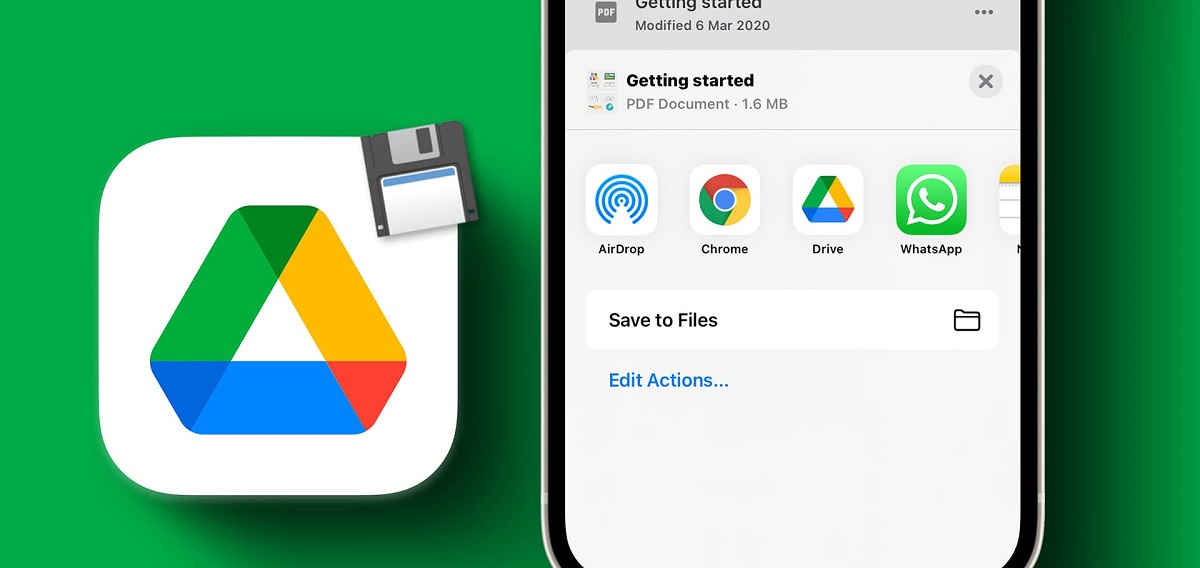
Step 3: Tap on the Share Button
Now that you have selected the photos you want to download from Google Photos, it’s time to tap on the share button to initiate the download process to your phone.
Here’s how to do it:
- With the selected photos still visible on your screen, locate the share button. It is typically represented by an icon that resembles a square with an upward arrow, and is located at the bottom of the app.
- Tap on the share button to open the sharing options menu. This menu will display various ways to share your selected photos, such as sending them via messaging apps, social media platforms, or email.
- Scroll through the sharing options and look for the option labeled “Save to device,” “Save to gallery,” or something similar. The exact wording may vary depending on your device and operating system.
- Tap on the “Save to device” option. This action will prompt Google Photos to start the download process, transferring the selected photos from your Google account to your phone’s internal storage.
Depending on the number and size of the selected photos, the download process may take a few moments to complete. You can track the progress of the download in the notification panel or within the Google Photos app itself.
It’s worth noting that the share button also provides options to share your photos directly with other people or apps, without downloading them to your device. If you wish to share the photos instead of downloading them, you can explore these additional sharing options and choose the most suitable one for your needs.
Now that you have tapped on the share button and initiated the download process, it’s time to move on to the next step: accessing the downloaded photos on your phone!
Step 4: Choose the Download Option
After tapping on the share button in the Google Photos app, you will be presented with various sharing options. Now it’s time to choose the option that allows you to download the selected photos to your phone’s internal storage.
Here’s how to proceed:
- From the sharing options menu, scroll through the available options until you find the one that allows you to download the photos. This option is typically labeled as “Save to device,” “Save to gallery,” or something similar.
- Tap on the download option to initiate the download process. Google Photos will begin transferring the selected photos from your Google account to your phone’s internal storage.
- Depending on your device and operating system, you may be prompted to choose a specific location or folder on your phone where the photos will be saved. If prompted, select the desired location or simply confirm the default option.
- The download process may take a few moments to complete, depending on the number and size of the selected photos. A progress indicator may be displayed to keep you informed of the download status.
- Once the download is complete, you will receive a notification confirming that the photos have been successfully saved to your device. You can also verify their presence by accessing the gallery or file manager app on your phone.
It’s important to note that the specific steps and options may vary slightly depending on your device’s manufacturer, operating system version, and any customizations made to the Google Photos app. However, the general process of choosing the download option and confirming the download location remains consistent.
Now that you have chosen the download option and completed the download process, it’s time to move on to the final step: accessing the downloaded photos on your phone!
Step 5: Access the Downloaded Photos on your Phone
Once you have successfully downloaded the photos from Google to your phone, you can now easily access and enjoy them whenever you want, even without an internet connection. Here’s how to access the downloaded photos:
- Open the gallery app on your phone, which is usually pre-installed and can be accessed directly from your home screen or app drawer. Alternatively, you can use a file manager app to navigate to the folder where the photos were downloaded.
- Navigate to the location or folder where the downloaded photos were saved. If you did not specify a specific location during the download process, they are typically saved in the default “Pictures” or “Downloads” folder on your device.
- Tap on the folder or album containing the downloaded photos to open it. You will see thumbnails of the photos within the folder.
- Browse through the photos by swiping left or right, or tapping on each photo to open it in full view. You can now view, edit, share, or do whatever you like with your downloaded photos.
Depending on the gallery or file manager app you’re using, you may have additional options available, such as creating albums, organizing the photos into folders, or applying filters and editing effects. Explore the features of your chosen app to make the most of your downloaded photos.
It’s worth mentioning that the downloaded photos are saved locally on your phone’s internal storage. This means that you can access them at any time, even when you’re offline or without an internet connection. However, it also means that if you delete the downloaded photos from your phone, they will be removed from your device and will no longer be accessible.
Congratulations! You have successfully completed the process of downloading photos from Google to your phone and accessing them for your enjoyment. Now you can relive those precious moments and keep your memories handy wherever you go.
Conclusion
Downloading photos from Google to your phone is a straightforward process that allows you to have your cherished memories at your fingertips. With the Google Photos app, you can easily select and download photos for offline access or to save storage space on your device. Let’s recap the steps involved:
- Open the Google Photos app on your device and sign in to your Google account.
- Select the photos you want to download from your library or albums.
- Tap on the share button and choose the download option.
- Select the download location on your device and initiate the download process.
- Access the downloaded photos on your phone through the gallery or file manager app.
Remember to keep in mind that the downloading process may vary slightly depending on your device and the specific options available in the Google Photos app. It’s also important to ensure that you have sufficient storage space on your device to accommodate the downloaded photos.
By following these simple steps, you can easily download photos from Google to your phone and enjoy them anytime, anywhere. Whether you want to share them with friends and family, edit them further, or simply have them for personal viewing, having your photos conveniently saved on your device allows for easy access and enjoyment.
So, get started with downloading your favorite photos from Google to your phone and relive your precious moments with just a few taps!