Introduction
Google Drive is a popular cloud storage platform that enables you to store and access your files, including photos, from anywhere with an internet connection. It provides a convenient and secure way to store your pictures and share them with others. However, there may be times when you want to download your photos from Google Drive and save them directly to your device.
In this article, you will learn how to download pictures from Google Drive and manage them on your device. Whether you want to save a single photo or download multiple photos at once, we will guide you through the process step by step.
Downloading your photos from Google Drive is a seamless process that requires just a few simple steps. Once you have your photos downloaded, you can easily access them offline, edit them, or share them with others even without an internet connection.
So, if you’re ready to take control of your pictures and download them from Google Drive, let’s get started with the step-by-step process.
Step 1: Accessing Google Drive
Before you can start downloading photos from Google Drive, you need to access your account. Here’s how:
- From your web browser, go to https://www.google.com/drive and sign in to your Google account. If you don’t have an account, you can create one for free.
- Once you’re logged in, you will be taken to the Google Drive homepage. Here, you will see all the files and folders you have stored in your Drive.
- If you have organized your photos in specific folders, navigate to the folder where the desired photo(s) is located. You can do this by clicking on the folder name in the sidebar on the left-hand side of the screen.
Once you are in the correct folder, you are ready to proceed to the next step and select the photos you want to download.
It’s important to note that Google Drive allows you to store a wide range of file types, including photos in various formats such as JPEG, PNG, and GIF. This means you can download any type of photo file from your Drive, whether it’s a snapshot from a recent vacation or a professional high-resolution image.
Now that you have accessed your Google Drive account and located the folder containing the photos you want to download, it’s time to move on to the next step and select the desired photo(s).
Step 2: Selecting the desired photo(s)
Once you have accessed your Google Drive account and navigated to the folder where your photos are stored, it’s time to select the specific photo(s) you want to download. Here’s how:
- Locate the photo(s) you wish to download. You can scroll through the list of files or use the search bar at the top of the screen to search for a specific photo by its name or relevant keywords.
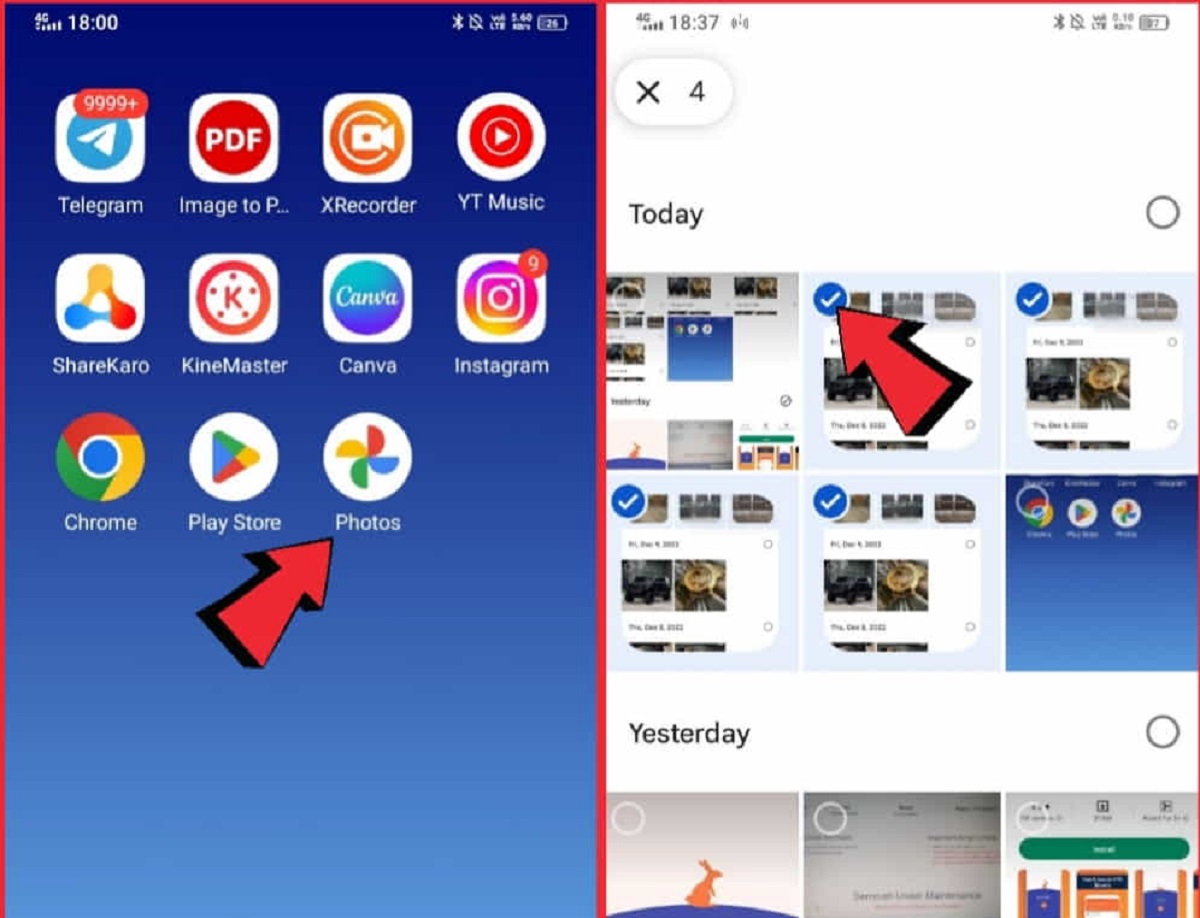
- To select a single photo, simply click on it once. To select multiple photos, hold down the Ctrl key (Windows) or Command key (Mac) while clicking on each photo you want to download.
- As you select photos, you will notice that they are highlighted or have a checkmark next to them to indicate that they are selected.
By selecting specific photos, you have the flexibility to download only the ones you need, rather than downloading the entire folder. This is especially useful if you have a large collection of photos and only want to download a few at a time.
Once you have selected the desired photo(s), you are ready to move on to the next step and begin the download process.
Step 3: Downloading photos individually
If you only need to download a single photo from Google Drive, the process is straightforward. Here’s how you can do it:
- Make sure the desired photo is selected. If it is not already selected, refer to the previous section on how to select a photo.
- Right-click on the selected photo. A menu will appear with several options.
- In the menu, click on the “Download” option. This will initiate the download process.
- Your browser will then prompt you to choose a location on your device where you want to save the photo. Select the appropriate folder or directory and click “Save” or “OK” to start the download.
- Depending on the size of the photo and your internet connection speed, the download may take a few seconds or minutes. Once the download is complete, you will find the photo in the designated folder on your device.
Downloading photos individually is ideal if you only need to retrieve one specific photo. It provides a quick and efficient way to save it directly to your device without having to download the entire folder containing the photo.
Now that you know how to download photos individually, let’s move on to the next step and learn how to download multiple photos at once from Google Drive.
Step 4: Downloading multiple photos at once
If you need to download multiple photos from Google Drive, you can do so efficiently by following these steps:
- Ensure that all the desired photos are selected. If you haven’t already, refer to the section on selecting photos to learn how to do this.
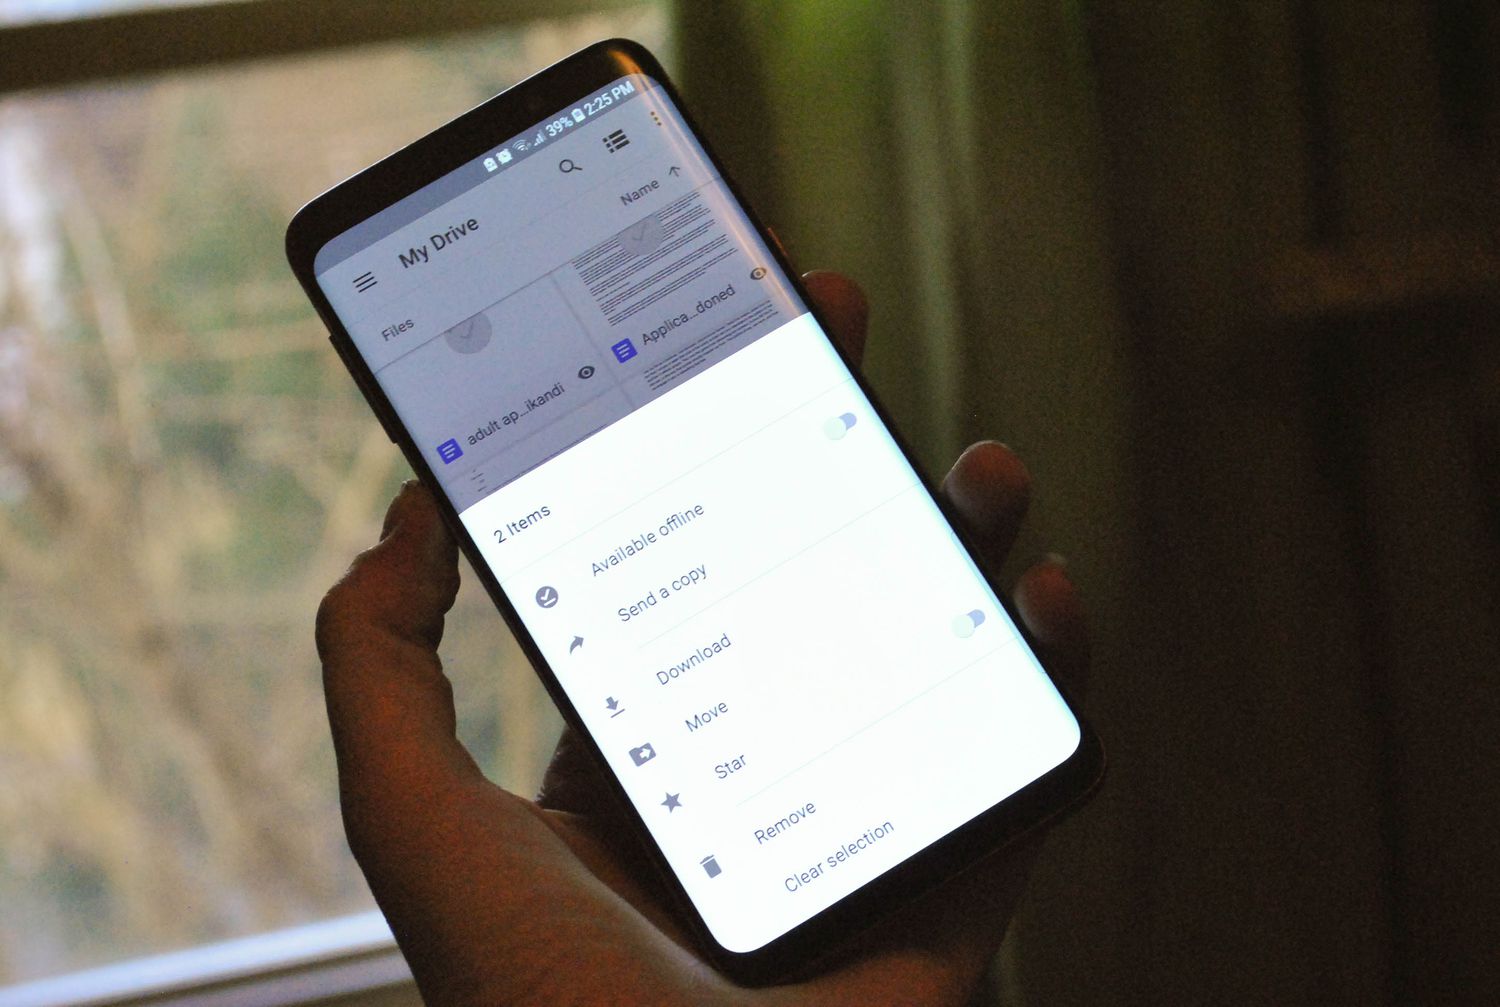
- Once you have selected all the photos you want to download, right-click on any of the selected photos. A menu will appear with various options.
- In the menu, click on the “Download” option. This will initiate the download process for all the selected photos.
- Your browser will then prompt you to choose a location on your device where you want to save the photos. Select the desired folder or directory and click “Save” or “OK” to start the download.
- Depending on the total size of the photos and your internet connection speed, the download may take some time to complete.
- Once the download is finished, you will find all the downloaded photos in the designated folder on your device.
Downloading multiple photos at once from Google Drive is a convenient way to retrieve a batch of photos efficiently. It saves you time and effort compared to downloading each photo individually.
Whether you need to download a small set of photos or a large collection, Google Drive makes it easy to transfer them from the cloud storage to your local device.
Now that you know how to download multiple photos at once, let’s move on to the final step and learn how to manage the downloaded photos on your device.
Step 5: Managing downloaded photos on your device
Once you have successfully downloaded the photos from Google Drive to your device, it’s important to know how to manage and organize them effectively. Here are some tips on managing your downloaded photos:
- Create folders: To keep your downloaded photos organized, consider creating specific folders on your device for different categories or events. You can create folders based on dates, locations, or themes. This will make it easier to locate and access photos in the future.
- Renaming files: If you want to give your downloaded photos more descriptive names, you can easily rename them on your device. Simply right-click on the photo, select the “Rename” option, and enter the new name.
- Organize by metadata: Most photos contain metadata, such as date, time, and location information. Utilize this metadata to categorize and sort your photos. You can use photo management software or apps that can automatically organize your photos based on their metadata.
- Backup your photos: It’s always a good idea to create a backup of your downloaded photos. Consider using an external hard drive, cloud storage services, or online backup solutions to ensure the safety and accessibility of your precious memories.
- Edit and enhance: If desired, you can edit and enhance your downloaded photos using image editing software or apps. Adjust the brightness, contrast, or colors, crop or resize, apply filters or effects, and unleash your creativity to make your photos even more stunning.
- Share and enjoy: With your downloaded photos on your device, you can easily share them with friends and family. You can use messaging apps, social media platforms, or create photo albums to showcase your favorite moments.
By effectively managing your downloaded photos on your device, you can easily access, organize, and share your cherished memories whenever you want.
With that, you have completed the steps to download and manage photos from Google Drive. Hopefully, this guide has helped you successfully retrieve your photos and ensure they are easily accessible on your device.
Conclusion
Downloading photos from Google Drive is a simple and convenient process that allows you to have your pictures readily accessible on your device. Whether you need to download a single photo or multiple photos at once, following the step-by-step guide outlined in this article will help you achieve your goal.
By accessing your Google Drive, selecting the desired photos, and initiating the download process, you can effortlessly retrieve your photos and save them directly to your device. Once the photos are downloaded, you can further organize them, rename them, and even edit them to enhance their appearance.
Remember to manage your downloaded photos effectively by creating folders, backing them up, and utilizing metadata to keep them organized. This will help you easily locate and share your photos with others, preserving your precious memories.
Google Drive offers a powerful and user-friendly platform for storing and accessing your files, including your valuable photo collection. Take advantage of this cloud storage service to keep your photos safe and easily accessible from anywhere, at any time.
Now that you have the knowledge and strategies to download and manage your photos from Google Drive, you can enjoy the convenience of having your favorite pictures at your fingertips. So go ahead and start downloading those photos to relive your cherished moments, share them with loved ones, or use them creatively!